Author Archives: cookingwithcandi

Old Fashioned Lemon Icebox Cake–No Baking at all

IMG_1266

Nothing not to love here, Lemons, cream cheese, heavy cream, lemon curd and did I mention no baking??? So great and fairly easy with simple ingredients. You’ll need either an electric mixer or a hand mixer to whip cream. Nothing beats an electric mixer though with the whisking attachment.

I made it in a 9×13 pan but I think next time I will try to do it in a bowl. It would also be beautiful garnished with fresh lemon slices or berries. We were in a hurry to dig into it so never did get to garnish it.  If you’d like it to look neater when you scoop it out you will have to be more precise with the layering. My cake was very uneven and all the layers and flavors blended together, who cares? it was delicious. If you’d like you can also layer in a trifle type bowl and make a very pretty presentation! Up to you but it was all delish.

This is simple and delicious food if not very rich, but hey it’s dessert! Perfect for a Labor Day BBQ or anytime!

Enjoy Labor Day Weekend even if it’s a little strange this year.

Visit me on Instagram @cookingwithcandi

Ingredients:

4 ounces cream cheese, softened (just leave it out at room temperature for a while till it’s room temperature and feels squishy and soft)

3 cups heavy cream

1/3 cup confectioners sugar

3 teaspoons lemon zest, plus a little more for garnish

1/2 teaspoon vanilla extract

11 ounces vanilla wafer cookies ( app. 1 1/2 boxes)

10 ounces lemon curd–usually available with the jams and jellies  or baking aisle of most supermarkets. (see photo)

Directions:

Beat the cream cheese in a large bowl with an electric mixer until soft. Add the heavy cream, sugar, lemon zest and vanilla and beat until it just holds stiff peaks. It takes app. 3-6 minutes for peaks to form, be patient.

Spread the bottom of a 9 x 13 inch baking dish with 1/2 cup of the whipped cream. Arrange 1/2 of the cookies on top of the cream, fitting in as many as you can without overlapping.(see photos) Spoon 1/2 of the remaining cream mixture on top and smooth evenly with an offset spatula or if no offset spatula use a butter knife. In spoonfuls , app. every 2 inches, spoon half of the lemon curd onto the cream and then use a butter knife to swirl the curd into the cream. Top with another layer of cookies, followed by the remaining cream. Spoon  the remaining lemon curd and swirl into the cream again with the butter knife. Cover with plastic wrap and refrigerate until the cookies have softened, it should be fine after at least 3 hours and you can make a day ahead and just leave in the fridge!

It would be pretty garnished with some lemon zest , some lemon slices or fresh berries, we were in a rush to eat it so no garnish in my photos. Next time!

*if you use a bowl you’ll just have to figure out the cream to cookie ratio but make sure you follow my steps so it ends up the same.

*another good thing–I actually froze leftovers and when I wanted to eat it , I removed from freezer for about an hour and it was perfect.

Fresh Basil Pesto

photo 2 (6)

Chicken and Pesto on the Grill

photo 2 (8)

Pasta Pesto

The original recipe for this delicious pesto appeared back in May 2011 on Cooking with Candi and this pesto sauce has summer written all over it. Basil is abundant in the summer and it’s great on pasta as well as chicken. Yummy Pesto was the original title for this recipe way back in 2011.  This is the same recipe from my BFF Suki. I have tried many pesto sauces and this remains my absolute go to favorite. It is super easy and while the basil is abundant you should make it and freeze it. When you freeze the pesto in a container, pour a thin layer of olive oil over the top . I have it frozen for up to 3 months. I use it on chicken, pasta, and it’s wonderful as a spread. This recipe is good for 2 lbs. of pasta usually. So I use 1/2 and freeze the rest if it’s just the 2 of us.

Enjoy!

Pesto Chicken on the Grill with Grilled Peppers and Roasted Sweet Potatoes

DSCN3588

Fresh Basil

If you are going to use on chicken , just brush on the chicken sprinkle a tiny bit of  kosher salt on it and  let it marinate for a few hours at least and it can be marinated  overnight in the refrigerator. Take it out of fridge and let it sit at room temp. before putting on the grill. That’s it!

*You’ll need a food processor

Ingredients:

2 cups fresh basil (washed)

1/2 cup romano cheese (grated)

1/2 cup parmesan cheese ( grated)

1/2 cup pignolli nuts or walnuts

1 cup extra virgin olive oil–use a good one

1 – 3 tablespoons of unsalted butter (it’s good if the butter is softened before adding) you can soften in microwave

4 cloves garlic – peeled and whole

freshly ground black pepper–to taste

*kosher salt to taste if you feel you need it after finished making pesto

Directions:

I put all ingredients except for olive oil in the food processor. Give it a few grinds using the blade attachment. Then I slowly add in the olive oil through the top of processor while it’s on. Beautiful green pesto! so easy. Taste for salt and pepper

Cook pasta and drain and add pesto. Done!

Basic Corn Salad

It’s Summer (well almost)  and the living is easy –and the corn is delicious.  There are times I buy fresh corn but don’t feel like serving it on the cob even though it is perfectly delicious this way. This corn salad is a suggestion for you as a side dish with very little ingredients and pretty much all corn. I like to serve as a side dish in the summer because it can be made ahead and served at room temperature. It’s a most perfect side dish. It doesn’t get more basic or easier than this recipe.  My absolute go-to summer side dish. Super Easy.

Enjoy the rest of the summer and keep on Cooking with Candi.

Ingredients:

5-6 ears of corn , shucked

1/2 cup small diced red onion

3 Tablespoons cider vinegar

3 Tablespoons good olive oil

1/4 Teaspoon Kosher Salt – you can always add more salt after you finish and taste for salt

1/4 Teaspoon Freshly Ground Black Pepper the same applies for the pepper as for the salt

app. 1/2 cup cut up fresh basil leaves–use as much or as little as you like –it adds wonderful flavor

*add a few small cut up grape tomatoes for another variety on this

Directions:

In a large pot of boiling water, cook the corn for app. 3 minutes (just to let go of the starchiness) Drain and immerse in ice water to stop the cooking and set the color. When the corn cools down , cut the kernels off the cob , cutting close to the cob to get the whole kernel. I use a bundt pan to catch all the kernels.

Toss the corn kernels in a large bowl with the red onions, vinegar, olive oil, salt and pepper. Just before serving, toss in the fresh basil. Taste for seasonings and serve cold or at room temperature.

How simple and easy is this?IMG_5739

Green Goddess Salad

I first came upon this recipe from Melissa Benishay on Instagram . It is simple , delicious and nutritious. I make it my way which means I pretty much follow her recipe but add chicken, chopped bacon (sometimes), feta, scallions and cucumbers. I also will add chopped up jalapeños for a spicy kick and avocado would be perfect as well. You can make this completely vegan of course but I just like to zuzh it up a bit. Add whatever you like and make it your way. Enjoy!

The ingredients are interesting and you may need to buy a few of these items. For the dressing

Lemons — which give it the fresh taste and the acid it requires

Olive Oil– for the good Fat

Rice Vinegar– a bit of sweet flavor and tang

Shallot– for the sweeter onion flavor

Garlic– because it’s garlic– need I say more

Basil–for that pesto like consistency and flavor

Spinach– for extra nutrients and a lot of green color and don’t tell my hub

Nutritional Yeast– I know I know why???? Because it adds cheesy like consistency and B12 vitamins –it’s kind of like powdered cheese and full of flavor but vegan and has now become a shelf staple in my house for vegan cheese sauces, vegan dips, soups, scrambles, stews and you get the drill.It’s super nutritious and full of protein, B Vitamins, and anti-oxidents.

Walnuts– a nutty base

Salt– to pull it all together and highlight all the layers of flavors and way to bland with no salt

*you’ll need a blender for this one

You can make the dressing ahead like I do in the morning or the day before and it will keep in the fridge for 2-3 maybe 4 days.

Salad Dressing Ingredients:

juice of 2 lemons

1/4 cup olive oil

2 Tbsp. Rice Vinegar

2 largish cloves of garlic

1 smallish shallot

1/3 cup chives

1/4 cup walnuts, cashews, or nut of your choice — I always have chopped walnuts so that’s my nut of choice

1 cup fresh torn Basil Leaves

1/3 cup Nutritional Yeast– I got mine at Trader Joes but you can get this in almost any supermarket

1 Teaspoon Kosher Salt

For the Salad:

I like 1 head ofIceberg Lettuce chopped up and finely diced or you can use a head of green cabbage

3-4 mini cucumbers finely diced–optional see above paragraph on ingredients

1/4 cup chives, finely diced — also optional I used green onions/scallions tonight — use what you have even red onion diced is fine

1 bundle green onions / scallions

Directions:

Place all salad ingredients in a large bowl once they’re chopped up

Add all liquid dressing ingredients to a blender give it a whirl, and then add dry dressing ingredients and blend until smooth.

Yummmmmmmm and Thank You to Melissa Benishay or Baked by Melissa as most of you know

Avocado Salad with Corn and Tomatoes –Fresh and Delicious

DSCN0190 DSCN0195 DSCN0194 DSCN0199It’ s June so let’s break out all the delicious summer food. This is a most perfect summer salad and it is a vegetarian delight . It is totally vegan. I am not a vegan but totally love this salad with all it’s fresh flavors . I had 2 beautiful ripe avocados on hand and all the ingredients for this yummy salad.  I had some fresh corn so I just brought the water to a boil threw it in and when it turned yellow took it out and threw it in a bowl of ice water to stop the cooking.   Of course I love  jalapenos , use your own discretion and this would be amazing without as well but it was kick ass with them.  You can make the salad ahead and let juices meld but don’t add the avocados till you’re ready to serve.  You can give them a little squeeze of fresh lime juice so they won’t turn brown so fast.  I like to serve salad at room temperature, you just don’t get the flavors when it’s too cold. It will keep in fridge for a few days, but you’ll have to take out the leftover avocado since it will turn brown. I cut this salad in 1/2 for the 2 of us. This easily will serve 6 as a side.

Ingredients:

2 cobs of fresh corn ( cook and then shuck corn off the cob) if no fresh corn available use frozen . I use frozen when I have to and 1 small bag is usually sufficient. The frozen corn will defrost very quickly so just take it out and when you mix in with other ingredients it will start to completely thaw by the time you’re ready to serve. You want to serve at room temperature anyway.

1 pint grape tomatoes , halved

1 yellow bell pepper, seeded and diced into small pieces ( app. 1/2 “)

1 15 oz. can black beans, rinsed and drained

1/2 cup small diced red onion

2 tablespoons minced fresh jalapeno peppers, seeded ( app. 2 small jalapenos) use at your own discretion . Remove Seeds

1/2 teaspoon freshly grated lime zest

1/4 cup freshly squeezed lime juice ( 2 limes)

1/4 cup good olive oil

1 teaspoon kosher salt

1/2 teaspoon freshly ground black pepper

1/2 teaspoon minced fresh garlic

1/4 teaspoon ground cayenne pepper

2 ripe Hass avocados, seeded, peeled and cut into small cubes.

Directions:

Place the tomatoes, yellow pepper, black beans, red onion, jalapeno peppers, and lime zest in a large bowl. Whisk together the lime juice, olive oil, salt and pepper, garlic and cayenne pepper. Pour over the vegetables. Toss well. In the meanwhile cook the corn , bring water to a boil throw in for a few minutes to turn bright yellow, then I throw in a bowl of ice water for a few minutes to stop the cooking and lock in flavor and color. Then remove corn from cob. I let the salad sit for about an hour before adding avocados into the salad. Just fold avocados into the salad when you’re ready to serve. Check for seasoning and serve at room temperature.

Summer Salad

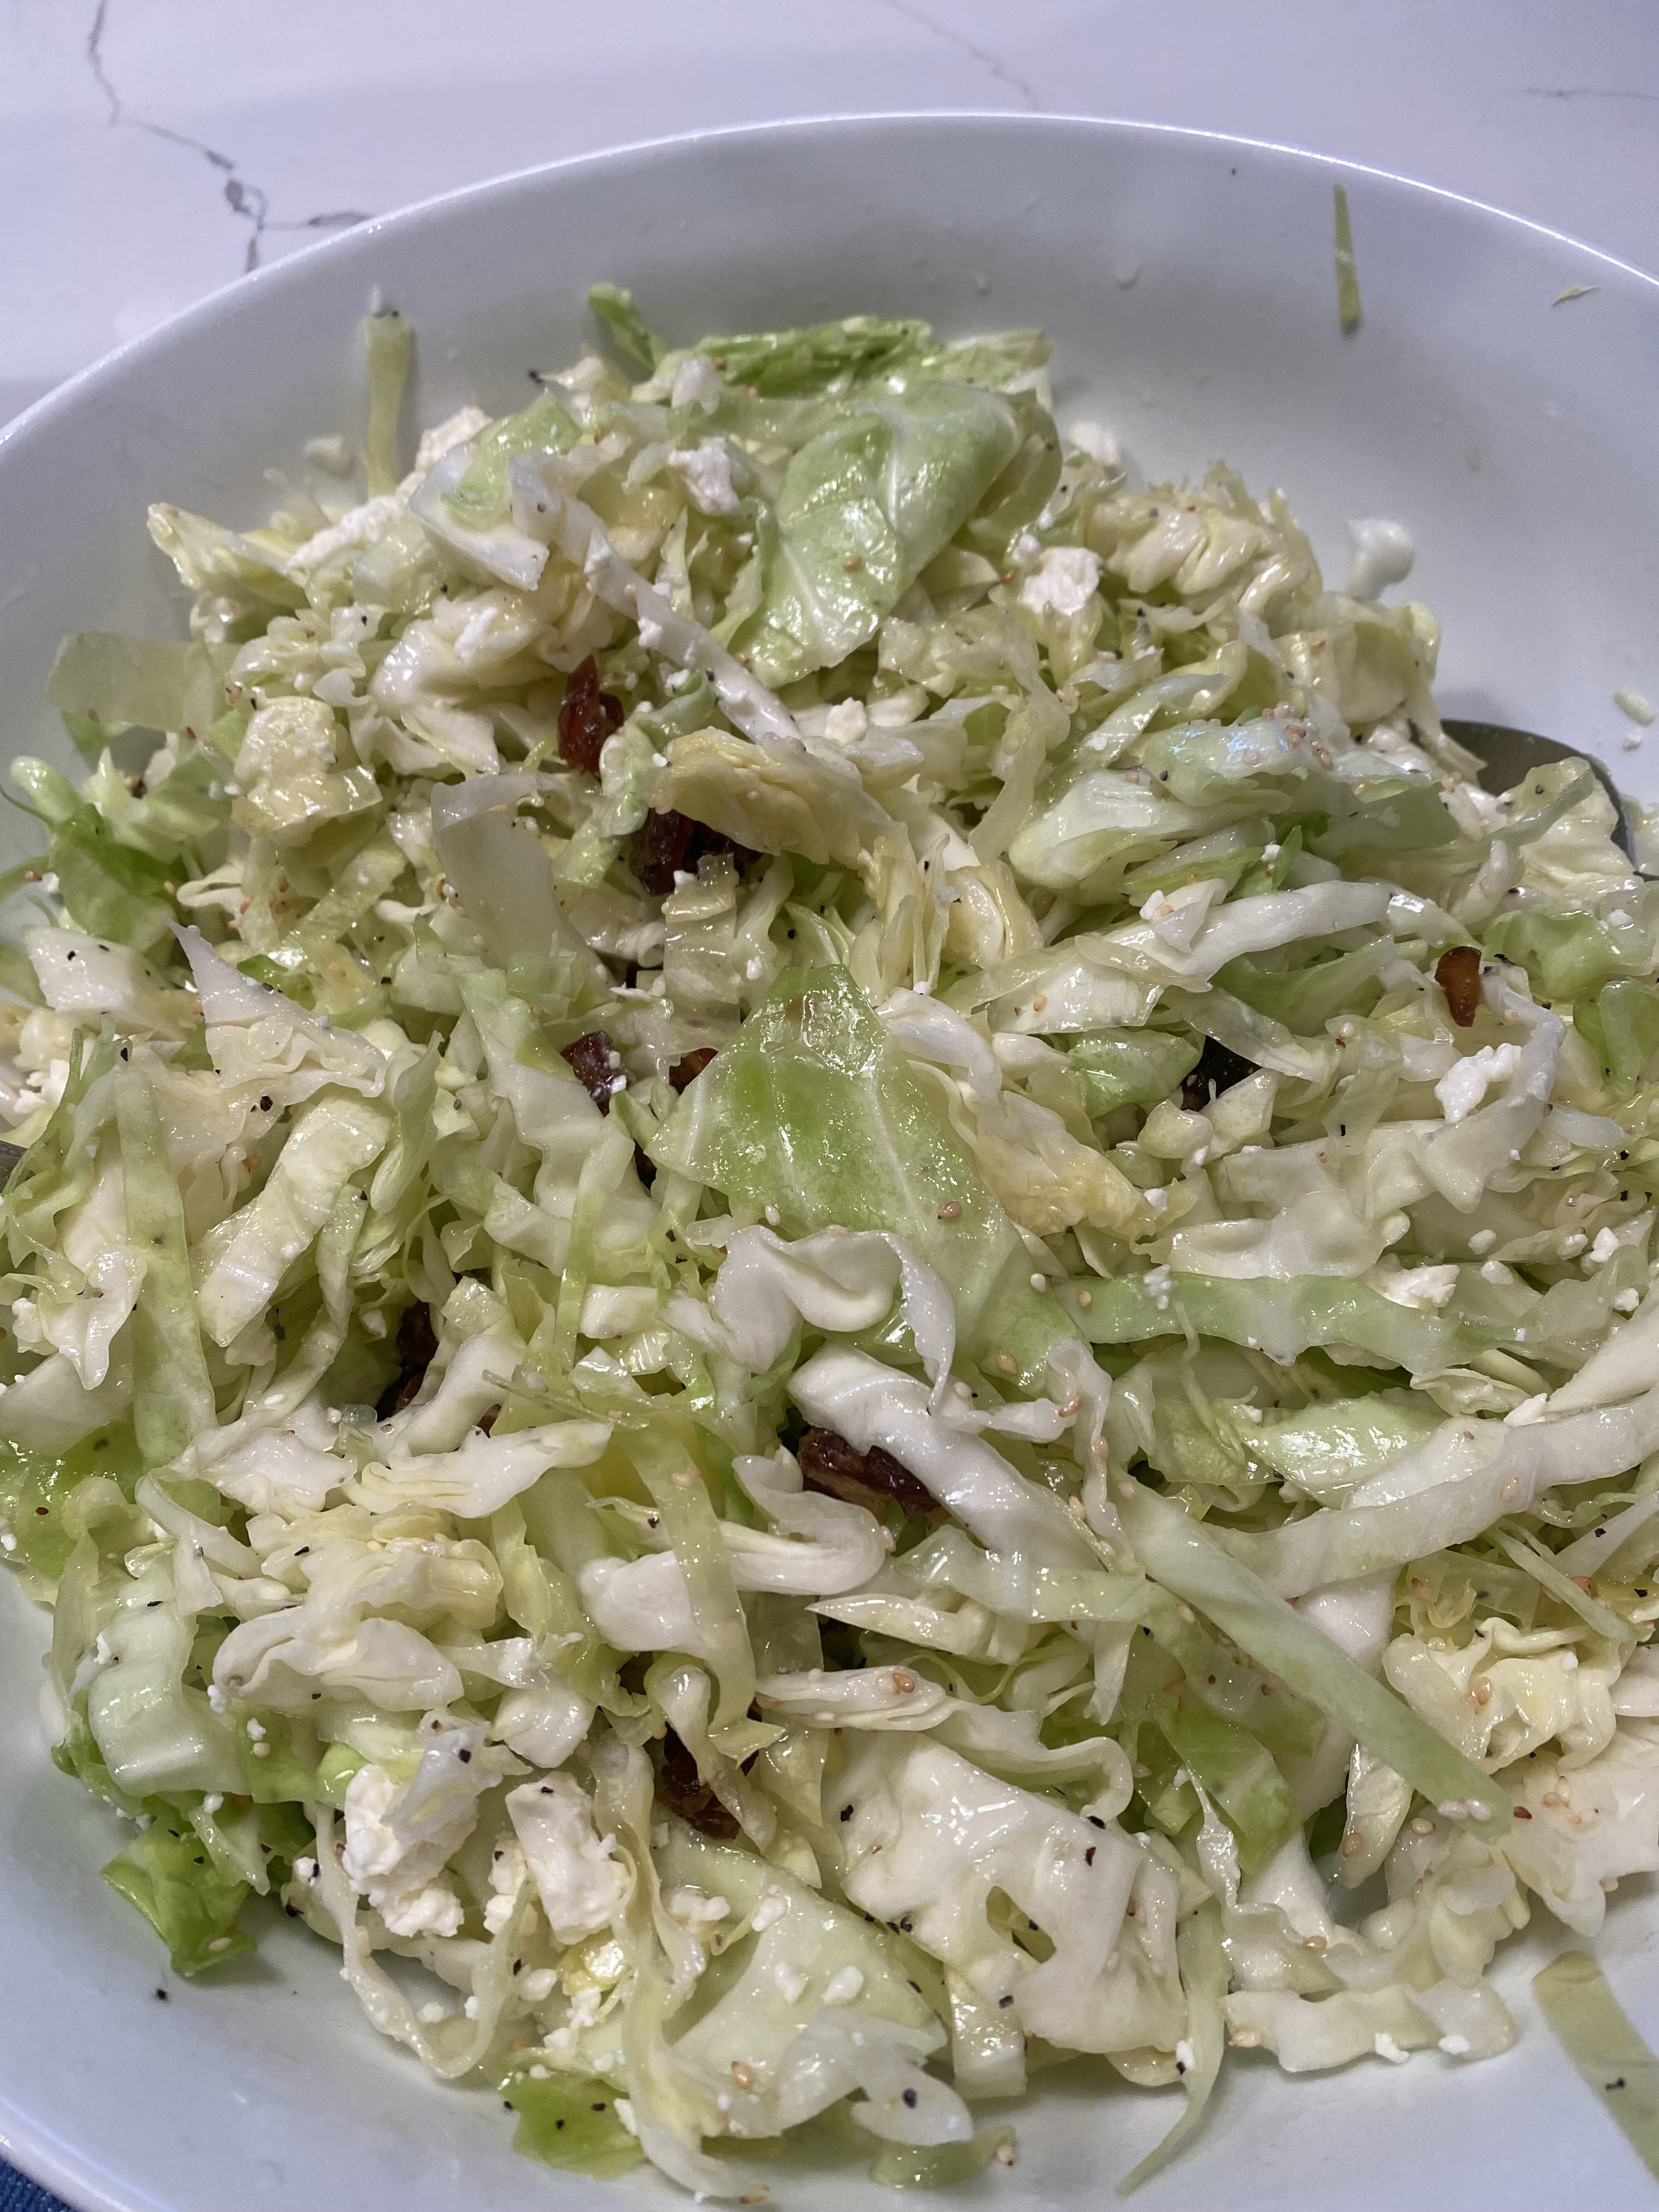
I made this salad the other night and it came together so beautifully and it was very very tasty if I do say so myself. I made it with grilled chicken and bacon but if you want to keep it vegetarian you can . You can also serve chicken and bacon on the side if you’d like. It’s a yummy chopped up salad with lots of tasty items that I love together. The lemon vinaigrette dressing has a bit of kick but you can easily leave out the crushed red pepper. I used fresh butter lettuce but any lettuce will do .

Enjoy!

*this served 4

Salad Ingredients:

8 slices bacon — I used microwave bacon and cooked for 3 minutes and cooled it off and crumbled it. Of course you can use any type of bacon or omit — up to you

app. 1 pint blueberries

1/2 cup crumbled Feta or Goat Cheese — I hate blue cheese but if you love it use that

1 handful small cut up basil leaves

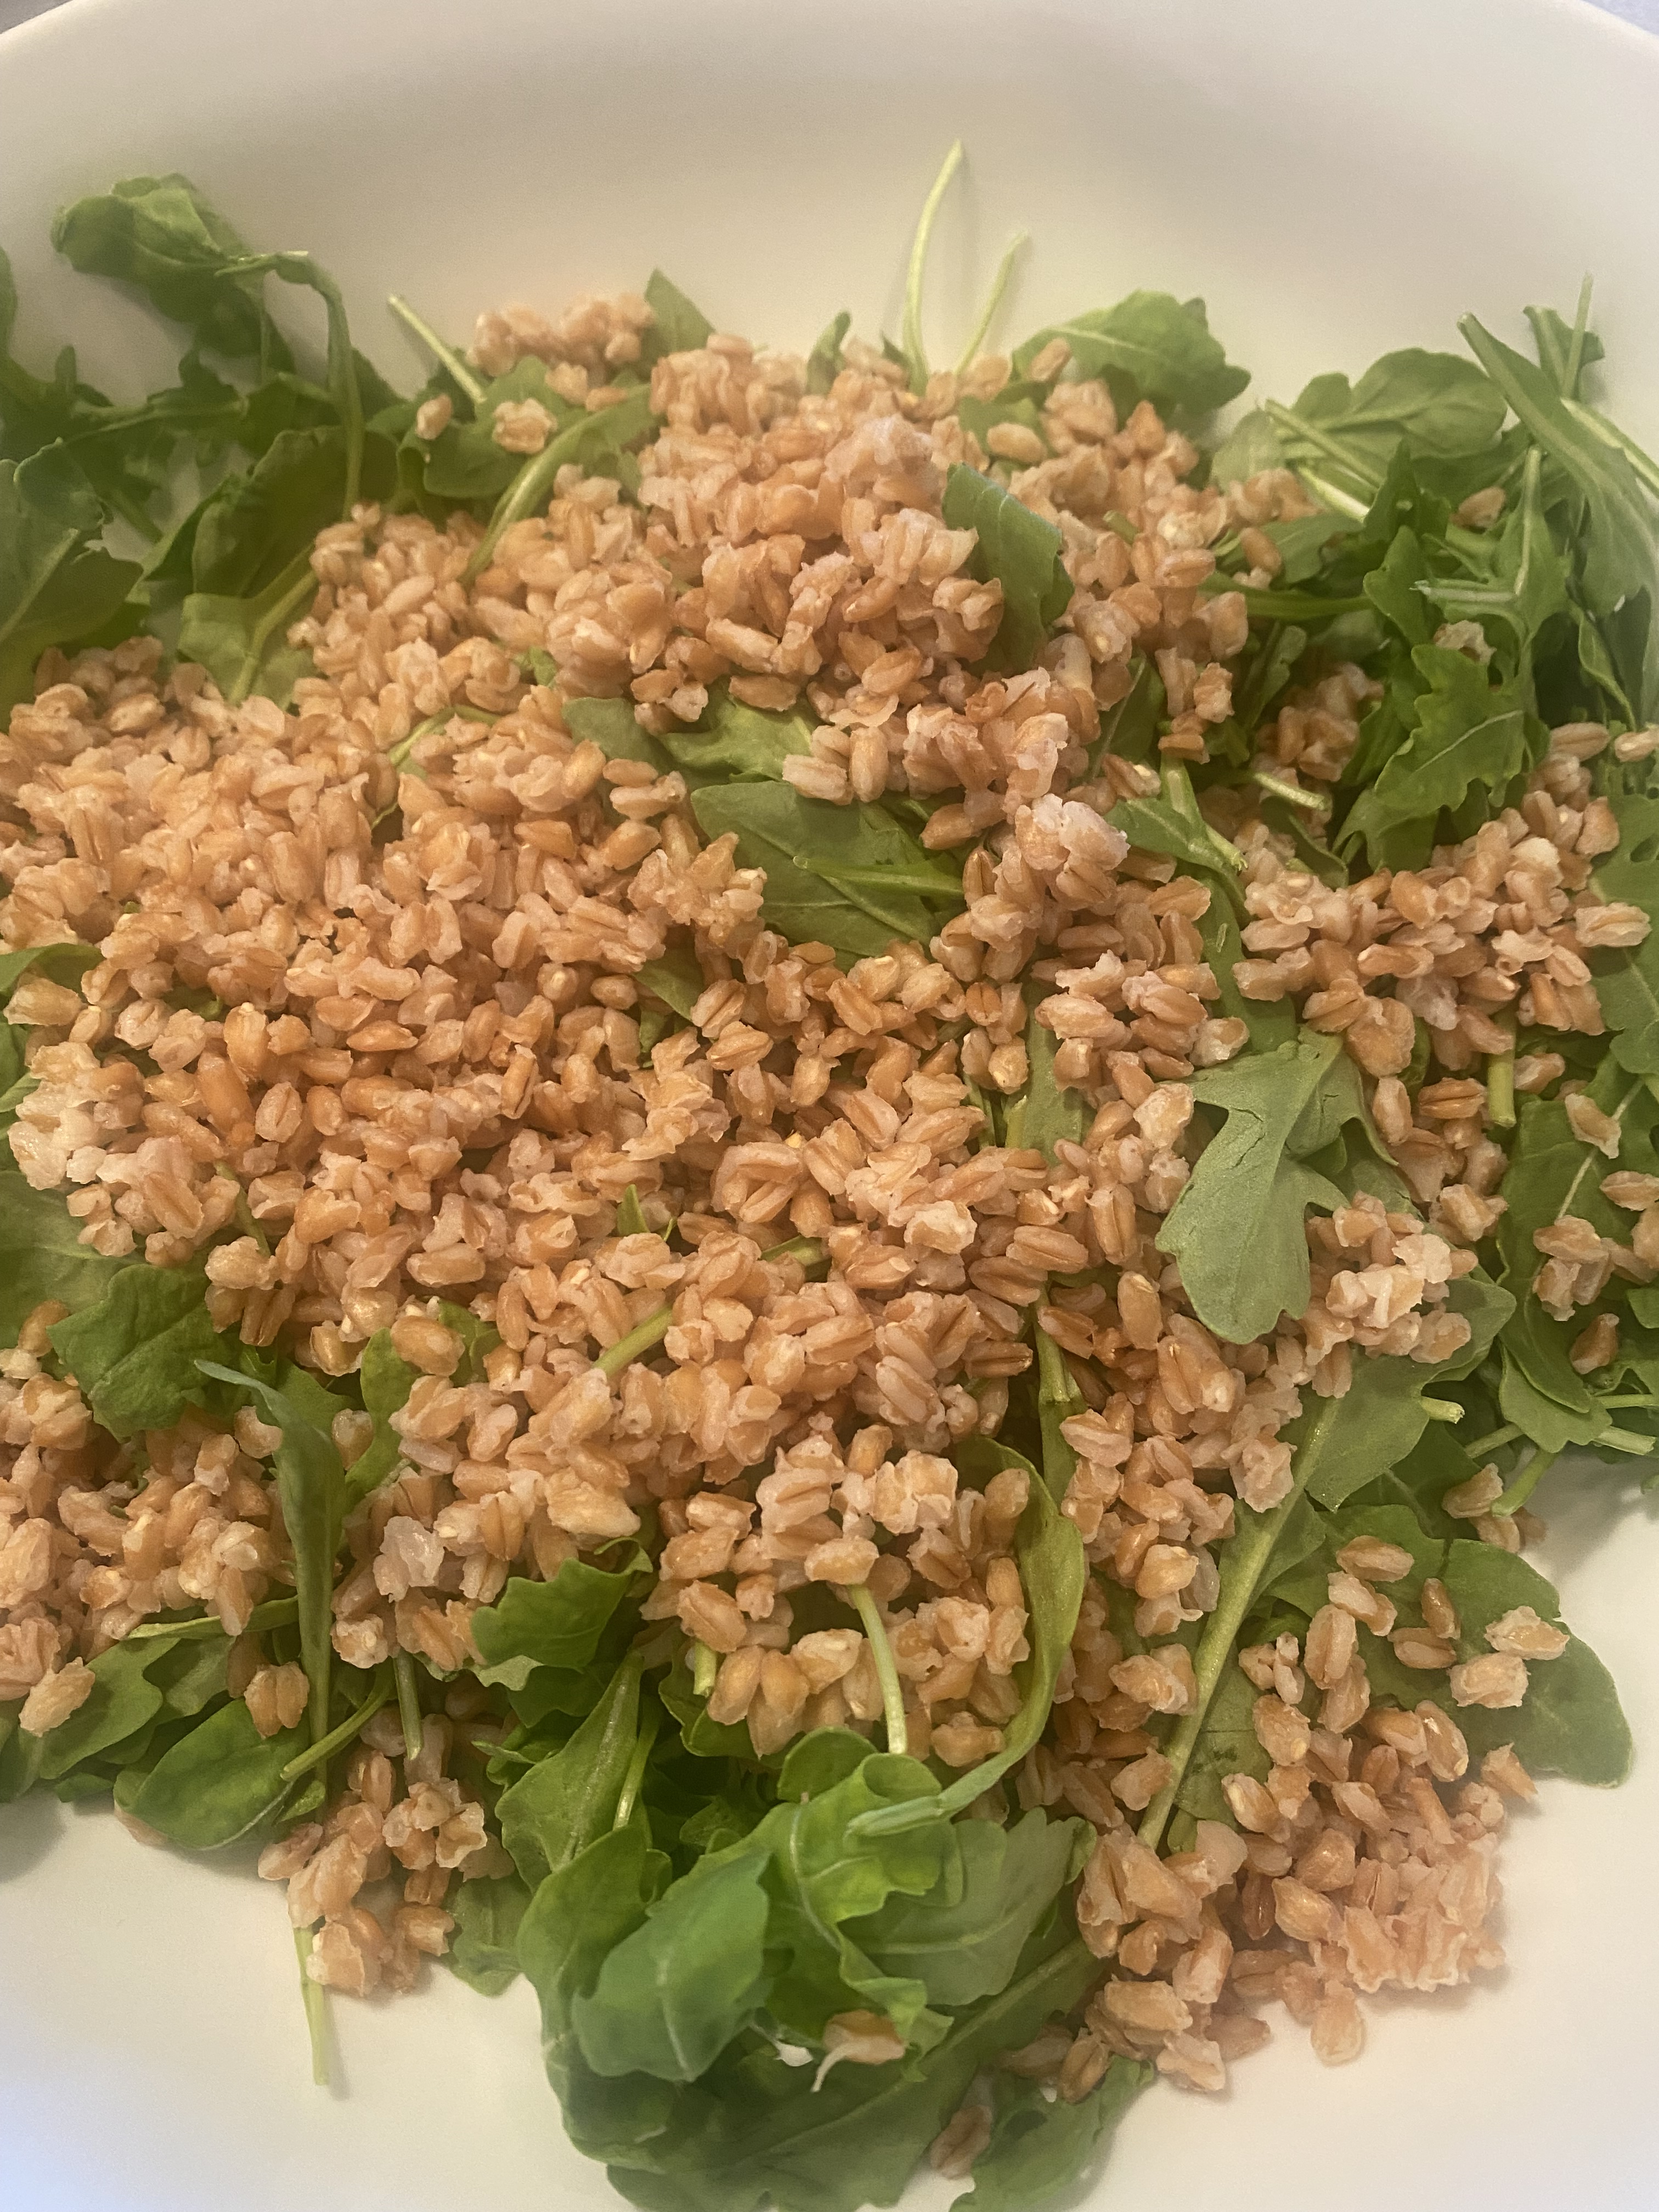
app. 4 cups farmers market lettuce or any lettuce you like — I used a soft butter lettuce this time–I tore it into small pieces

3 corn on the cobs kernels removed — leave it raw — it’s sweet and delicious

1-2 avocados — depending on the size of your avocados — I used 2 small ones
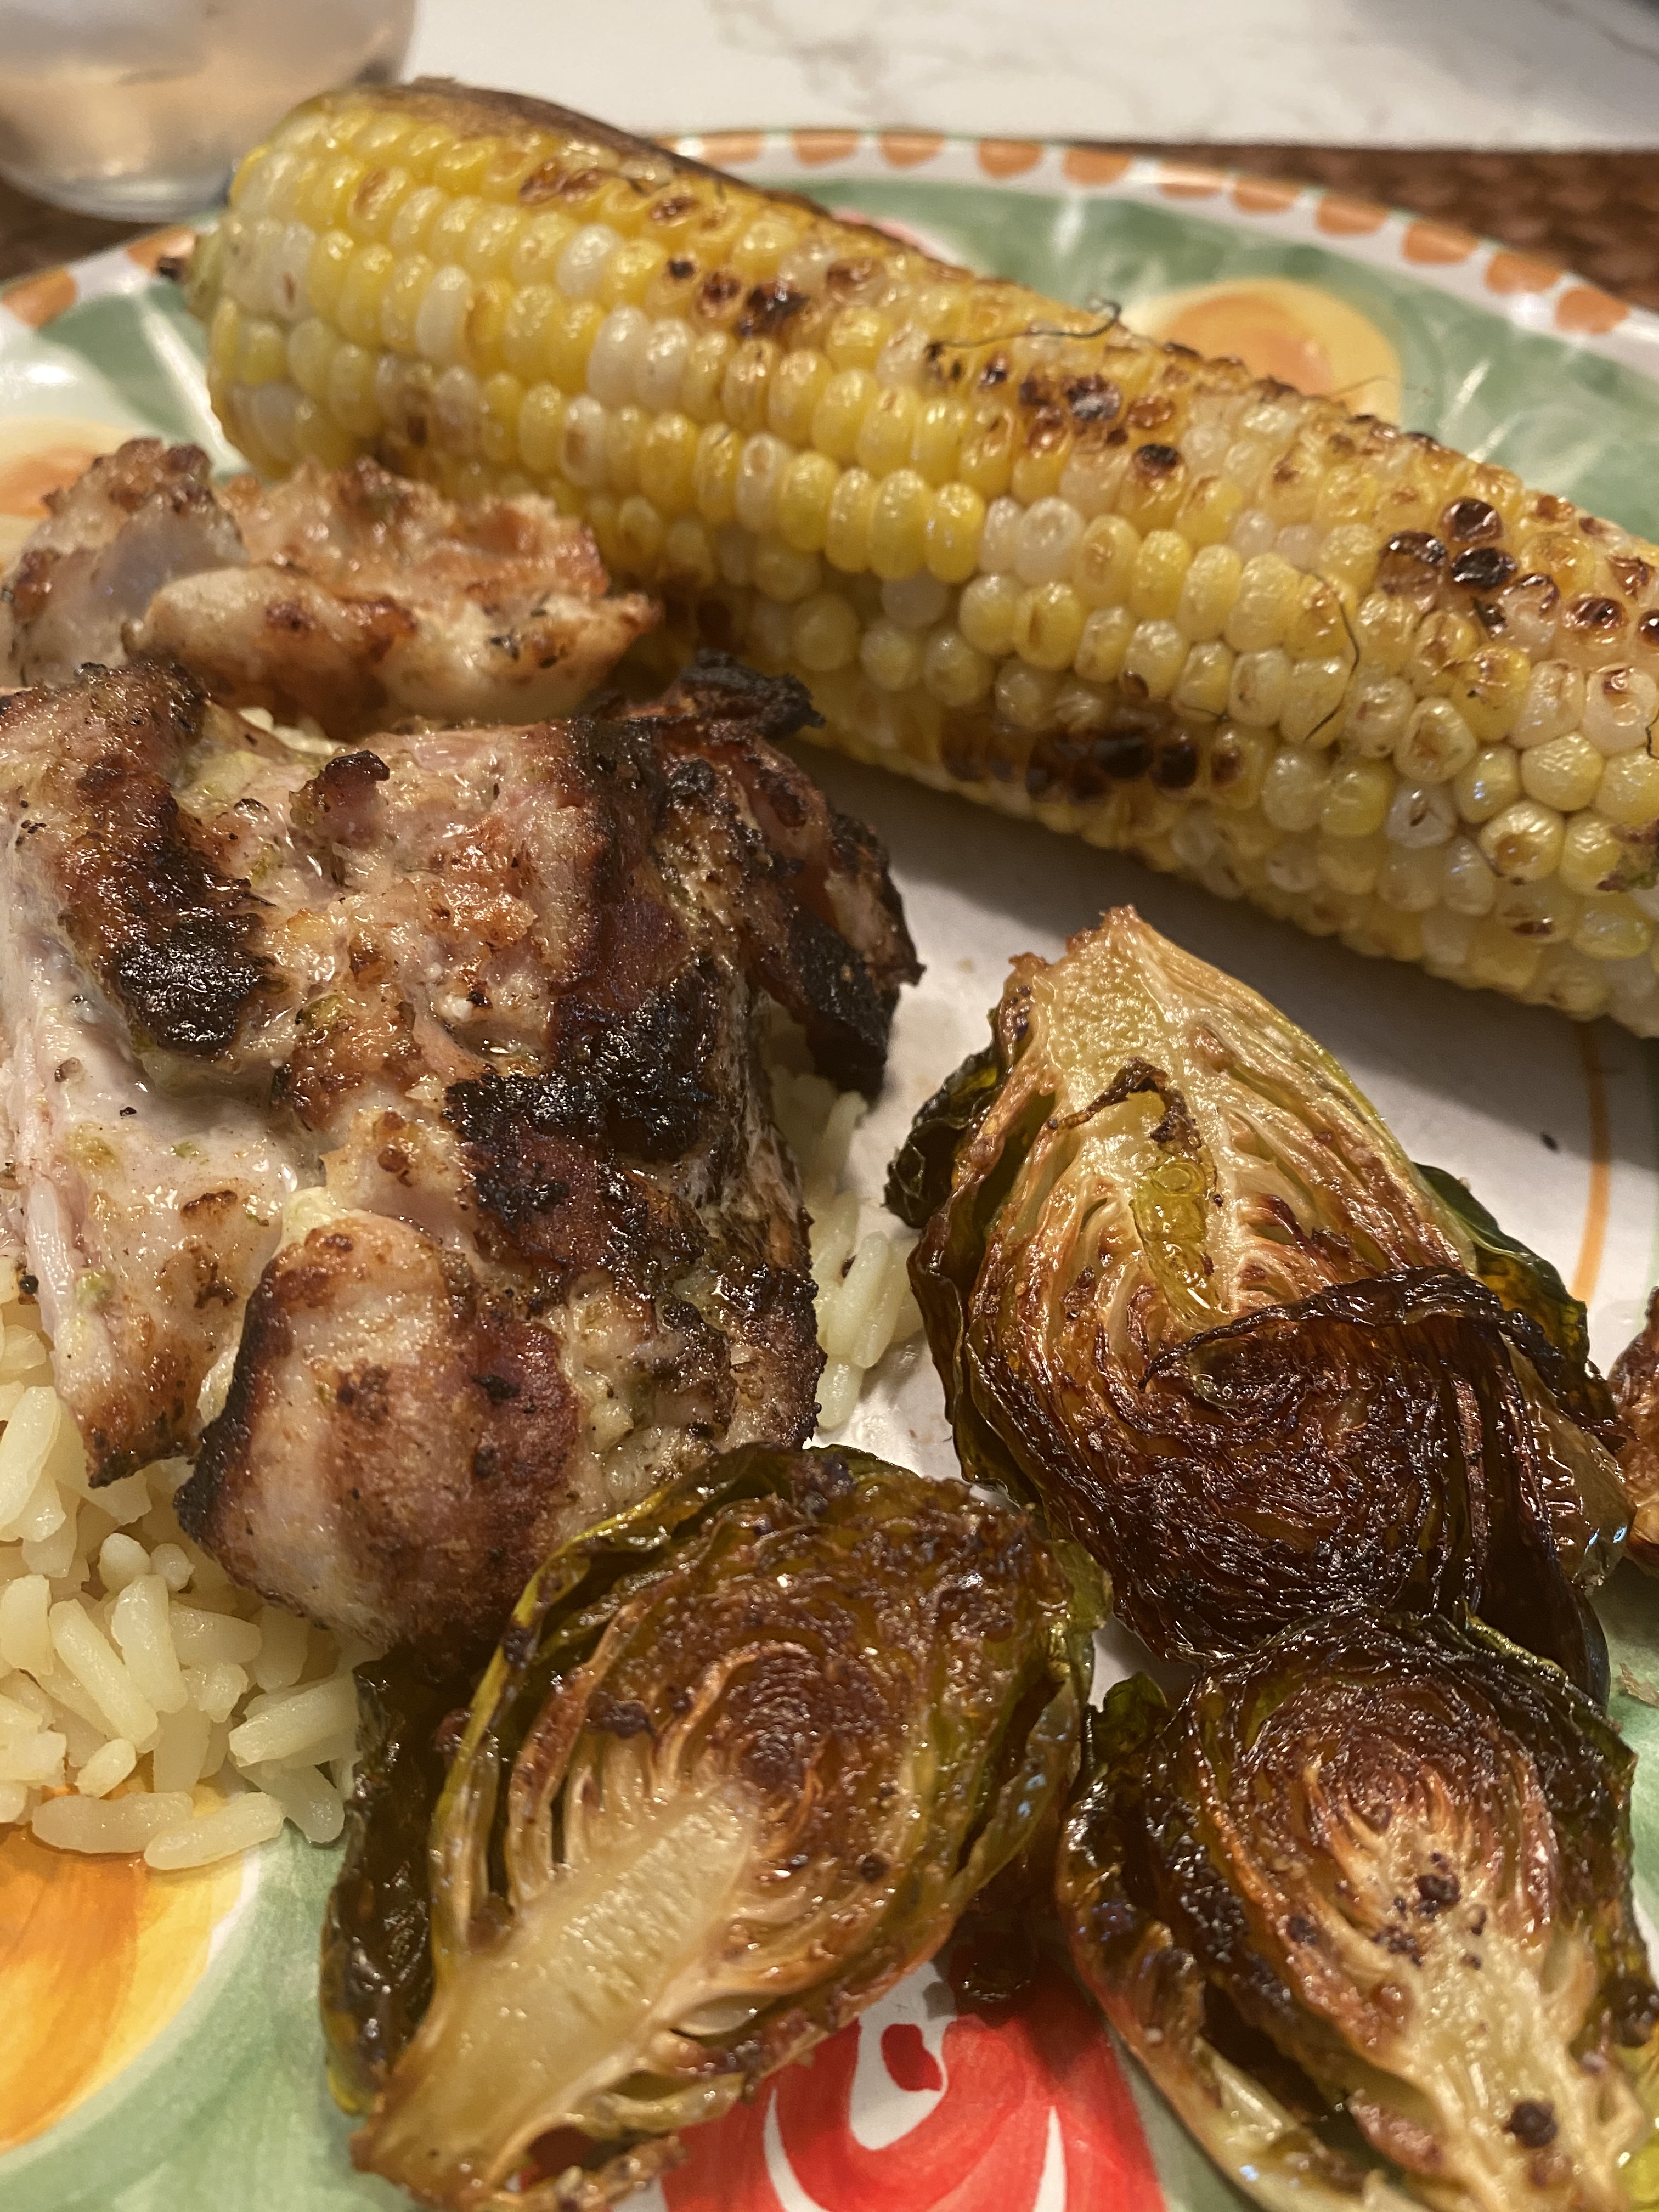
Grilled Chicken:

I used about 4 chicken breasts — small ones and brushed some olive oil and salt and pepper and a little dried oregano and grilled them on the grill for a few minutes on each side till done and set aside with aluminum till ready to serve salad and then cut up chicken into small pieces.

Lemon Vinaigrette Dressing:

I made salad dressing in my mini food processor– Perfect and easy if no mini chopper just mince garlic by hand and whisk all ingredients together adding olive oil in last slowly.

3 garlic cloves, finely minced

2 Tablespoons Dijon Mustard

1/4 cup Champagne Vinegar

3 Tablespoons fresh Lemon Juice

2 Tablespoons Honey

1/2 teaspoon kosher salt — more to taste — didn’t need it

1/2 teaspoon freshly ground black pepper

1/2 cup extra virgin olive oil

Using the mini food processor I started with the garlic and put all other ingredients and added the olive at the end slowly.

Taste for salt and pepper but it was fine by me.

  • 1/2 teaspoon or more or less crushed red pepper flakes –we like kick and so did our guests so you may or may not want to use this which is fine

In a large salad bowl add in lettuce, chicken , blueberries, cheese, basil leaves, crumbled bacon, avocado and corn. Drizzle with the vinaigrette or serve salad and let your guests dress their own — up to you. Once salad is dressed serve immediately. I

Summer Sangria on the Light Side

It is the un-official start of the summer season so if the weather would cooperate it might just feel that way. Well this drink could help you kick off Memorial Day Weekend whether you’re inside or outside.

This is a light cool drink for when the weather turns warm. Sangria and Summer!  Perfect to make for a large crowd, easy as could be and light because it’s made with sugar-free Lemonade .  If you don’t want to use sugar-free just use regular lemonade, it’s no problem. I remember making Sangria and it was messy and required a lot of different ingredients plus a lot of sugar.  It can be made with white or red wine. It makes 2 quarts without ice, so that goes a long way . You can cut up whatever fruit you like , peaches are beautiful , oranges, apples, pears, strawberries whatever you like. I like to make the Sangria in the afternoon just so the fruit gets the full  flavor of the wine and marinates for at least a few hours. It’s not critical though. I think you’ll like this one.

Ingredients: 

1 Bottle Wine Red or White ( I used Pinot Grigio but you can use whatever you like or have) I wouldn’t use a very expensive bottle for this.

1 Bottle Club Soda ( not the very large bottle ) 1 quart bottle

Fruit of your choice , peaches , pears, oranges, nectarines, apricots, apples ,etc. I slice into thin slices which are easy to eat . Slice them up and eyeball it. Whatever you like, I used peaches, apricots, apples and oranges .

1 packet Sugar Free Wylers or Crystal Light Lemonade , I use Yellow Lemonade for White Wine and Pink Lemonade for Red Wine , if you’re opposed to using sugar substitutes you can certainly use fresh lemonade.

You’ll need a large pitcher, I use a nice glass pitcher . It can be kept for a while in fridge in a plastic  container. Sometimes for a very large gathering I make an extra one and keep in refrigerator without the fruit, just as a back up. *the pitcher needs to be large enough for bottle of wine and bottle of Club Soda — at least 2 quarts — but should be a little larger to contain liquid plus fruit.

Directions:

Cut up fruit into slices/pieces for Sangria. I take a large pitcher pour in the bottle of wine, put in the packet of Wylers or Crystal Light, add the Club soda almost up to the top of the container or pitcher leaving room for fruit, so you may not need whole bottle . Add fruit and Stir, I usually add the rest of the club soda after fruit goes in . Put in refrigerator and let flavors meld together for a few hours and get cold. Serve in glasses with ice, you can add additional fruit like raspberries at the time you serve. It’s delicious , refreshing, low in calories and did I mention super easy???

Blackberry Cobbler

before cobbler gets baked , with biscuit topping

before cobbler gets baked , with biscuit topping

finished product - Yum

finished product – Yum

photo (3) It’s almost Memorial Day Weekend again and it brings me to this delicious dessert filled with the most delicious in season blackberries.  I have posted numerous blueberry cobblers but this one has to be my personal favorite made with Blackberries.  It’s a real deal Old Fashioned Cobbler.  You can really make this with any fruit but I love Blackberries while they’re sweet, plump and delicious! Blueberries and Red Raspberries will also work  well. Or you can mix up the fruits!  I just love blackberries when they’re in season and can’t get enough of them so this time of year I go with just blackberries.

Enjoy and have a safe weekend and here’s to a much better summer than the last one.

Ingredients:

1 pound or about 3 1/2 – 4 cups blackberries , cleaned , rinsed and dried

1 tablespoon arrowroot or cornstarch

2 tablespoons fresh lemon juice

1 cup all-purpose flour

3/4 cup sugar, I use regular granulated sugar for cobbler inside and on top I use turbinado sugar. 1/2 cup granulated sugar for inside cobbler and 1/4 cup turbinado sugar for topping

1 teaspoon baking powder

1/4 teaspoon salt

1/2 cup whole milk or you can use low-fat buttermilk

3 tablespoons unsalted butter, melted

3/4 cup boiling water

Directions:

Preheat the oven to 350 degrees.

In a bowl I place the clean blackberries that I’ve washed and dried. I sprinkle them with the arrowroot and lemon juice and mix gently  Set aside.

In a medium size bowl, I sift the flour, 1/2 cup sugar, baking powder and salt. Add the milk and butter. Stir until just combined, don’t over stir, it shouldn’t be smooth. Then by the mound-ful drop dough onto blackberries. I spread around a little bit but don’t completely cover the top of berries. ( see photo) the dough will spread a little once it’s baked.

Pour boiling water over the dough and fruit before you bake it. Sprinkle top with 1/4 turbinado sugar or regular sugar. Raw sugar or turbinado sugar makes it a little crunchier topping. I prefer it to regular sugar for a topping.

*if you are preparing in advance which is what I did today. Prepare up till the boiling water and sugar part. Refrigerate for up to 2 days , bring to room temperature then pour boiling water and top with sugar and bake. I baked for app. 45 minutes till dough gets browned and crackly looking and blackberries are bubbling. ( see photos)

Remove from oven and let sit but serve while it’s still warm with ice-cream for extra added deliciousness!

Happy Summer from my kitchen to yours.

Veal Parmigiana

This recipe has got to be one of my husband’s absolute favorites and with good reason. He likes Chicken Parm a lot and that’s what I mostly make but every once in a while I will get veal cutlets and make this delicious meal and kick it back “old school” style. It’s classic comfort food for sure all gooey and delicious.

Firstly you’ll want to get your veal cutlets from a butcher and make sure they’re ready for frying. In NYC there are a lot of butchers and specialty stores to choose from so while I’m in town I make them. They also are rather pricy so saying all that you can also make this recipe with chicken. Veal is low in fat and high in protein and makes a great veal parmigiana. There are many variations but I am sort of a purist and like it with tomato sauce and cheese. Baked to perfection!

Last night this is what I did and served along side spaghetti.

Enjoy!

Ingredients:

1 lb. Veal Slices ( Cutlets) pounded thin if you go to butcher tell them what you’re using them for

1 cup Italian Seasoned Bread Crumbs– you may need a little more

4 Tablespoons of Grated Parmesan / Romano cheese and more for sprinkling cutlets

Olive Oil for frying

pasta of your choice but I like spaghetti with it

1 egg with a splash of milk

Spaghetti Sauce — whatever kind you have — obviously home made is great but I like Raos a lot and when I don’t have any homemade on hand that’s my go-to. The marinara one is perfect as is the Arabiata if you like it a little more spicy — app. 12 ounces of sauce for veal and spaghetti. If using a jar buy the 24 oz. and then you’ll have enough sauce for both veal and spaghetti. Use as much or as little as you like.

1/2 lb . mozzarella cheese , shredded

Directions:

Pre-heat oven to 350 degrees

Set up a breading station using 2 bowls. One bowl with egg and splash of milk beaten, and then one bowl with bread crumbs mixed with grated parmesan cheese (app. 3 Tablespoons of cheese and use the rest to sprinkle on cutlets)

I pat dry the veal cutlets before dipping into the egg and milk

Dip in the egg and then dip in the bread crumbs. Coat the veal completely. I place on a small cookie sheet and put in the refrigerator till I am ready to fry them . I find this holds bread crumbs in place best but obviously if you’re short on time just go right to the frying. I only put them in for about 1/2 hour but you can leave them in longer if you’d like .

I use a large skillet and add a good coating of oil to bottom of pan — enough to cover bottom of pan and enough for each cutlet to fry up — maybe 1/4″ to 1/2″ of oil. You do not submerge the cutlets in the oil just enough to fry them up. Pre heat the oil so it’s very hot when you add veal. Flame on pan should be medium-high depending on your stove top.

Pan fry both sides — I turn over gently to make sure they’re golden brown and then turn them . Do not over fry because they still need to bake in the oven. (see pics) you want them to be golden brown

Drain the fried cutlets on some paper towels blotting the tops for excess oil.

I spray a baking dish with cooking spray and add enough sauce to cover bottom of the baking dish and don’t be skimpy with it, you’ll probably use about 8 oz. of the sauce. I sprinkle with a little grated parmesan and then add shredded mozzarella to top .

Place in hot oven and I cooked covered (aluminum foil) for first 10 minutes , then 5 minutes uncovered and then put oven to broil for another 3-5 minutes till cheese gets a bit brown and bubbly. All ovens vary but this is what worked best for me to get that beautiful finish. You must keep an eye on it when under broiler . Mine was ready in about 3 minutes.

I cooked up some spaghetti added a little sauce to it and plated the veal and the spaghetti and dinner was served.

Sheet Pan Chicken Fajitas

IMG_7067IMG_7069More of my favorite way to cook with Chicken Fajitas made on the Sheet Pan . I made this the other night and it is the easiest and most delicious meal. I am always experimenting with making Chicken Fajitas in new ways and trying to keep the oil down. If you use too little oil they come out tasting dry and that’s no good so use the 3-4 tablespoons of olive oil that I suggest.  This is what I did and I served with small soft tortillas and you can provide any fixings you like. I also served over rice in a bowl which is how I like to eat my fajitas. Obviously what you do with them is totally up to you! A little sour cream and guacamole never hurt anyone either. And buy some tortillas and you have perfection on a plate.

And if you’re ready to fire up the outside grill check out my recipe for chicken fajitas on the grill!

*it is important that all veggies be cut up into fairly uniform sizes this will help cooking process and timing

Enjoy!

Ingredients:

1 1/2 lbs. of chicken breast tenders– or just cut some chicken cutlets into strips

1 yellow bell pepper –sliced into 1/4″ slices

1 red bell pepper–sliced into 1/4″ slices

1 orange bell pepper–sliced into 1/4″ slices

1 small red onion–sliced into 1/4″ slices

3-4 Tablespoons of Extra Virgin Oil –now I have tried 2 Tablespoons and it was a little dry so use your own discretion here –depending on how much chicken you’re using and you’ll want a light glaze all over the chicken and veggies

1 teaspoon of kosher salt –this was enough for us but again use your own discretion

several turns of the pepper mill — freshly ground black pepper always works best

2 teaspoons of chili powder

1/2 teaspoon of garlic powder

1/2 teaspoon of onion powder

1/2 teaspoon of ground cumin

1/2 teaspoon of smoked paprika

Lime for squeezing at the end

*fresh chopped cilantro for garnish and delicious flavor if you like it

*warmed tortillas–if you like

Directions:

Preheat oven to 425 degrees

In a large bowl , combine onion, bell pepper, chicken strips, olive oil, salt and pepper and all the spices. Start with 2 Tbsp. of Olive Oil and add more . I really felt it needed more than 2 Tbsp.

Toss well and combine and allow to sit for a while before cooking. I find that the longer it sits the better it tastes. I prepped and let it sit for an hour or so.

Spray a baking sheet with non stick cooking spray

Spread chicken and onions and everything on baking sheet

Cook at 425 degrees for about 20 minutes, if you’d like to use a meat thermometer here chicken should be 165 degrees. After 20 minutes I turned the oven to broil and cooked for additional 2-4 minutes just letting the veggies get some nice color. Watch it carefully to make sure it doesn’t burn.

I served in bowls over rice with warm mini tortillas and sour cream and guacamole.

*should serve 3-4 nicely with the rice and sides

Enjoy!