

 May is here and it brings warm weather and beautiful flowers and springtime has finally arrived. This is a perfect way to bring a little Cinco de Mayo into your home in a pretty healthy way.
Any excuse to celebrate a holiday with a new recipe! Happy Cinco de Mayo everyone and here is a new salad and salad dressing to help celebrate with. While I am not a vegan and don’t always cook that way, I tried this salad dressing which I found in Gwyneth Paltrow’s cookbook, “It’s All Good”, and I have to say it is all good! All good ingredients. I am not talking diet food–just good, healthy food, that when eaten in moderation, yields very good results. I used * Vegenaise in making this and highly recommend it in the place of mayonnaise. You can also use yogurt in its place. This is low salt and low sugar. Delicious, fresh ingredients. I made it with the delicious salad listed below. I love love cilantro, and I have to say that if you don’t love cilantro, this one’s not for you. I used half of a jalapeno and it was not hot at all, next time I will use a little more. I scraped the seeds out. Be very careful handling jalapenos and their seeds–make sure to wash your hands well afterwards and maybe wear gloves to prevent any problems.
This dressing will keep well in a jar for up to a week.
*a little story about Vegenaise, which is lighter than mayonnaise and contains no eggs, milk or animal products. No GMO’s (Genetically Modified Organisms). Mix it with Dijon for great flavor in the place of real mayo. Extra added bonus is a great jar to store future salad dressings in.
Ingredients:
*this will be vegan if you use Vegenaise
DRESSING INGREDIENTS:
2/3 cup of Vegenaise, yogurt, or mayonnaise
2 scallions, white and light green parts only, chopped
1/4 cup freshly squeezed lime juice (about 4 limes)
1/2 green jalapeno, roughly chopped (you can use more or less, whatever level of heat you like)
1/2 cup extra virgin olive oil
1/2 teaspoon kosher salt
1 tablespoon honey
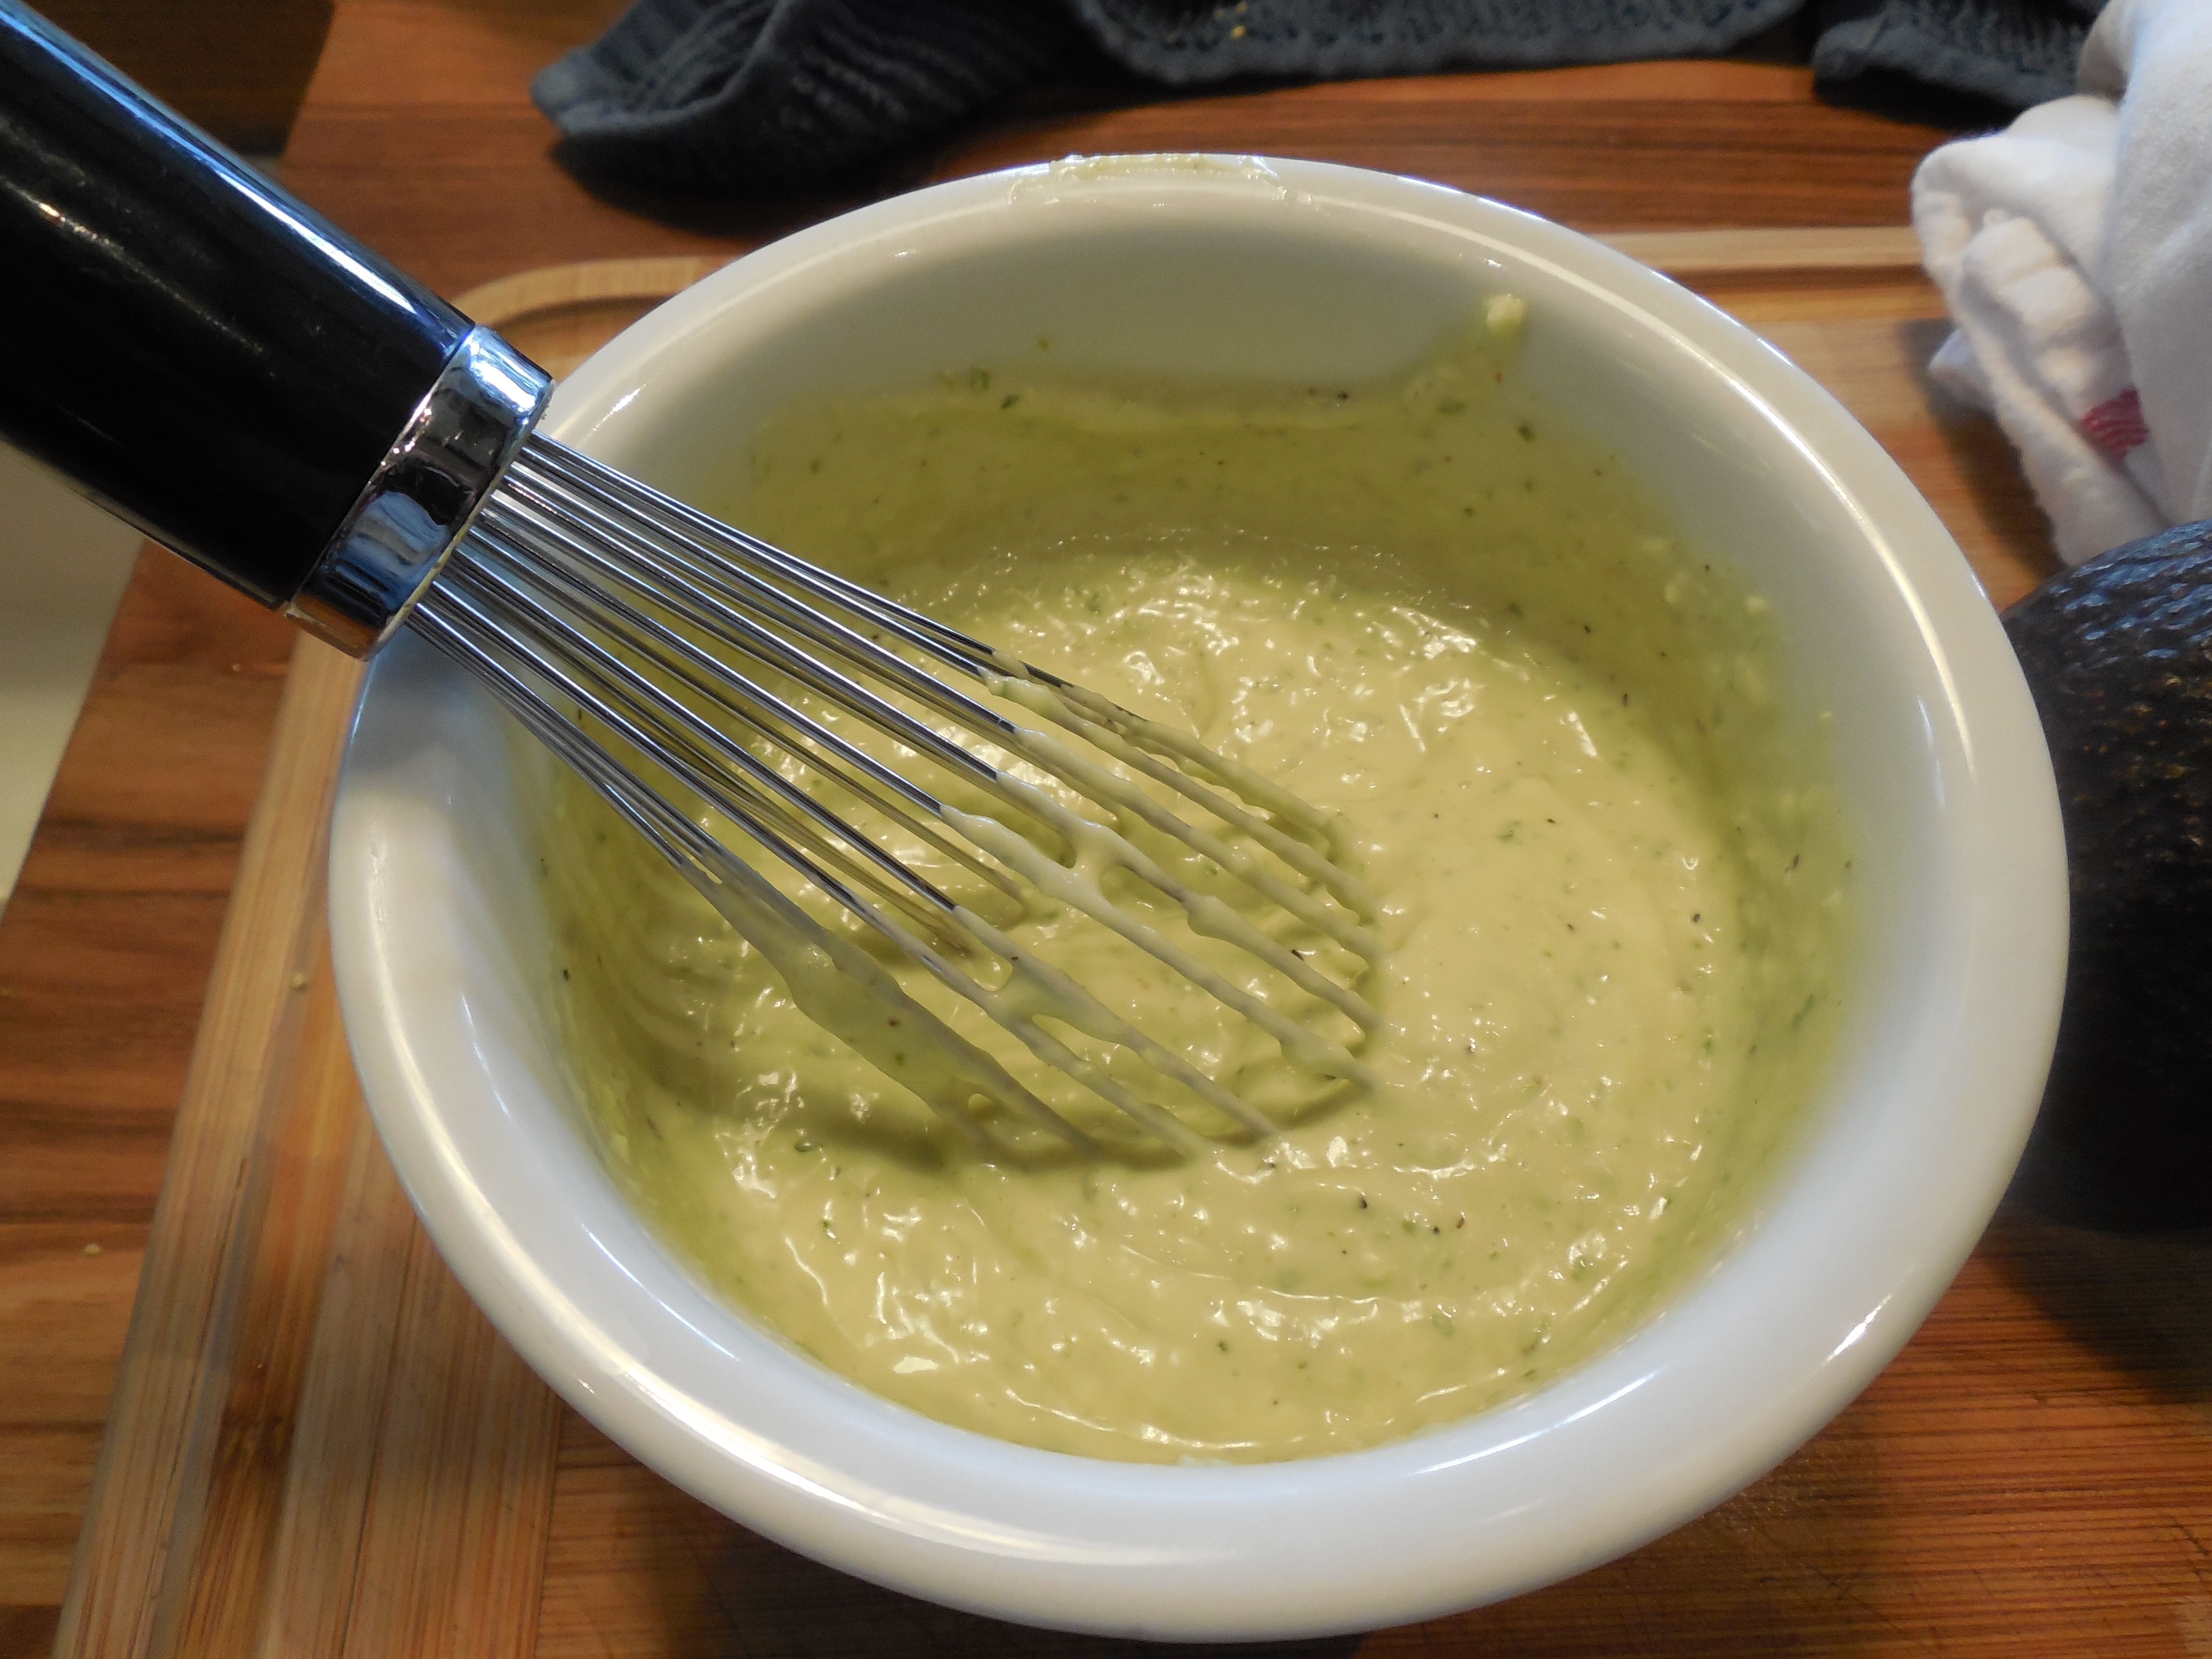
DRESSING DIRECTIONS:
Blend all ingredients in a blender except for olive oil (I open the top and pour oil in after all other ingredients are combined.) It is a beautiful light green color with specks of dark green. Joel was definitely suspicious of the color but he really loved it! Gave it a big thumbs up!
This should serve 4 nicely as a salad but adjust quantities based on how many people you are feeding.
SALAD INGREDIENTS:
About two hearts of romaine Lettuce, shredded
1/2 can of yellow corn (or 2 fresh ears of corn, shucked)
1/2 can black beans (I use organic canned beans and rinse and drain them)
4 scallions, white and light green parts only, thinly sliced
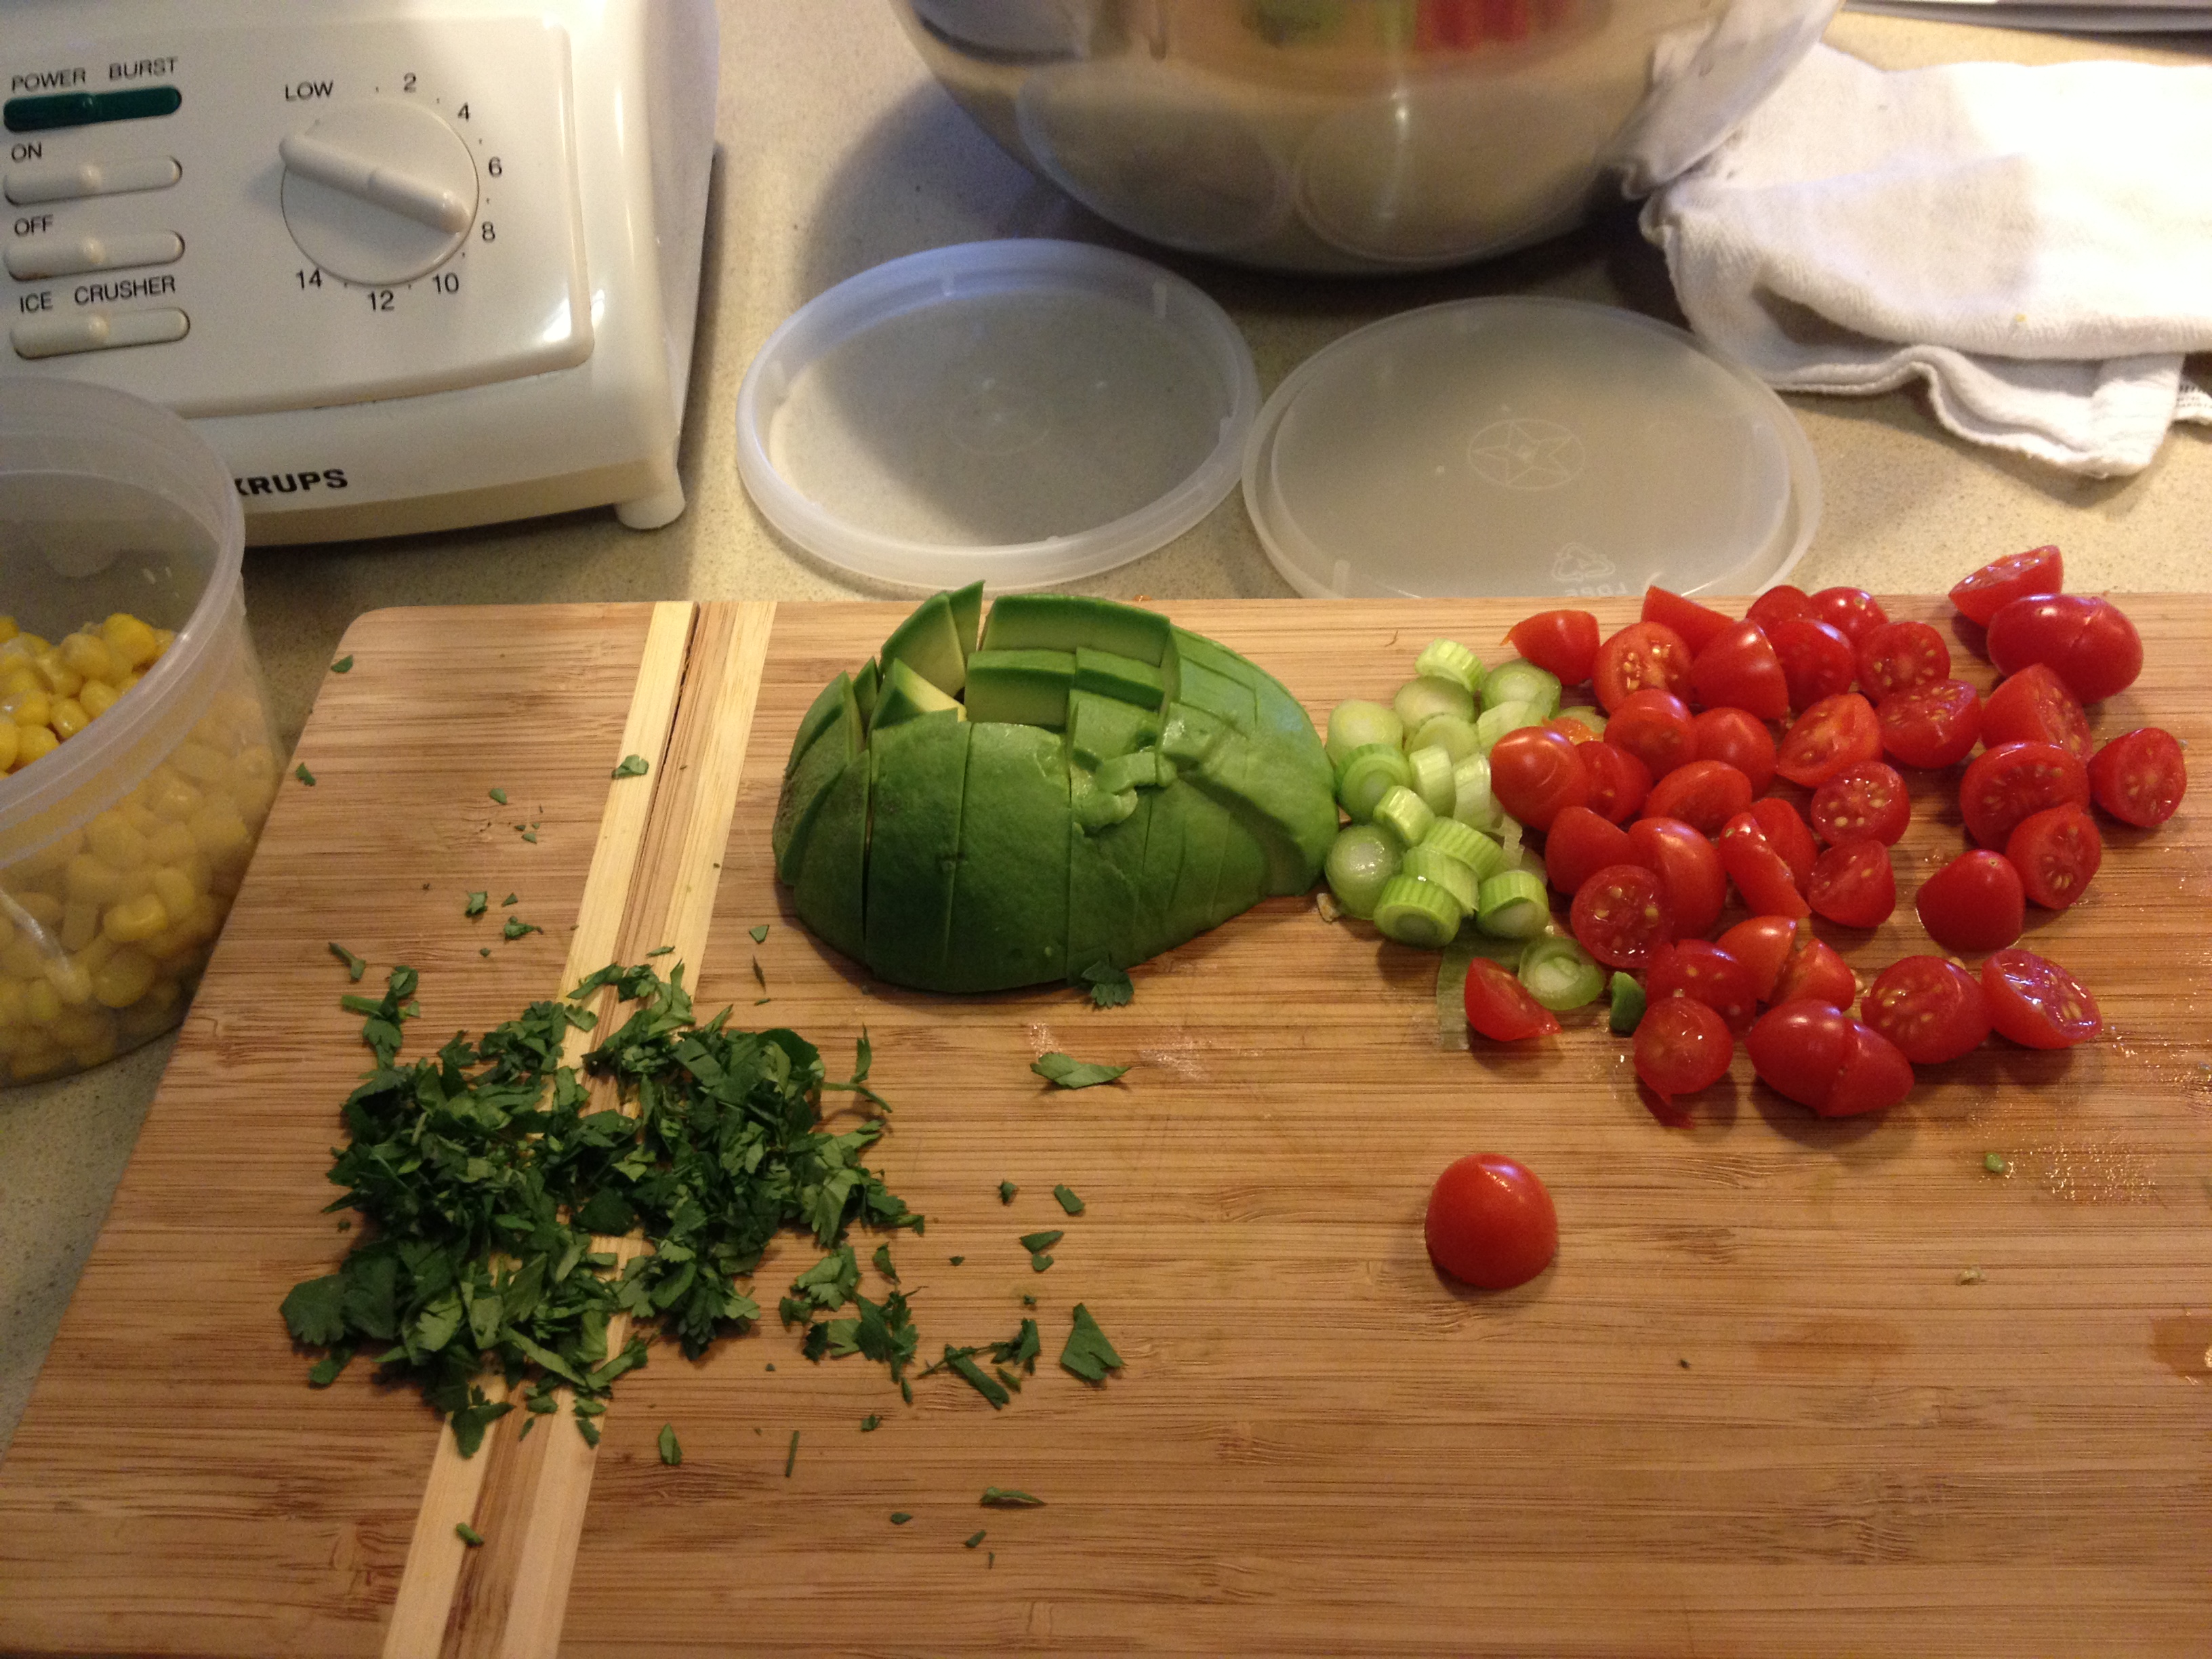
1 ripe avocado, cut into chunks
approx. 1/2 cup chopped tomatoes (I used delicious cherry tomatoes, halved)
1/4 cup roughly chopped cilantro
Green Goddess Dressing (see above)
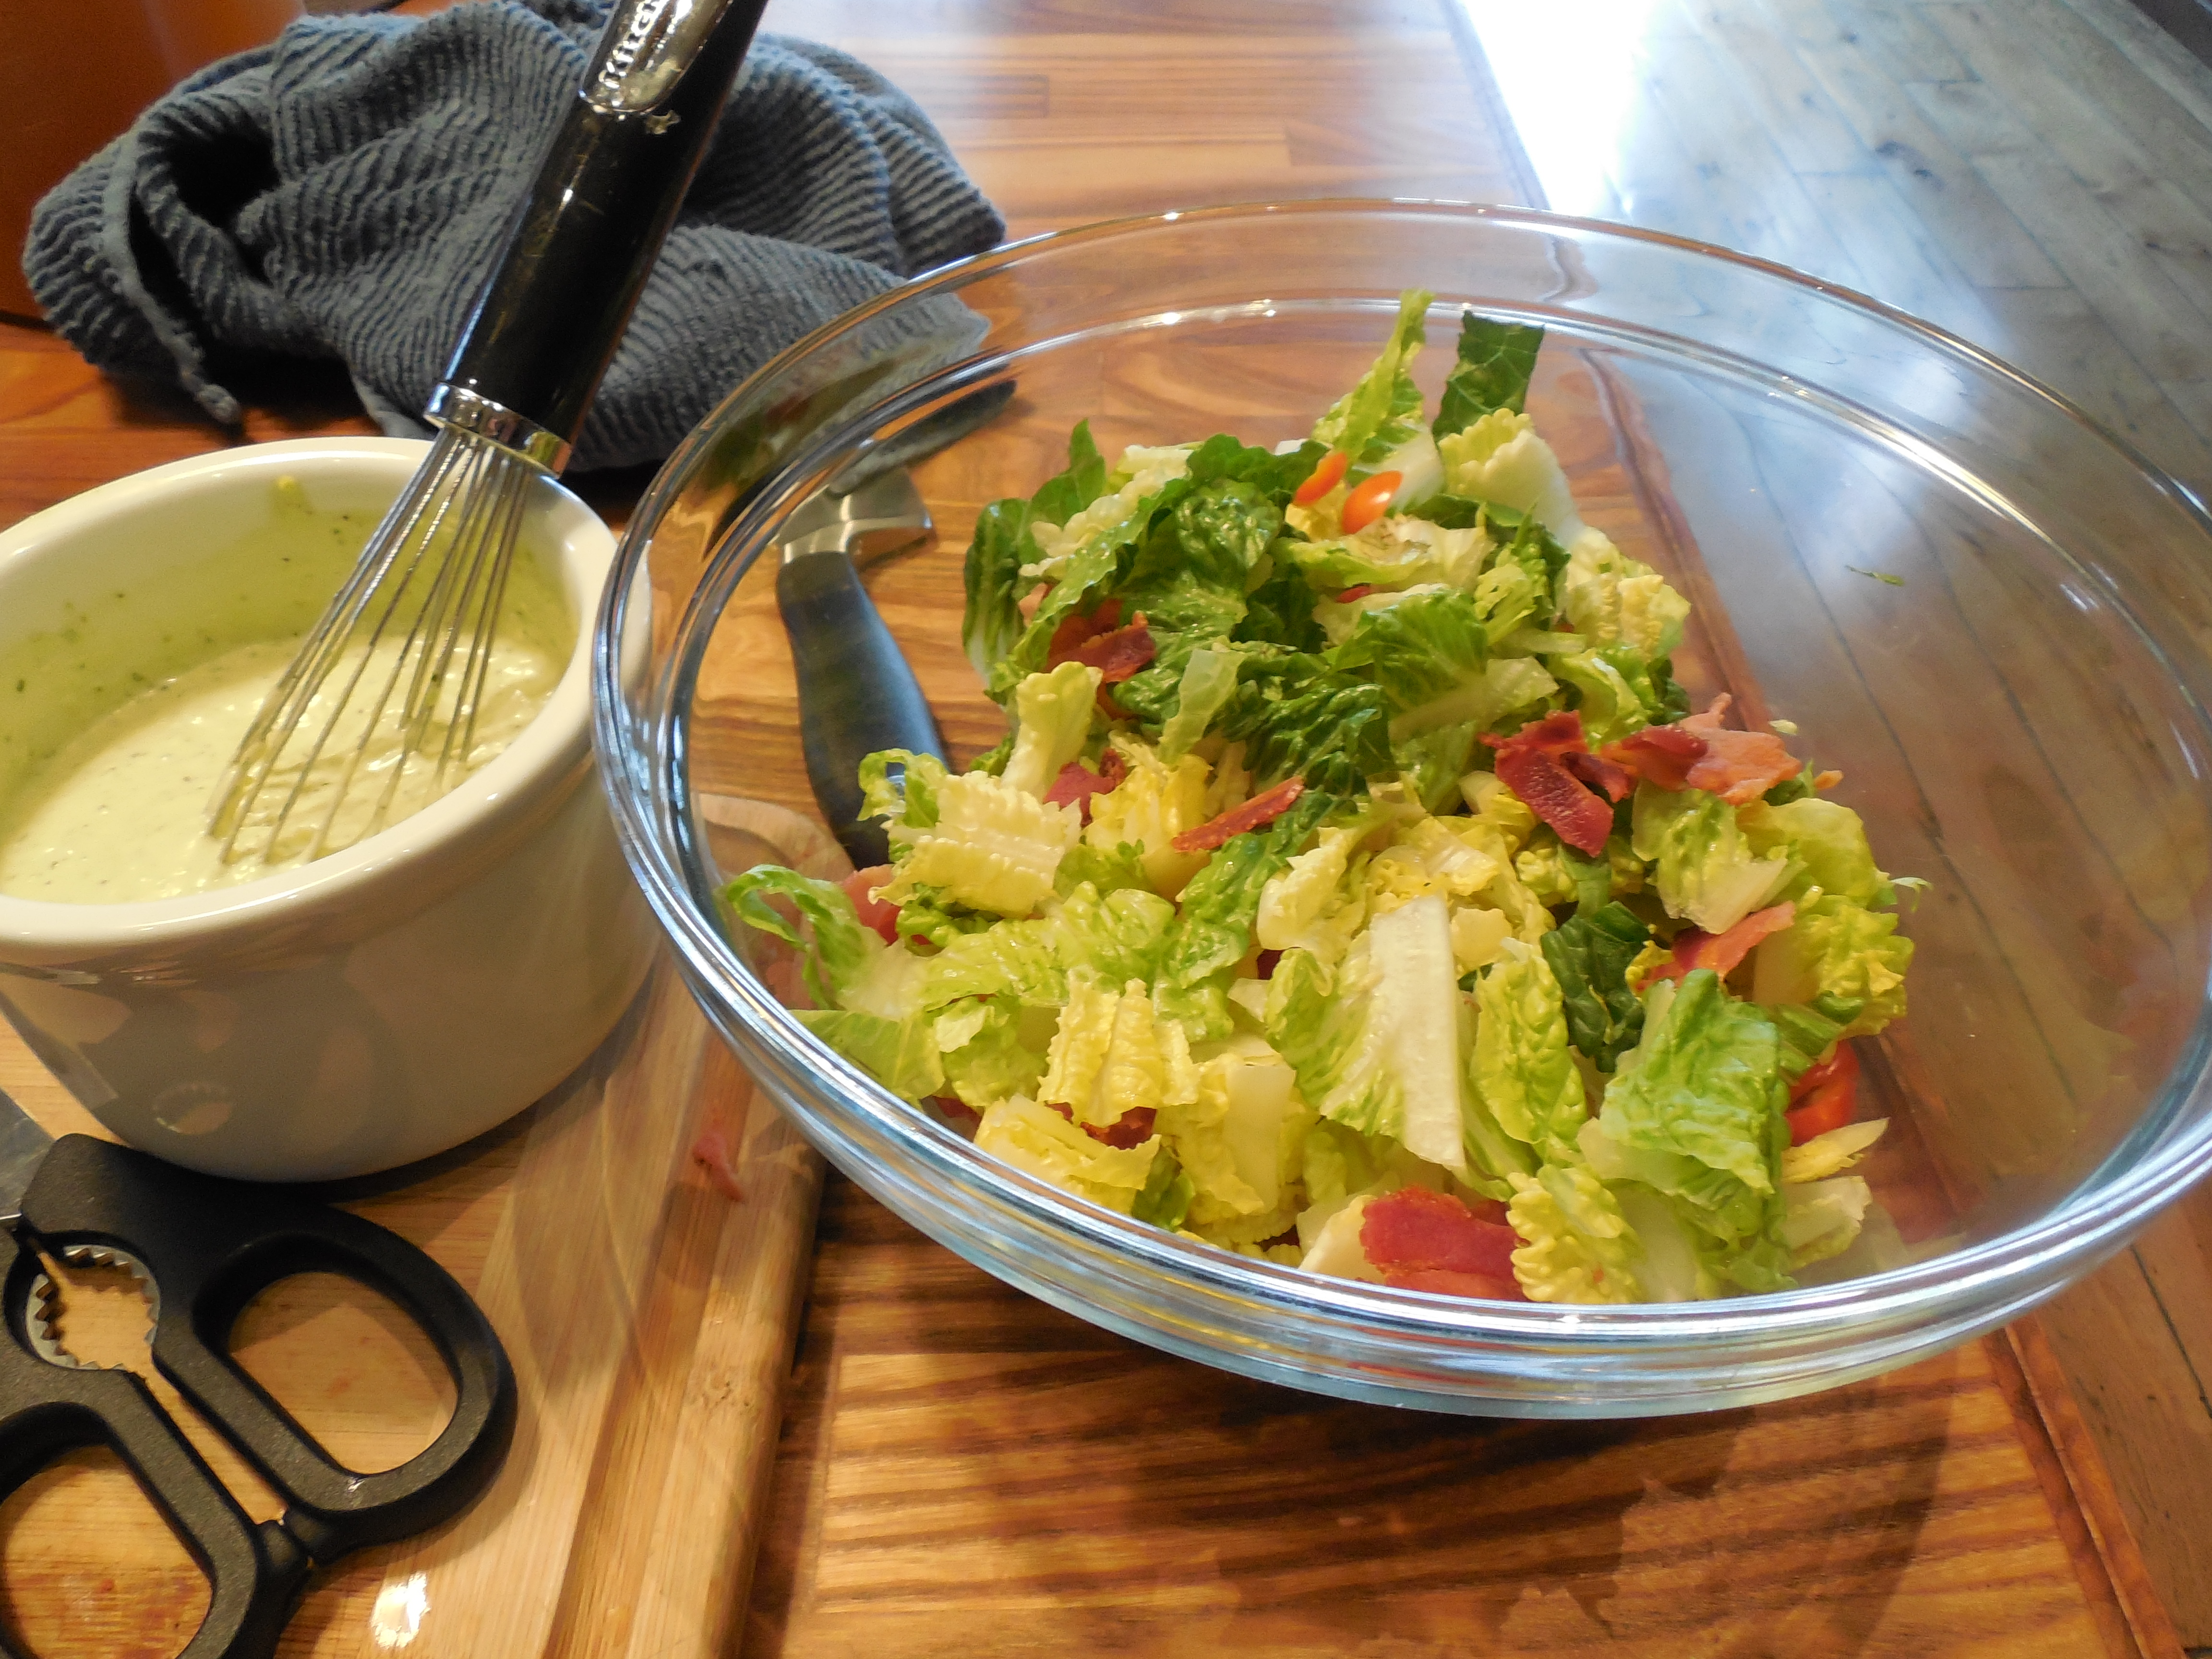
If you’re using fresh corn, you’ll have to cook it first. I used the canned version this time. Place the lettuce in a large bowl and dress it with about 1/4 cup of the dressing, just so it’s nicely coated. I then added beans, tomatoes, scallions, avocado, cilantro and corn. Add a little more salad dressing, and serve immediately. Joel likes a lot more dressing on his salad so I served with dressing on the side. And no he didn’t eat all that stuff in the salad; he just ate lettuce and tomatoes…he really doesn’t know what he’s missing!


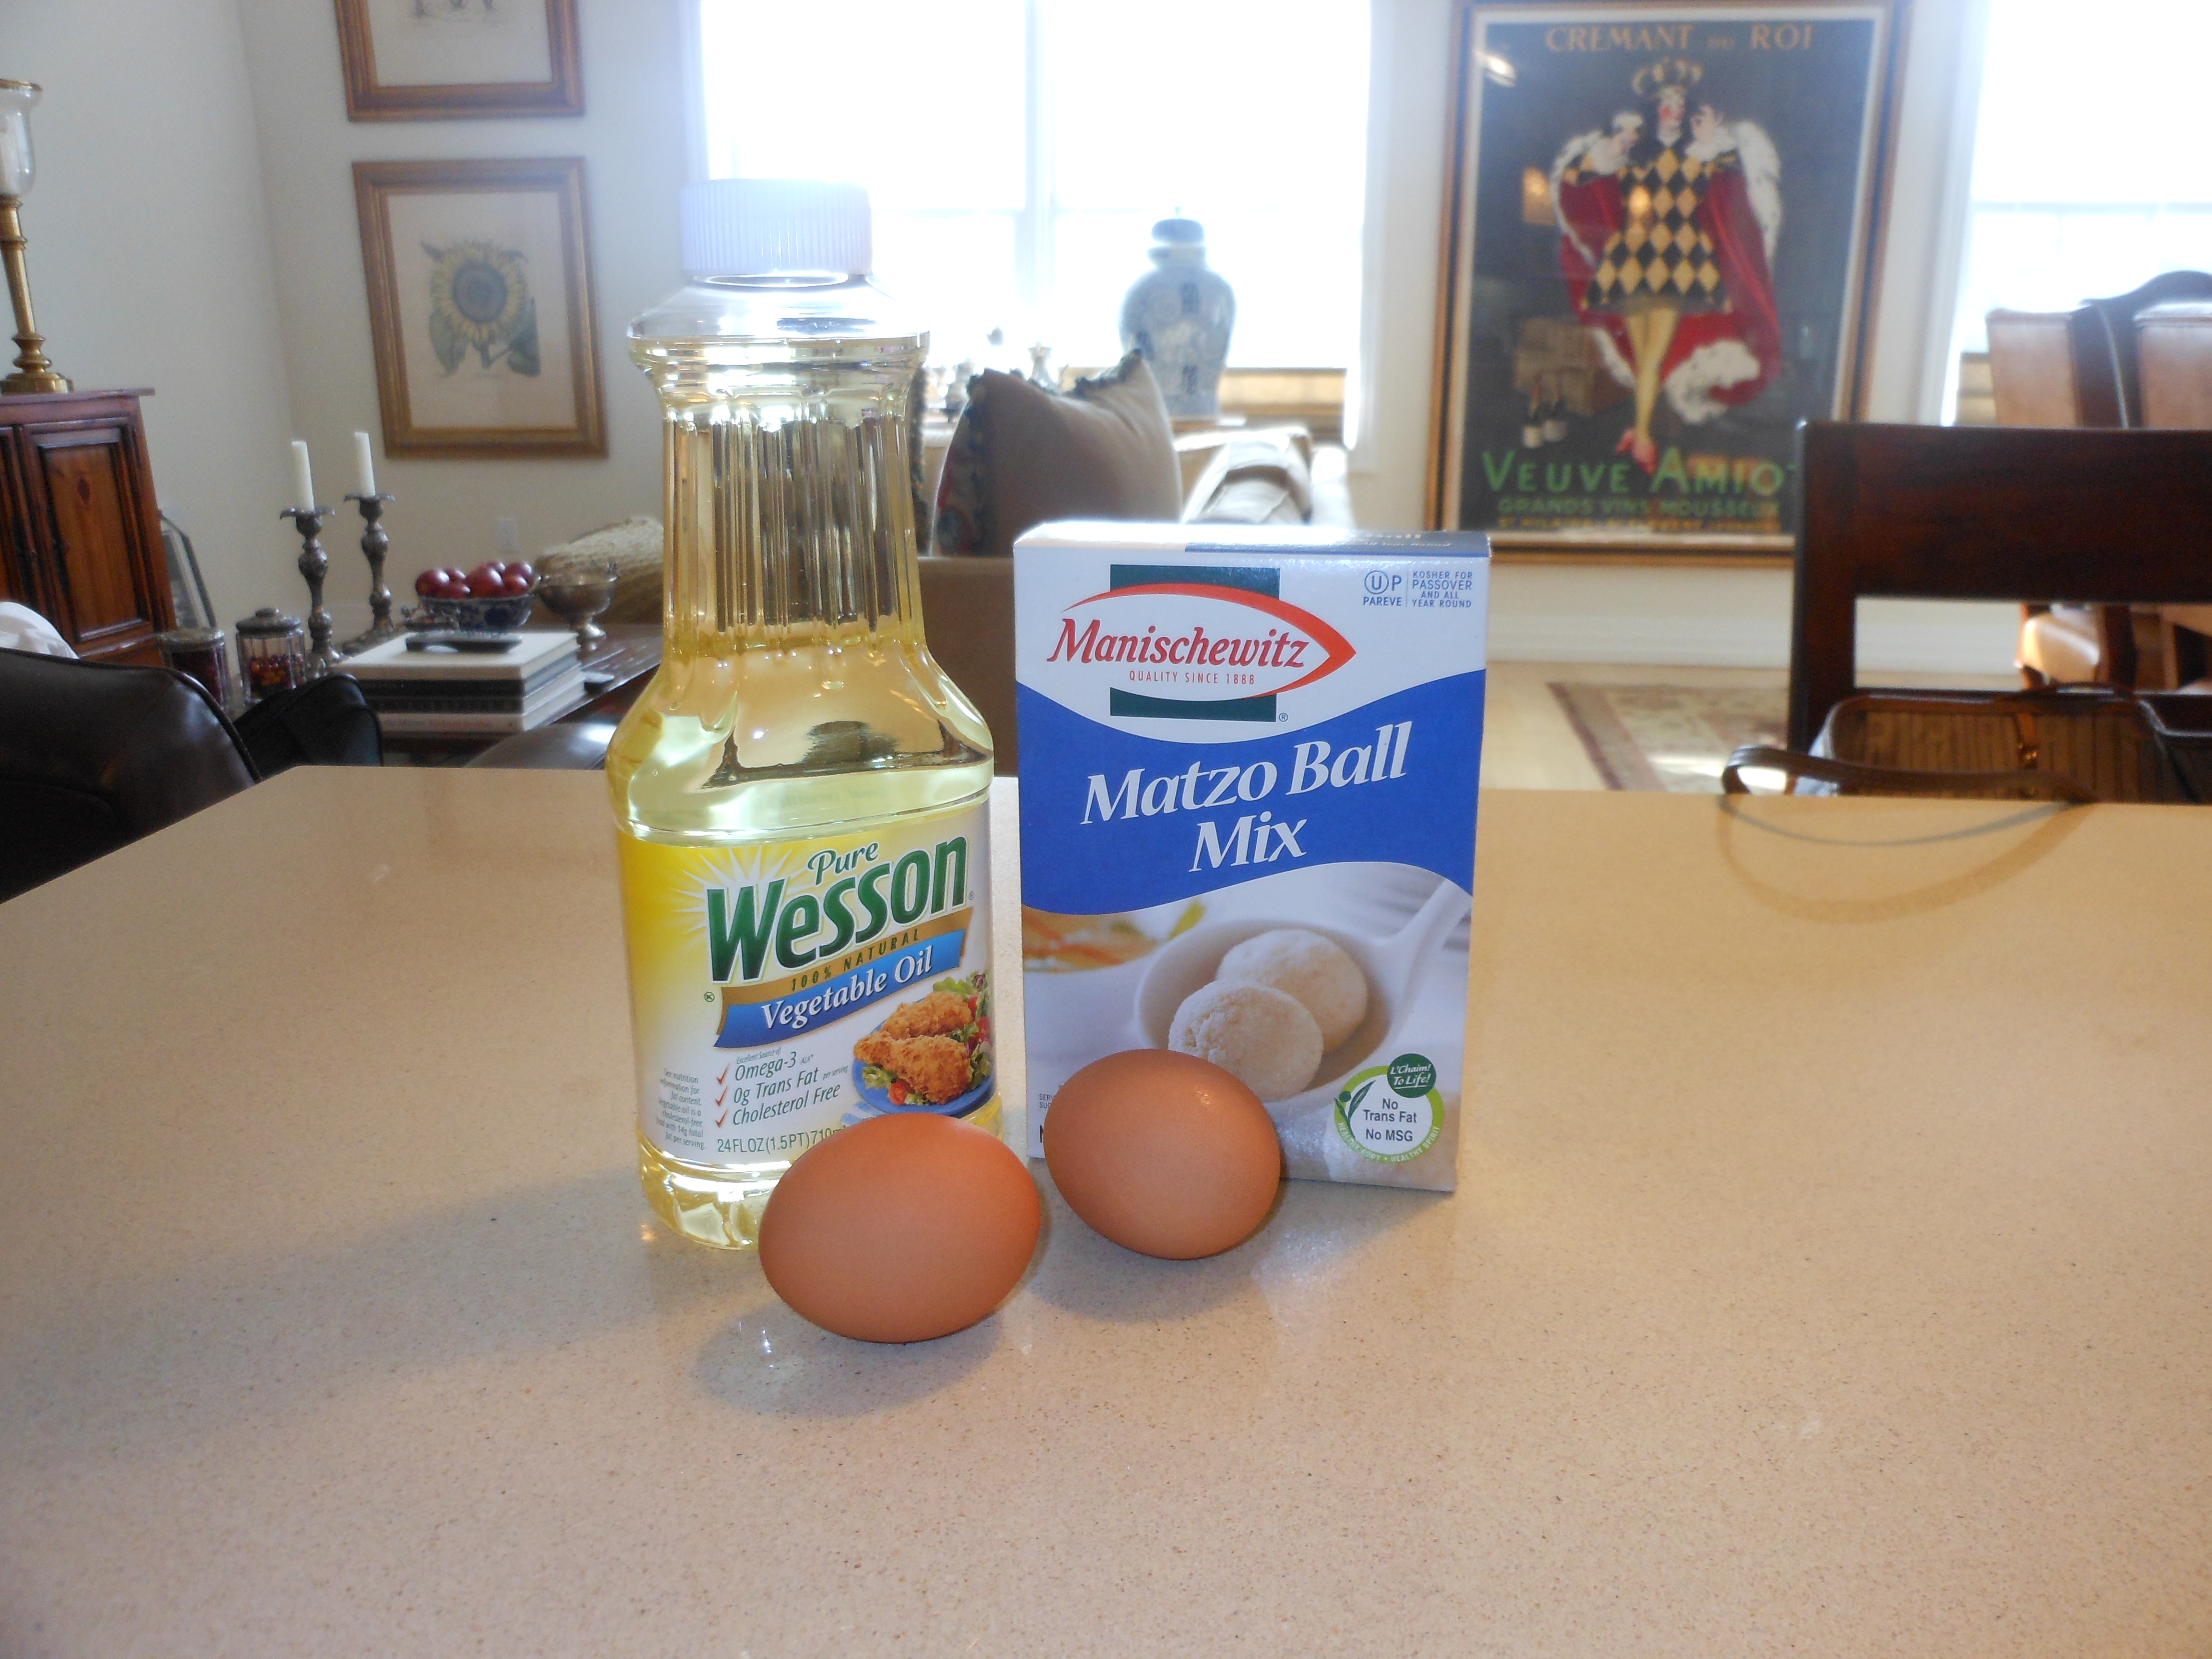
 This Passover is such a challenge and we’re all going into it half-heartedly . Maybe you’ll make one or two traditional dishes maybe nothing at all. This dish is very reminiscent of Passovers gone by and a delicious old school recipe . Maybe you’ll want to make or keep it for next Passover — in the meantime stay safe and keep cooking at home.
  This is my homemade chicken soup recipe which is already posted on my blog as Homemade Chicken Soup which is great to have anytime and is what I add my not so homemade matzo balls to during Passover. I couldn’t re-blog it again so I decided to just re-write it. I would recommend making this at least a day ahead of using, and you can certainly make ahead and freeze till you’ll want to use it.