


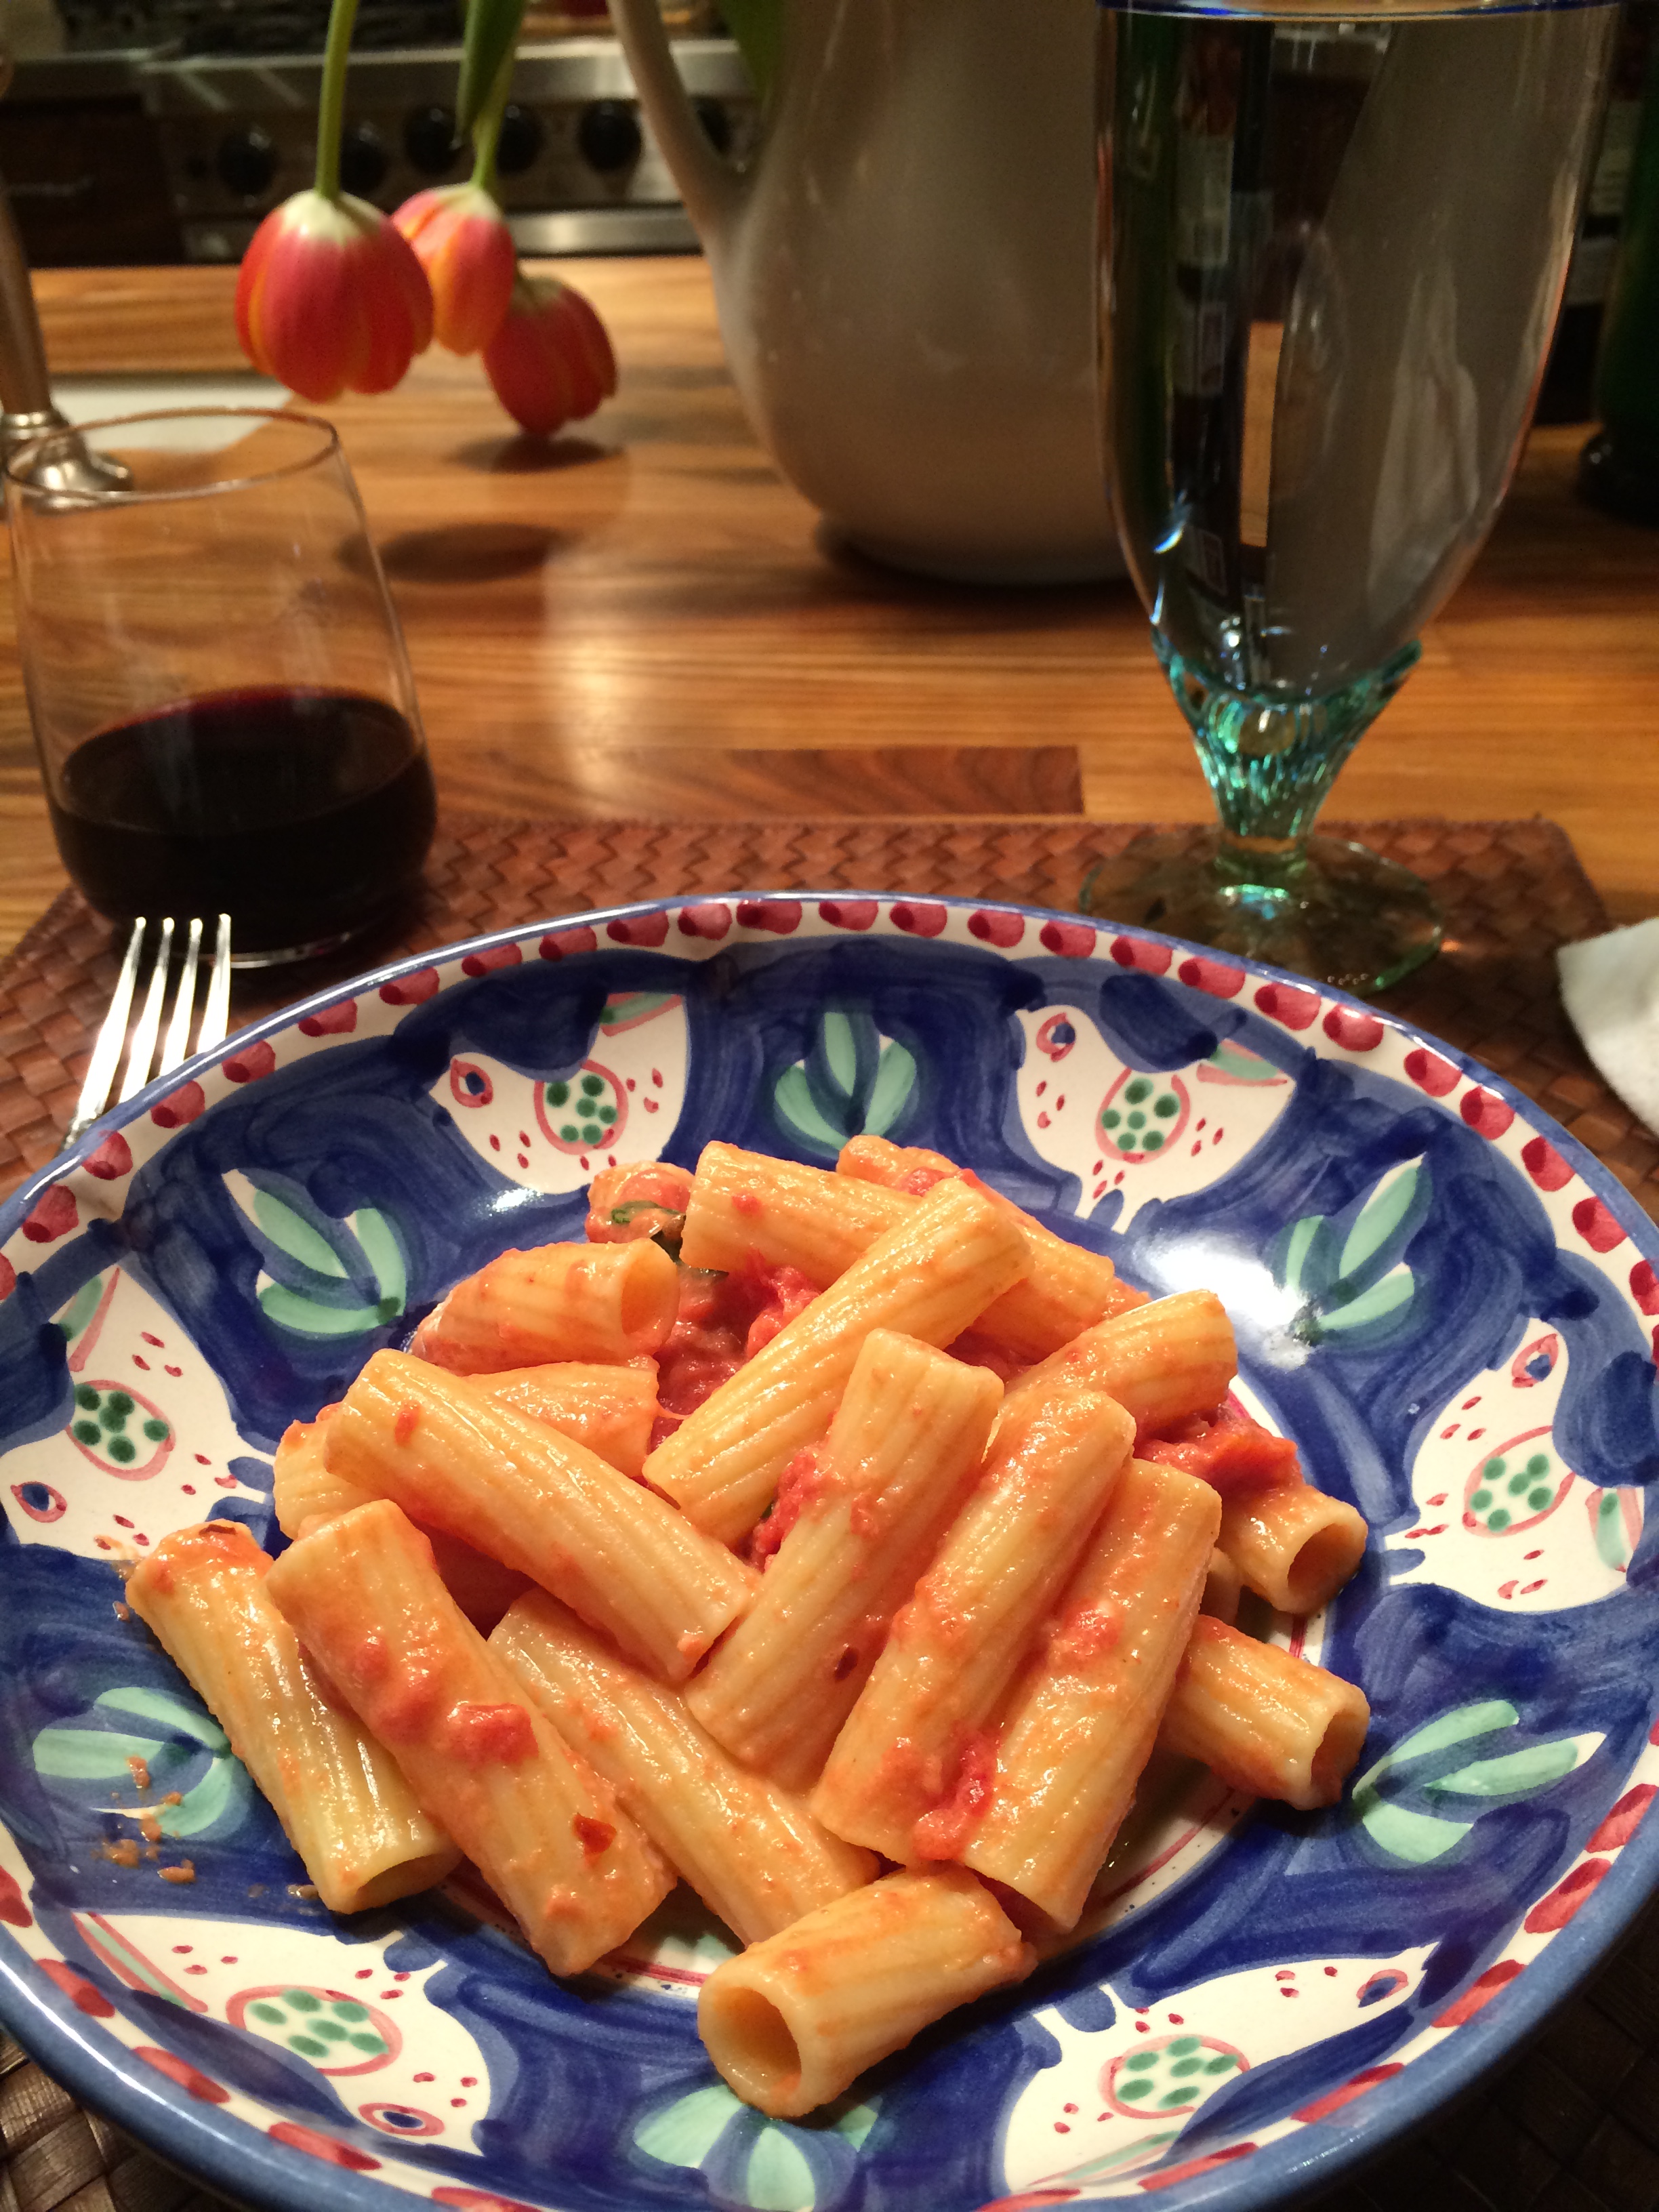
 Pasta is probably my favorite go to meal, and I mean Vodka? really? Add a little cream and a can of tomatoes and you’ve got a spectacular meal. You’ll also need a little fresh basil and parmesan to finish it off. It’s an easy meal and if you have the cream and cheese in the house you’re good to go. I always stock the tomatoes and I happened to have the cream in the house and there is always a bottle of Vodka in the freezer right? Fresh Basil is a wonderful layer but if you don’t have it you’ll still be fine. This pasta cooked up in no time and it was heavenly. Perfect for Meatless Monday dinner.

Ingredients:
1 lb. pasta ( rigatoni type of noodle is perfect)
3 cloves garlic, minced
*1/4 teaspoon crushed red pepper– I love the heat but use at your own discretion
1/2 cup grated Parmesan, plus more for serving
1 tablespoon olive oil
app. 3/4 to 1 teaspoon of kosher salt for sauce (taste for salt) you’ll also need about 2 teaspoons to cook the pasta in
1/3 cup Vodka
1 28 ounce can whole tomatoes, I prefer San Marzano type so look for that
1/2 cup heavy cream
a few fresh basil leaves, cut up into smaller pieces
Directions:
Prepare pasta according to directions on box, I always throw in about 2 teaspoons of salt to it. When pasta is ready , just drain. I made the sauce while the pasta was cooking.
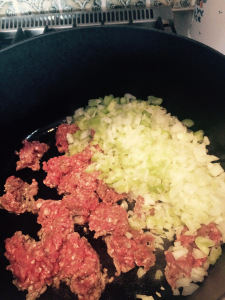
Place a large skillet type pan on the stove (see pics) Add the olive oil and heat until it shimmers ( app. 1 minute) add the garlic and red pepper (if you’re using it). Cook garlic and red pepper and cook, stirring until soft and fragrant but not browned, this should be less than a minute. Add the vodka and cook down the vodka until it is nearly evaporated. Add the tomatoes and remaining 3/4 teaspoon of kosher salt (start here and add to your own taste) bring to a boil (breaking up the tomatoes with a wooden spoon as they cook down) A little trick I use is to use a potato masher and push down on the tomatoes while they’re cooking, just be careful and do it slowly because you wouldn’t want to get burned by some hot tomato sauce. Lower heat to medium-low and simmer for 30 minutes. Add the cream , basil and grated Parmesan and bring to a boil , then reduce and let flavors marinate for about another 1/2 hour on a very low heat. I continue breaking up the tomato bits. Add the cooked pasta to pot and stir to coat the pasta!!!! Serve it up!!!!! A-mazing meat-less meal.
*if you like sauce “less tomatoey” without big chunks of tomato you can use an immersion blender once it’s cooled down < I will usually wait a bit till it’s just warm then add the cream then use blender stick or actual blender. If you really like “no chunks” use crushed tomatoes , I like the chunks but my grandkids don’t so I will use immersion blender or just crushed tomatoes .


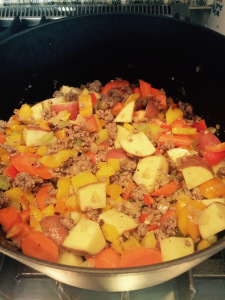

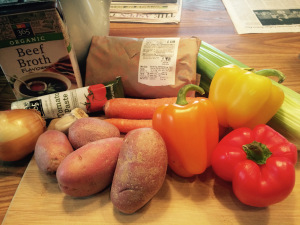
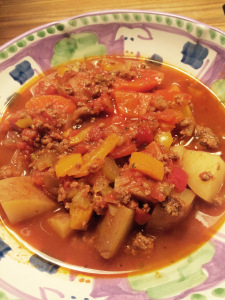


 I decided to try this recipe and it came out perfectly. I so seldom use the broiler to cook but it worked out so well I must pass this one on. Sheet Pan cooking has become one of my most favorite ways to cook for so many reasons most obviously the speed in which everything cooks together in one pan!!!! So amazing.
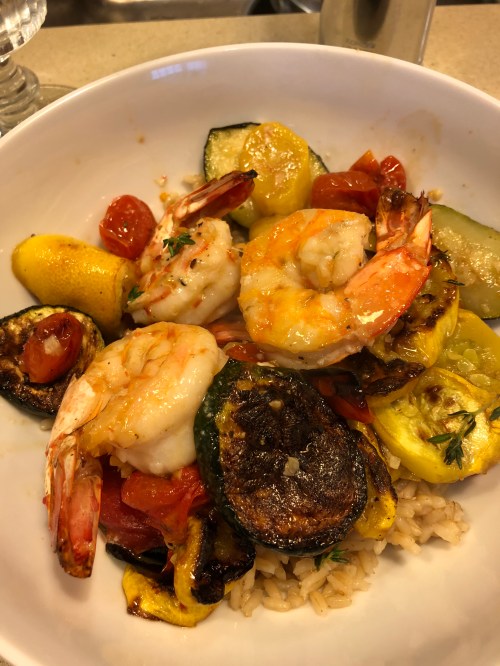
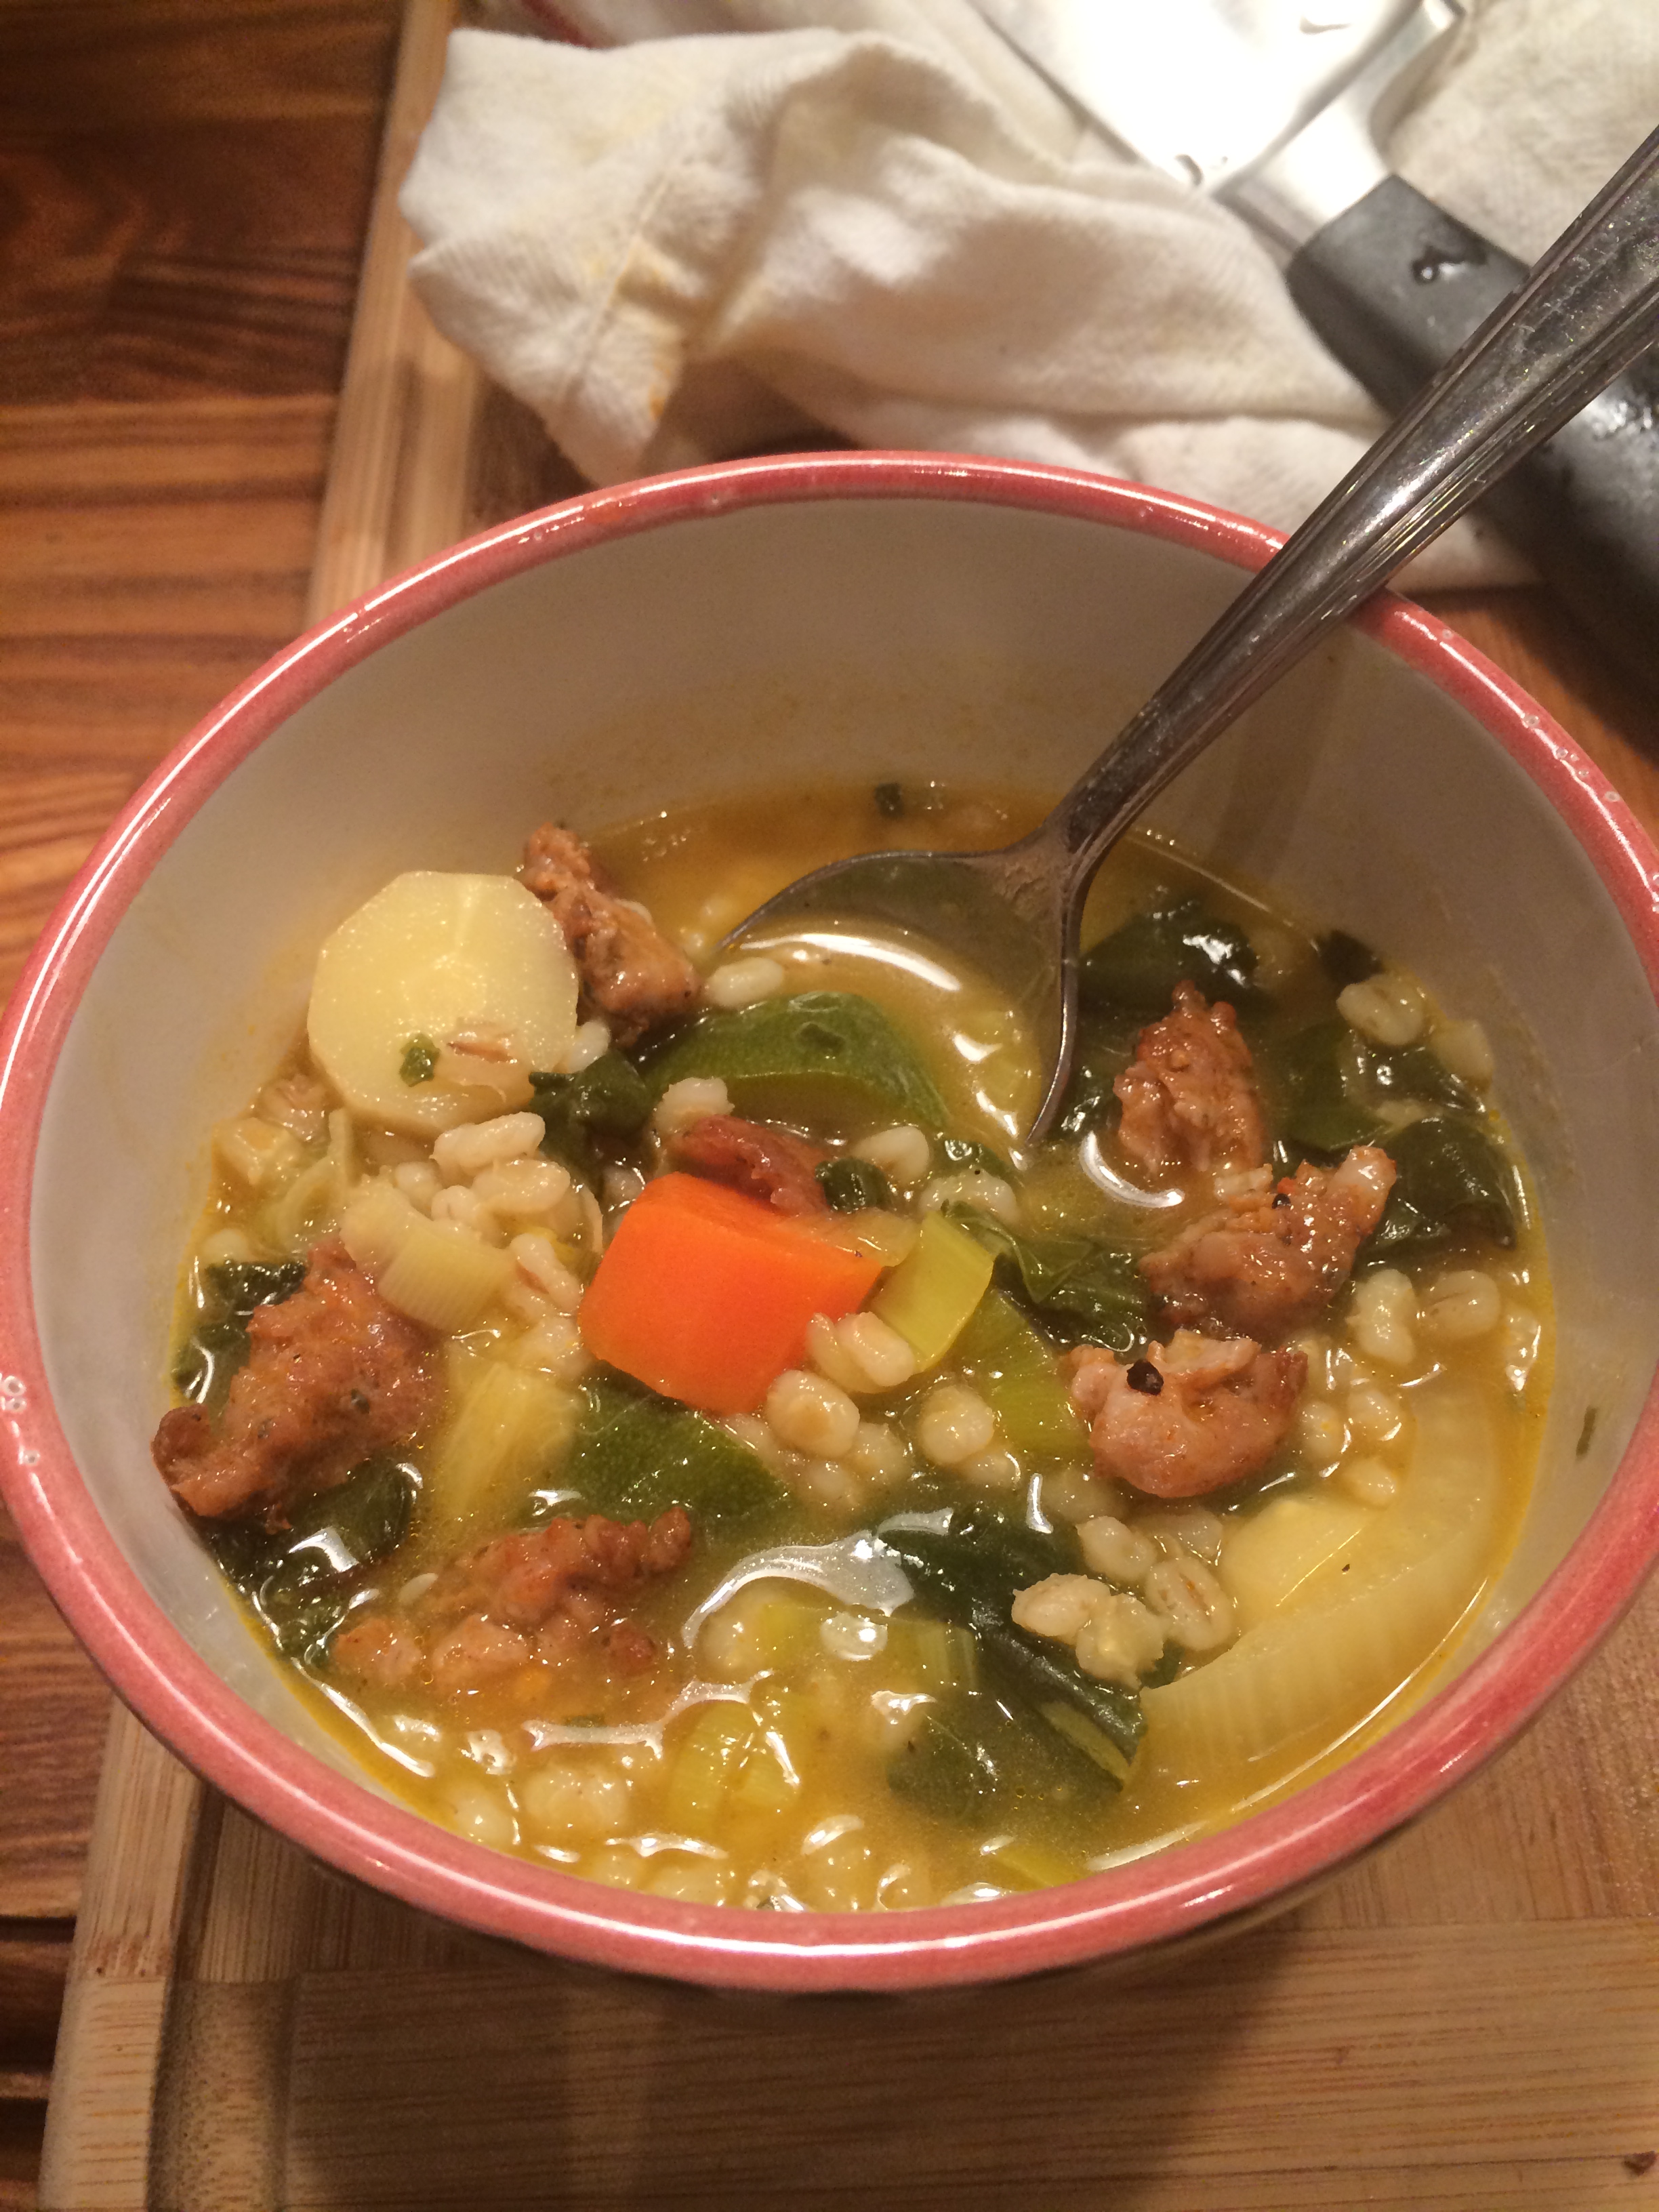
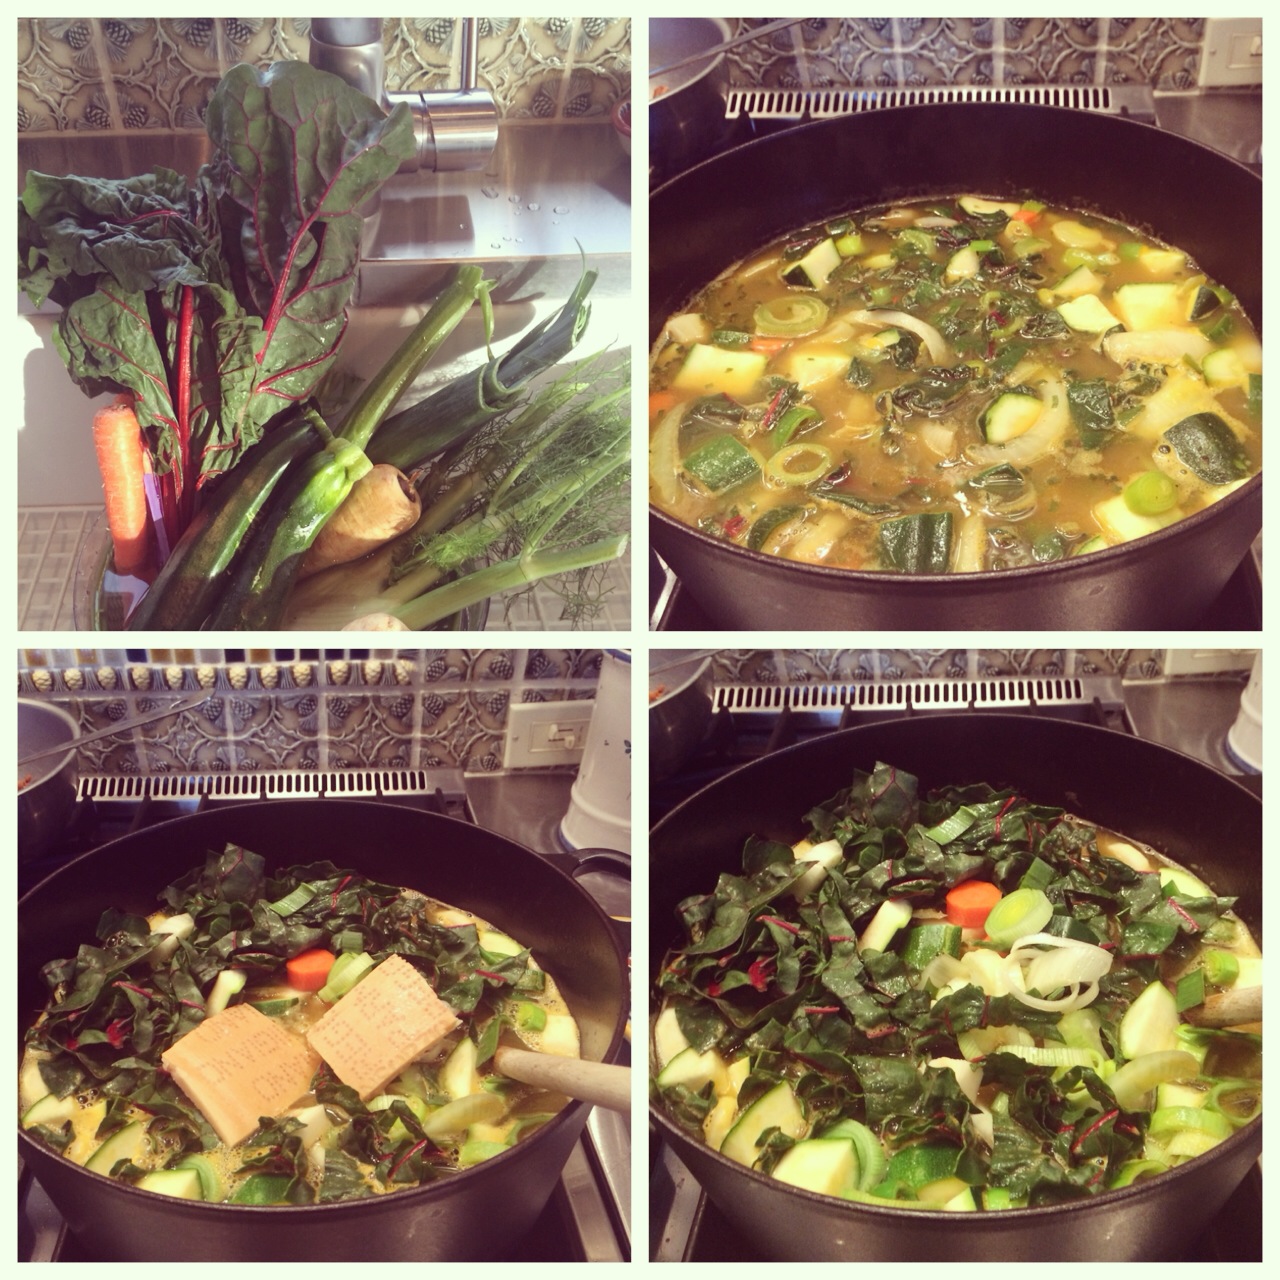 It’s officially winter now and
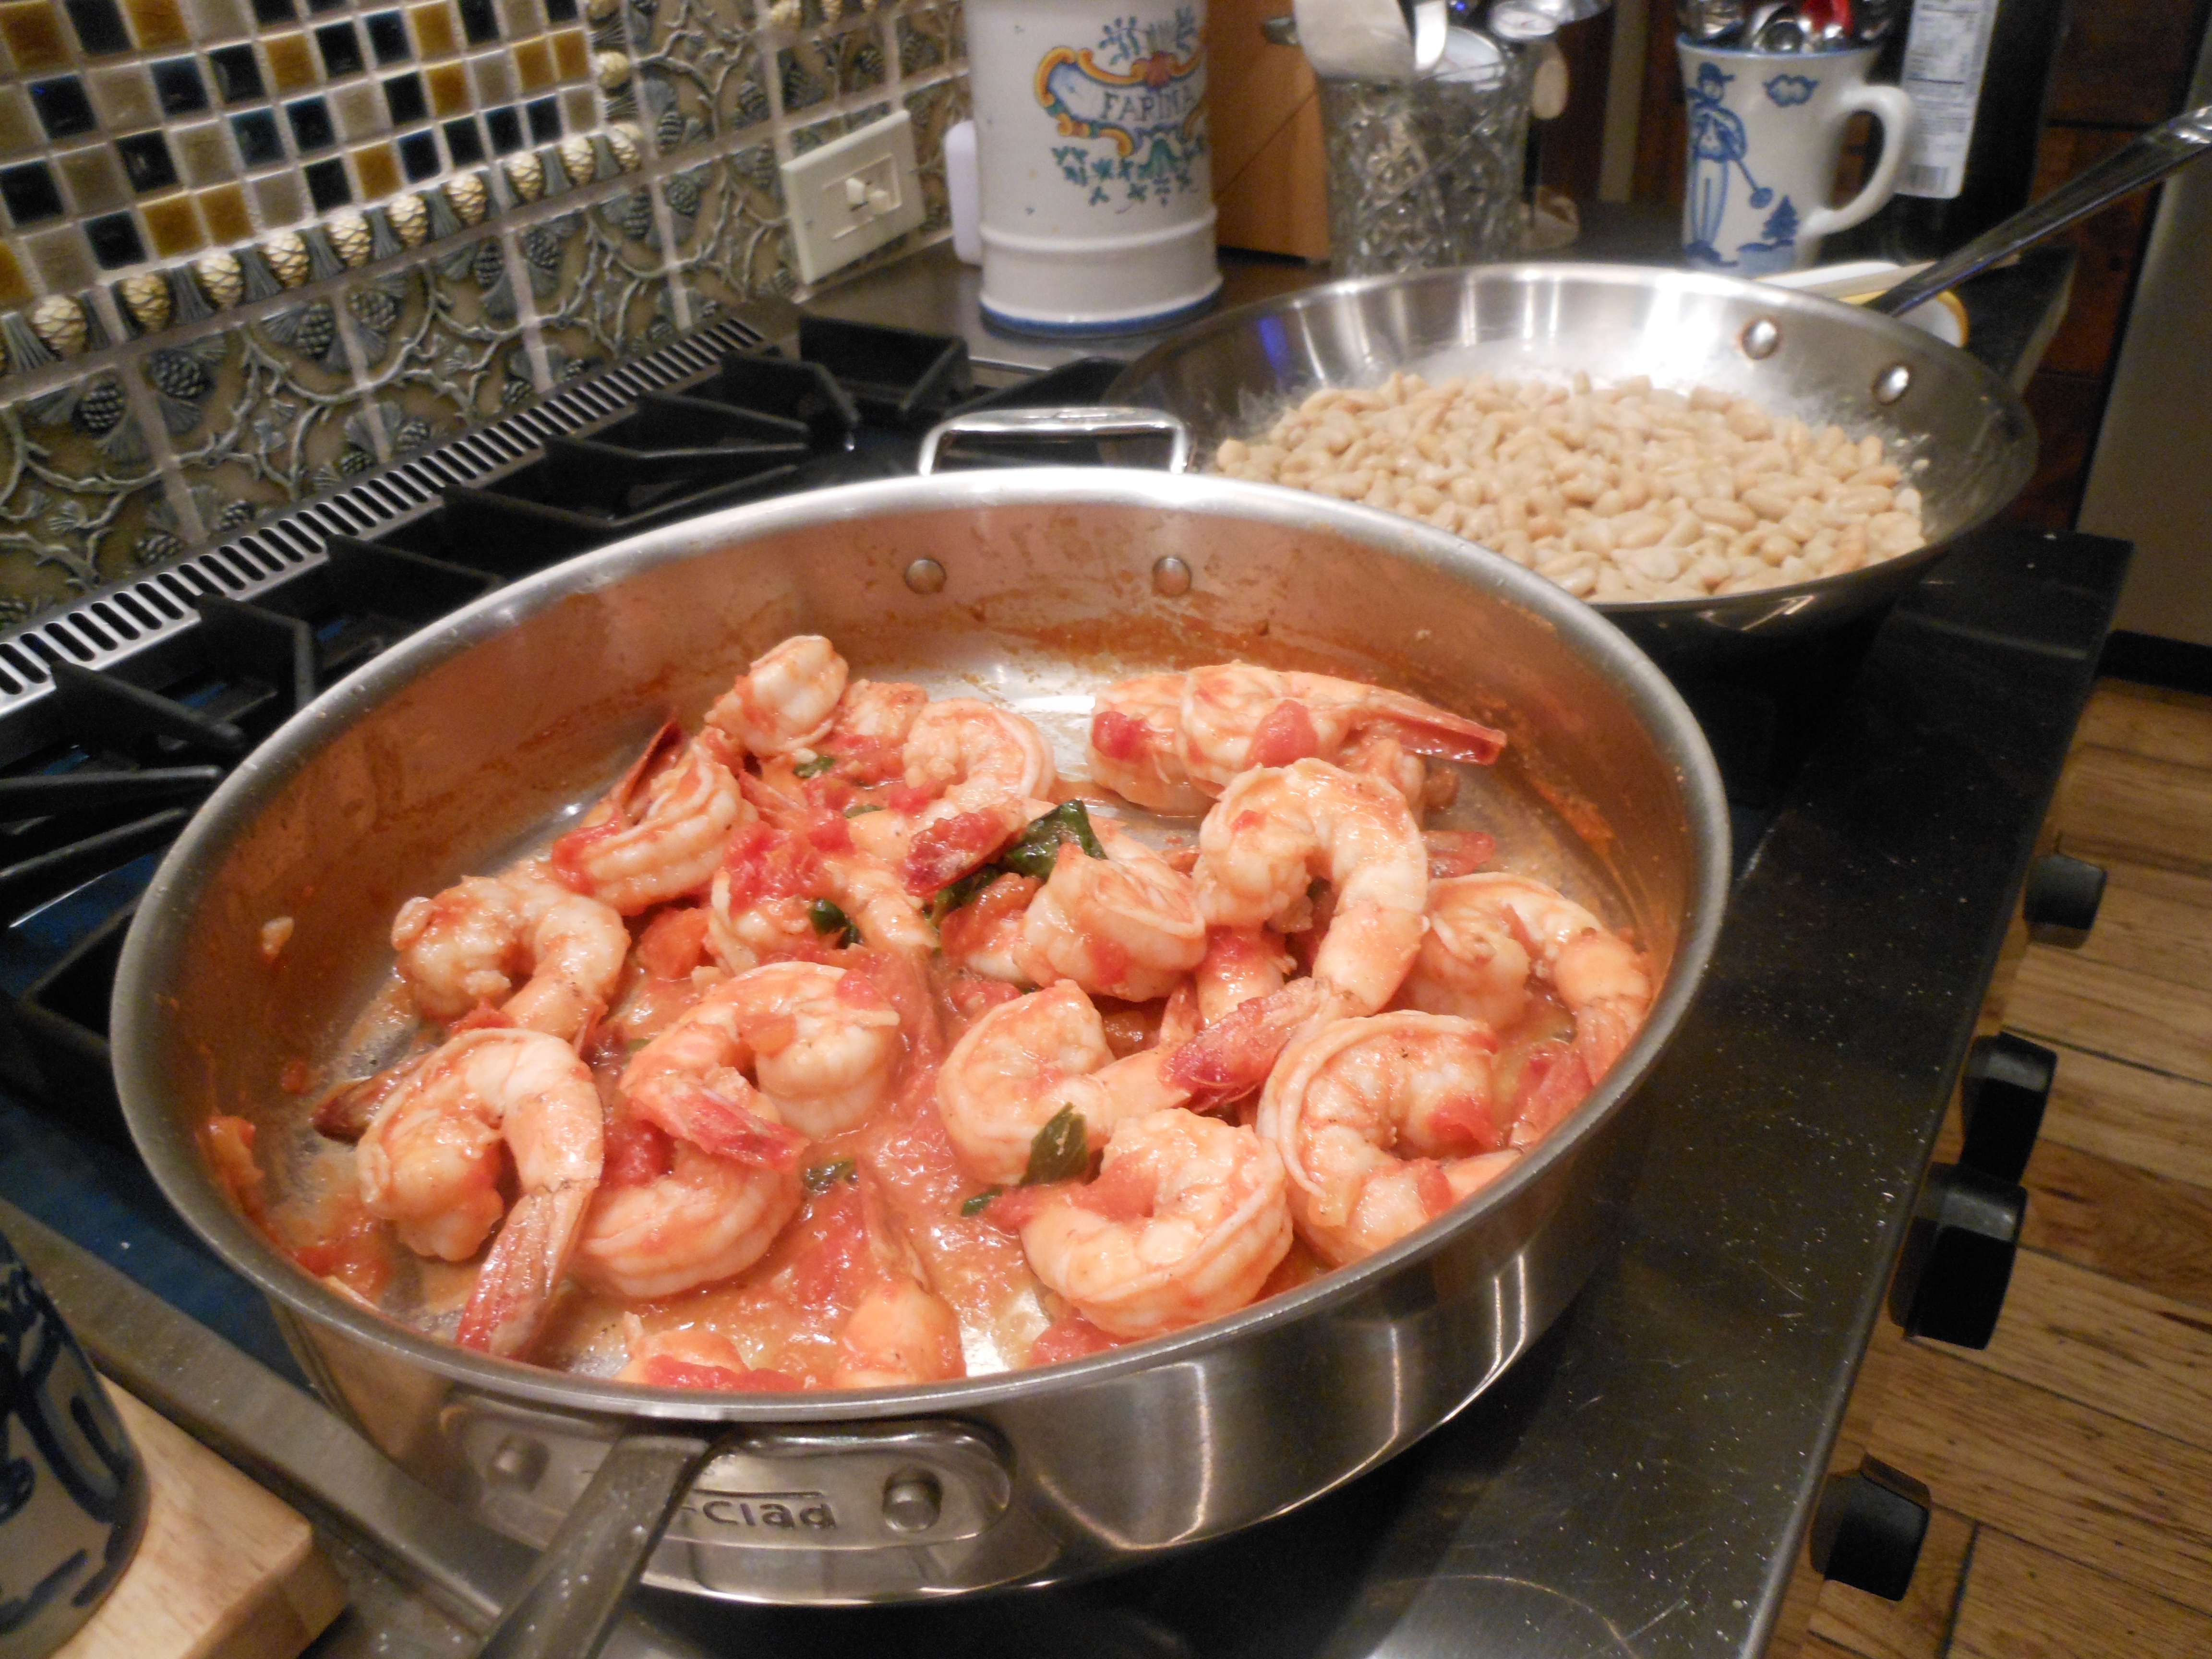


