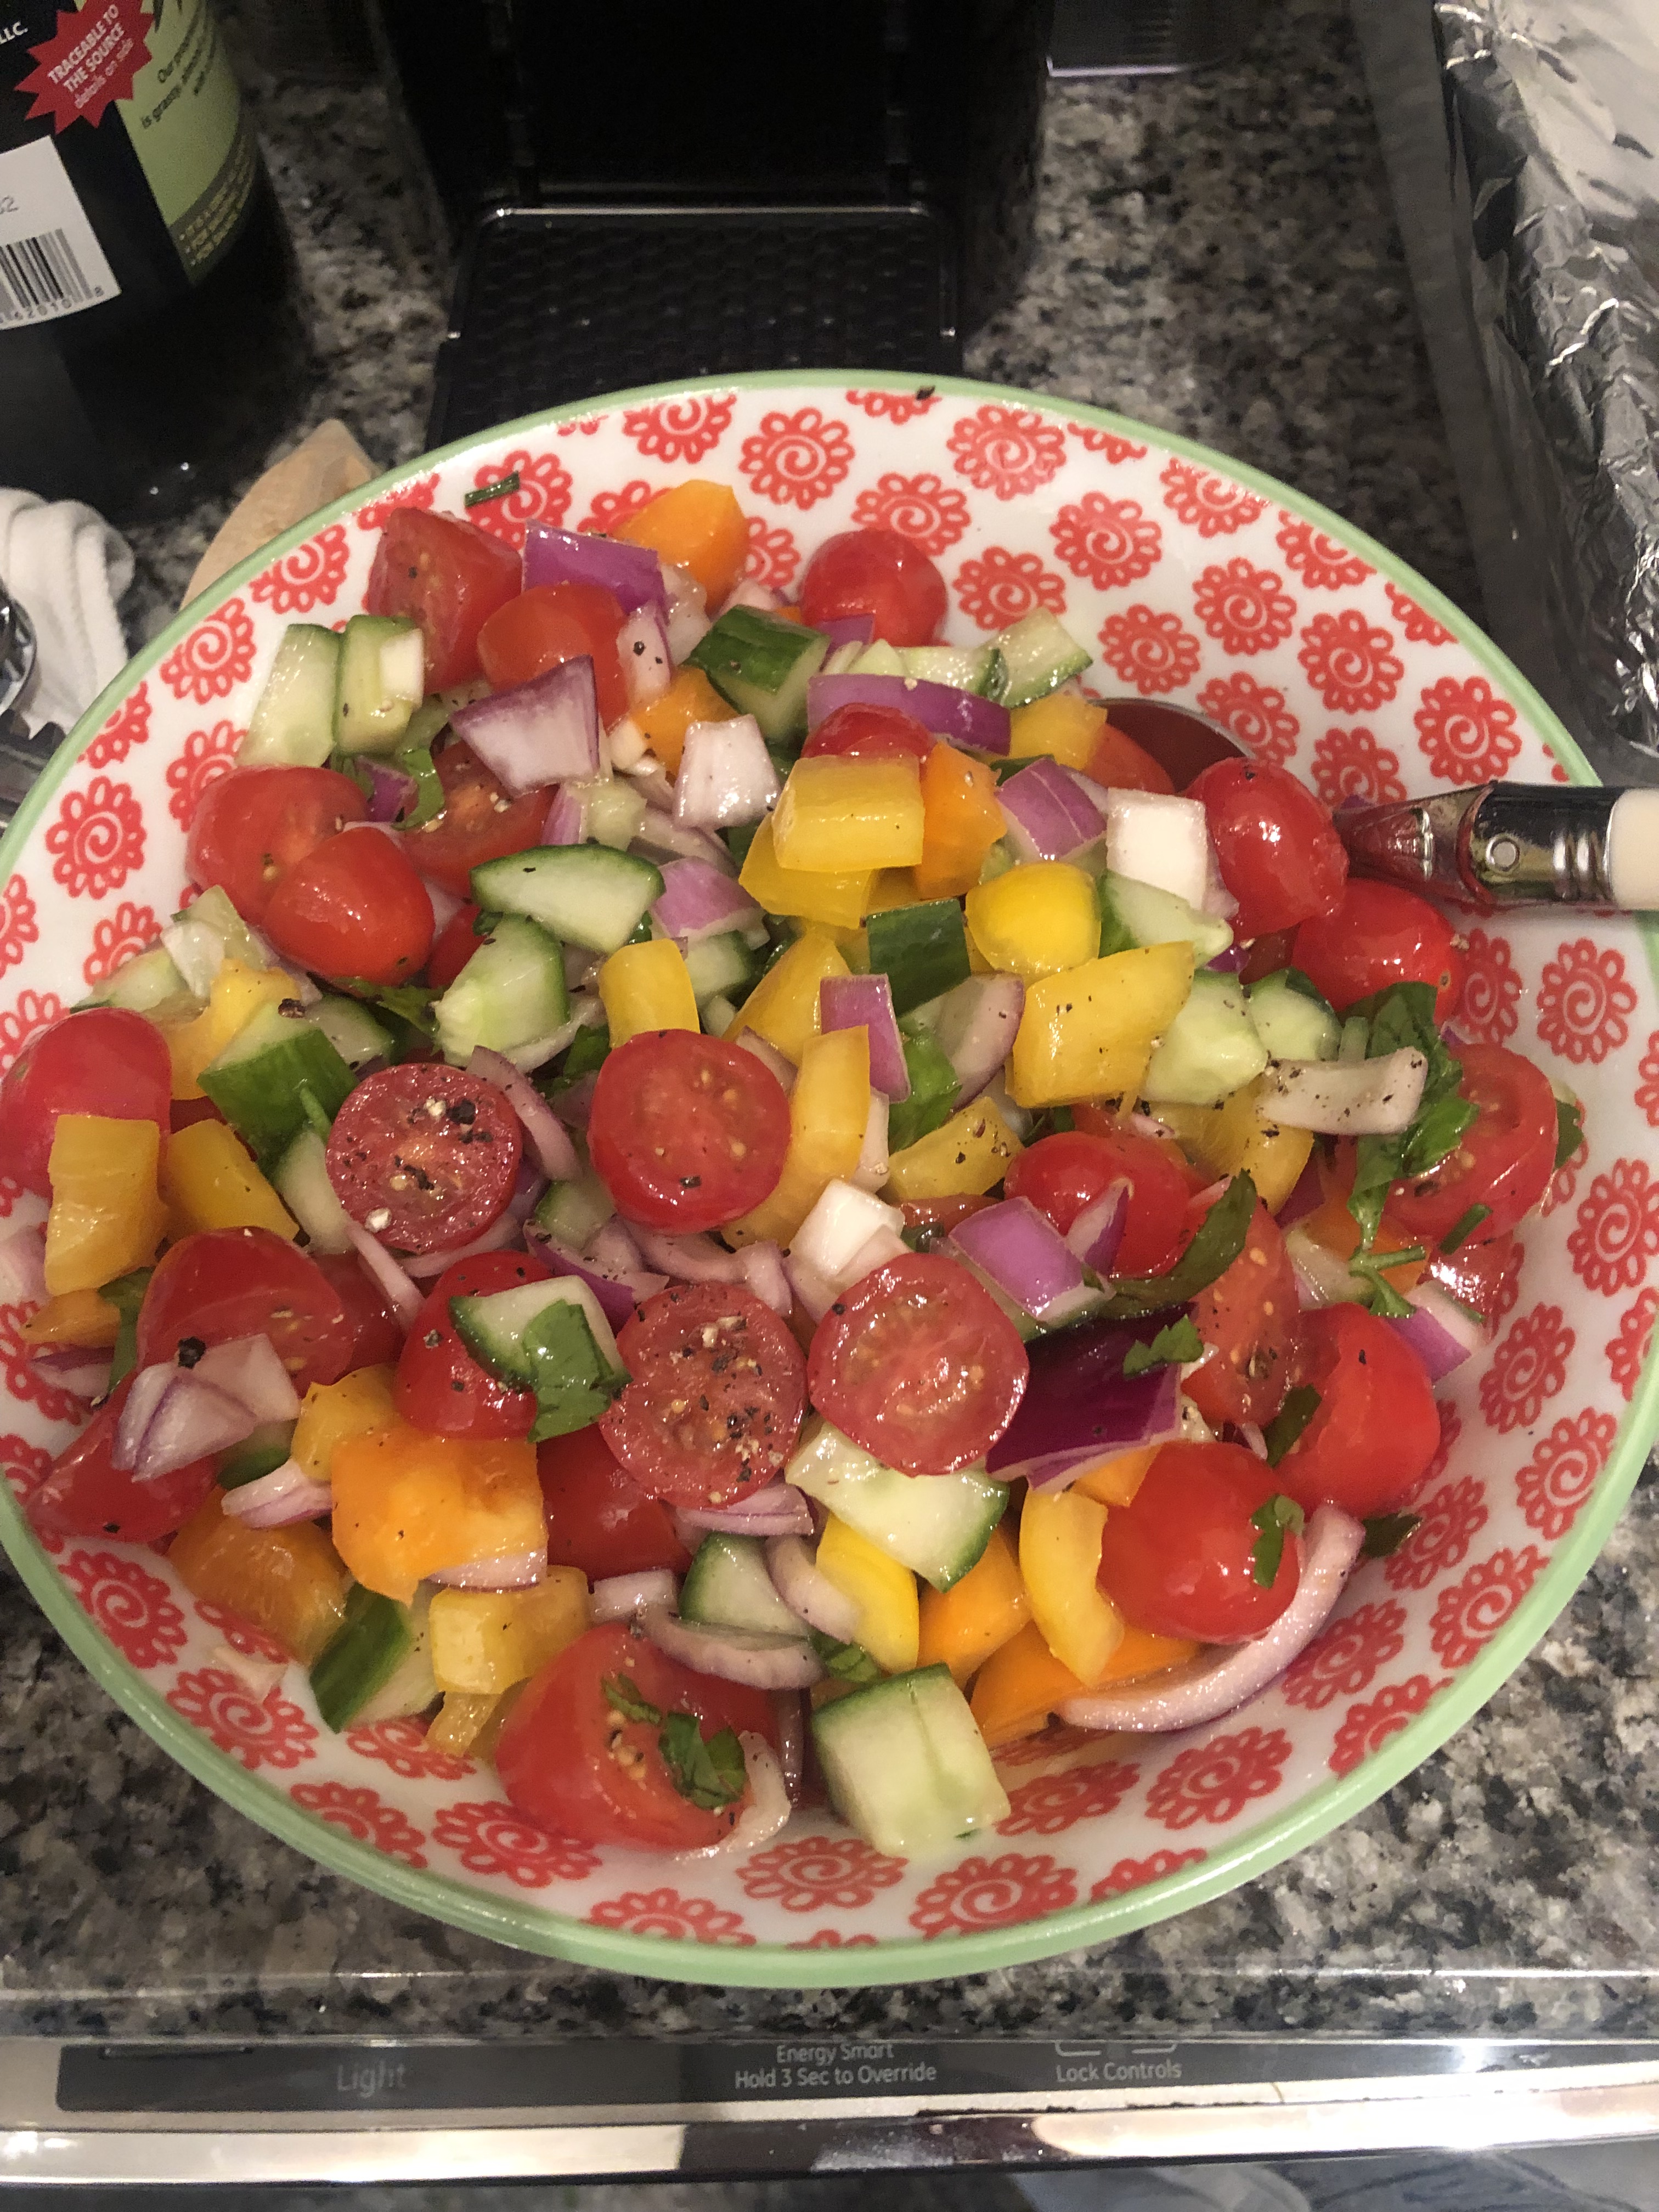
I got this recipe from Pamela Salzman’s cookbook Kitchen Matters. I absolutely loved it. I made the chicken and then proceeded to turn it into a rice bowl. The rice bowl accompaniments can be whatever you like. I use Tzatziki Sauce instead of Tahini white sauce. You can also serve over salad which is quite delicious as well. Greek Salad in particular would be great! Add some delicious pita or Naan bread and it’s perfection! I made a side order of roasted peppers and onions and you can add mushrooms as well. I did this in the oven about an hour before dinner. (cut up peppers and onions add a little olive oil to coat and salt and pepper and 400 degrees for about 45 minutes )Big thumbs up on the peppers and onions in the rice bowl. Feta cheese is a must here! (buy a good one) and pepperoncini in mine!
I cooked on my outside grill but this can be cooked indoors on a baking sheet at 400 degrees for about 35 minutes. Or use a grill pan which would probably cook faster — either way it is delicious.
I also highly recommend marinating for as long as possible. I prepared the chicken in the morning and probably marinated for about 7 hours. Minimum of 1 hour and you can do overnight as well. This marinade was very flavorful.
Thanks to www.pamelasalzman.com
Marinade:
1/4 cup good extra virgin olive oil
1/4 cup freshly squeezed lemon juice– I used 2 average sized lemons
2 teaspoons kosher salt
2 teaspoons cumin
2 teaspoons paprika
1/2 teaspoon ground turmeric
1/8 teaspoon ground cinnamon — I used a heaping 1/8 teaspoon
1/8 teaspoon cayenne pepper– I used a heaping 1/8 here too
Several grinds of freshly ground black pepper –probably 1/4 teaspoon as well
4 minced garlic cloves
2 pounds boneless, skinless chicken thighs– we obviously prefer thighs but if you must use white meat go ahead but be careful it doesn’t dry out this is why we prefer the thighs to the breast especially in this recipe.
Directions:
prepare the marinade– Combine all the marinade ingredients in a large glass bowl. Add the raw chicken and toss to coat. Marinade in the fridge for as many hours as you can — this was key. Remove the chicken from the fridge about 1/2 hour before cooking.
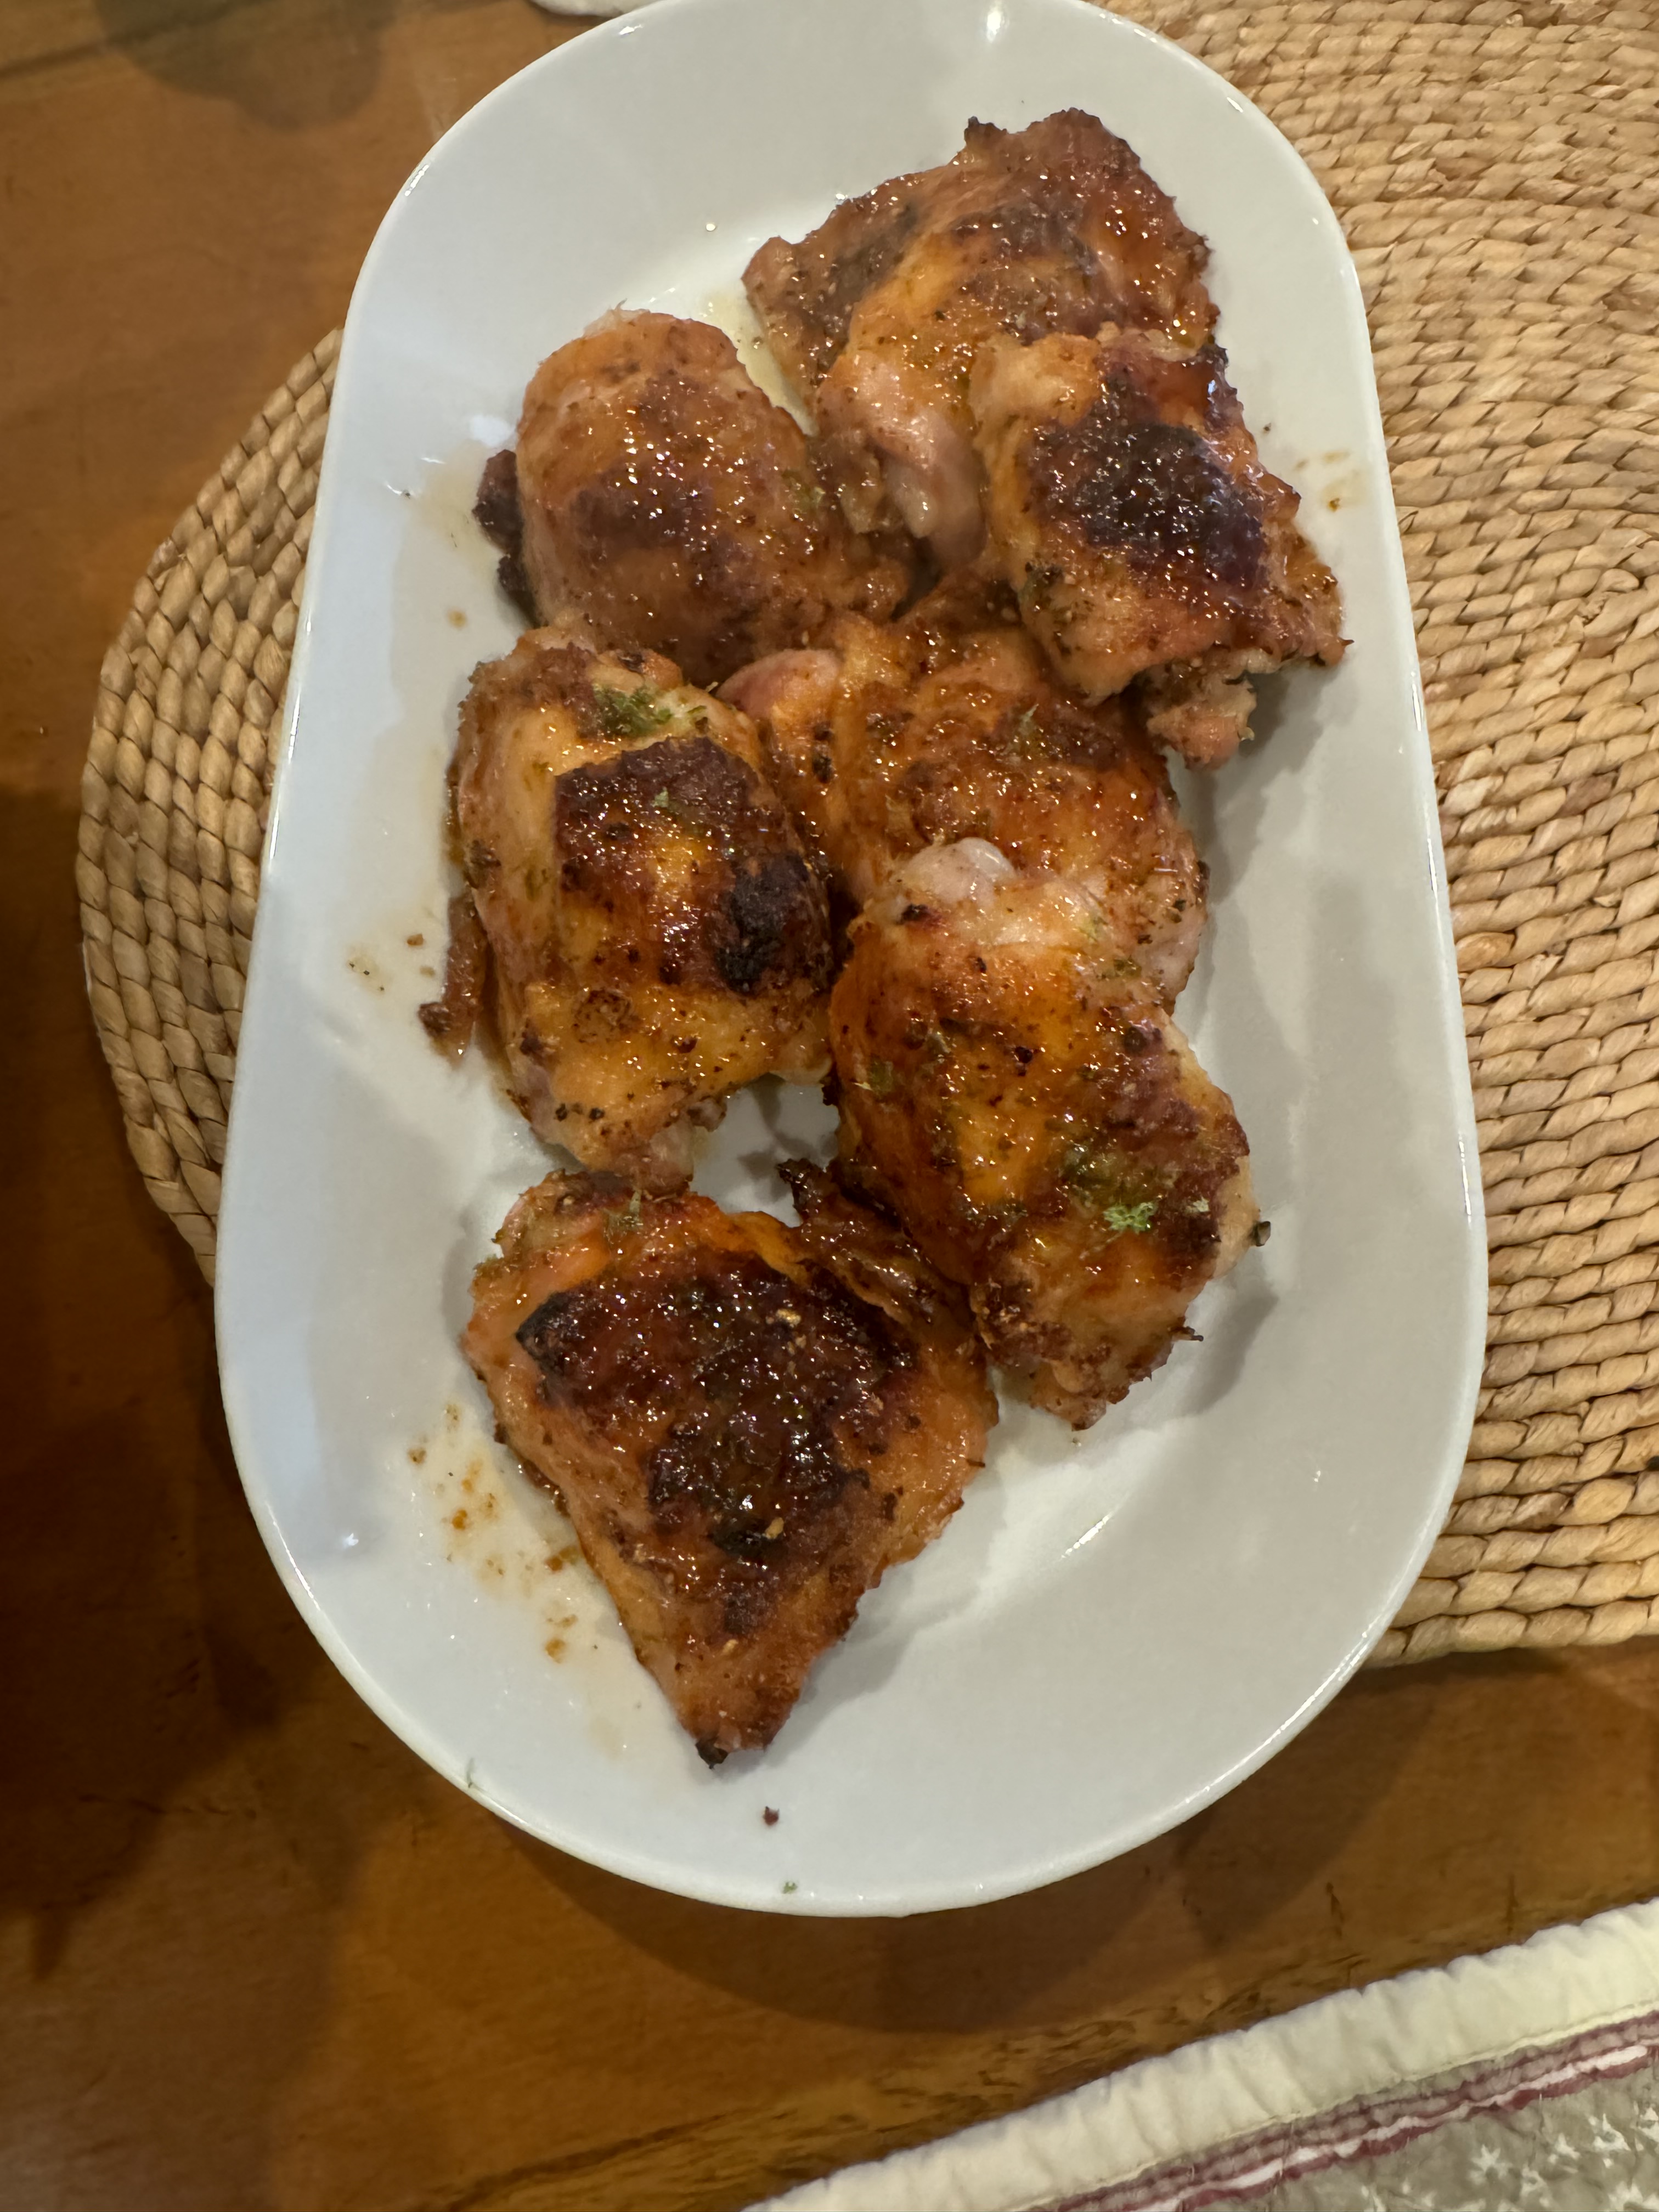
I cooked on my outside grill for about 7 minutes on each side. I like the outside edges a little crispy since I don’t have a revolving spit to cook my chicken on this is as close as I could get. When I can’t grill ( like in the city) I cook in 400 degree pre-heated oven for about 30 mins. then broil for just a few minutes to get it all crispy. Keep an eye on it in the oven though.
*Another perfect thing to do is to double it up on the day of prep. Take out what I will need for that night and freeze the remainder of the marinated chicken. The next time we’re in the mood for this yummy dinner I just have to take it out of freezer in the morning and defrost and cook! Saves me the time of making the marinade again.
Enjoy! I know you will.

I sliced up chicken served it in a rice bowl and we each used different accompaniments. The peppers and onions were perfect with it. Highly recommend it and you can buy store bought tzatziki which would be just fine. Would be good with some delicious toasted pita or naan bread.