Turkey Meatloaf is definitely one of our family favorites . Perfect for a large family gathering or just the two of you with great left-overs. I love the down home flavor of meatloaf and this one is just delicious.
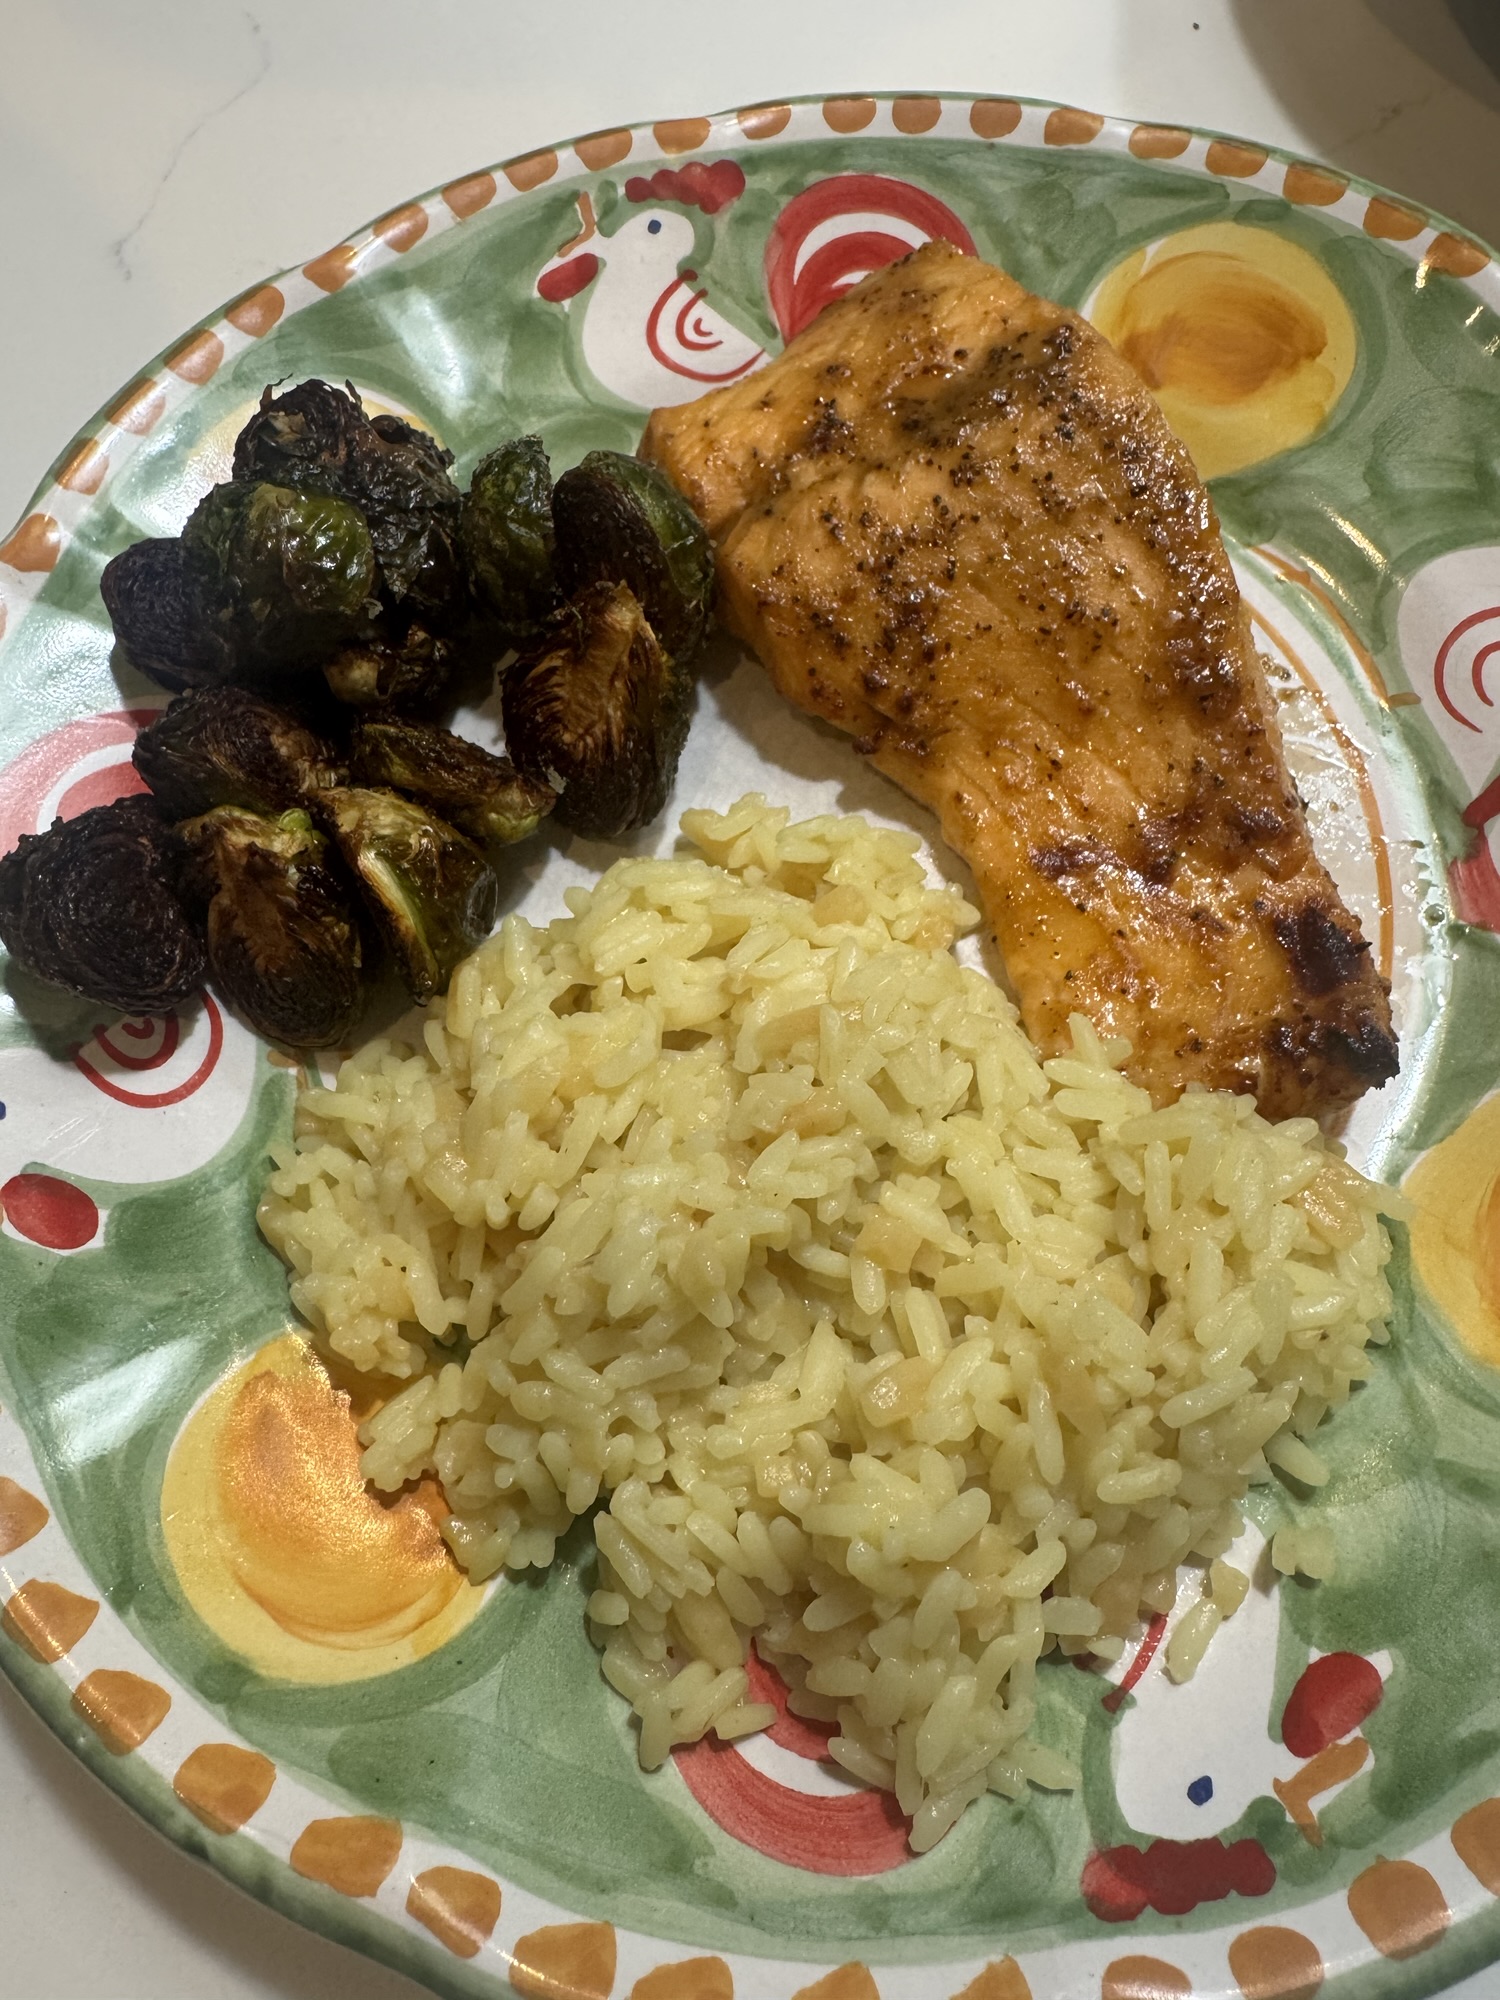
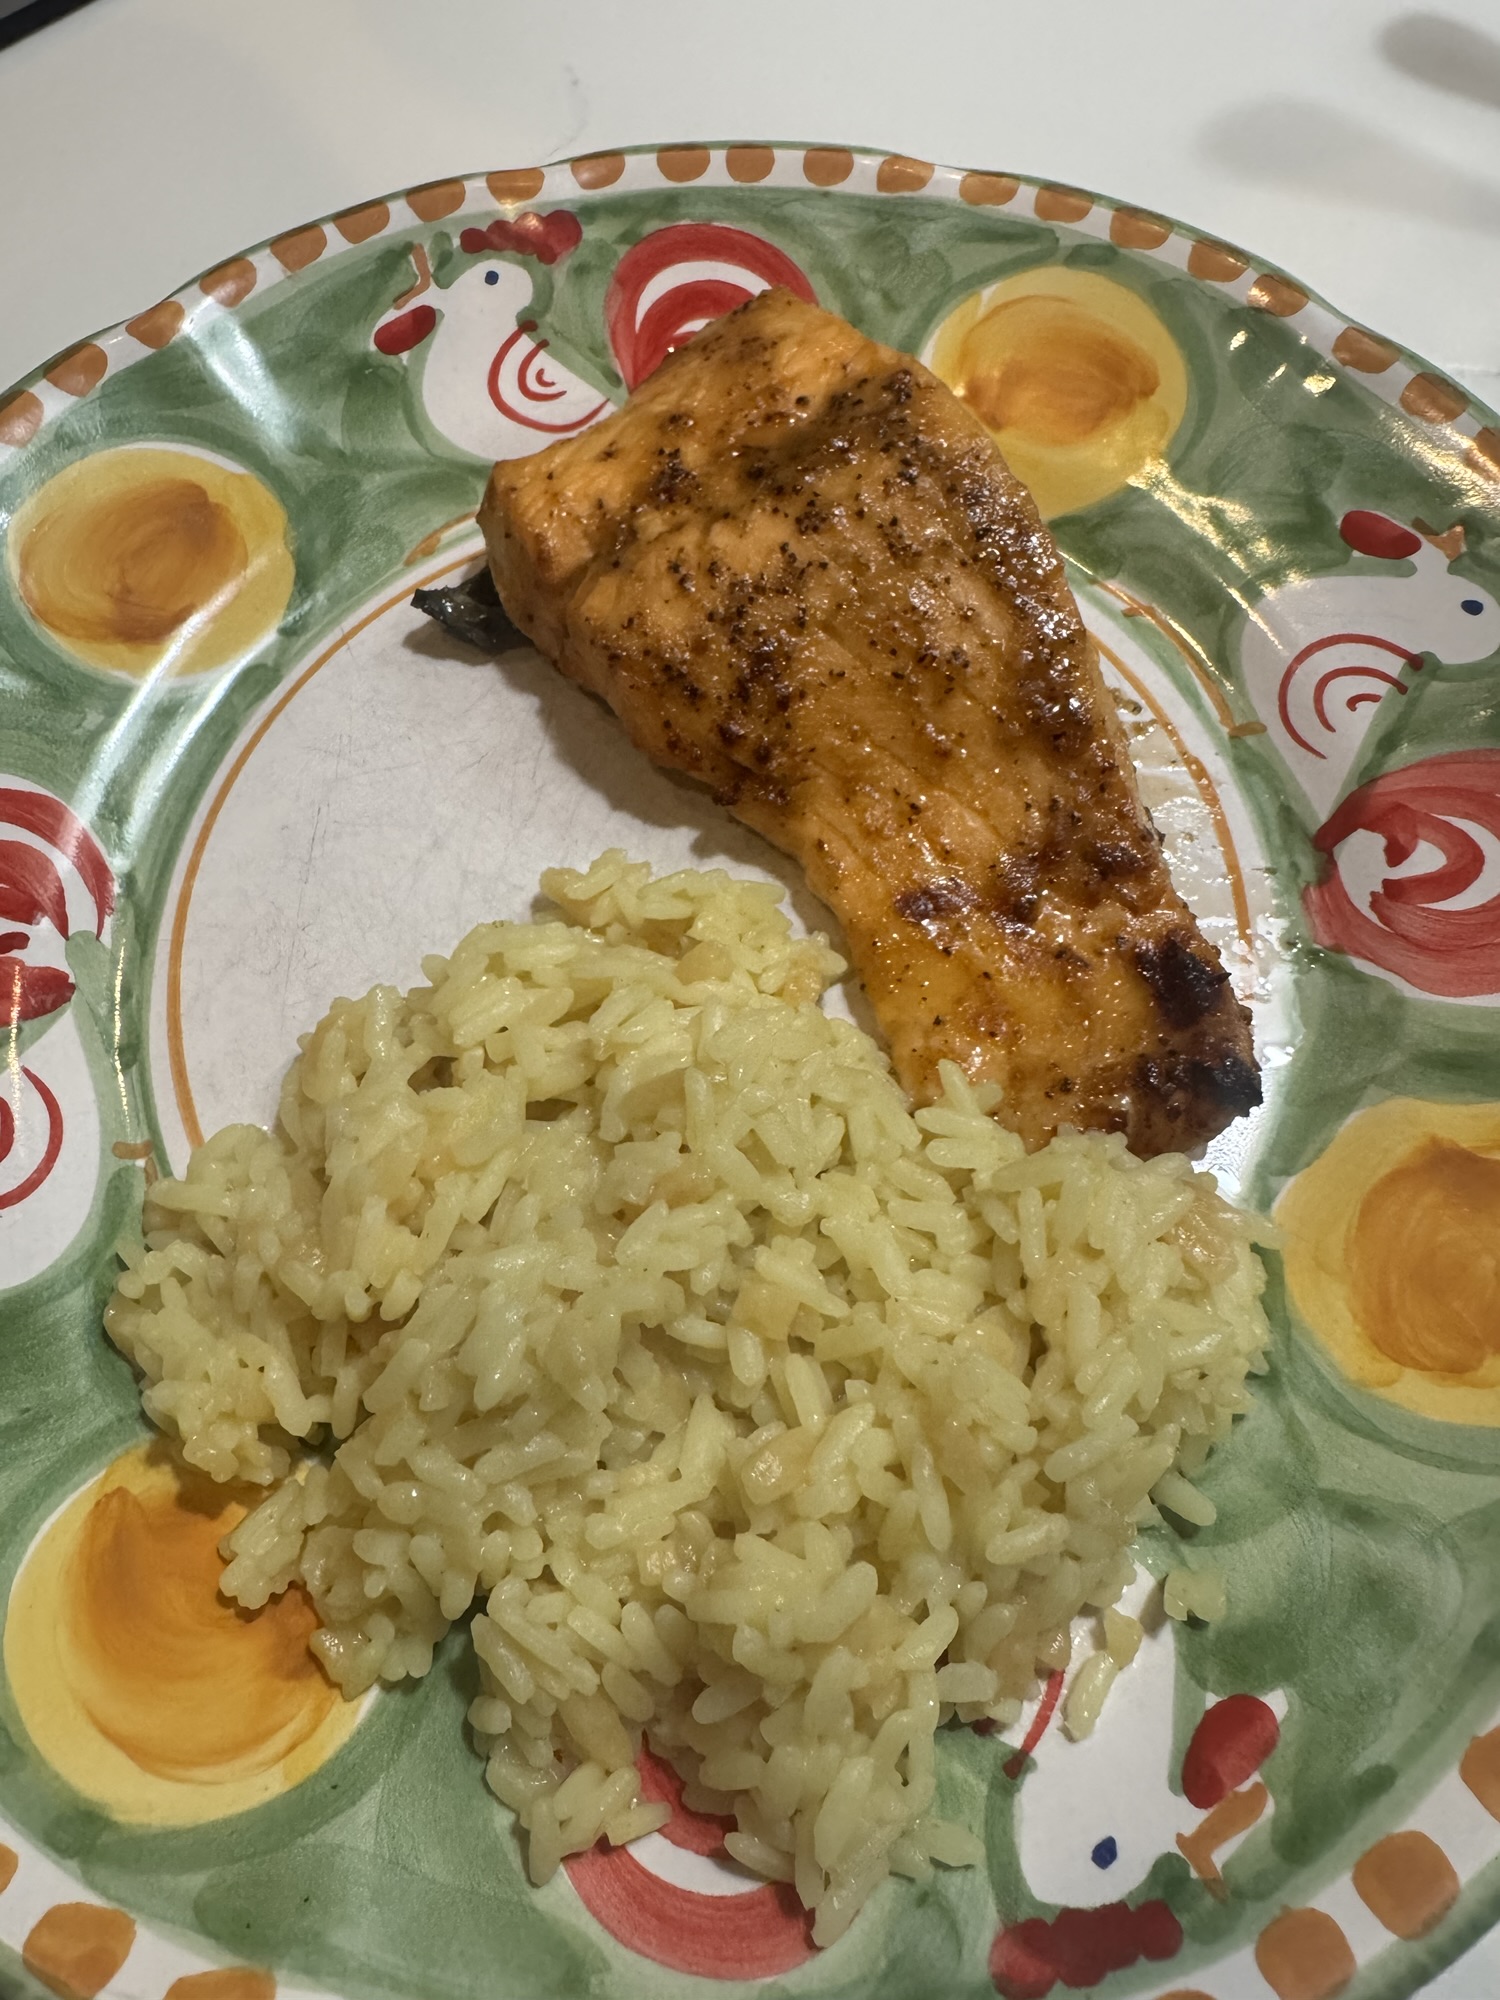
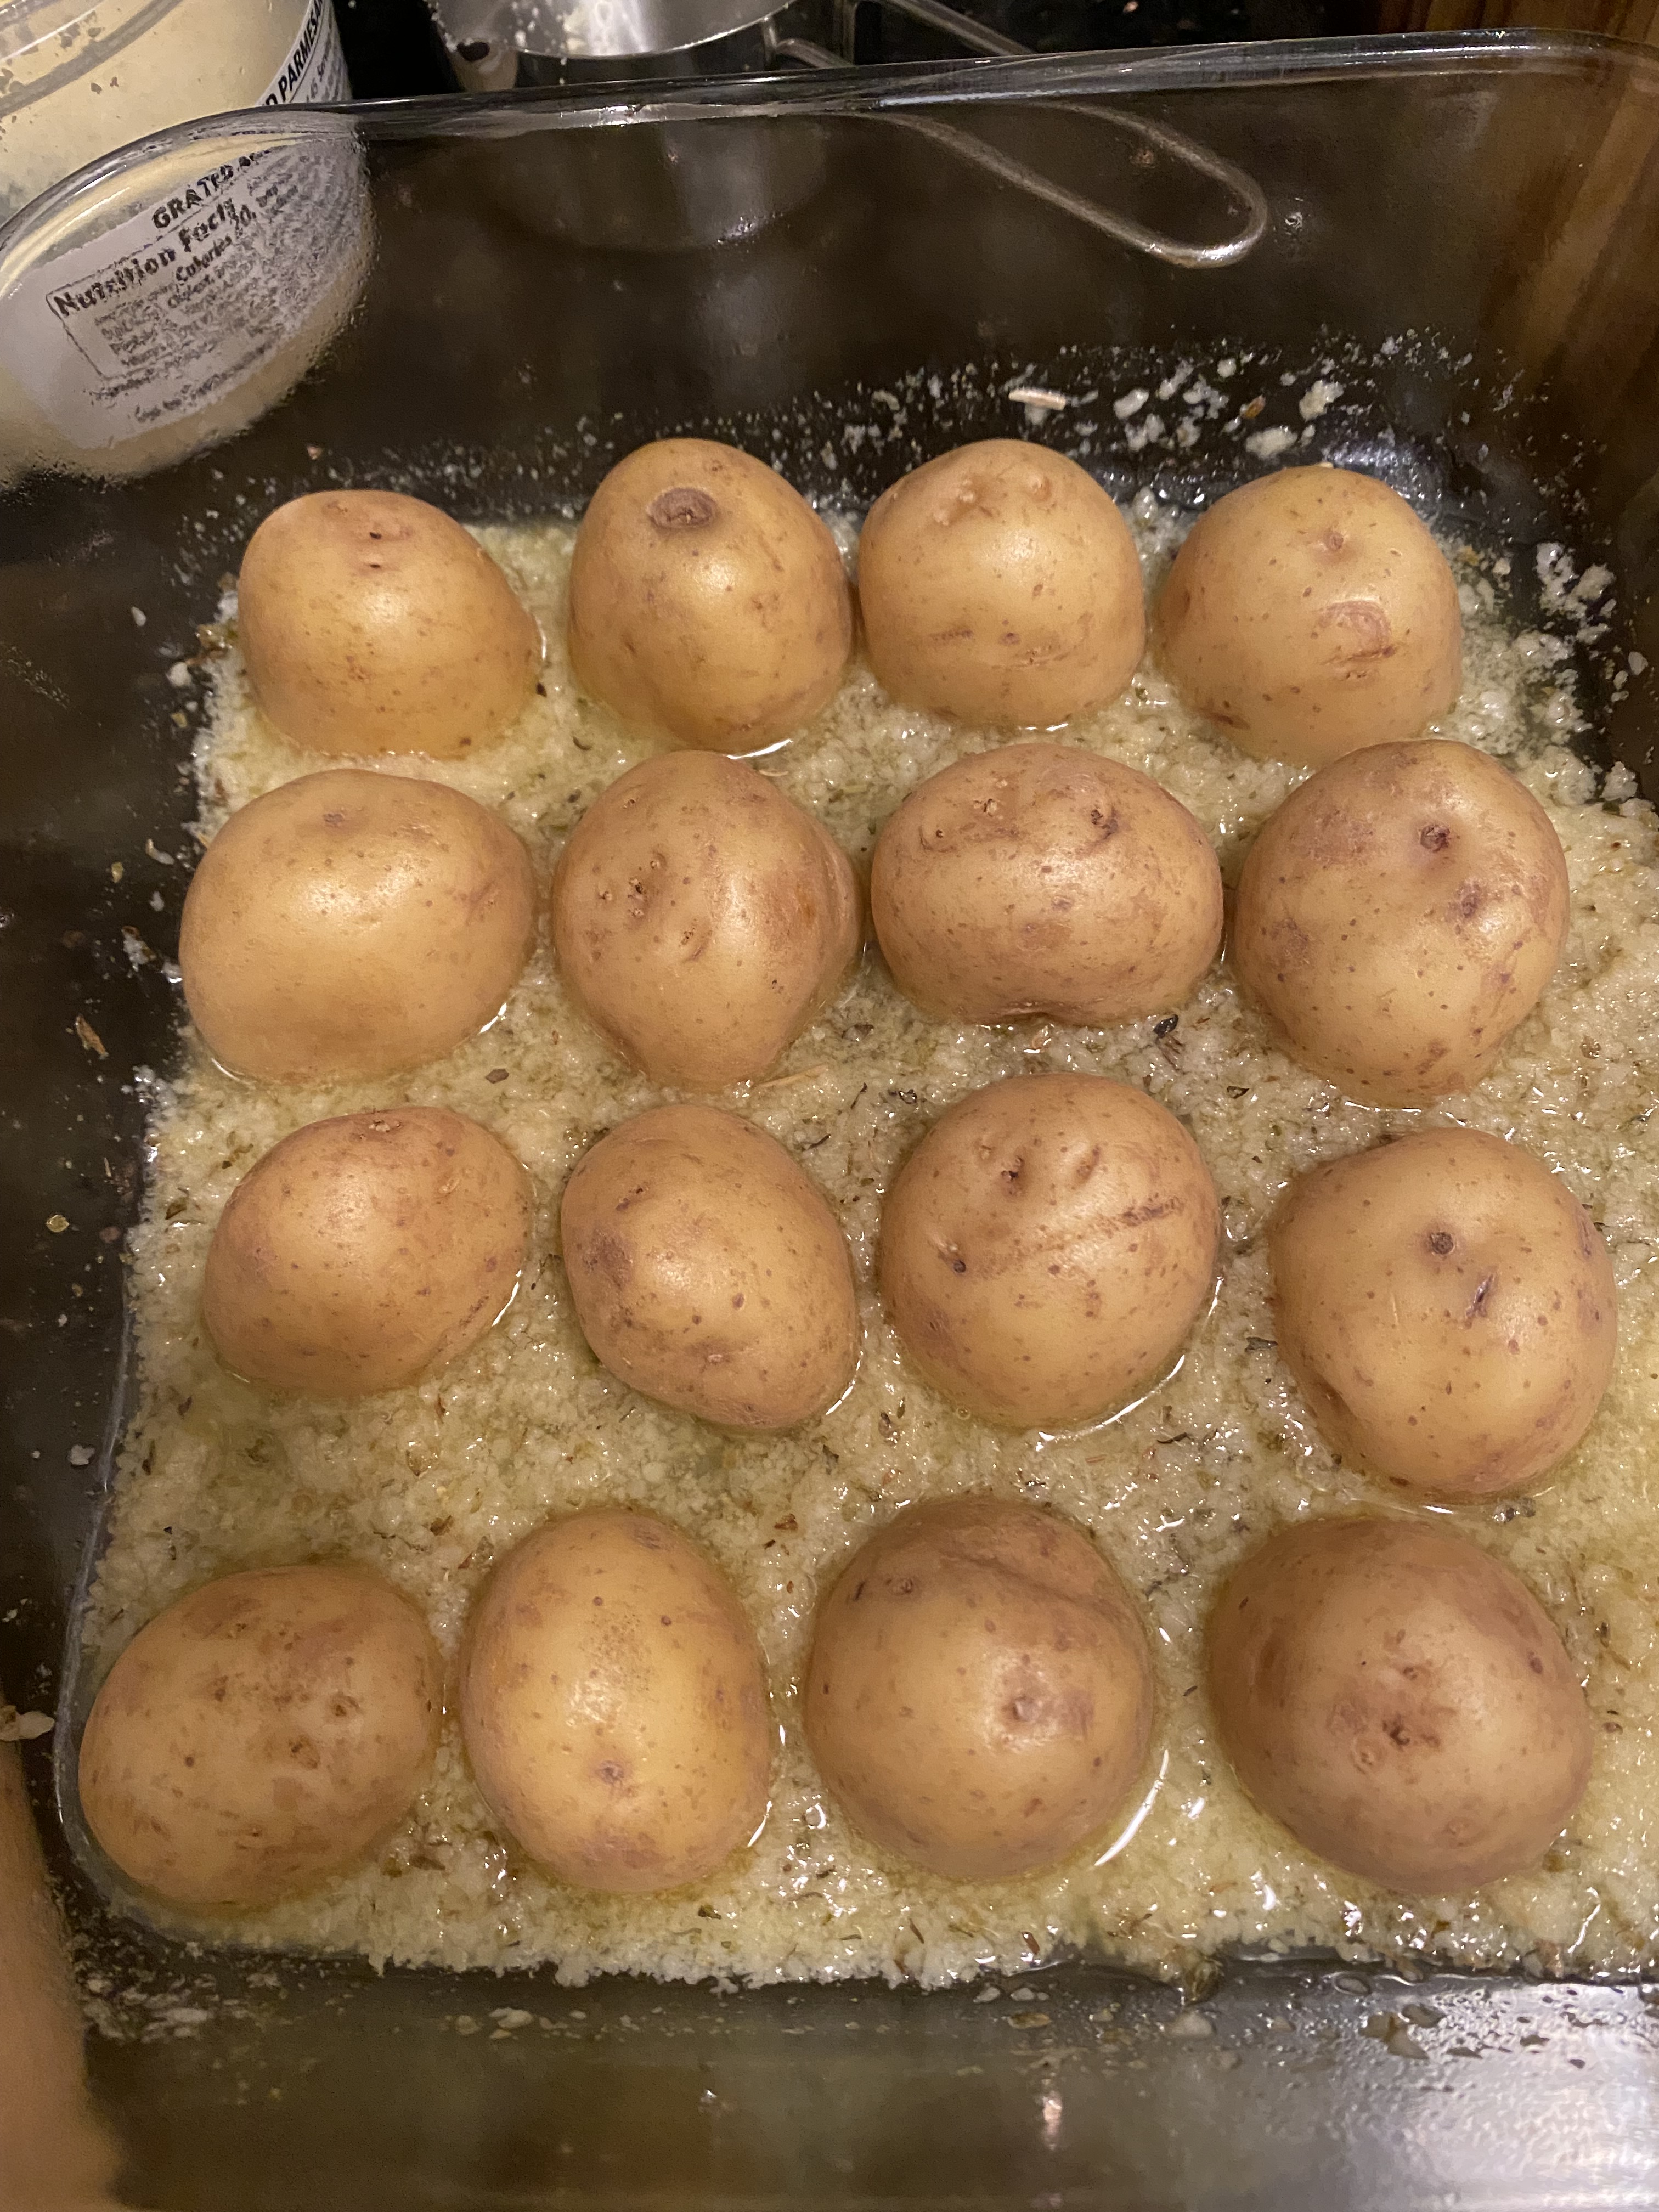
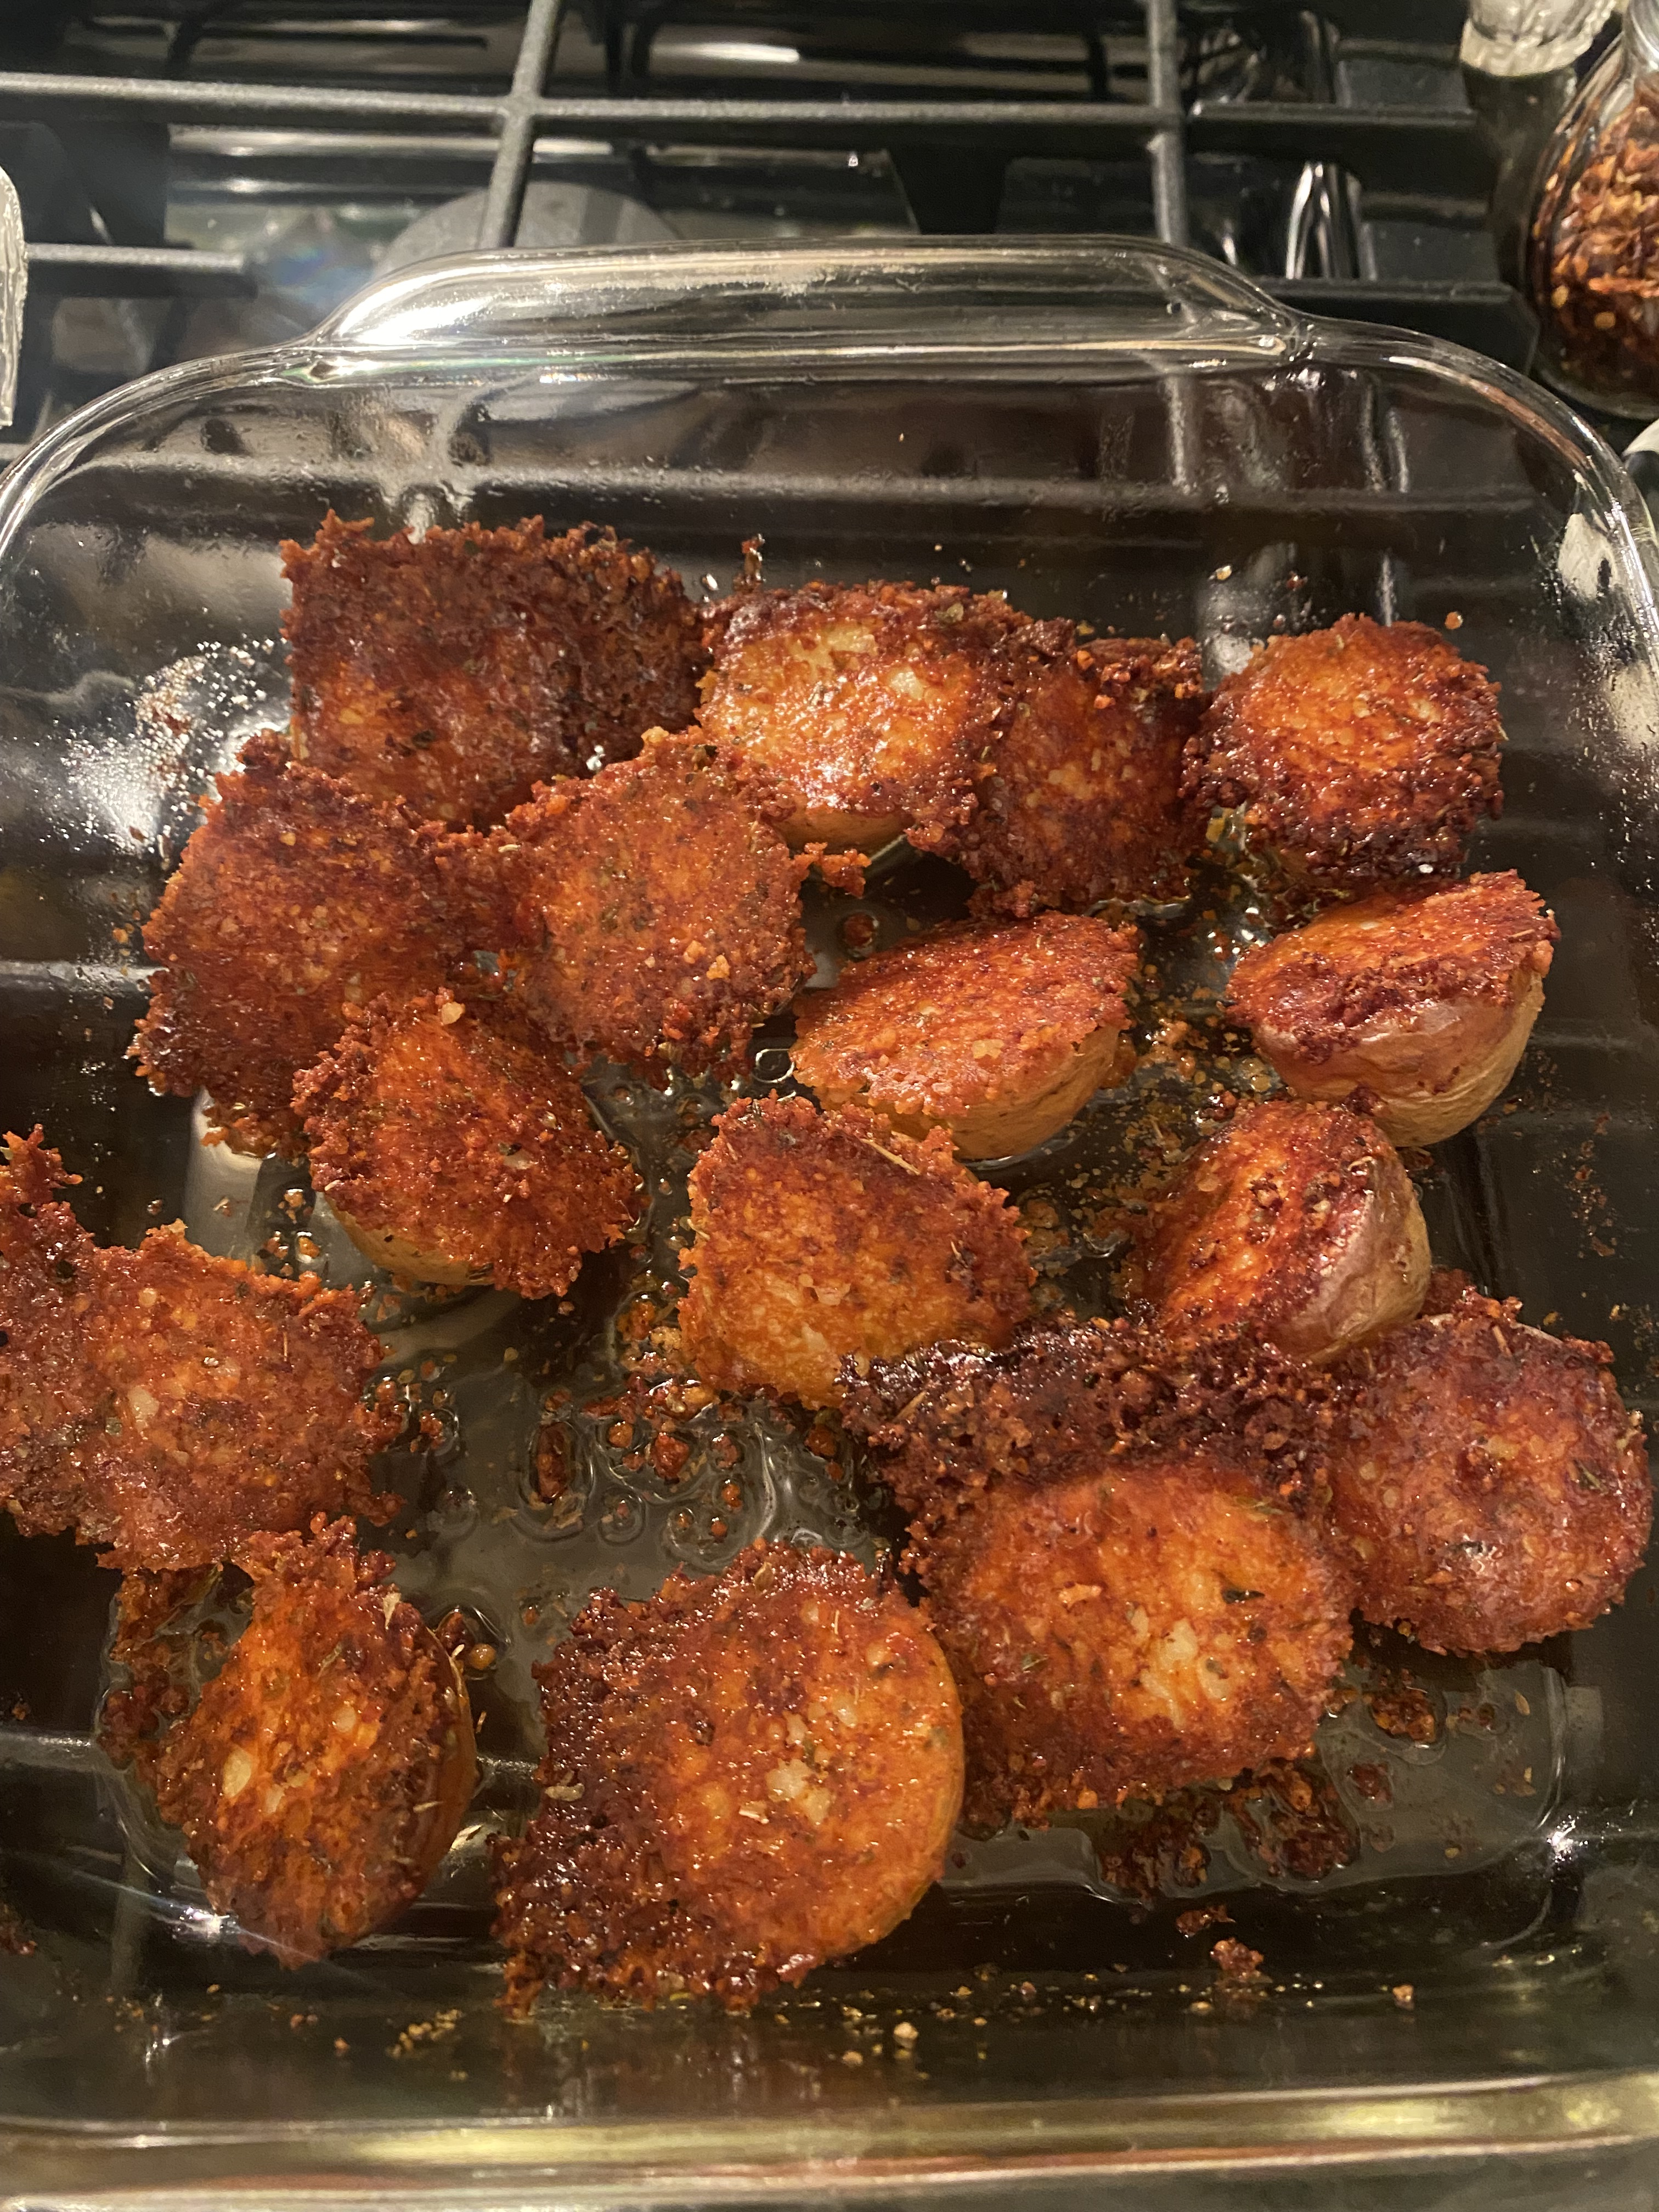
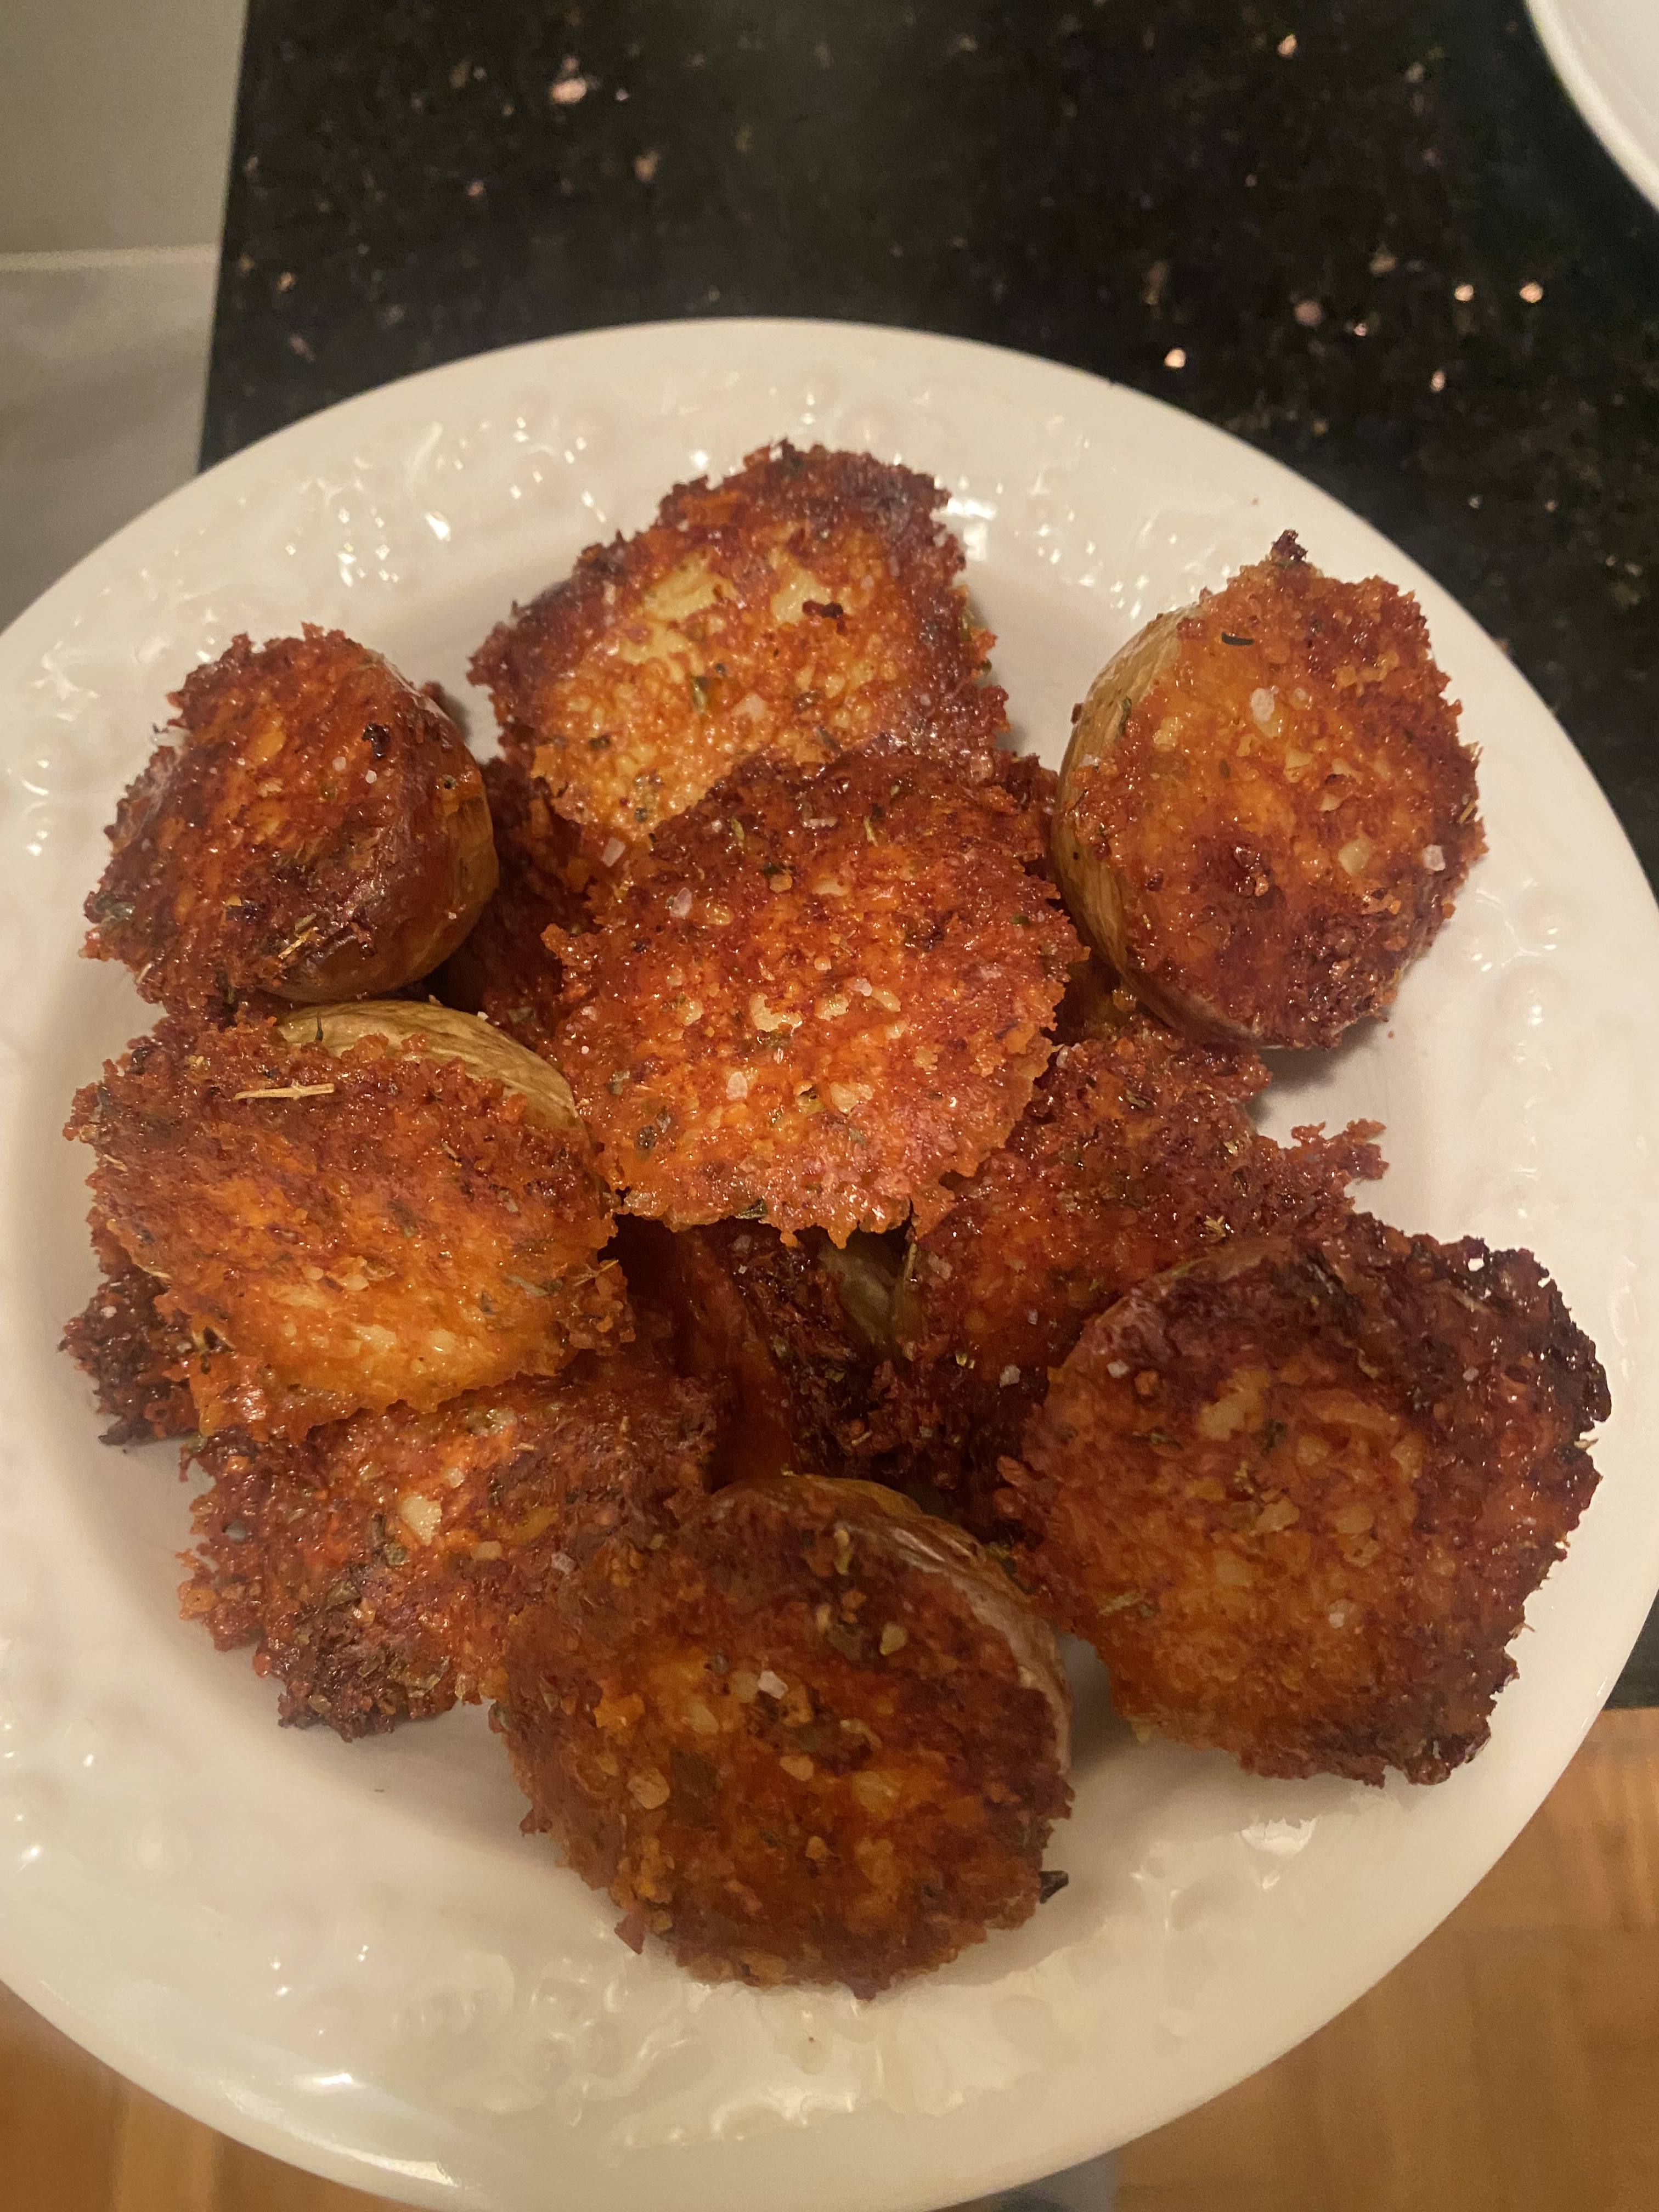
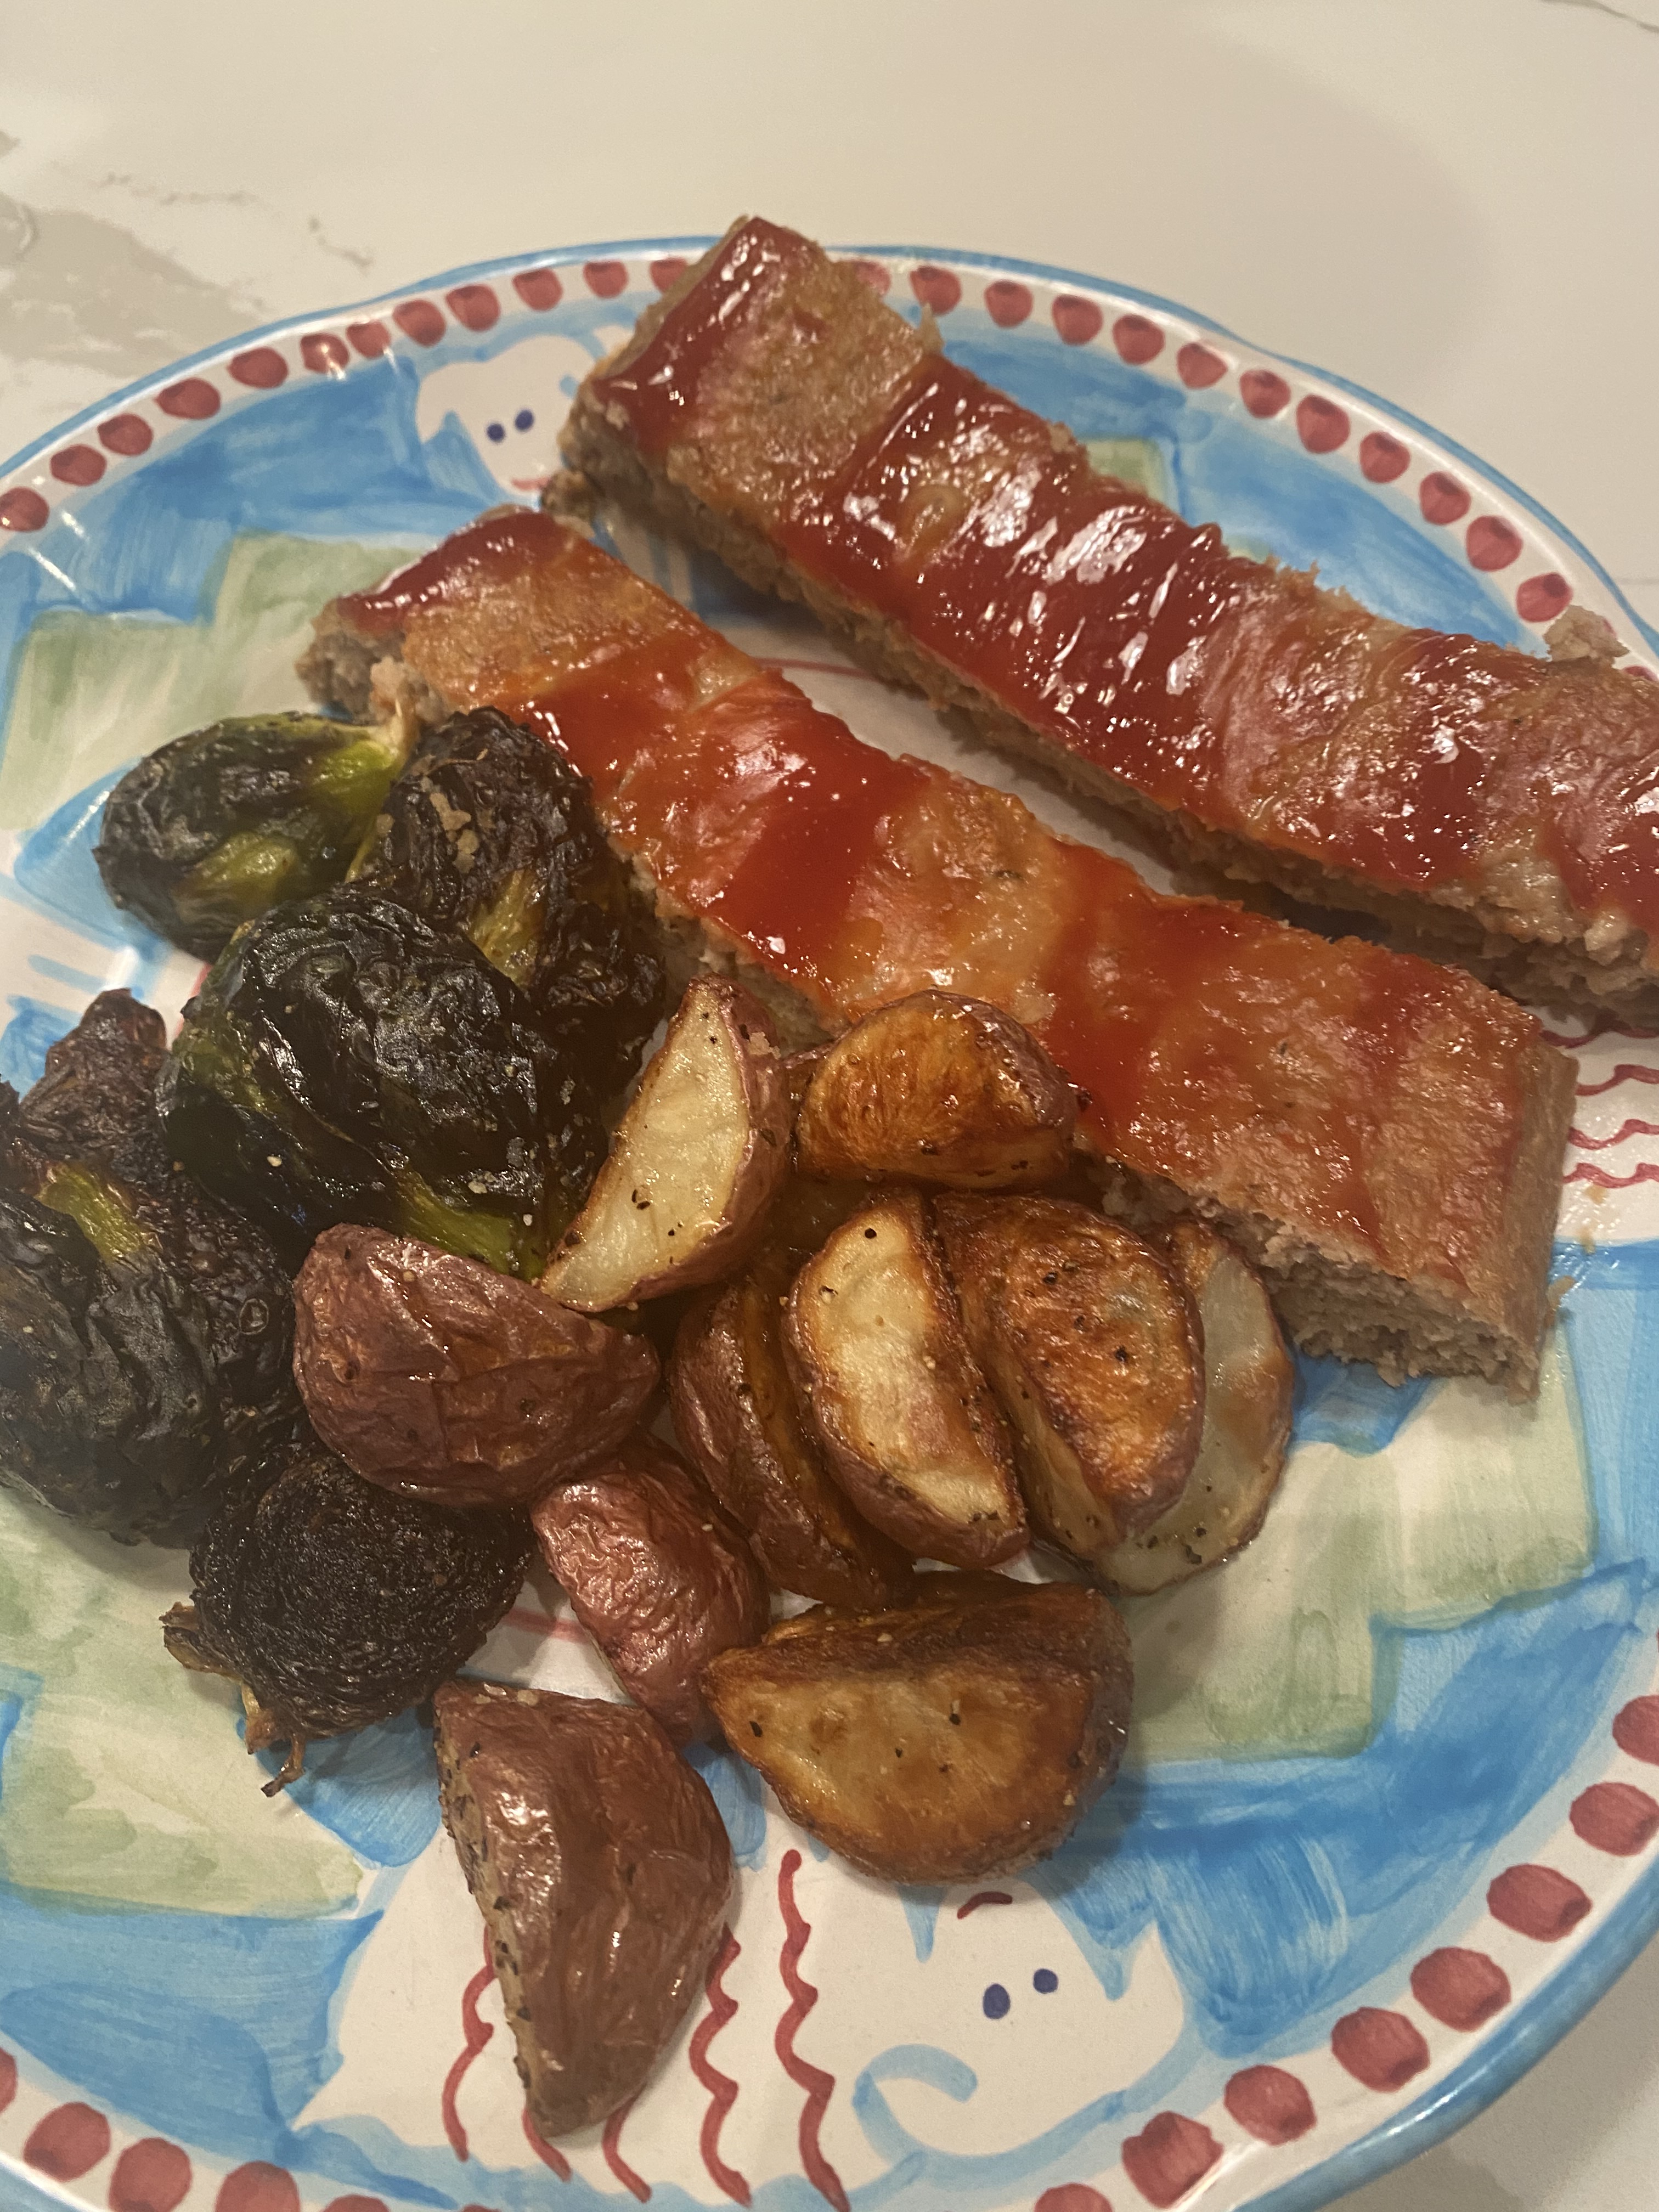
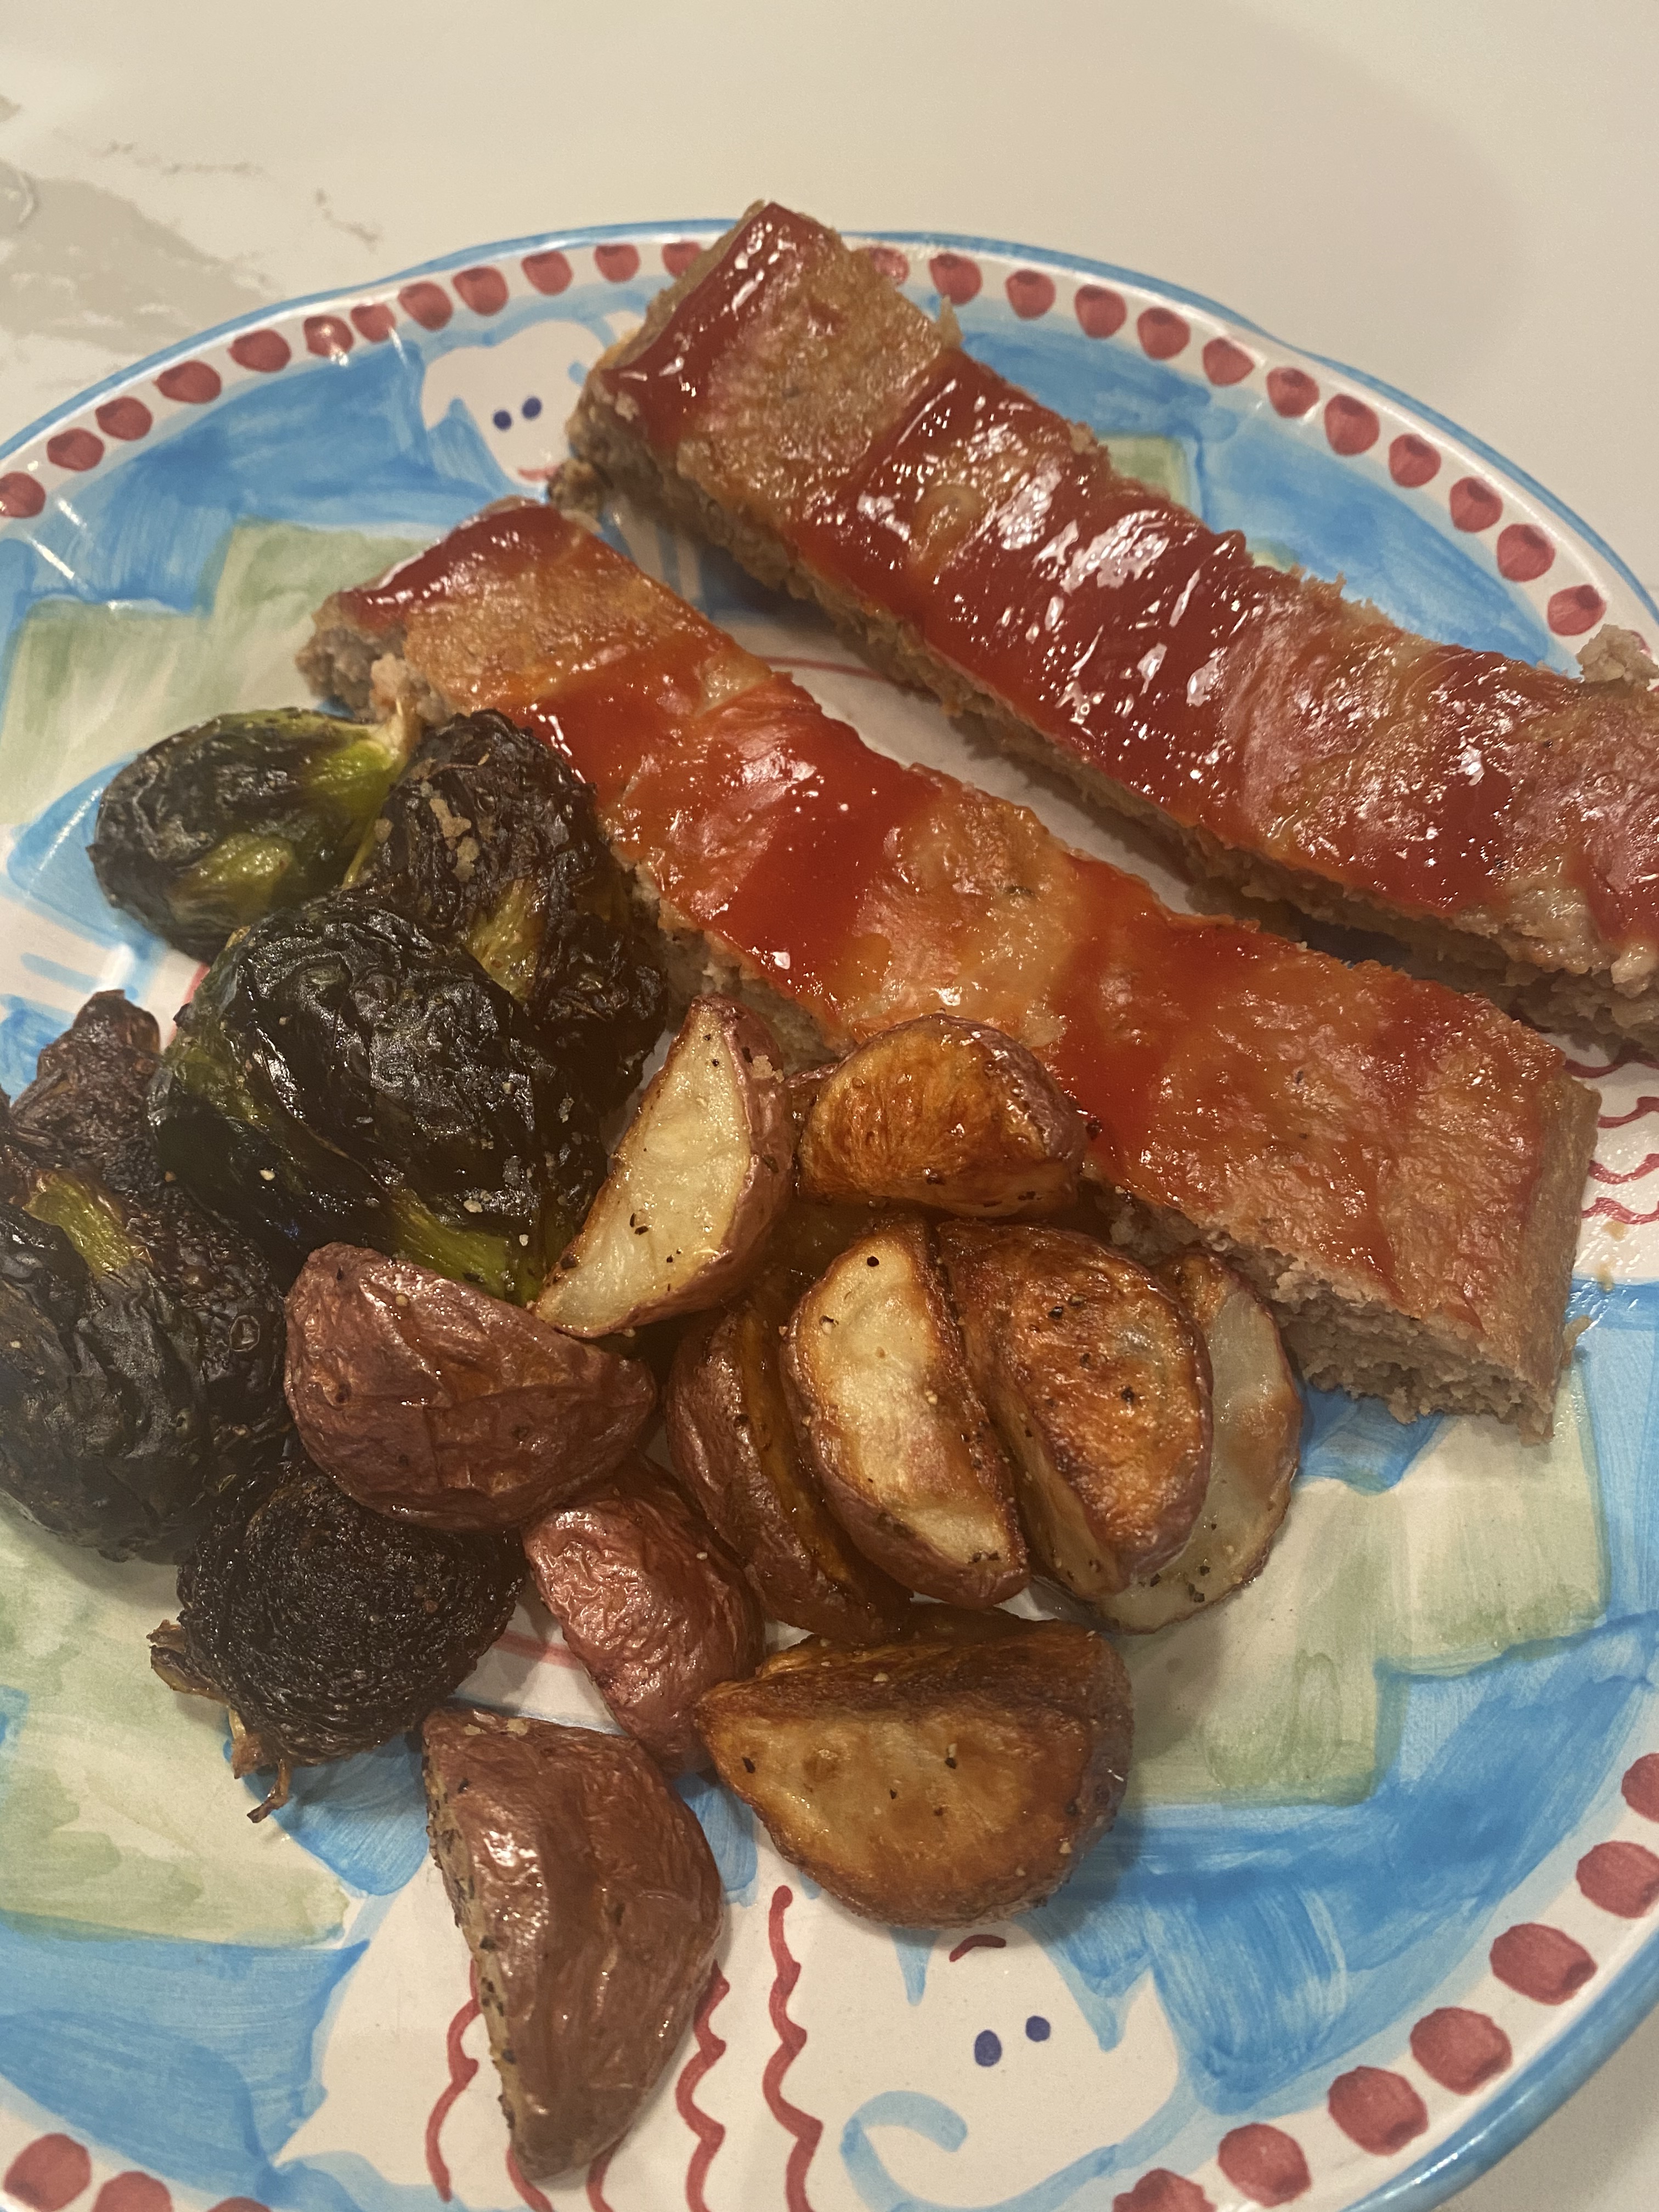
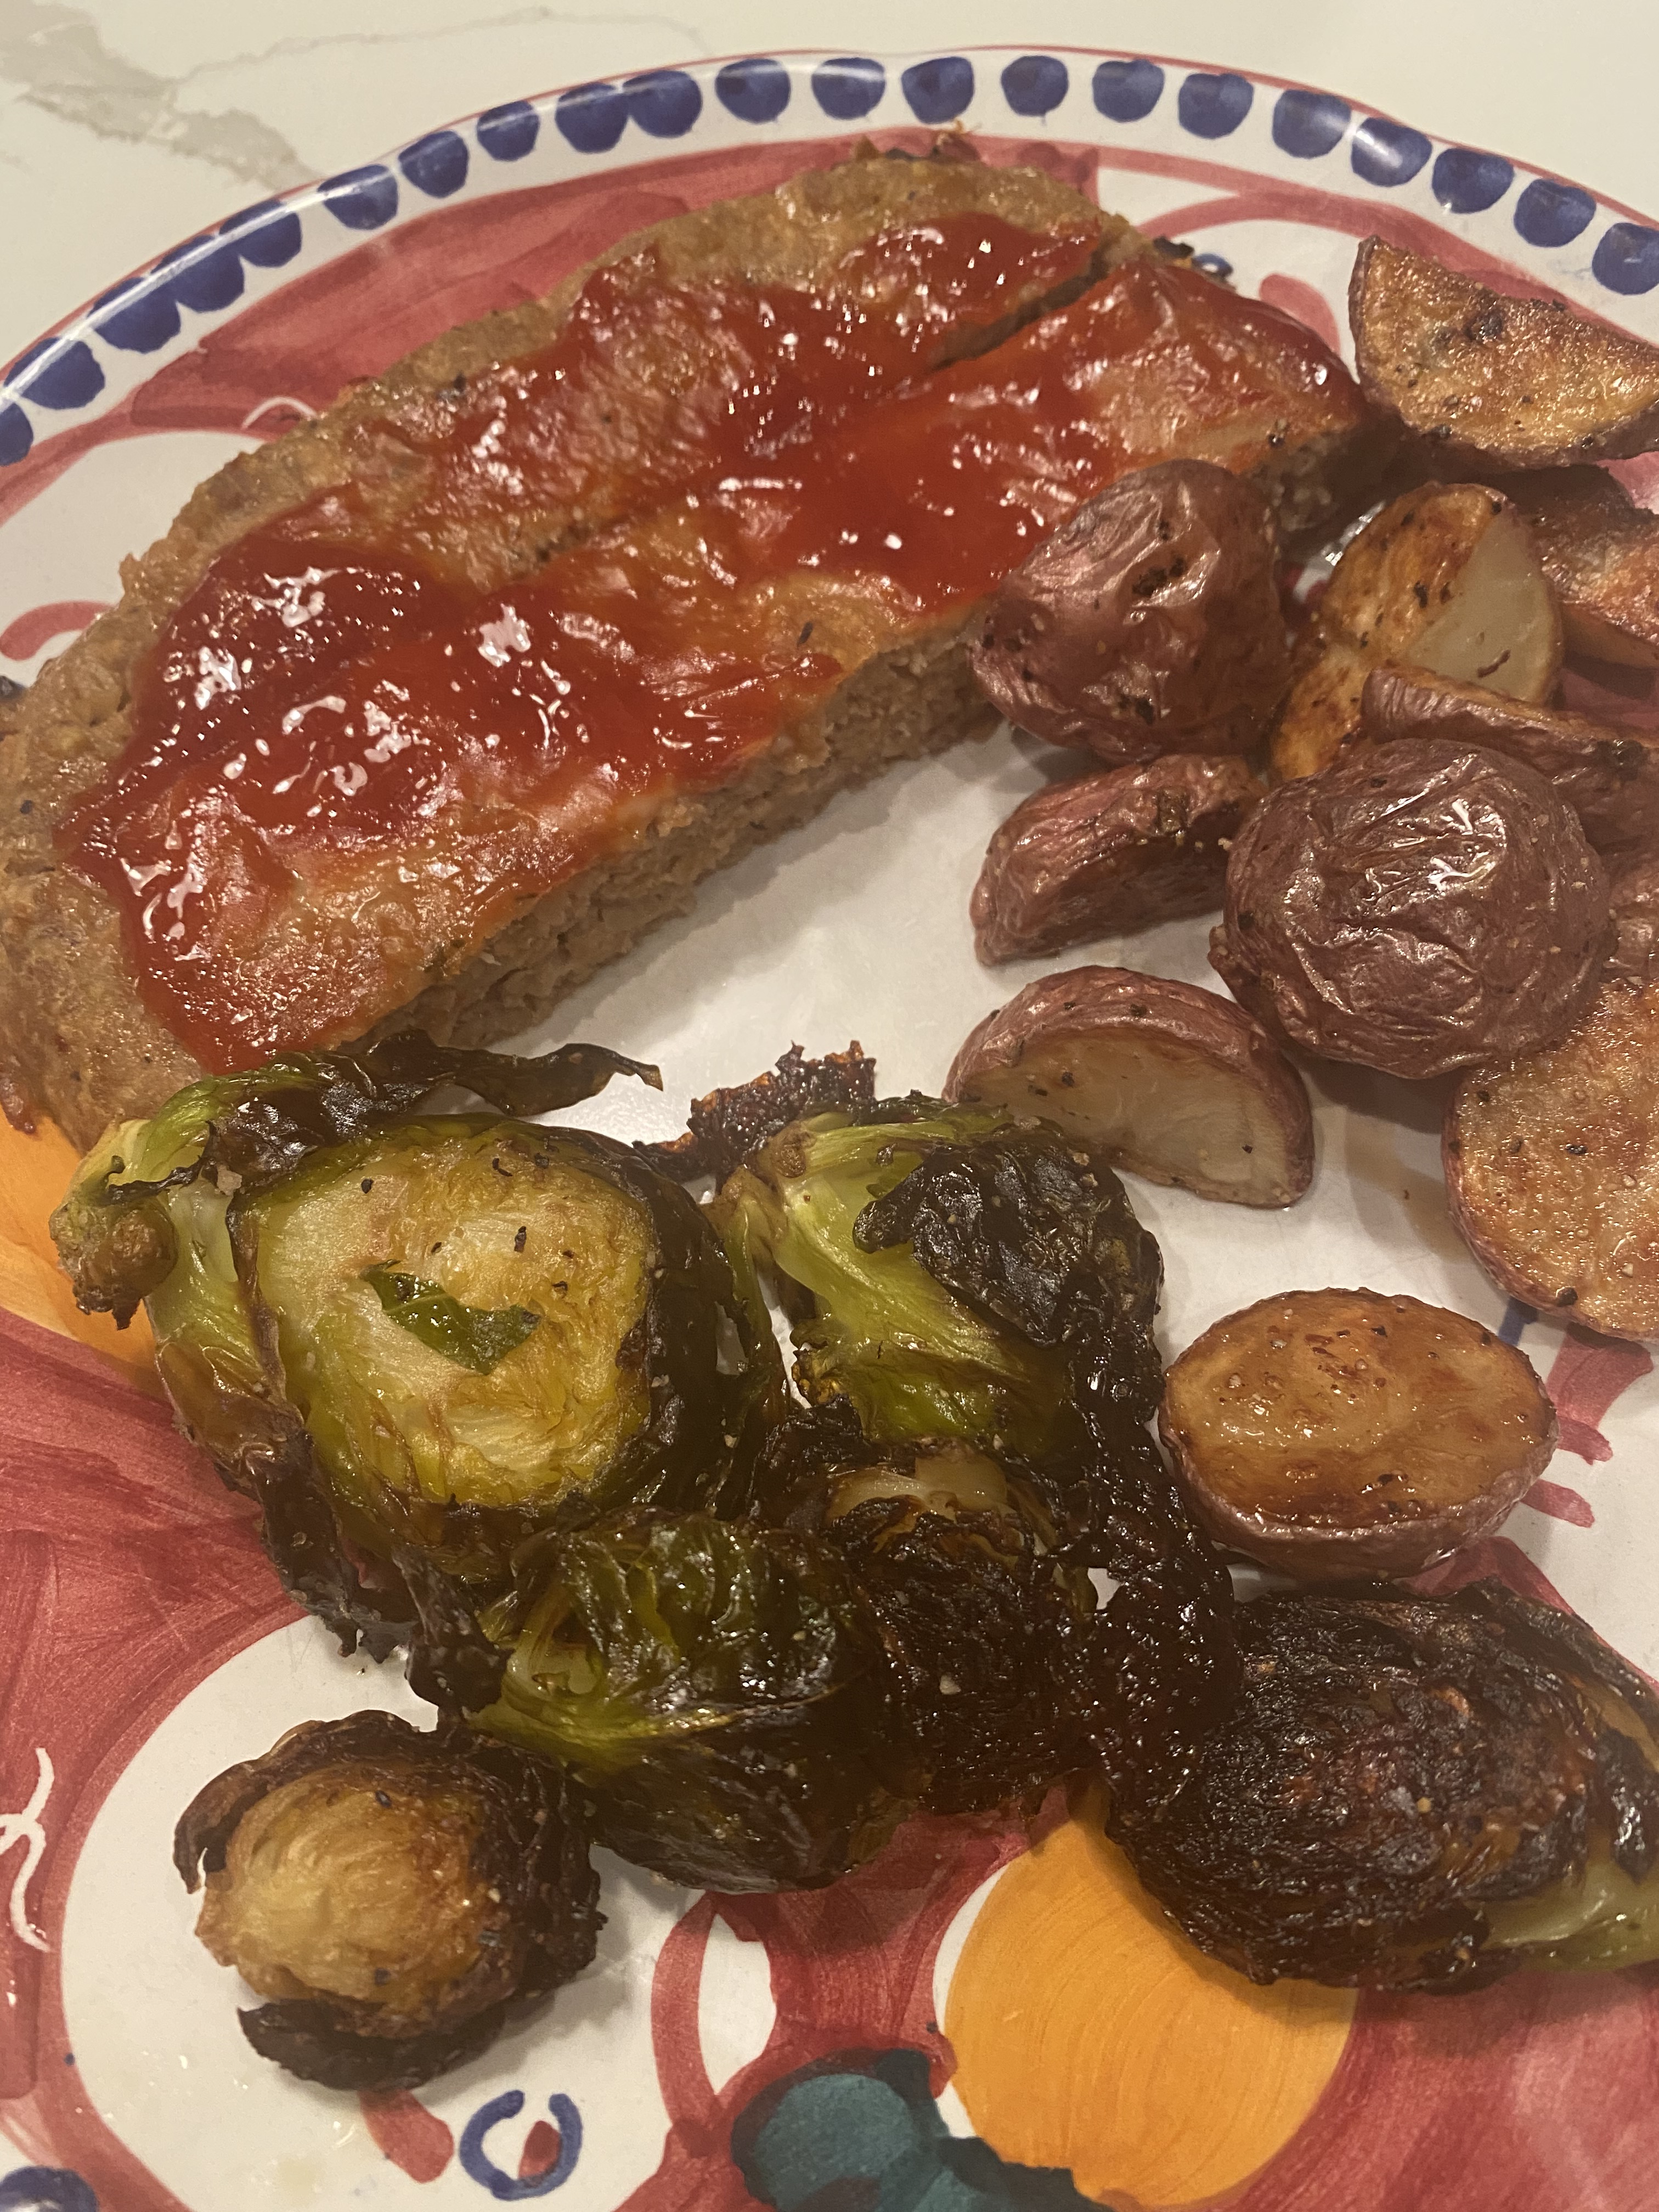
I cut the recipe in 1/2 for the 2 of us using 2 lbs. of Ground Turkey and 2 eggs and cut everything else in 1/2. I still have enough leftovers the next day and it’s just enough. If you’re making for 4 or more go with the full recipe. I served with roasted (burnt brussels sprouts and roasted red potatoes) and if you do make the whole recipe you can easily freeze the leftover for another night.
Enjoy!
*original recipe from The Barefoot Contessa – Ina Garden
*you will need a meat thermometer to check for doneness
Ingredients:
5 lbs ground turkey— I prefer chopped dark meat as it has a little fat and a lot less dry than white meat turkey. You can find 85% lean which is fine . It’s sometimes hard to find dark meat ground turkey so when I find it I buy it. It just makes for a tastier meat loaf. If made with all white meat it will be very dry especially the 98% –take my word for it I’ve tried it both ways
3 cups chopped yellow onions ( app. 2 large onions)
2 tablespoons olive oil
2 teaspoons kosher salt
1 teaspoon freshly ground black pepper
1/2 teaspoon dried thyme
1/3 cup Worcestershire Sauce
3/4 cup chicken stock
1 1/2 teaspoons tomato paste
1 1/2 cups plain dry bread crumbs
3 extra-large eggs, beaten
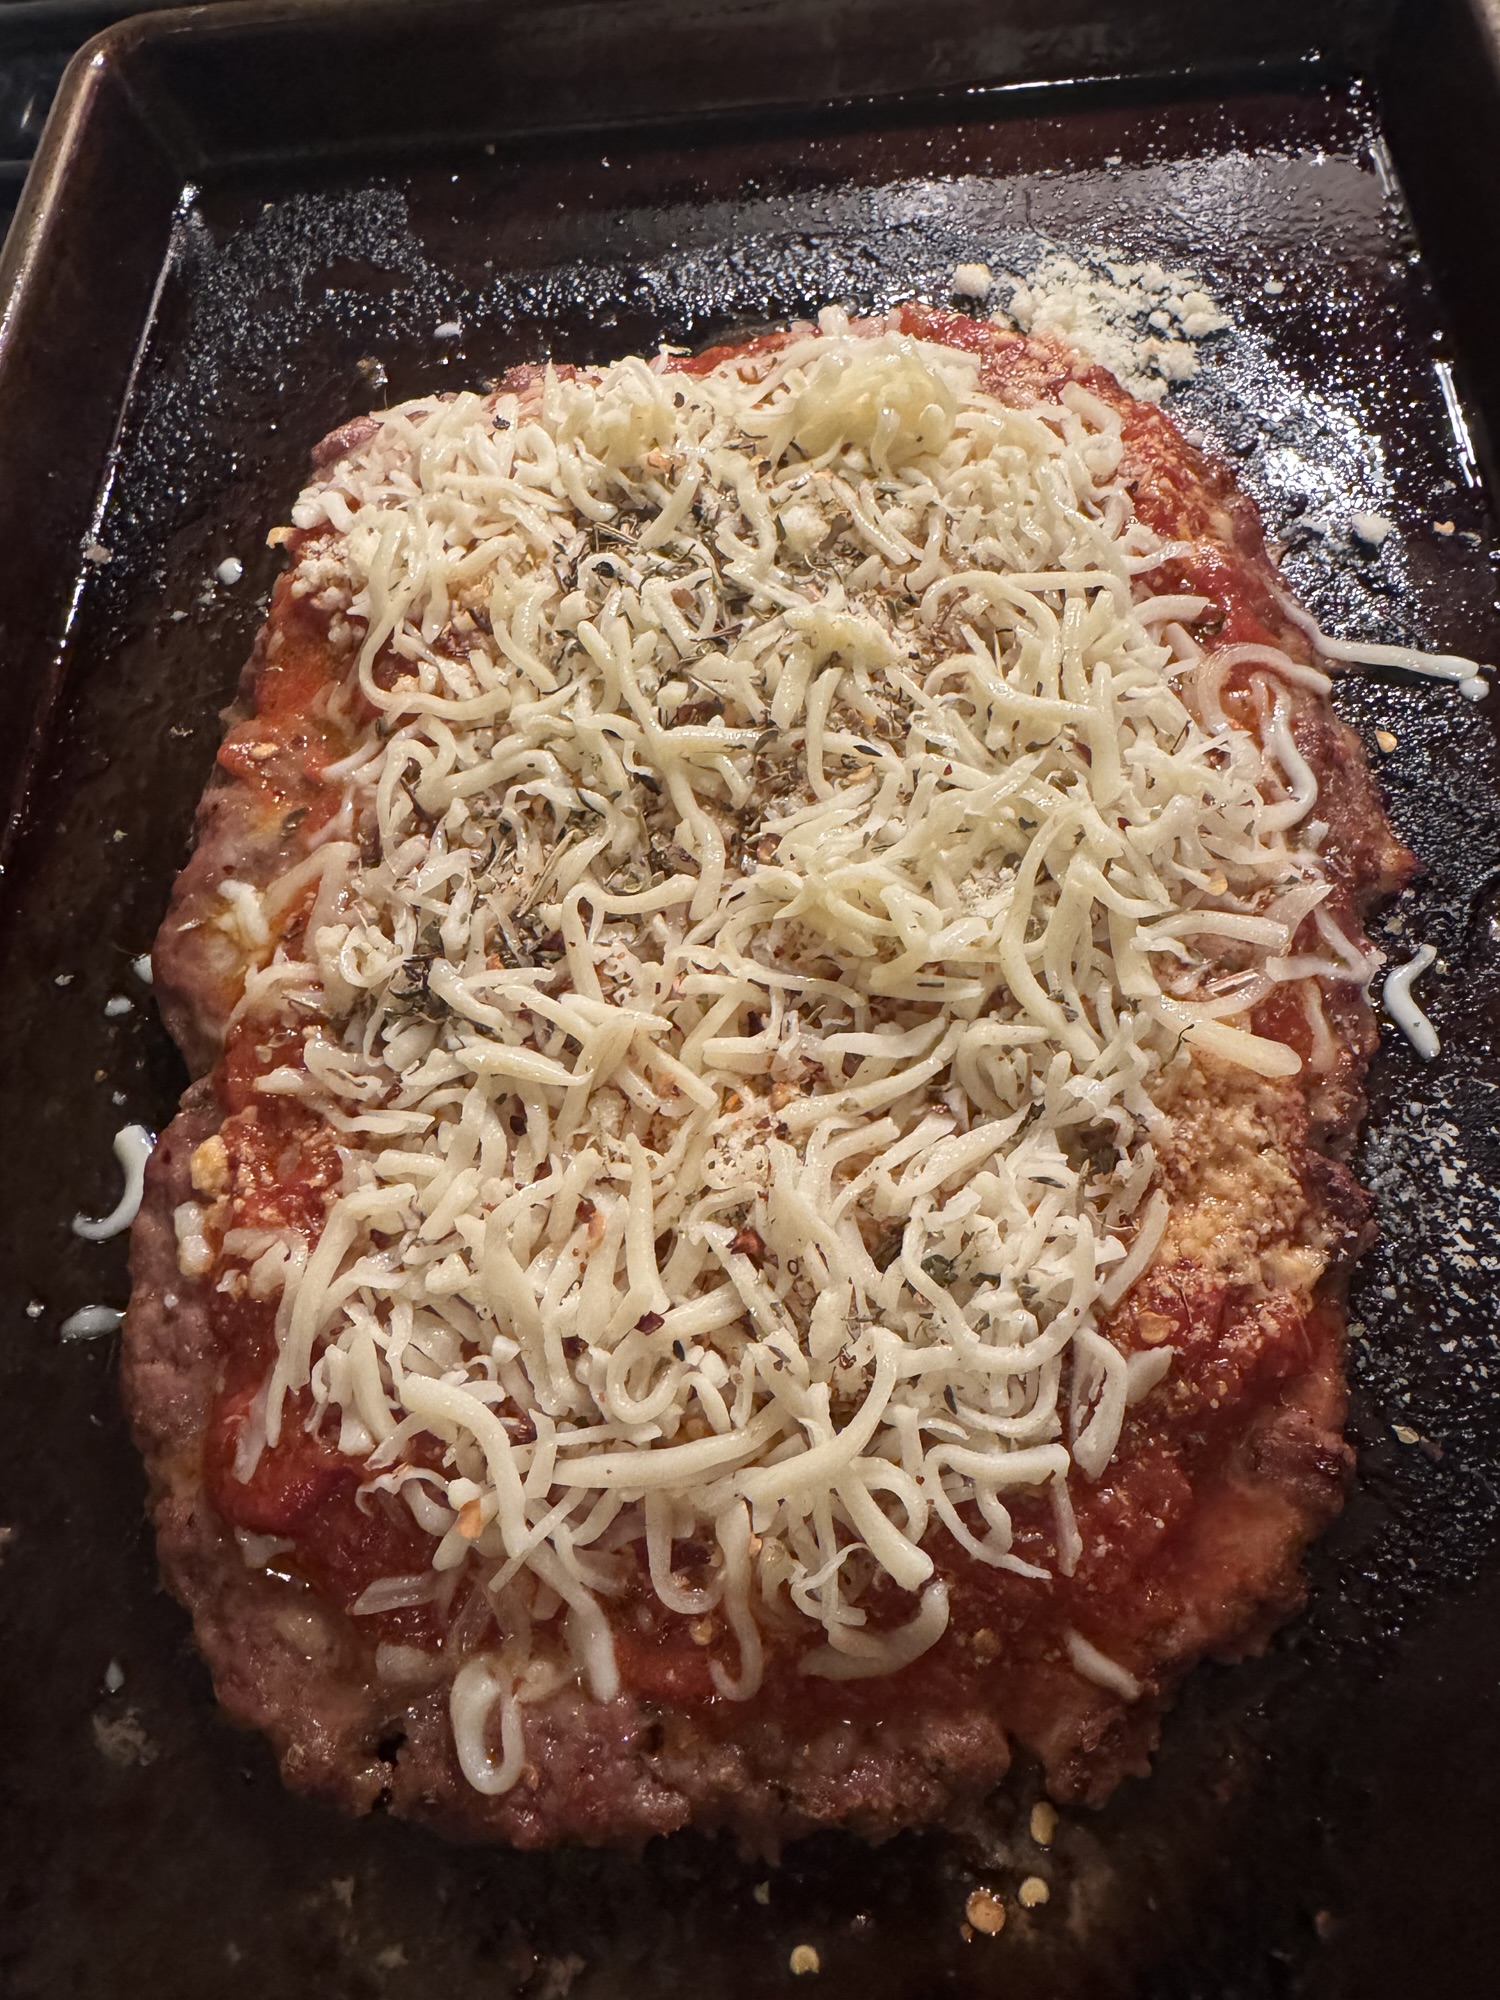
3/4 cup ketchup/1 tablespoon brown sugar
Directions:
Preheat oven to 325 degrees
In a medium saute pan (frying pan) , over a medium low heat, cook the onions in the olive oil, add salt, pepper, and thyme until translucent app. 10 minutes or so. Don’t brown them. Add the Worcestershire sauce, chicken stock, and tomato paste and mix well. Allow this mixture to cool in frying pan off the heat to room temperature.
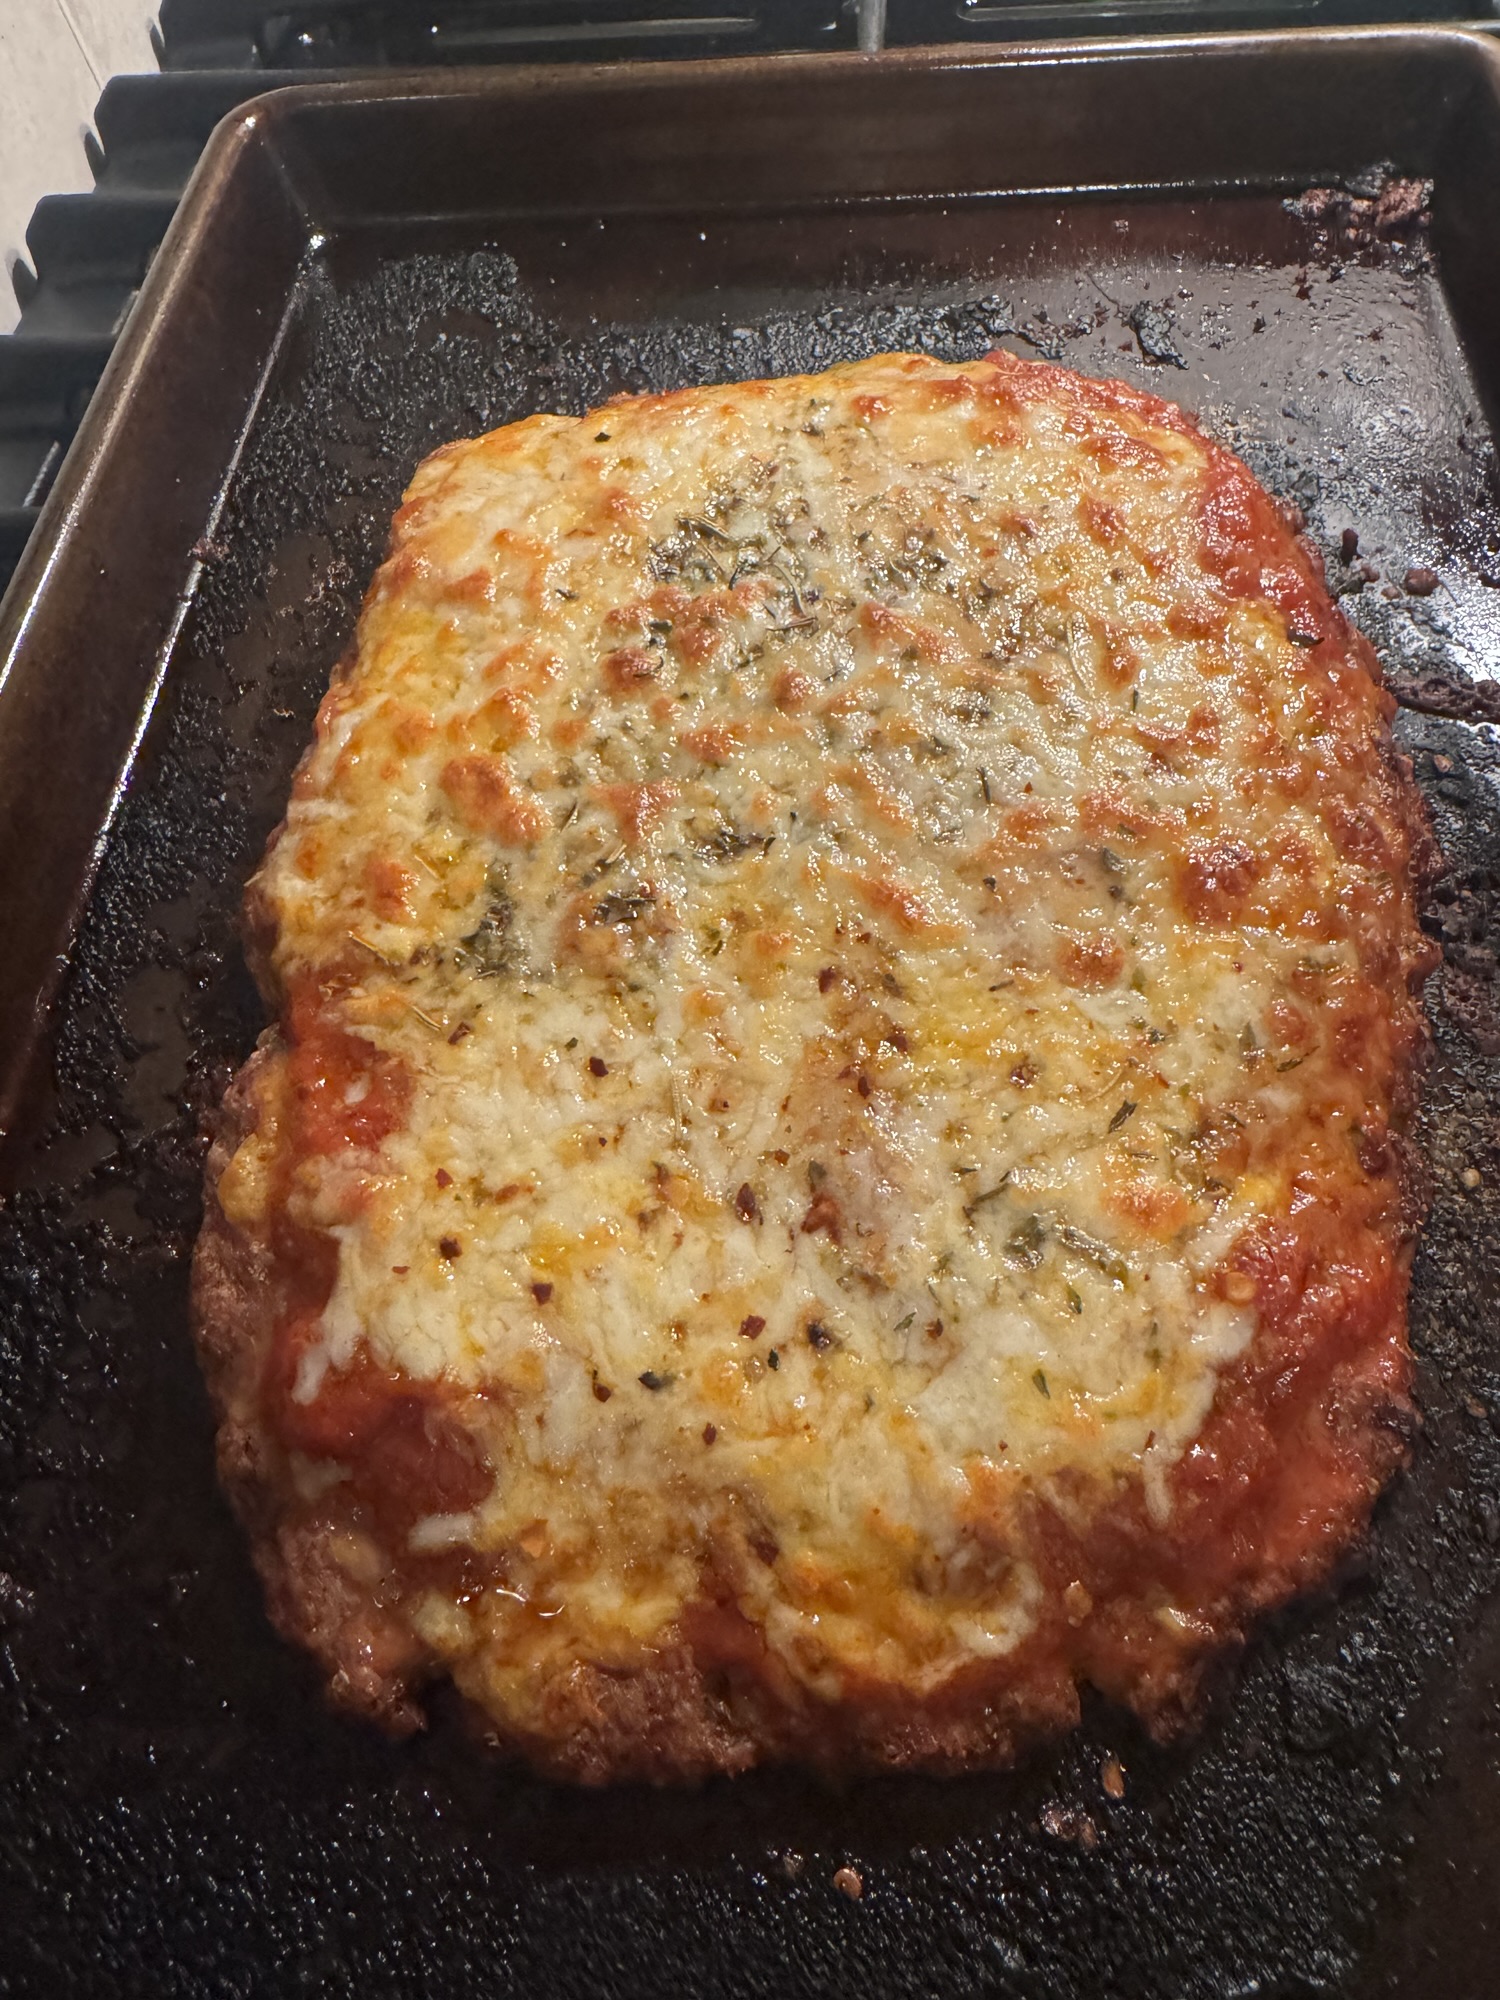
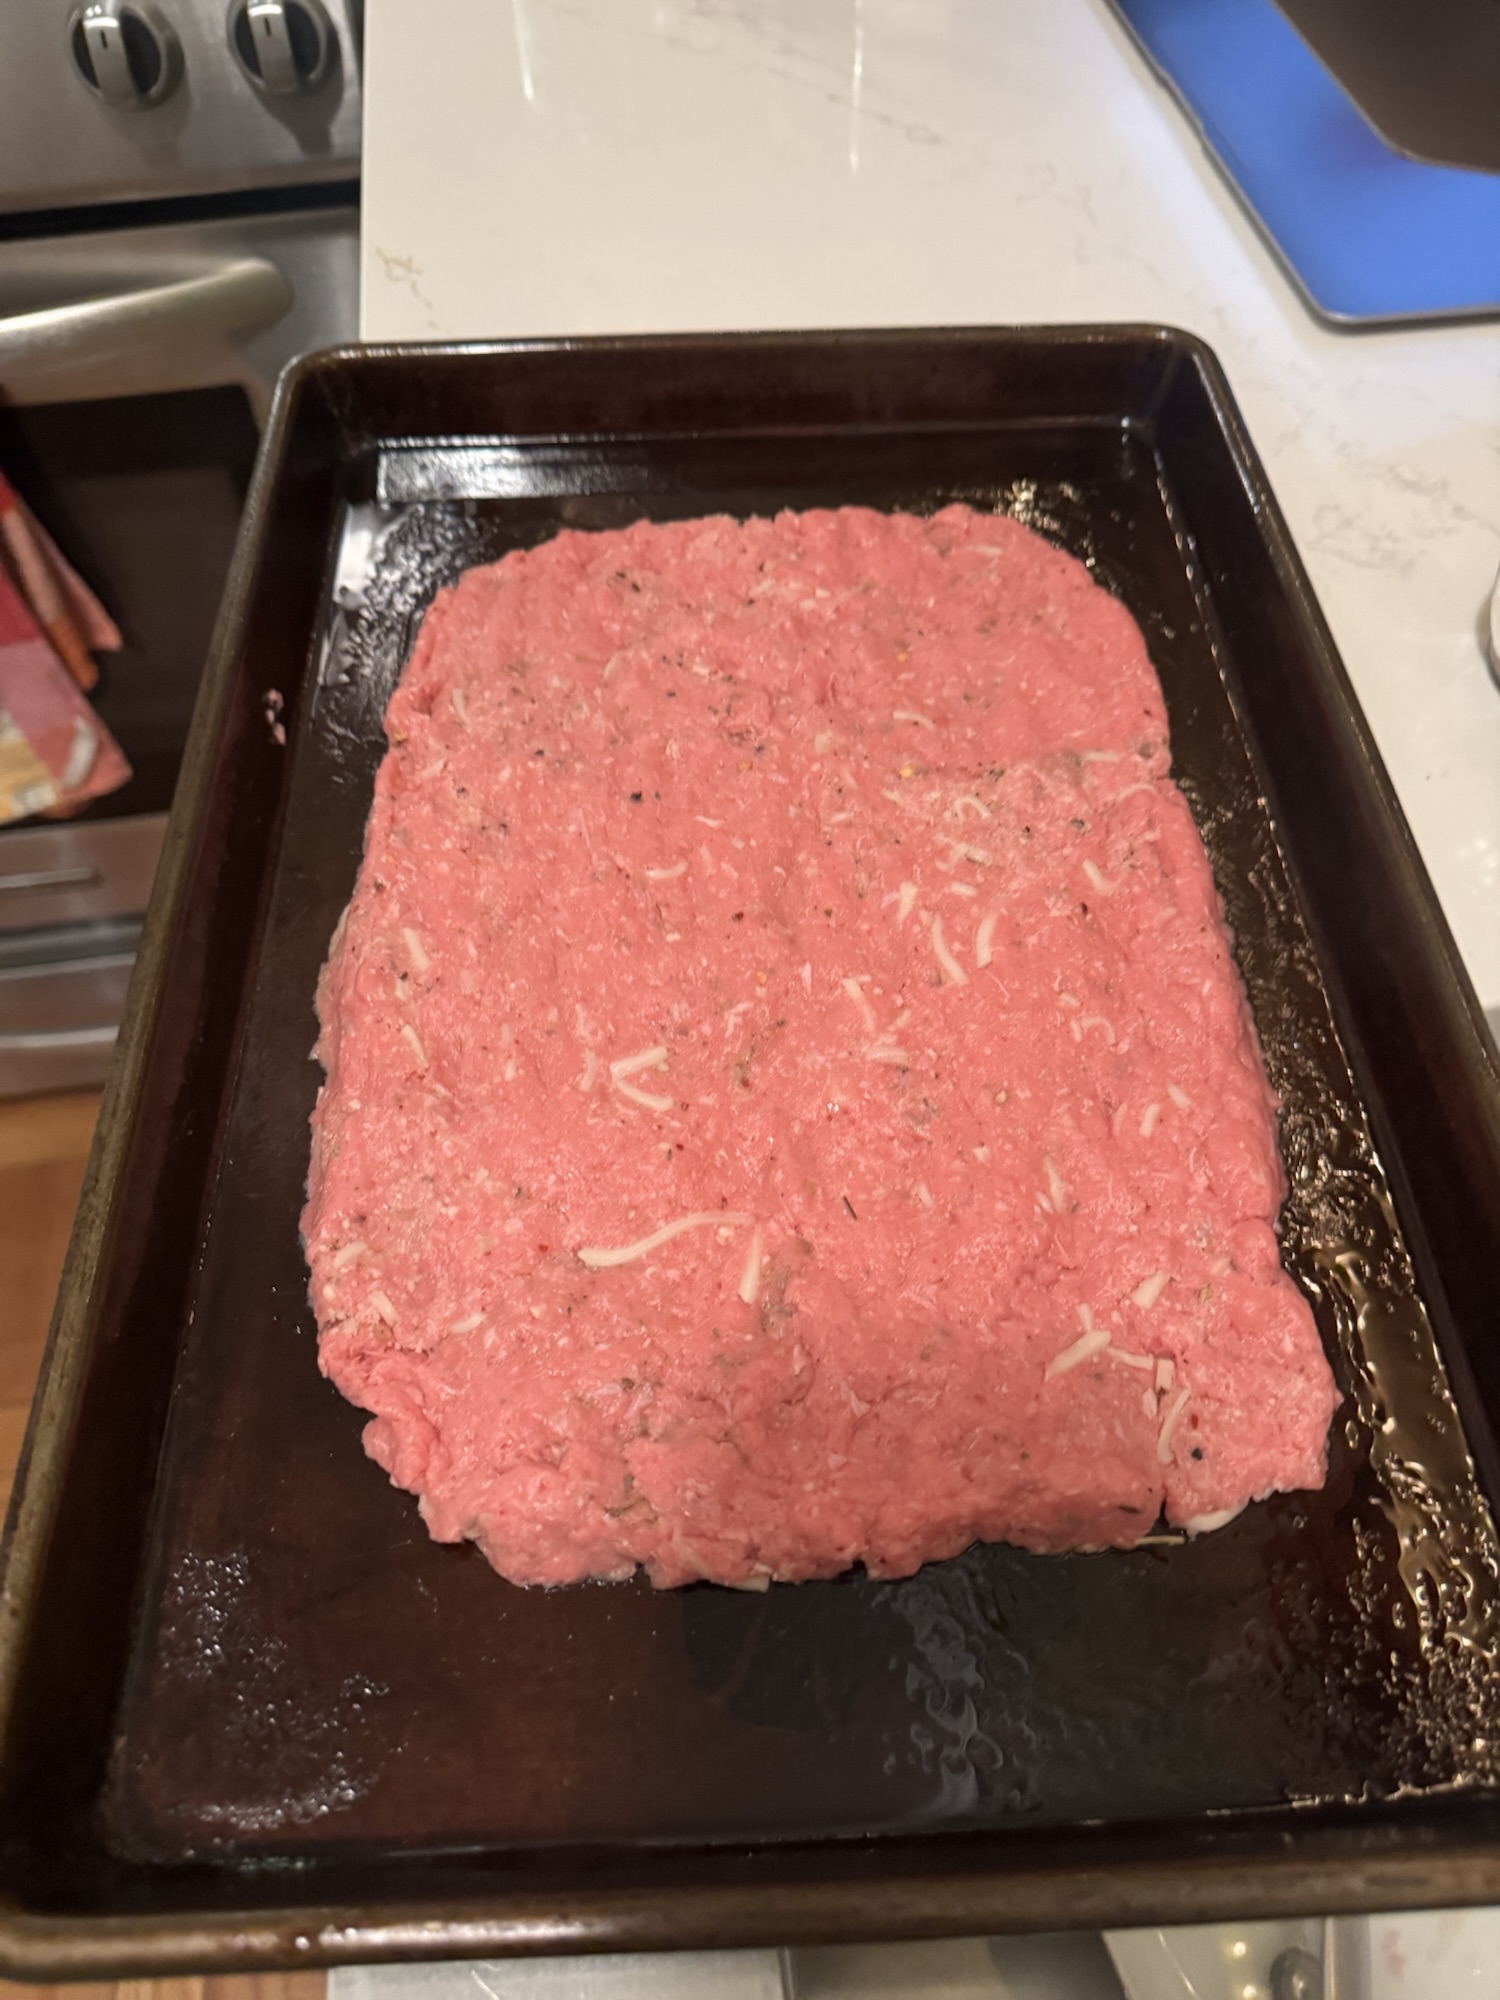
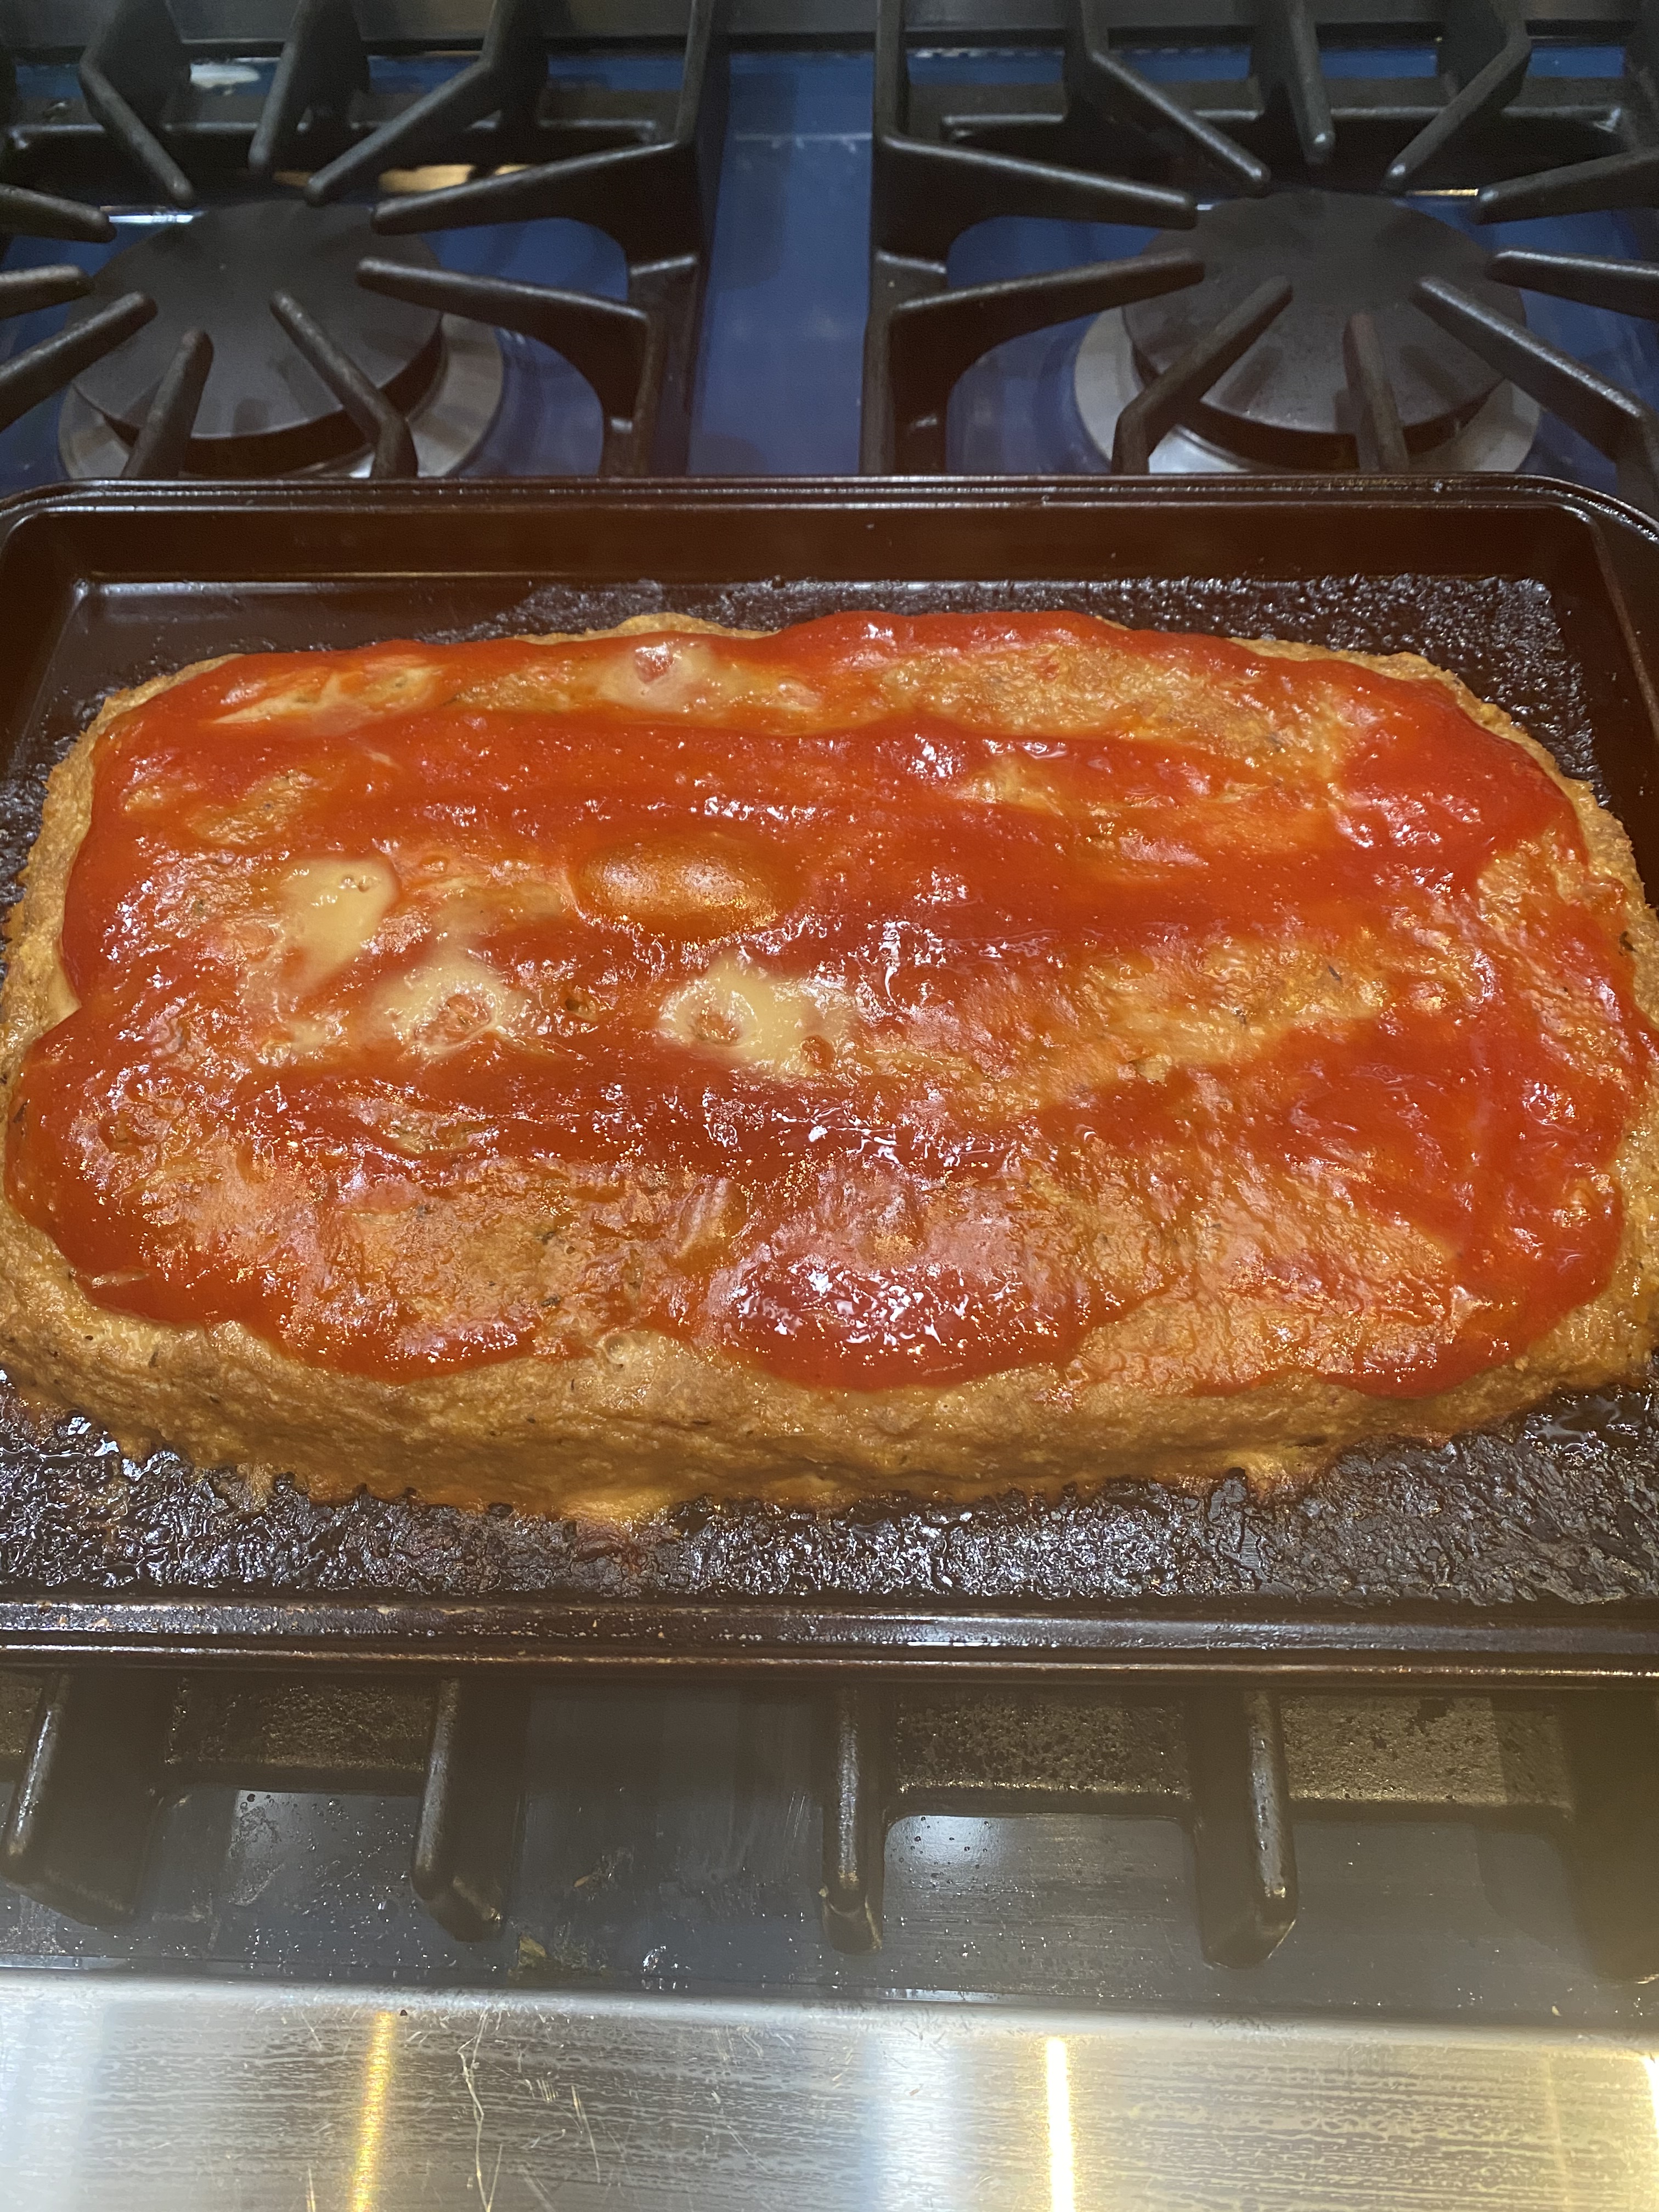
In the meantime, combine the turkey, bread crumbs, and eggs in a large bowl and mix well. Then add in the onion mixture when it’s cooled down and incorporate well. Shape into a rectangular loaf on a lightly sprayed sheet pan. When you shape as a loaf , try to make the ends even with the middle or they will dry out. ( I kind of like the ends like that but just saying…) Spread the ketchup/brown sugar evenly on top. Bake for app. 1 1/2 hours until the internal temperature of meatloaf is 160 degrees and the meatloaf is cooked through. Once meatloaf comes out of the oven let it sit for about 5 minutes.
Serve hot, at room temperature and delicious cold the next day.

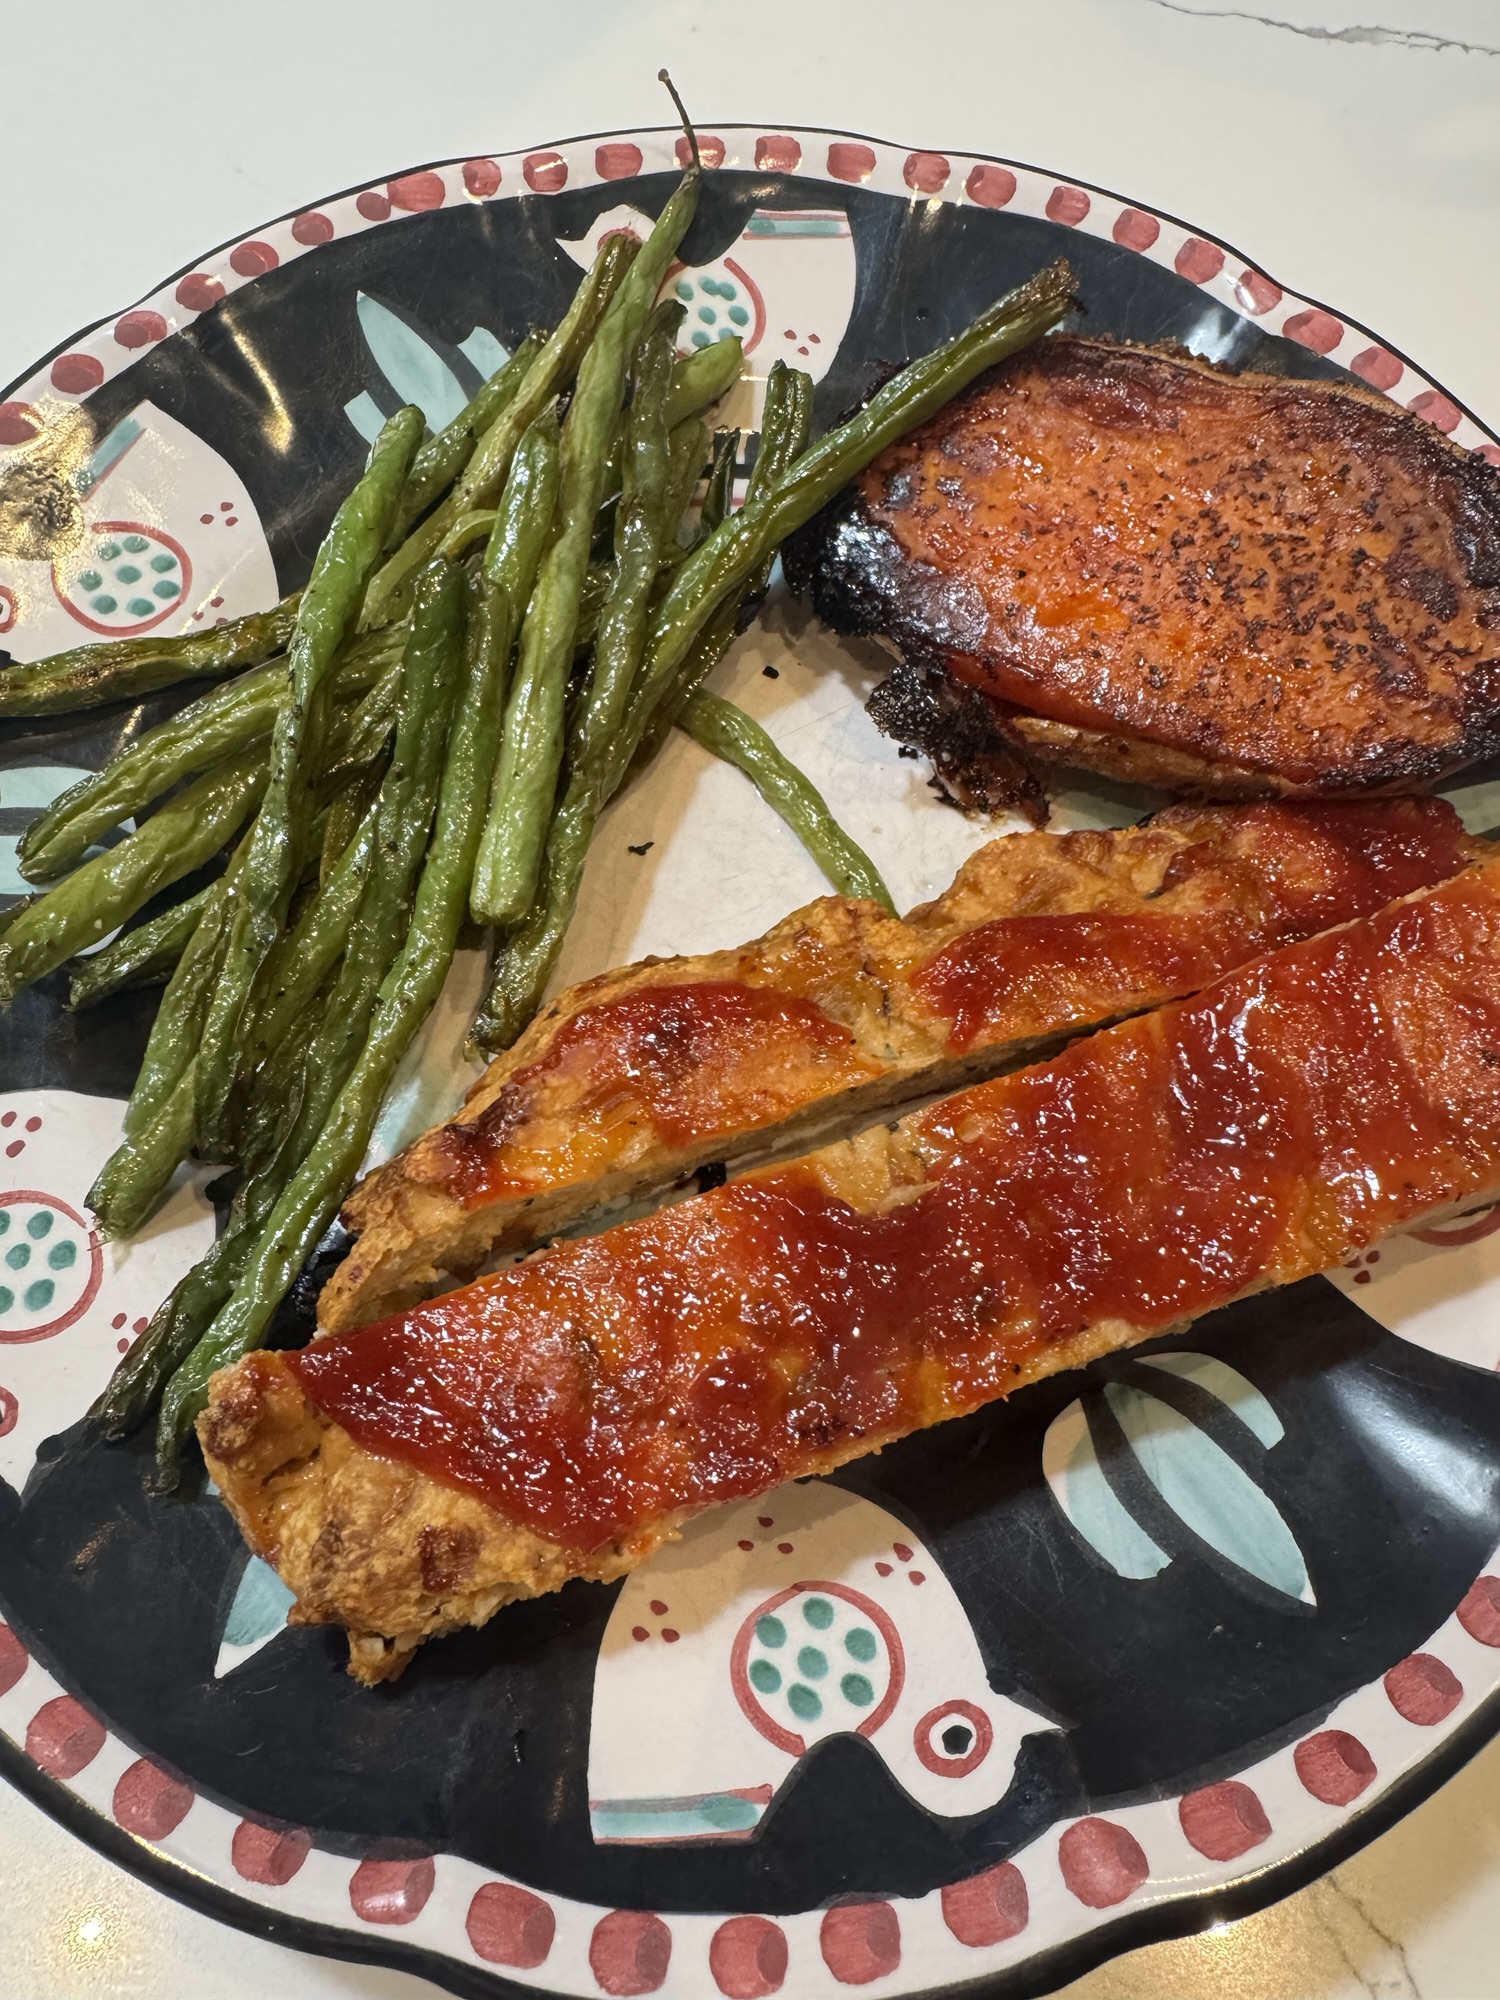
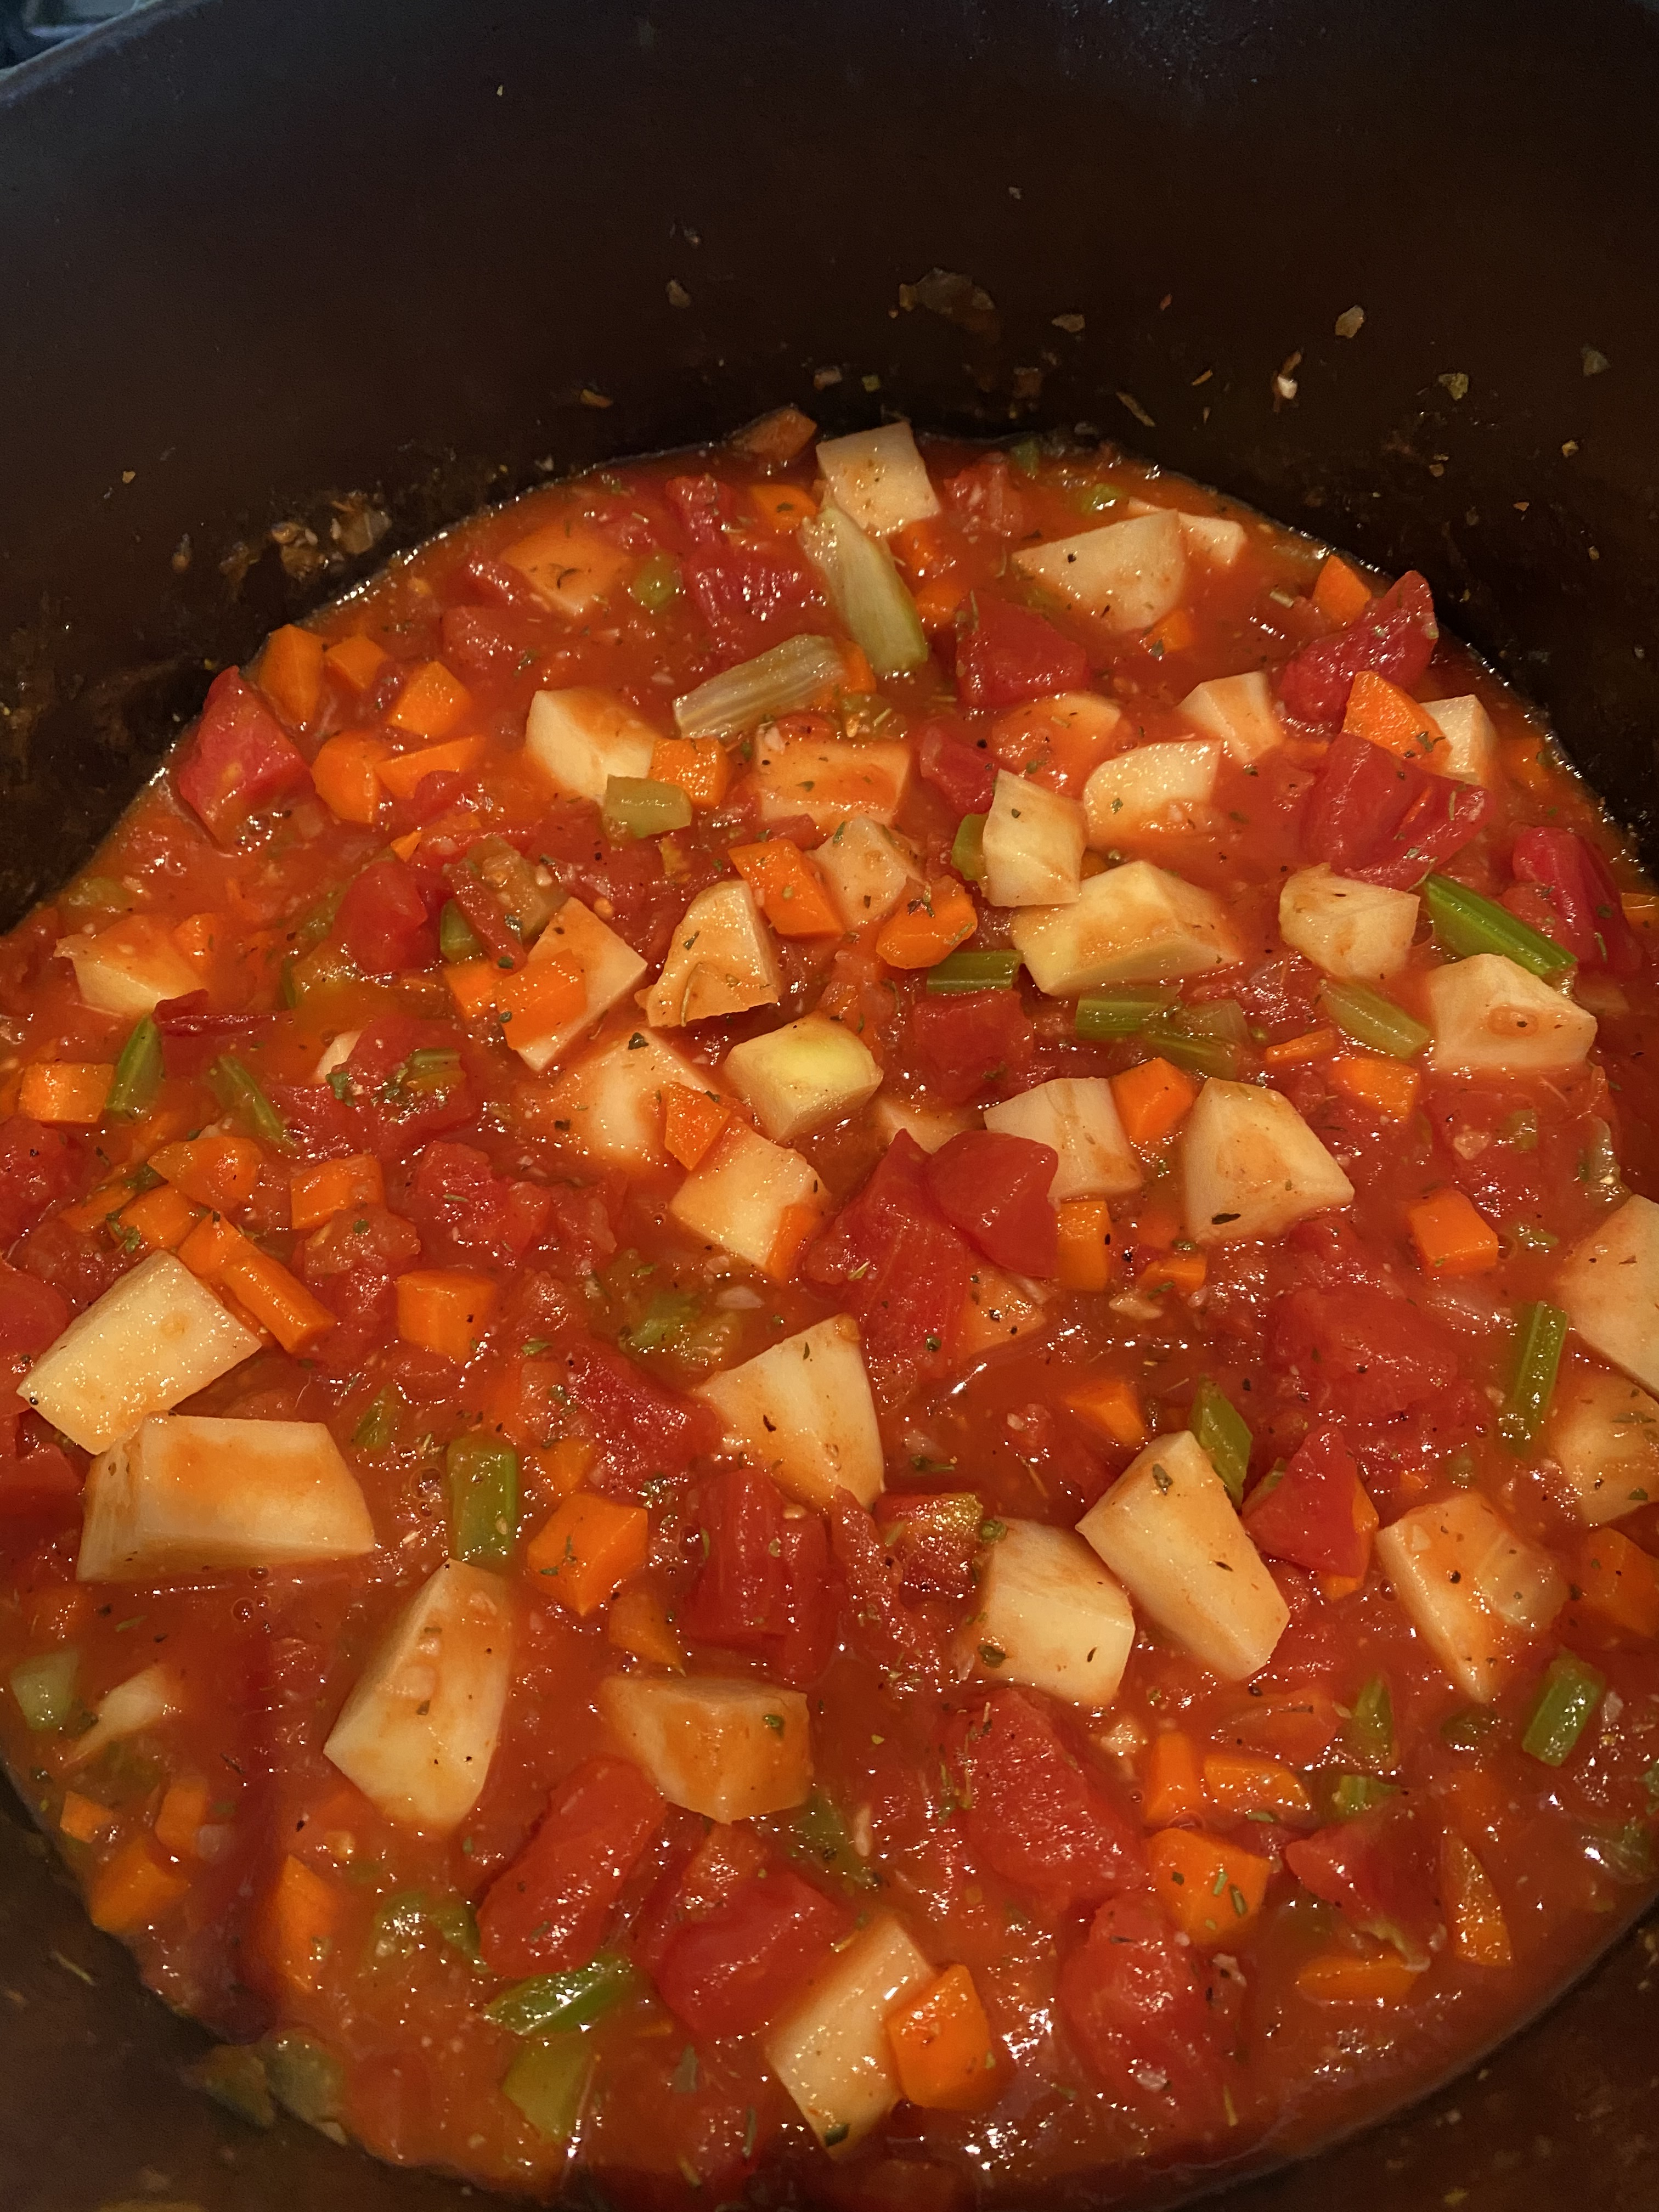
this was our dinner with baked sweet potatoes and roasted string beans and turkey meatloaf–