This recipe has got to be one of my husband’s absolute favorites and with good reason. He likes Chicken Parm a lot and that’s what I mostly make but every once in a while I will get veal cutlets and make this delicious meal and kick it back “old school” style. It’s classic comfort food for sure all gooey and delicious.


Firstly you’ll want to get your veal cutlets from a butcher and make sure they’re ready for frying. In NYC there are a lot of butchers and specialty stores to choose from so while I’m in town I make them. They also are rather pricy so saying all that you can also make this recipe with chicken. Veal is low in fat and high in protein and makes a great veal parmigiana. There are many variations but I am sort of a purist and like it with tomato sauce and cheese. Baked to perfection!
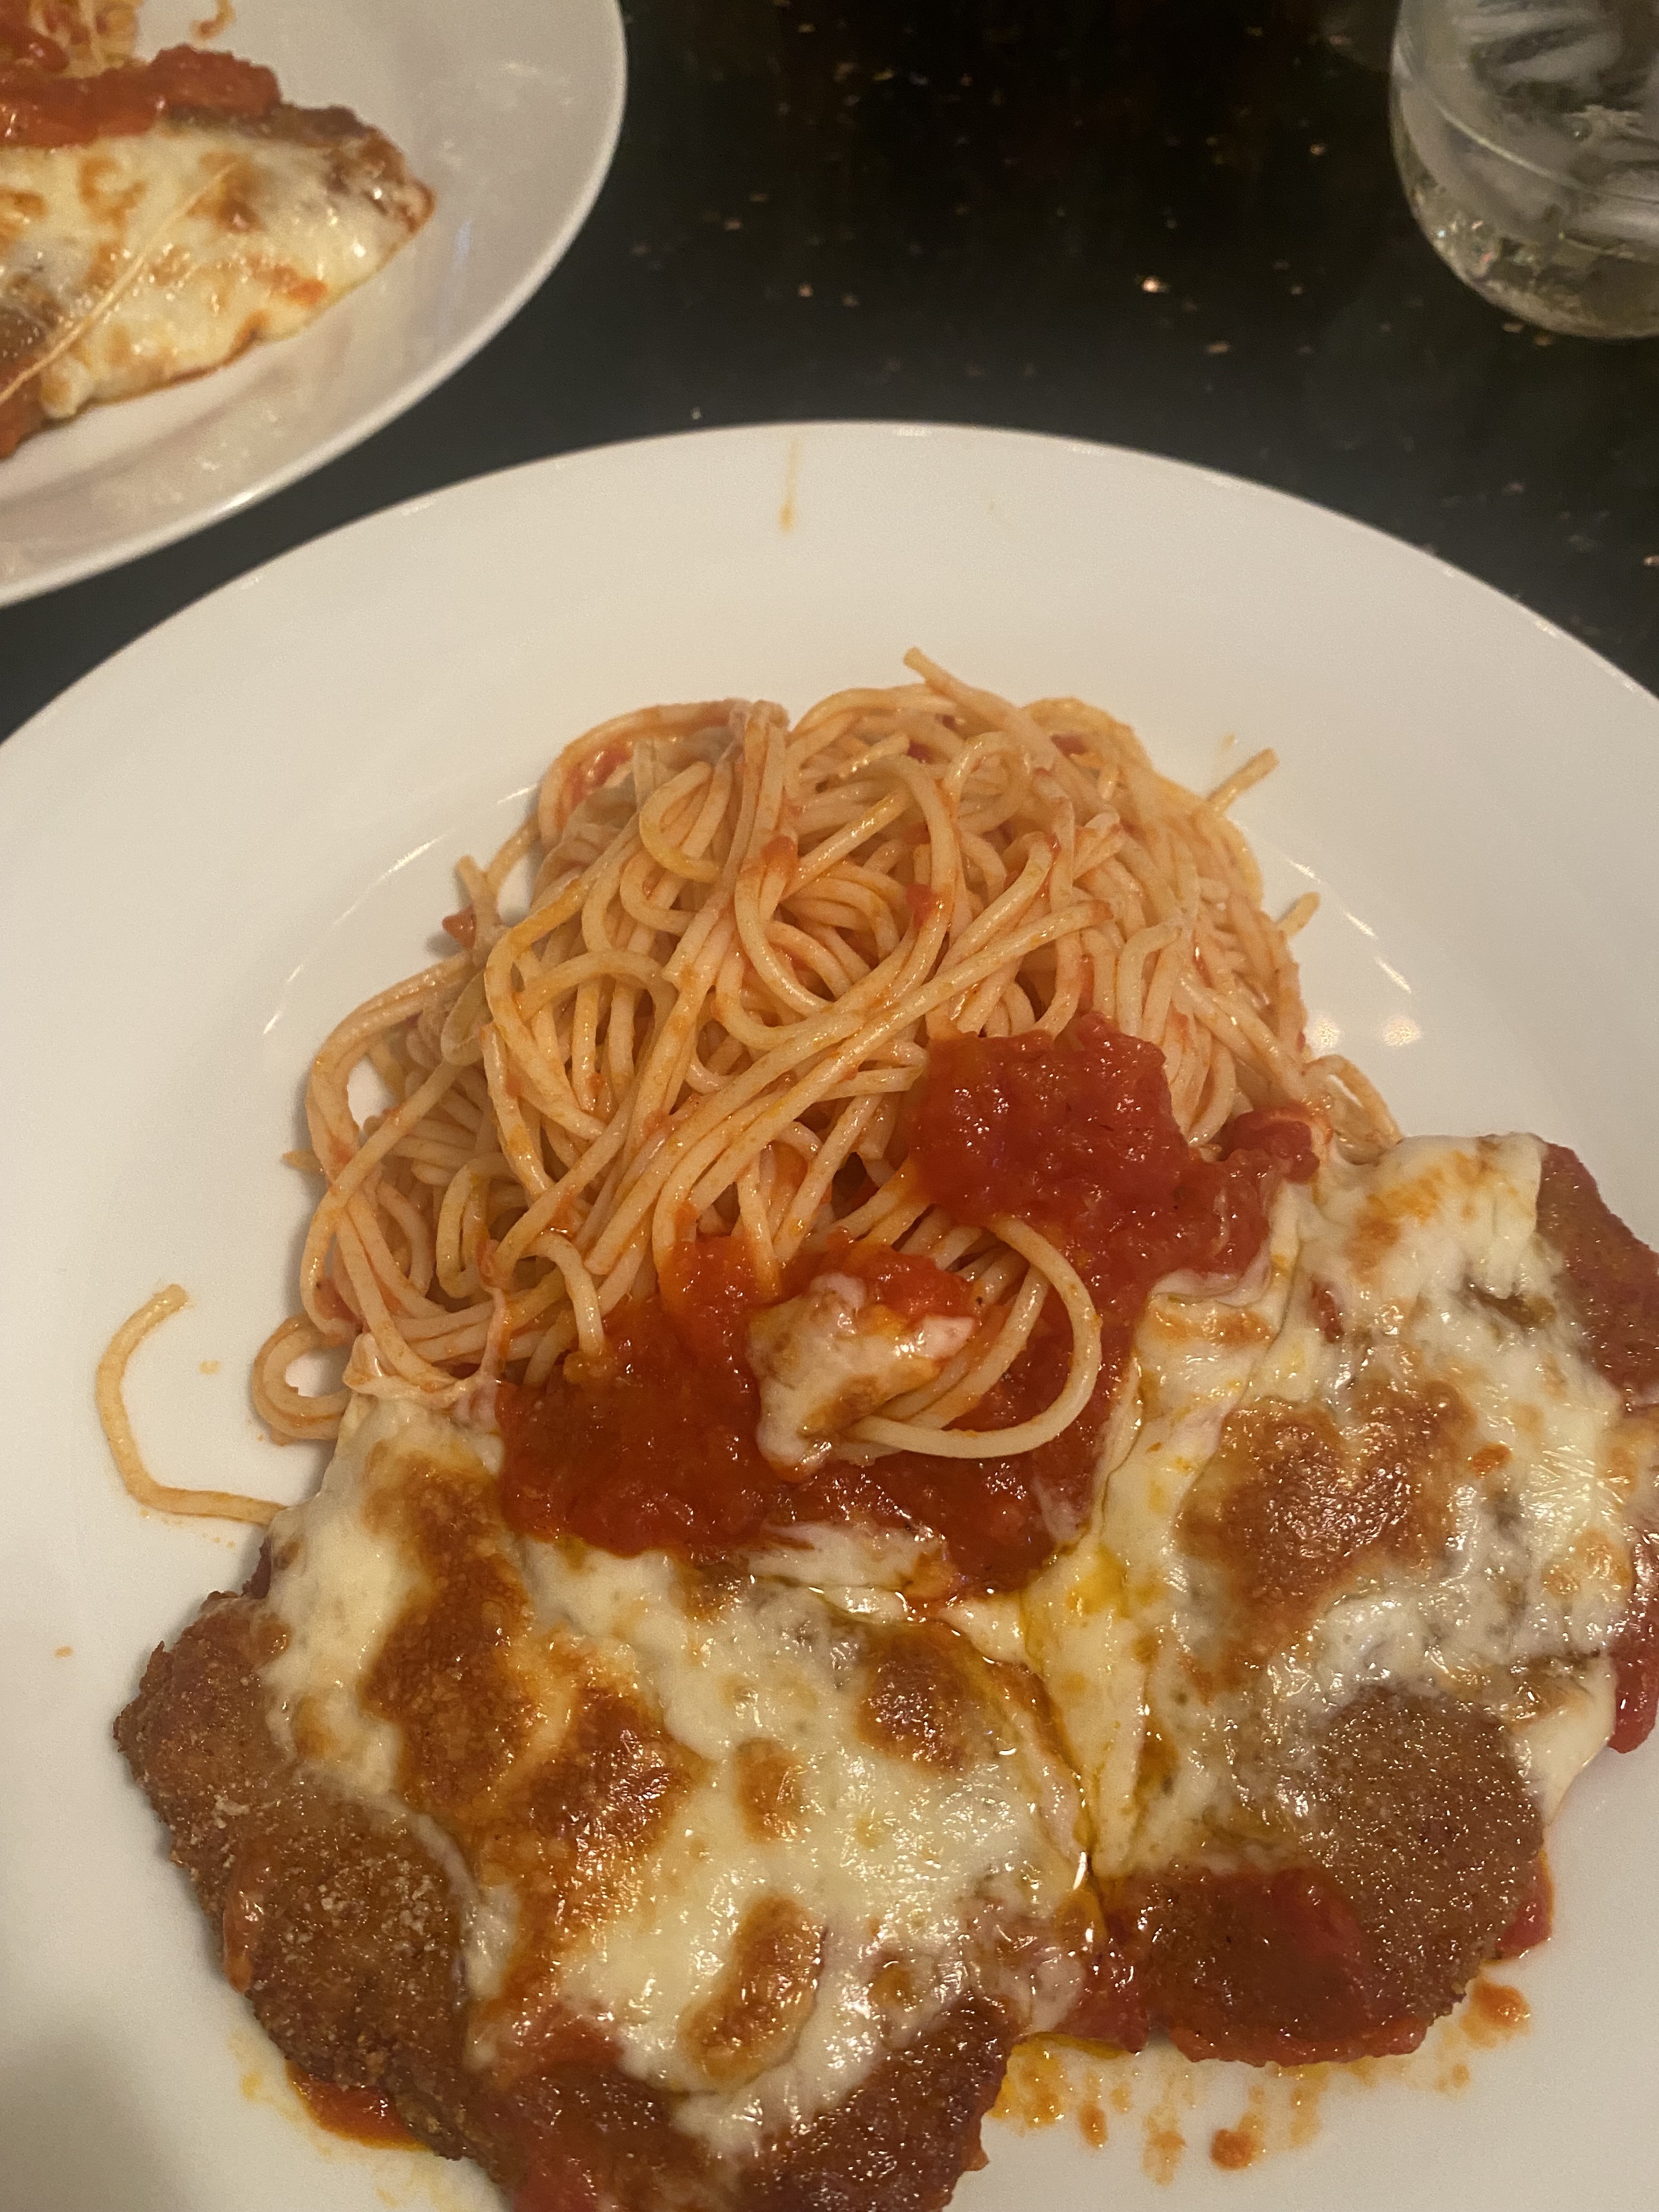
Last night this is what I did and served along side spaghetti.
Enjoy!
Ingredients:
1 lb. Veal Slices ( Cutlets) pounded thin if you go to butcher tell them what you’re using them for
1 cup Italian Seasoned Bread Crumbs– you may need a little more
4 Tablespoons of Grated Parmesan / Romano cheese and more for sprinkling cutlets
Olive Oil for frying
pasta of your choice but I like spaghetti with it
1 egg with a splash of milk
Spaghetti Sauce — whatever kind you have — obviously home made is great but I like Raos a lot and when I don’t have any homemade on hand that’s my go-to. The marinara one is perfect as is the Arabiata if you like it a little more spicy — app. 12 ounces of sauce for veal and spaghetti. If using a jar buy the 24 oz. and then you’ll have enough sauce for both veal and spaghetti. Use as much or as little as you like.
1/2 lb . mozzarella cheese , shredded
Directions:
Pre-heat oven to 350 degrees
Set up a breading station using 2 bowls. One bowl with egg and splash of milk beaten, and then one bowl with bread crumbs mixed with grated parmesan cheese (app. 3 Tablespoons of cheese and use the rest to sprinkle on cutlets)
I pat dry the veal cutlets before dipping into the egg and milk
Dip in the egg and then dip in the bread crumbs. Coat the veal completely. I place on a small cookie sheet and put in the refrigerator till I am ready to fry them . I find this holds bread crumbs in place best but obviously if you’re short on time just go right to the frying. I only put them in for about 1/2 hour but you can leave them in longer if you’d like .
I use a large skillet and add a good coating of oil to bottom of pan — enough to cover bottom of pan and enough for each cutlet to fry up — maybe 1/4″ to 1/2″ of oil. You do not submerge the cutlets in the oil just enough to fry them up. Pre heat the oil so it’s very hot when you add veal. Flame on pan should be medium-high depending on your stove top.
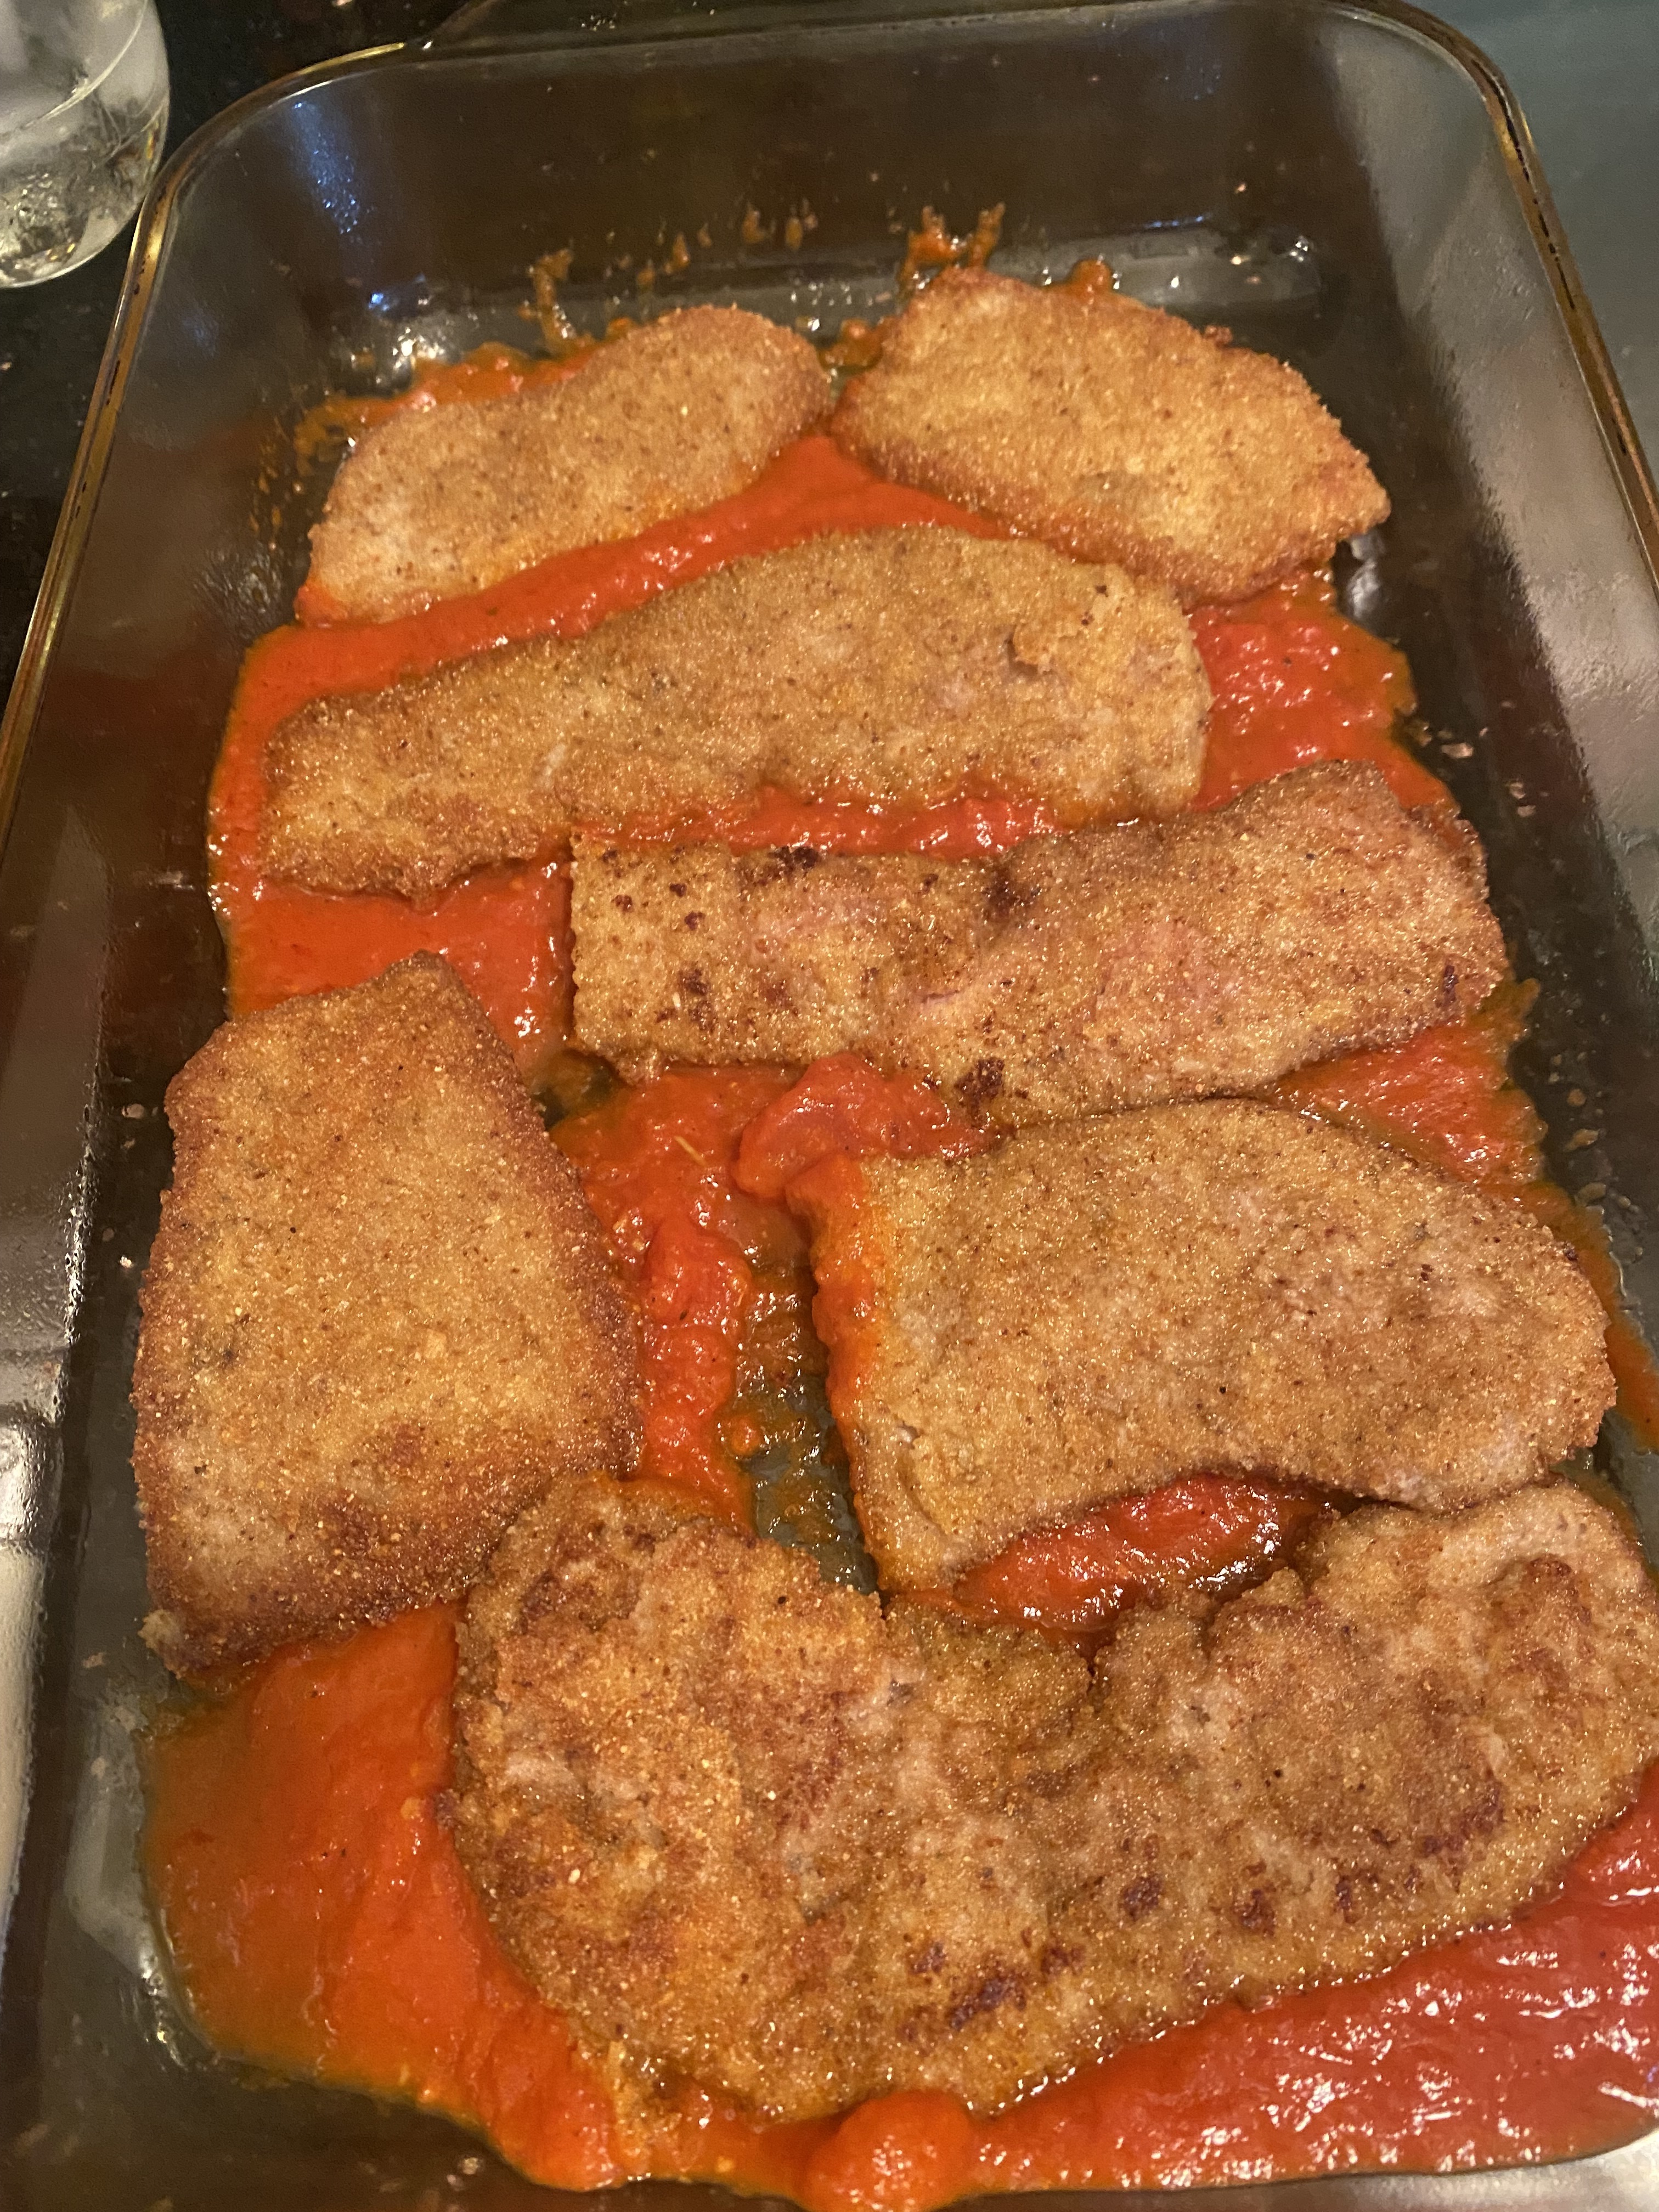
Pan fry both sides — I turn over gently to make sure they’re golden brown and then turn them . Do not over fry because they still need to bake in the oven. (see pics) you want them to be golden brown
Drain the fried cutlets on some paper towels blotting the tops for excess oil.
I spray a baking dish with cooking spray and add enough sauce to cover bottom of the baking dish and don’t be skimpy with it, you’ll probably use about 8 oz. of the sauce. I sprinkle with a little grated parmesan and then add shredded mozzarella to top .
Place in hot oven and I cooked covered (aluminum foil) for first 10 minutes , then 5 minutes uncovered and then put oven to broil for another 3-5 minutes till cheese gets a bit brown and bubbly. All ovens vary but this is what worked best for me to get that beautiful finish. You must keep an eye on it when under broiler . Mine was ready in about 3 minutes.
I cooked up some spaghetti added a little sauce to it and plated the veal and the spaghetti and dinner was served.
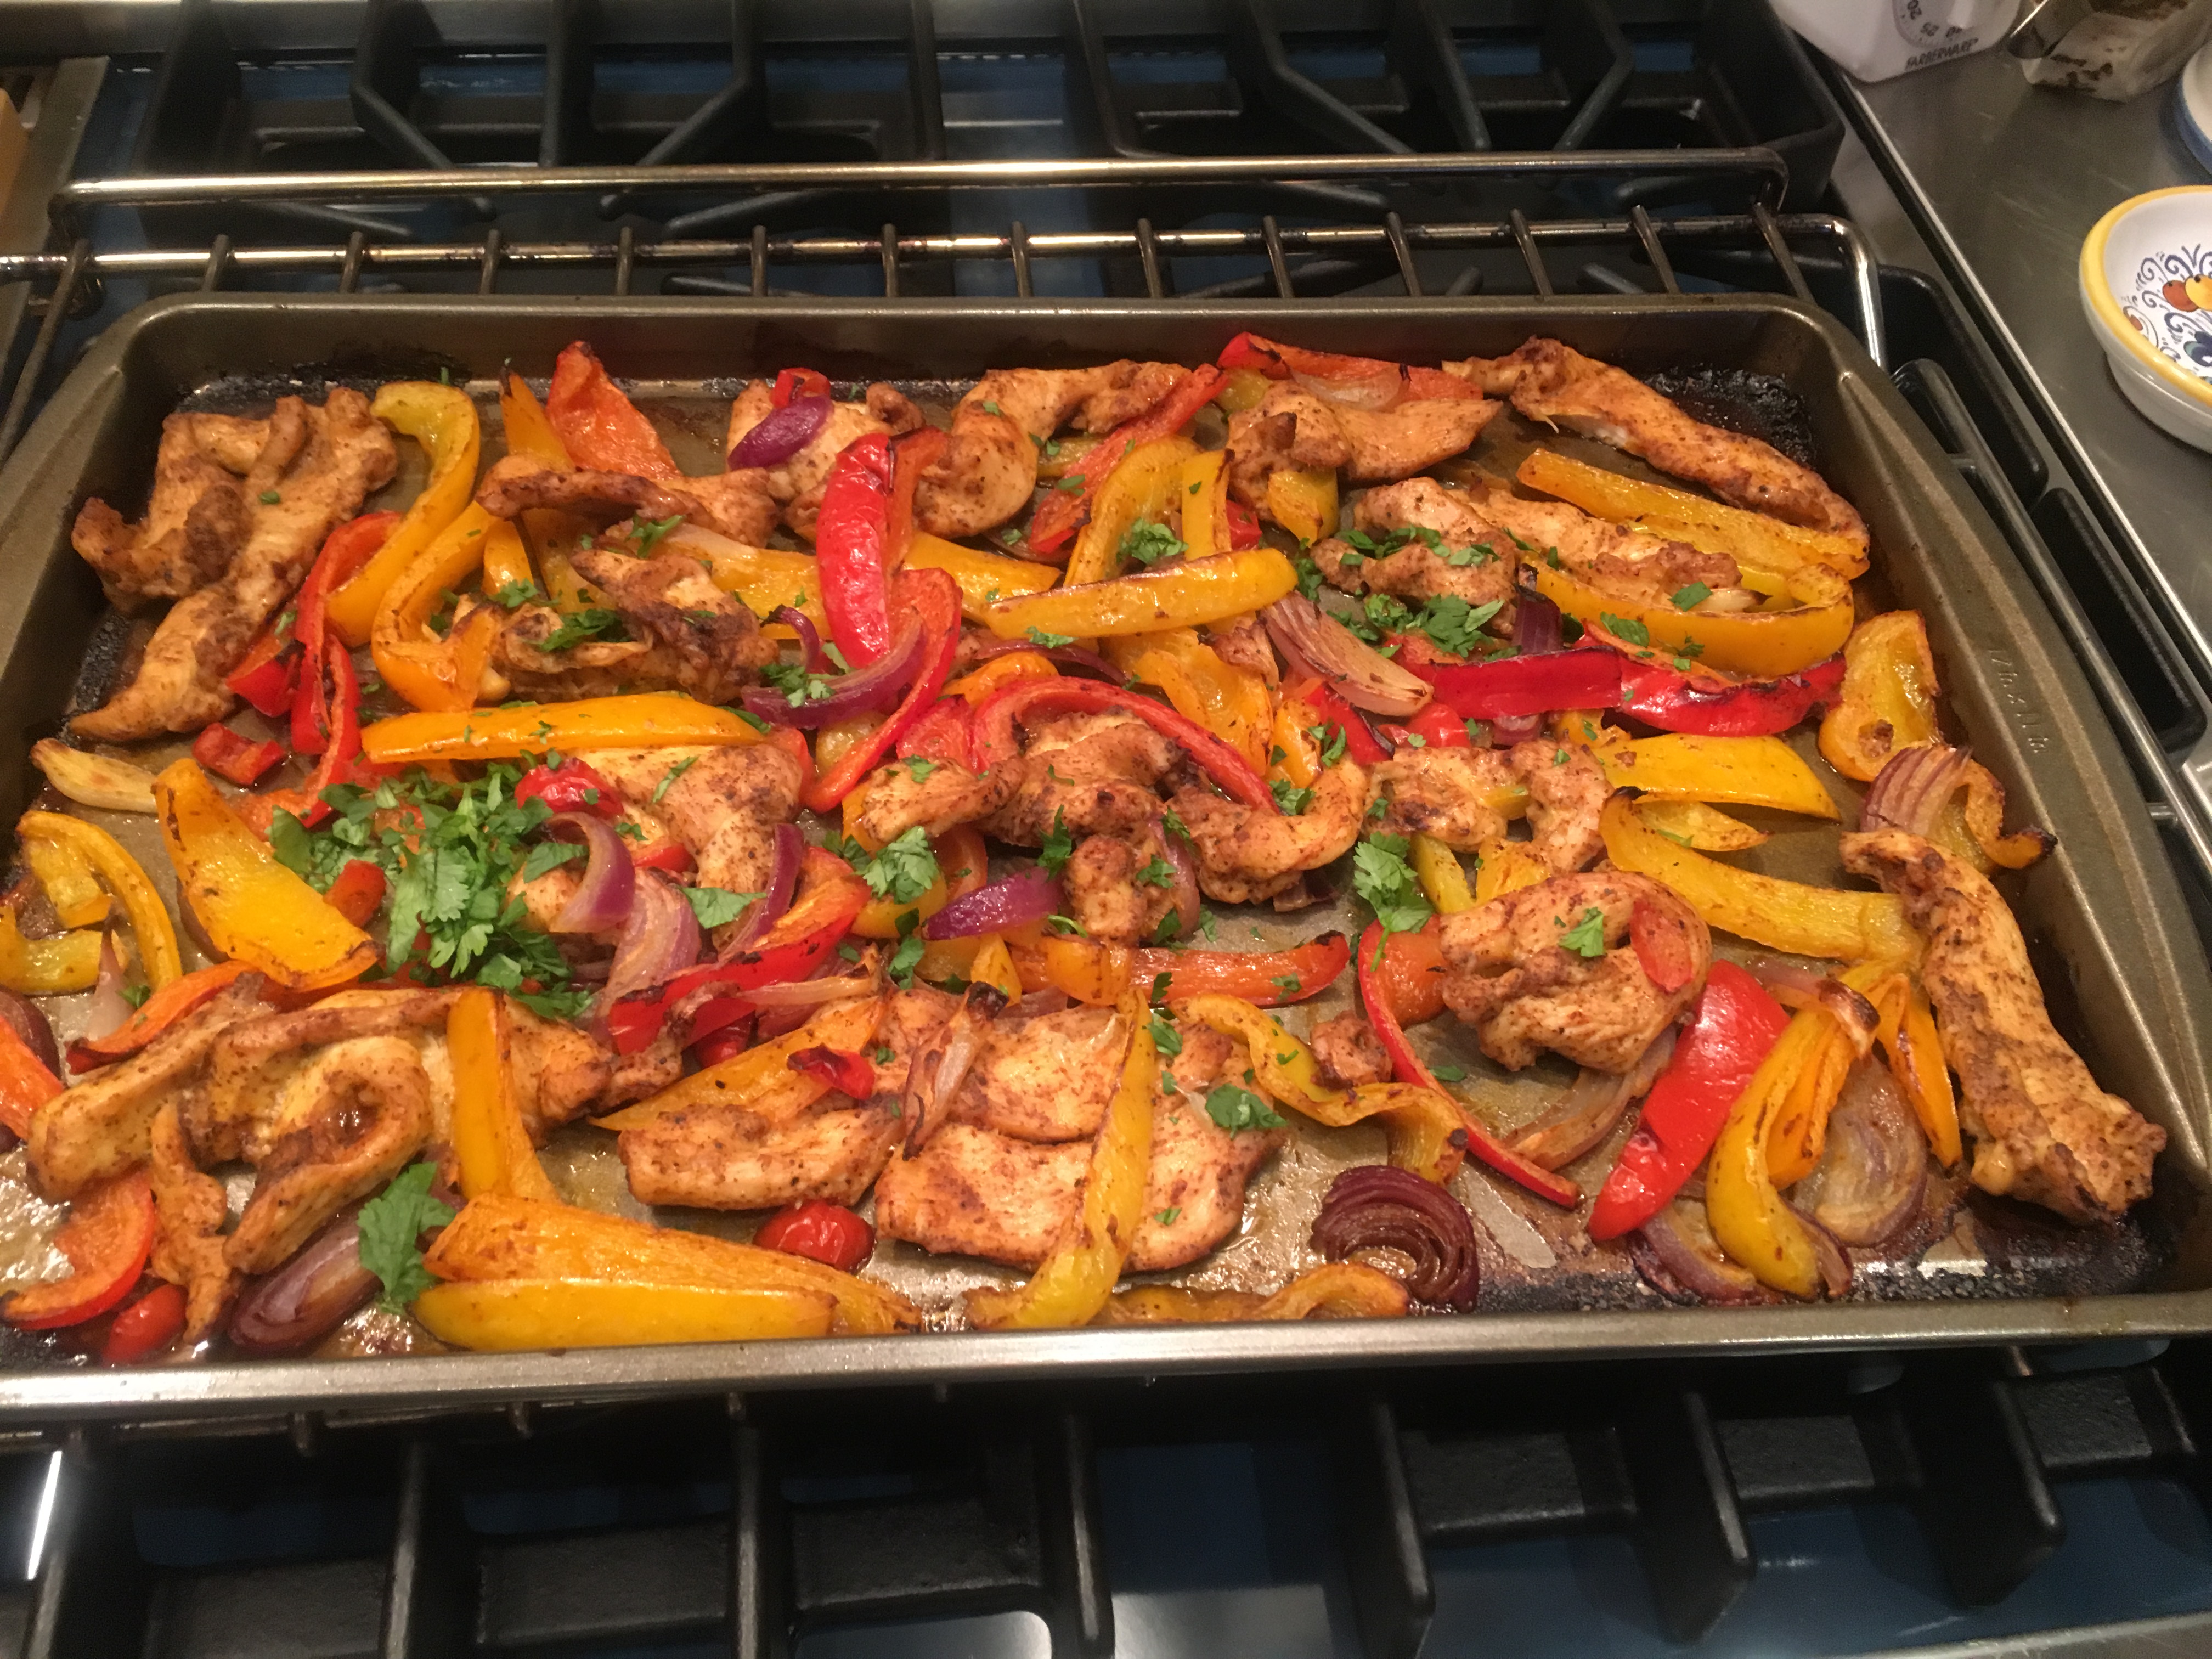
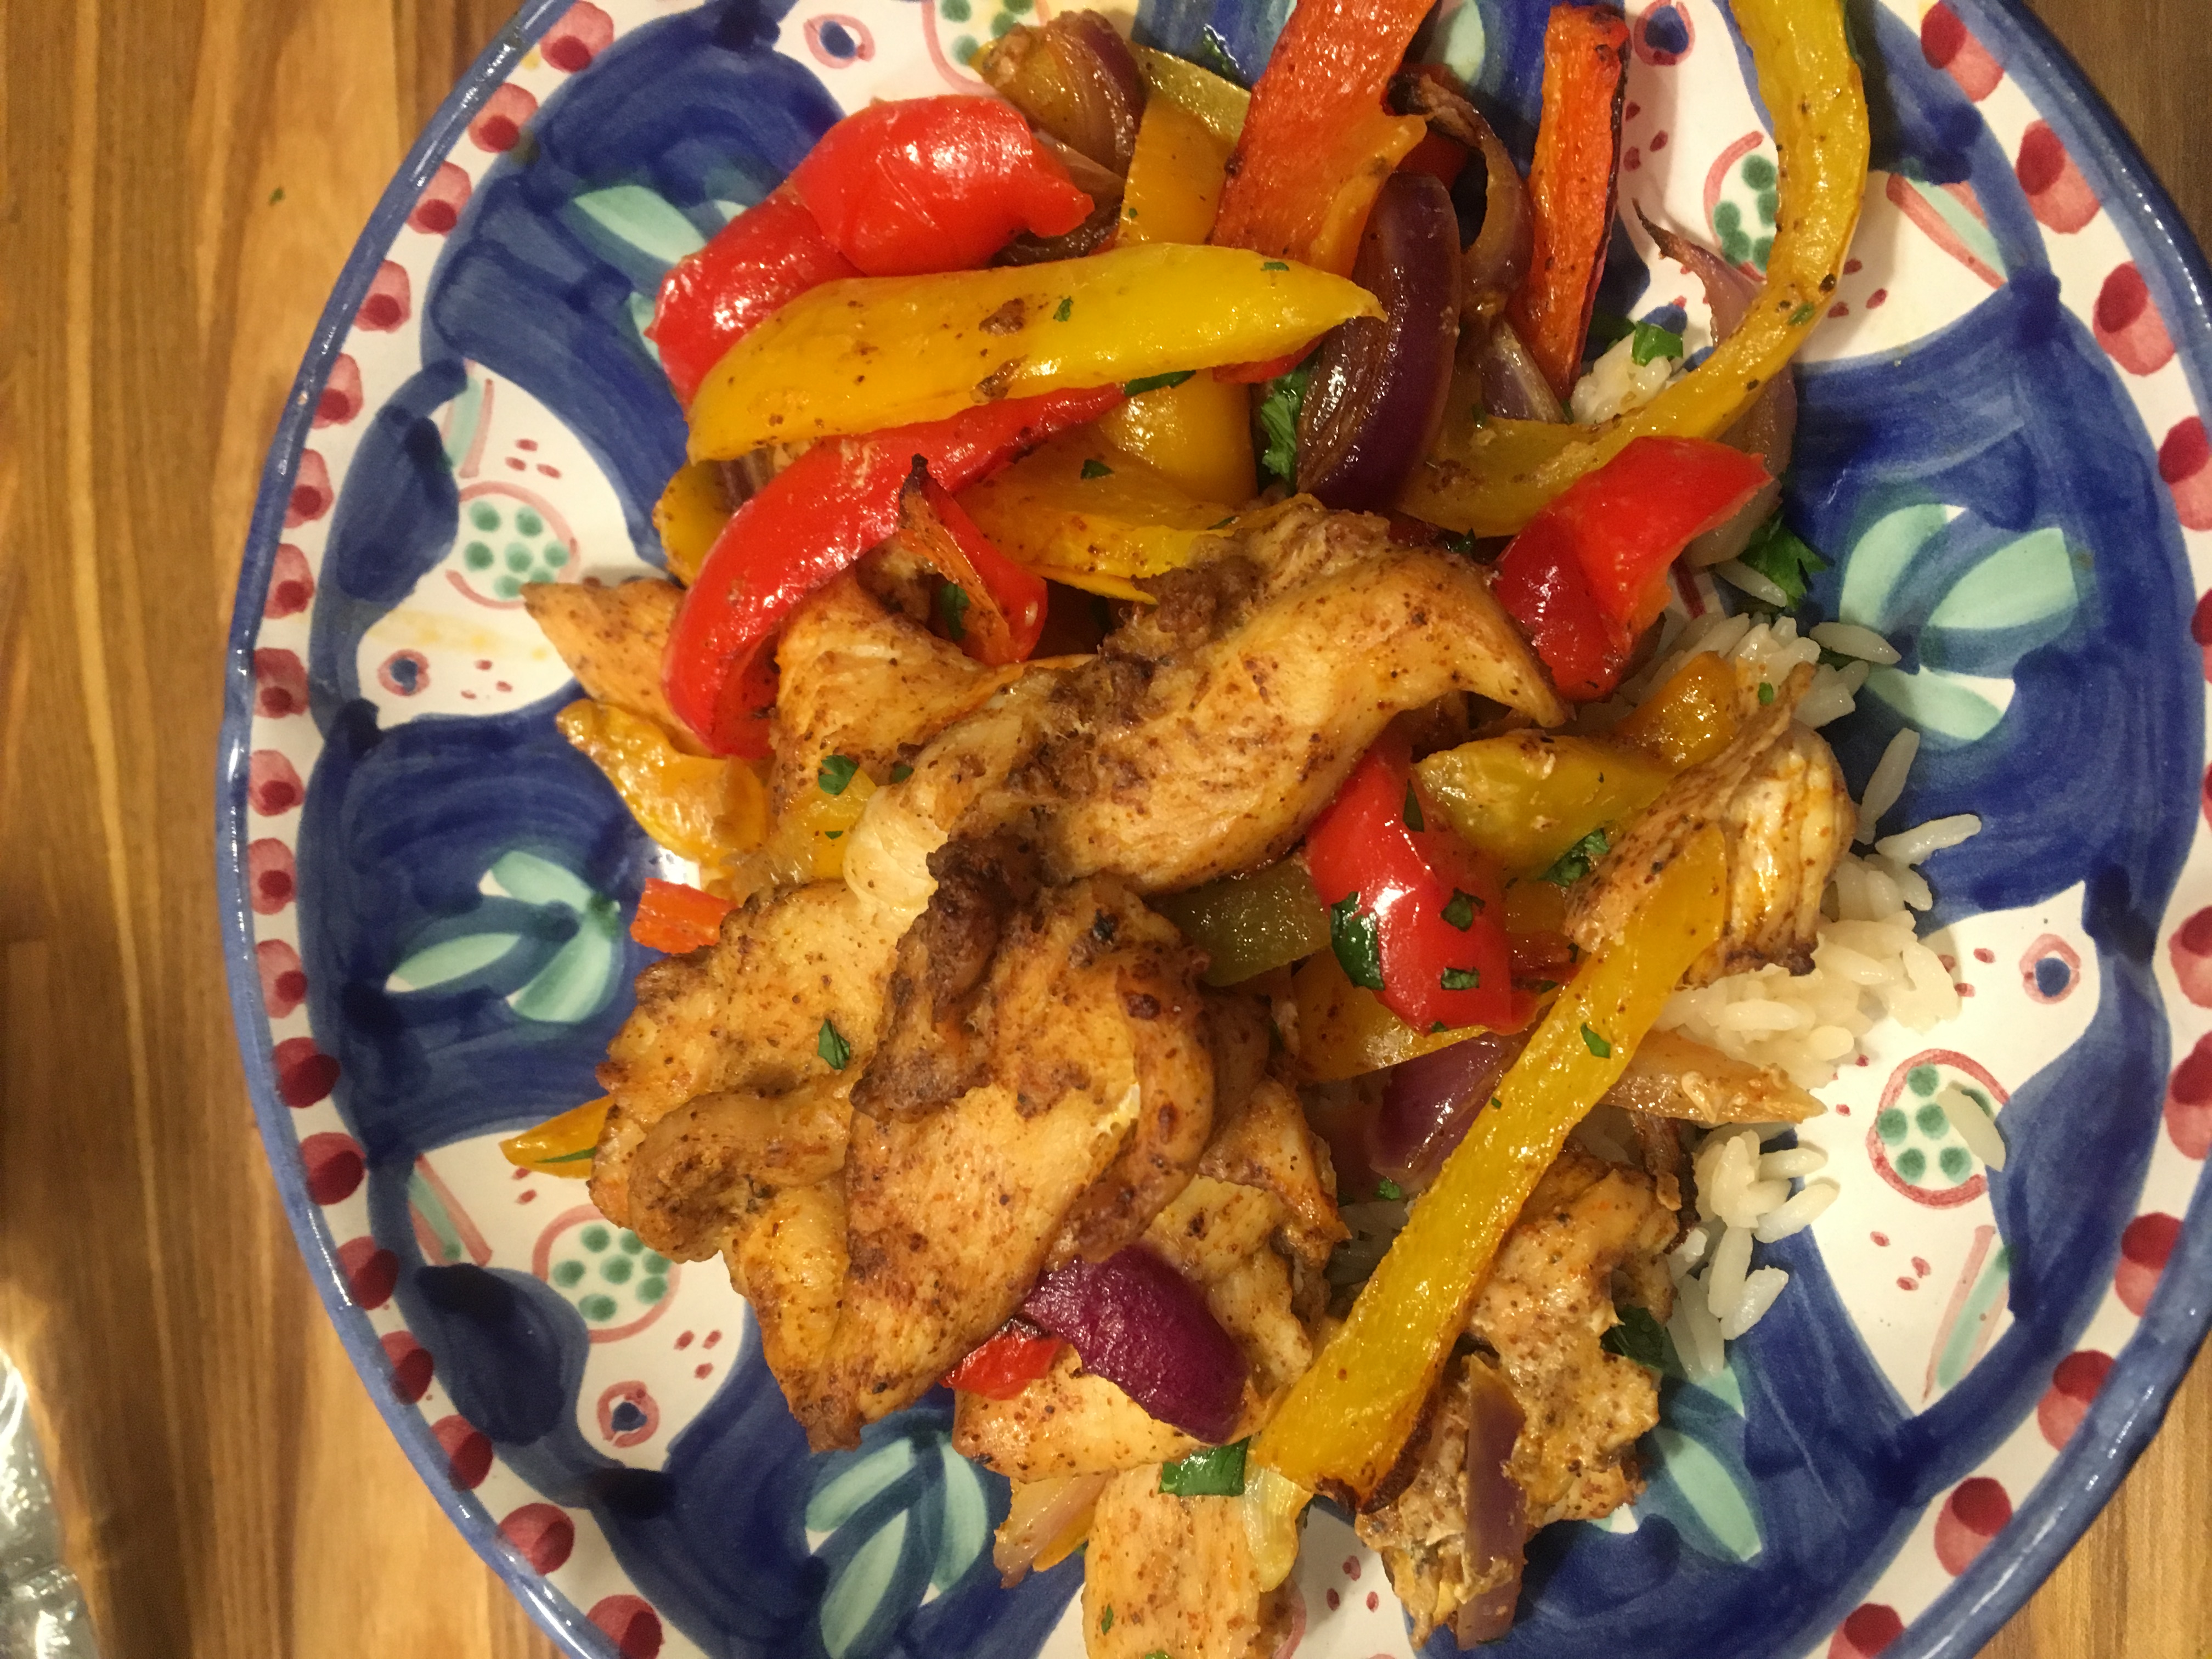 More of my favorite way to cook with Chicken Fajitas made on the Sheet Pan . I made this the other night and it is the easiest and most delicious meal. I am always experimenting with making Chicken Fajitas in new ways and trying to keep the oil down. If you use too little oil they come out tasting dry and that’s no good so use the 3-4 tablespoons of olive oil that I suggest. This is what I did and I served with small soft tortillas and you can provide any fixings you like. I also served over rice in a bowl which is how I like to eat my fajitas. Obviously what you do with them is totally up to you! A little sour cream and guacamole never hurt anyone either. And buy some tortillas and you have perfection on a plate.