

- What to do with Rotten Bananas


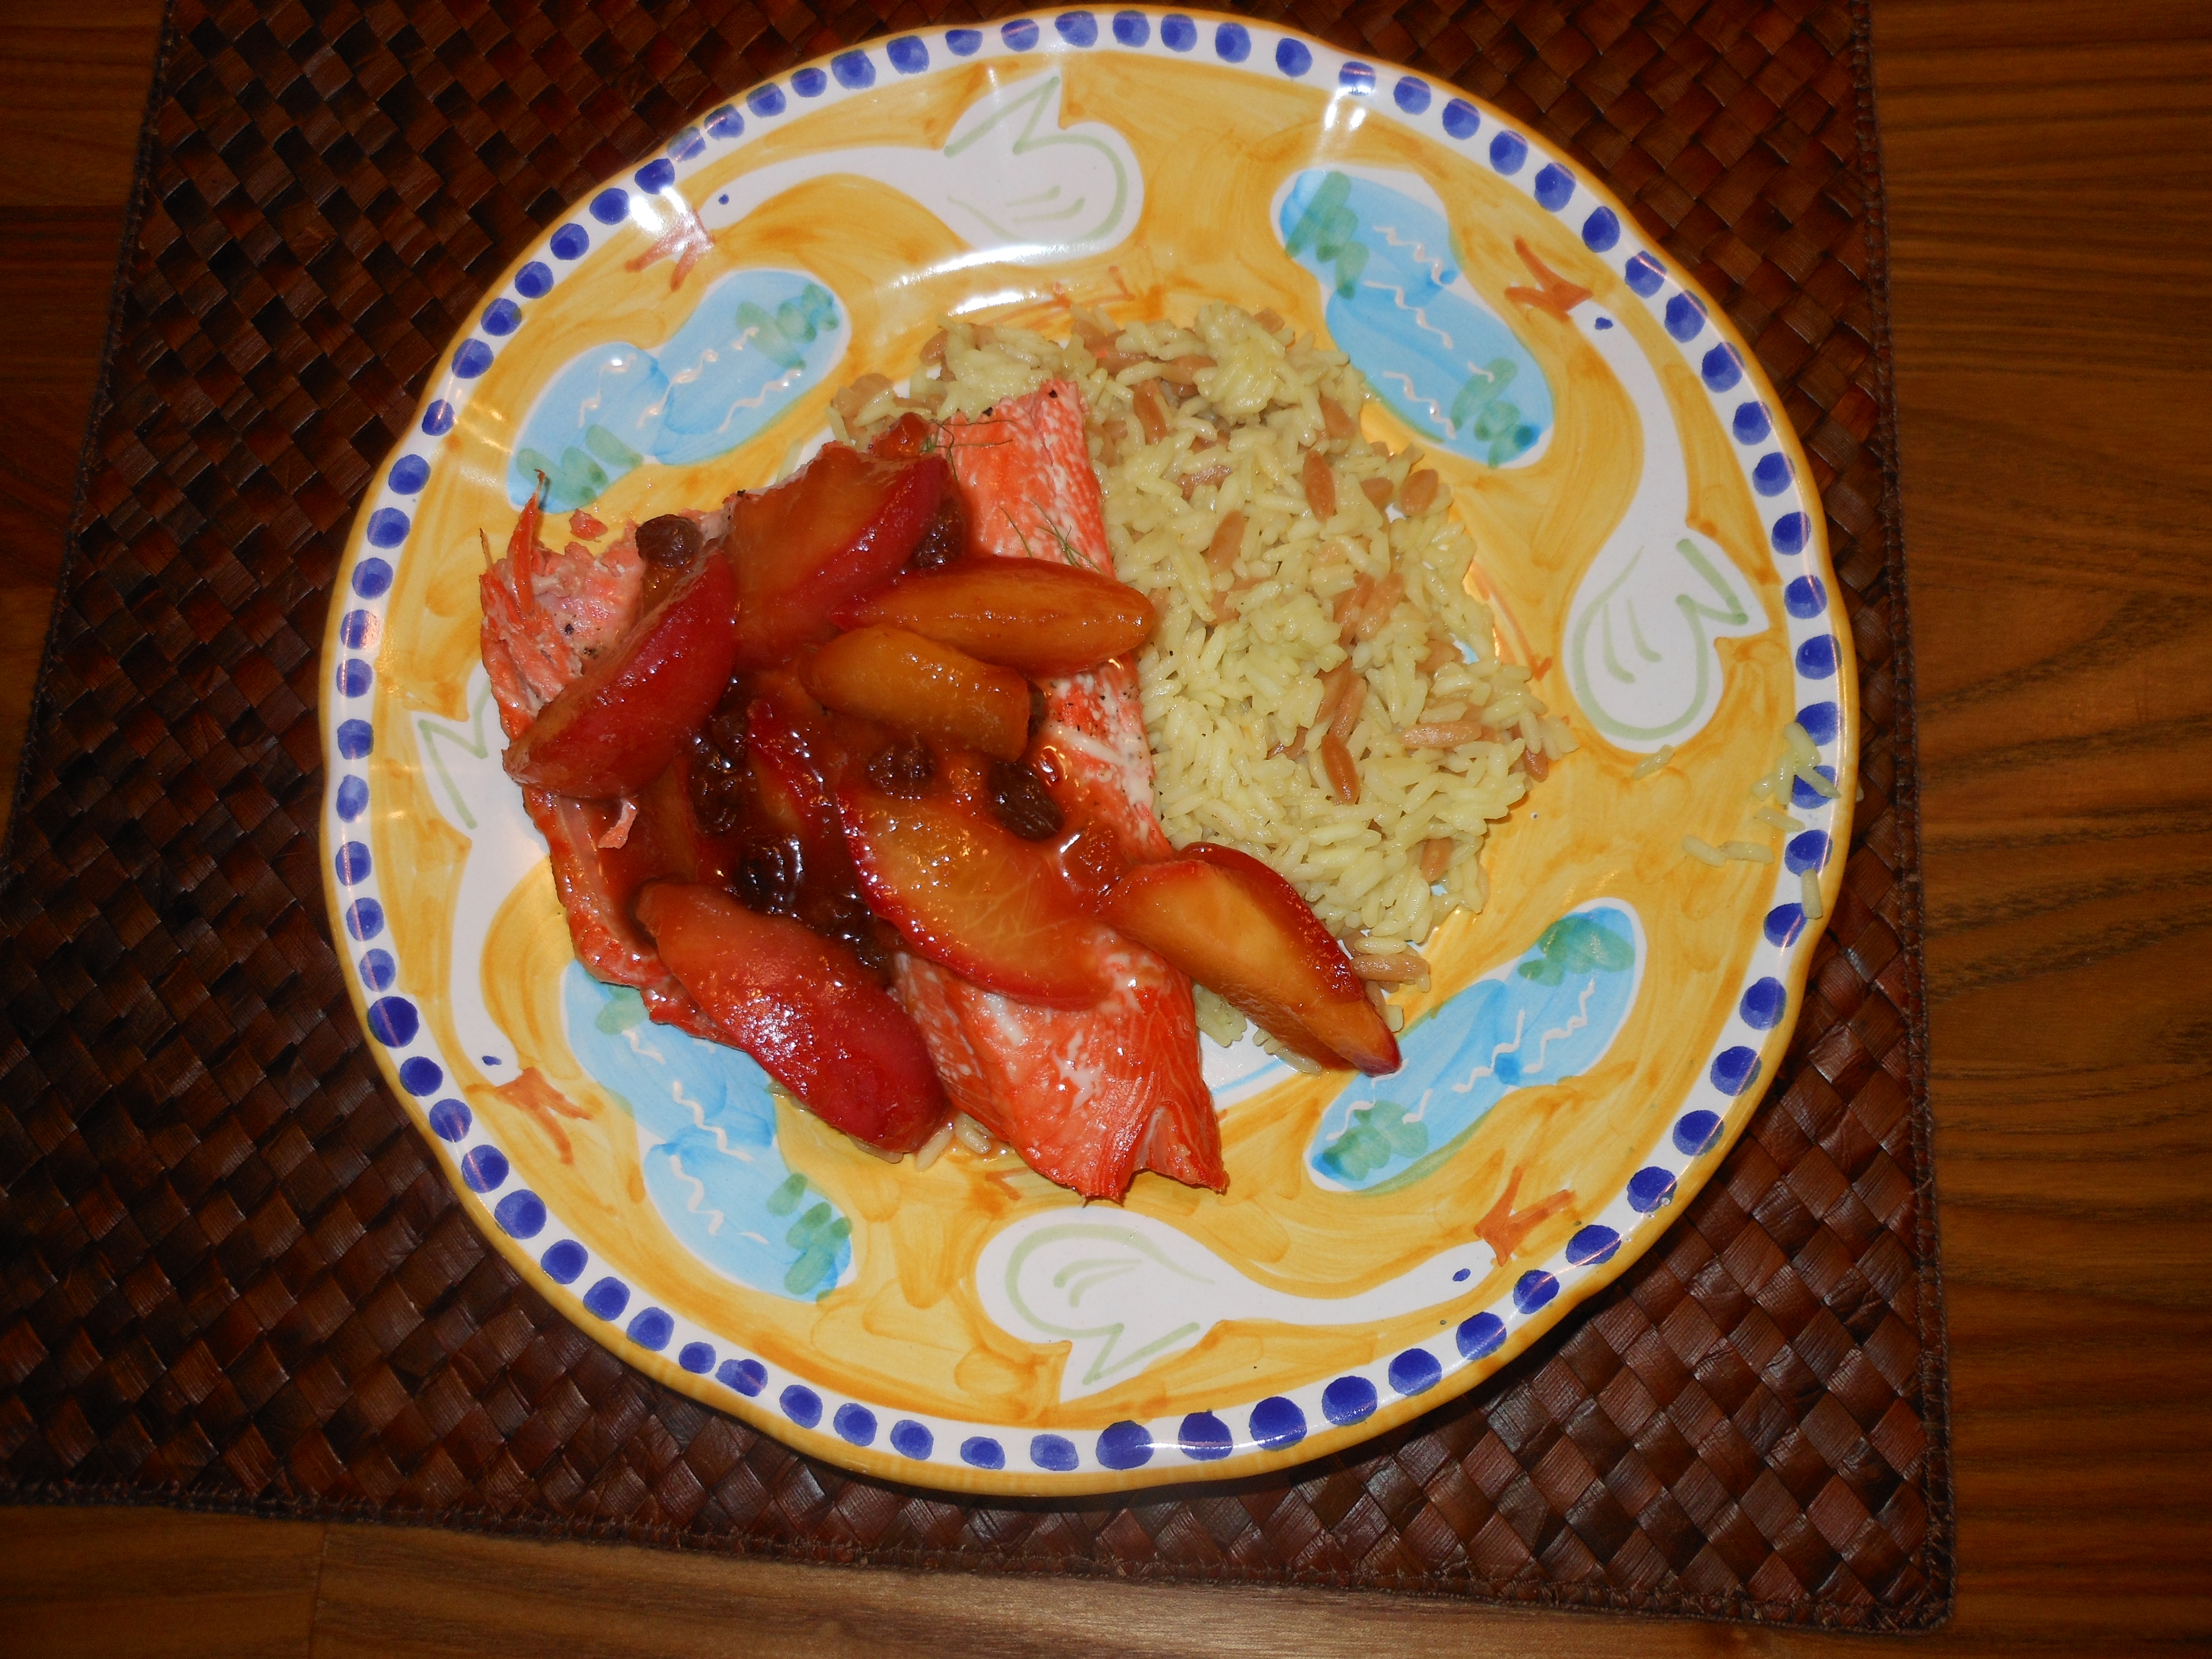
Salmon with fruity peach sauce
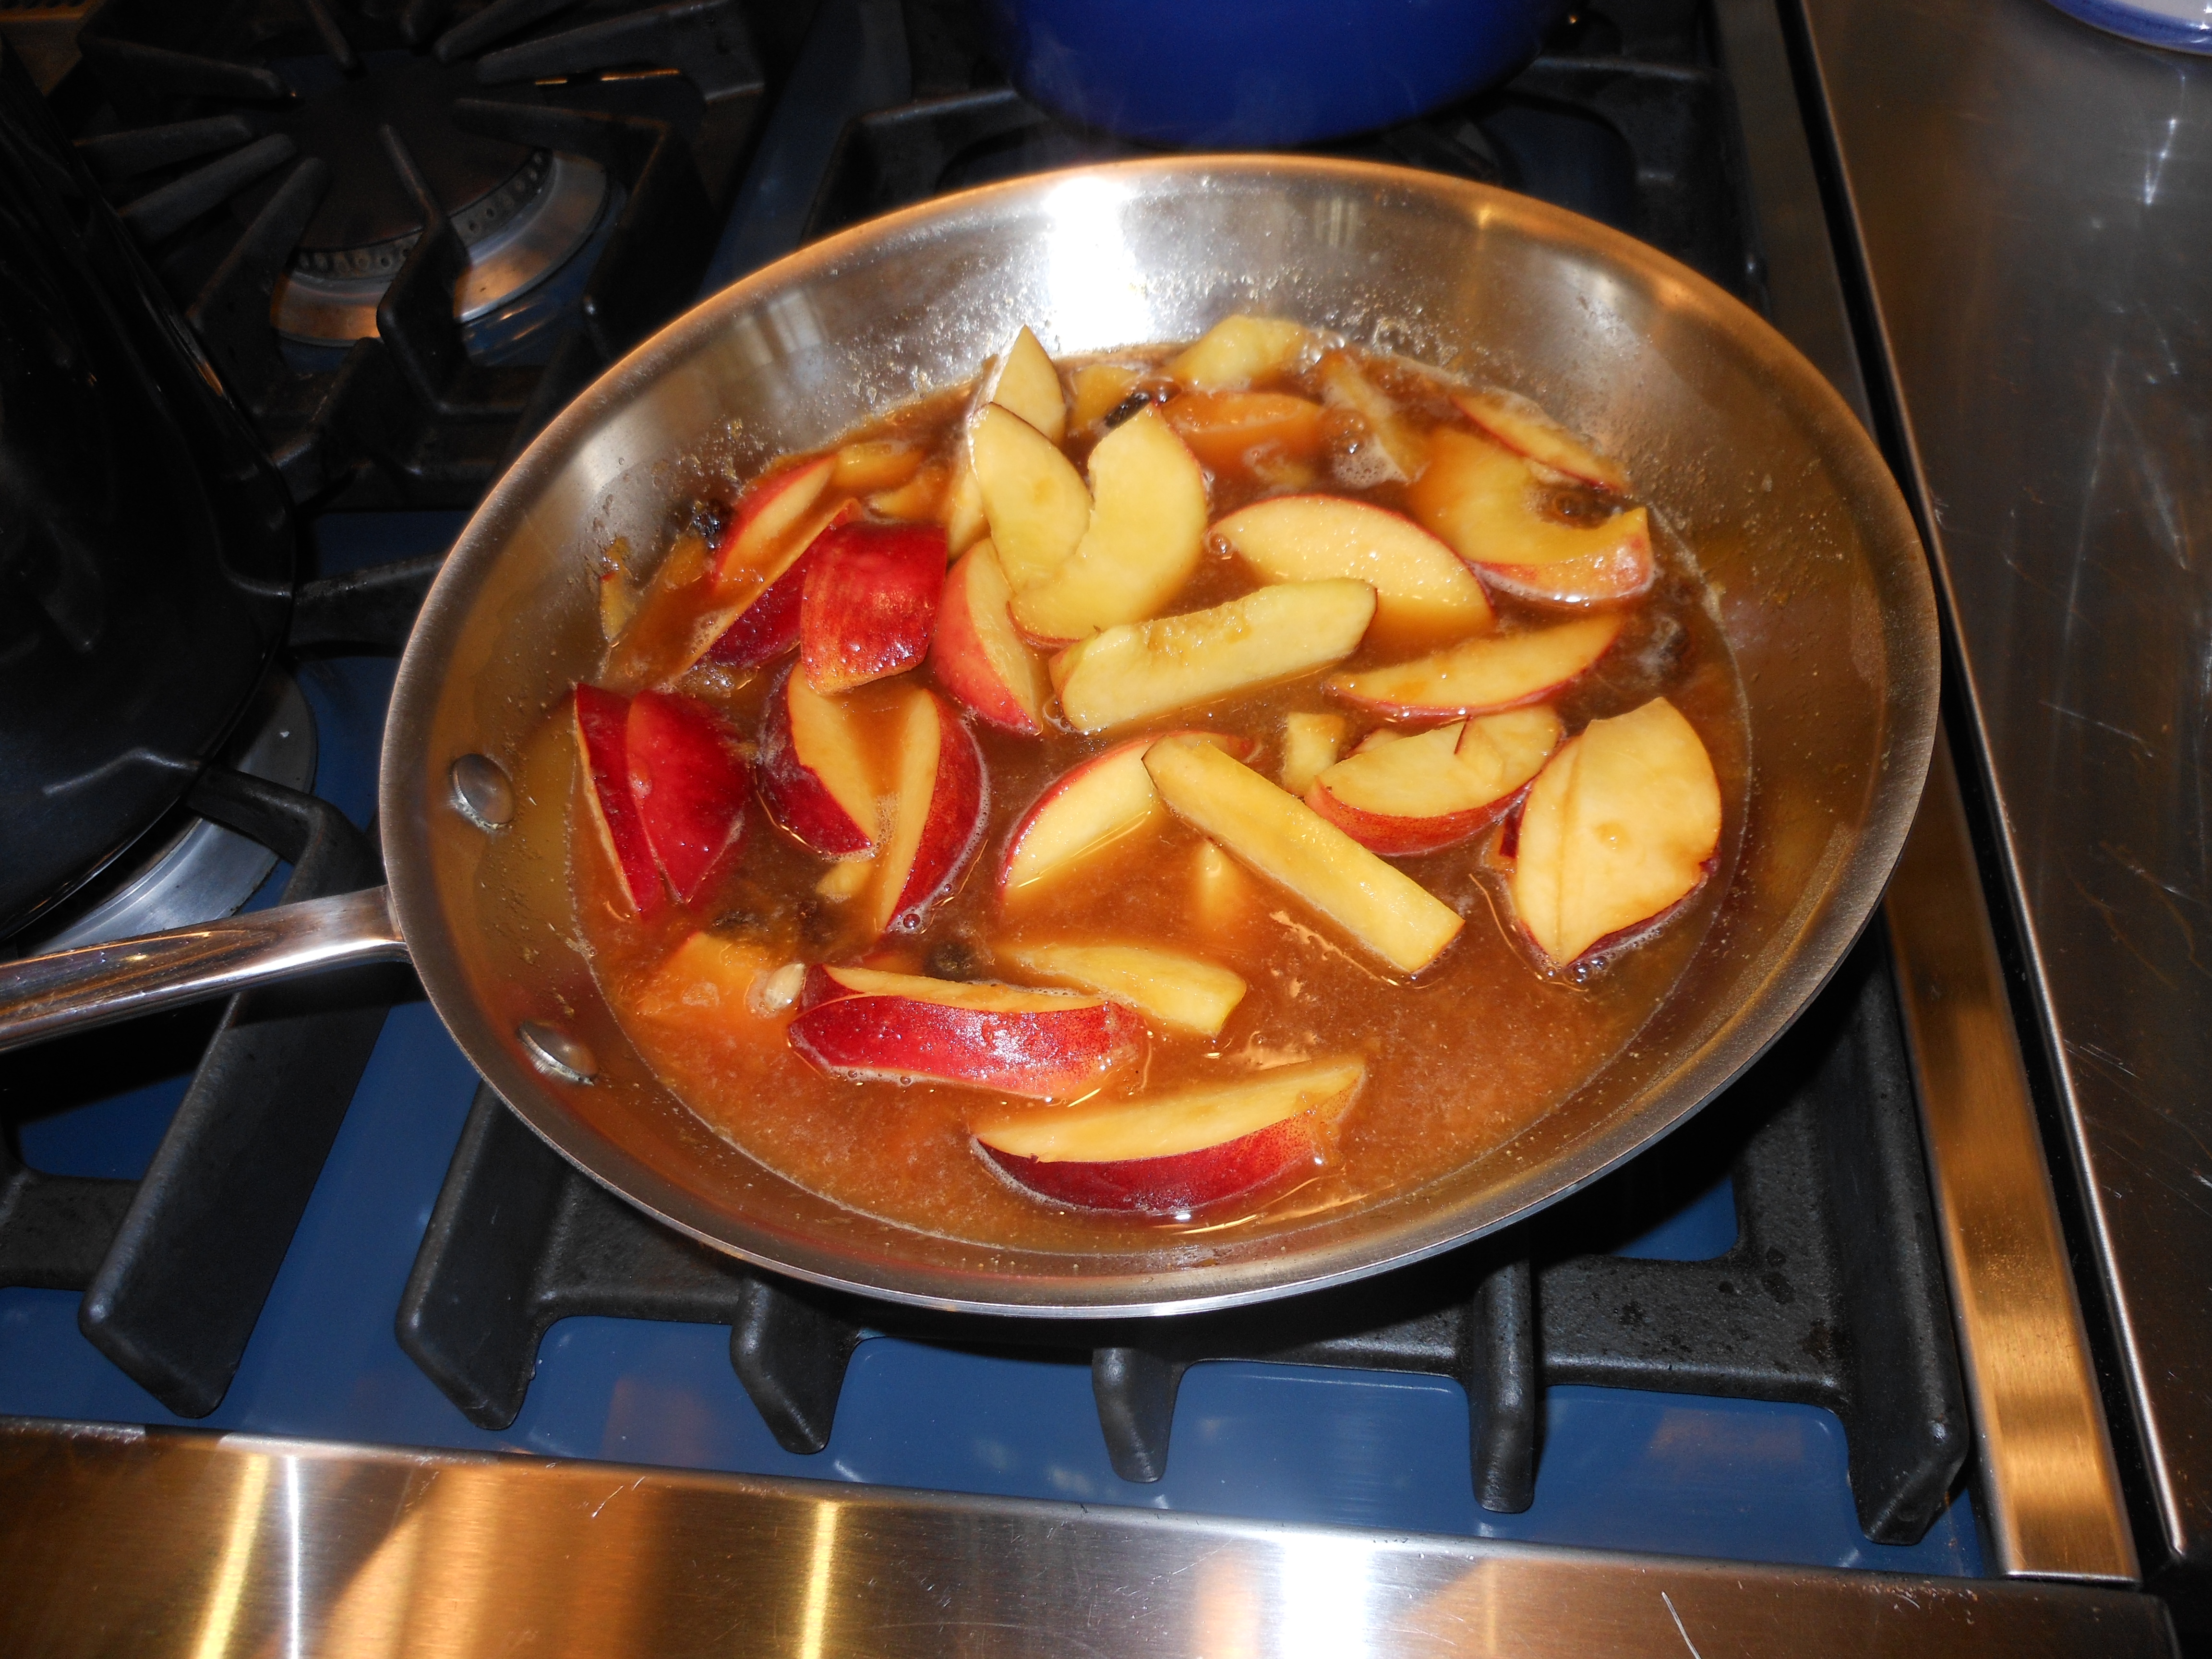 This recipe comes from our friend, diane wallace. we went to her house for dinner and it was so yummy that i asked her for the recipe for the fruit sauce, and she gave it to me, so thank you diane.
Posted in seafood

Perfect for the Summer Tomato Pasta
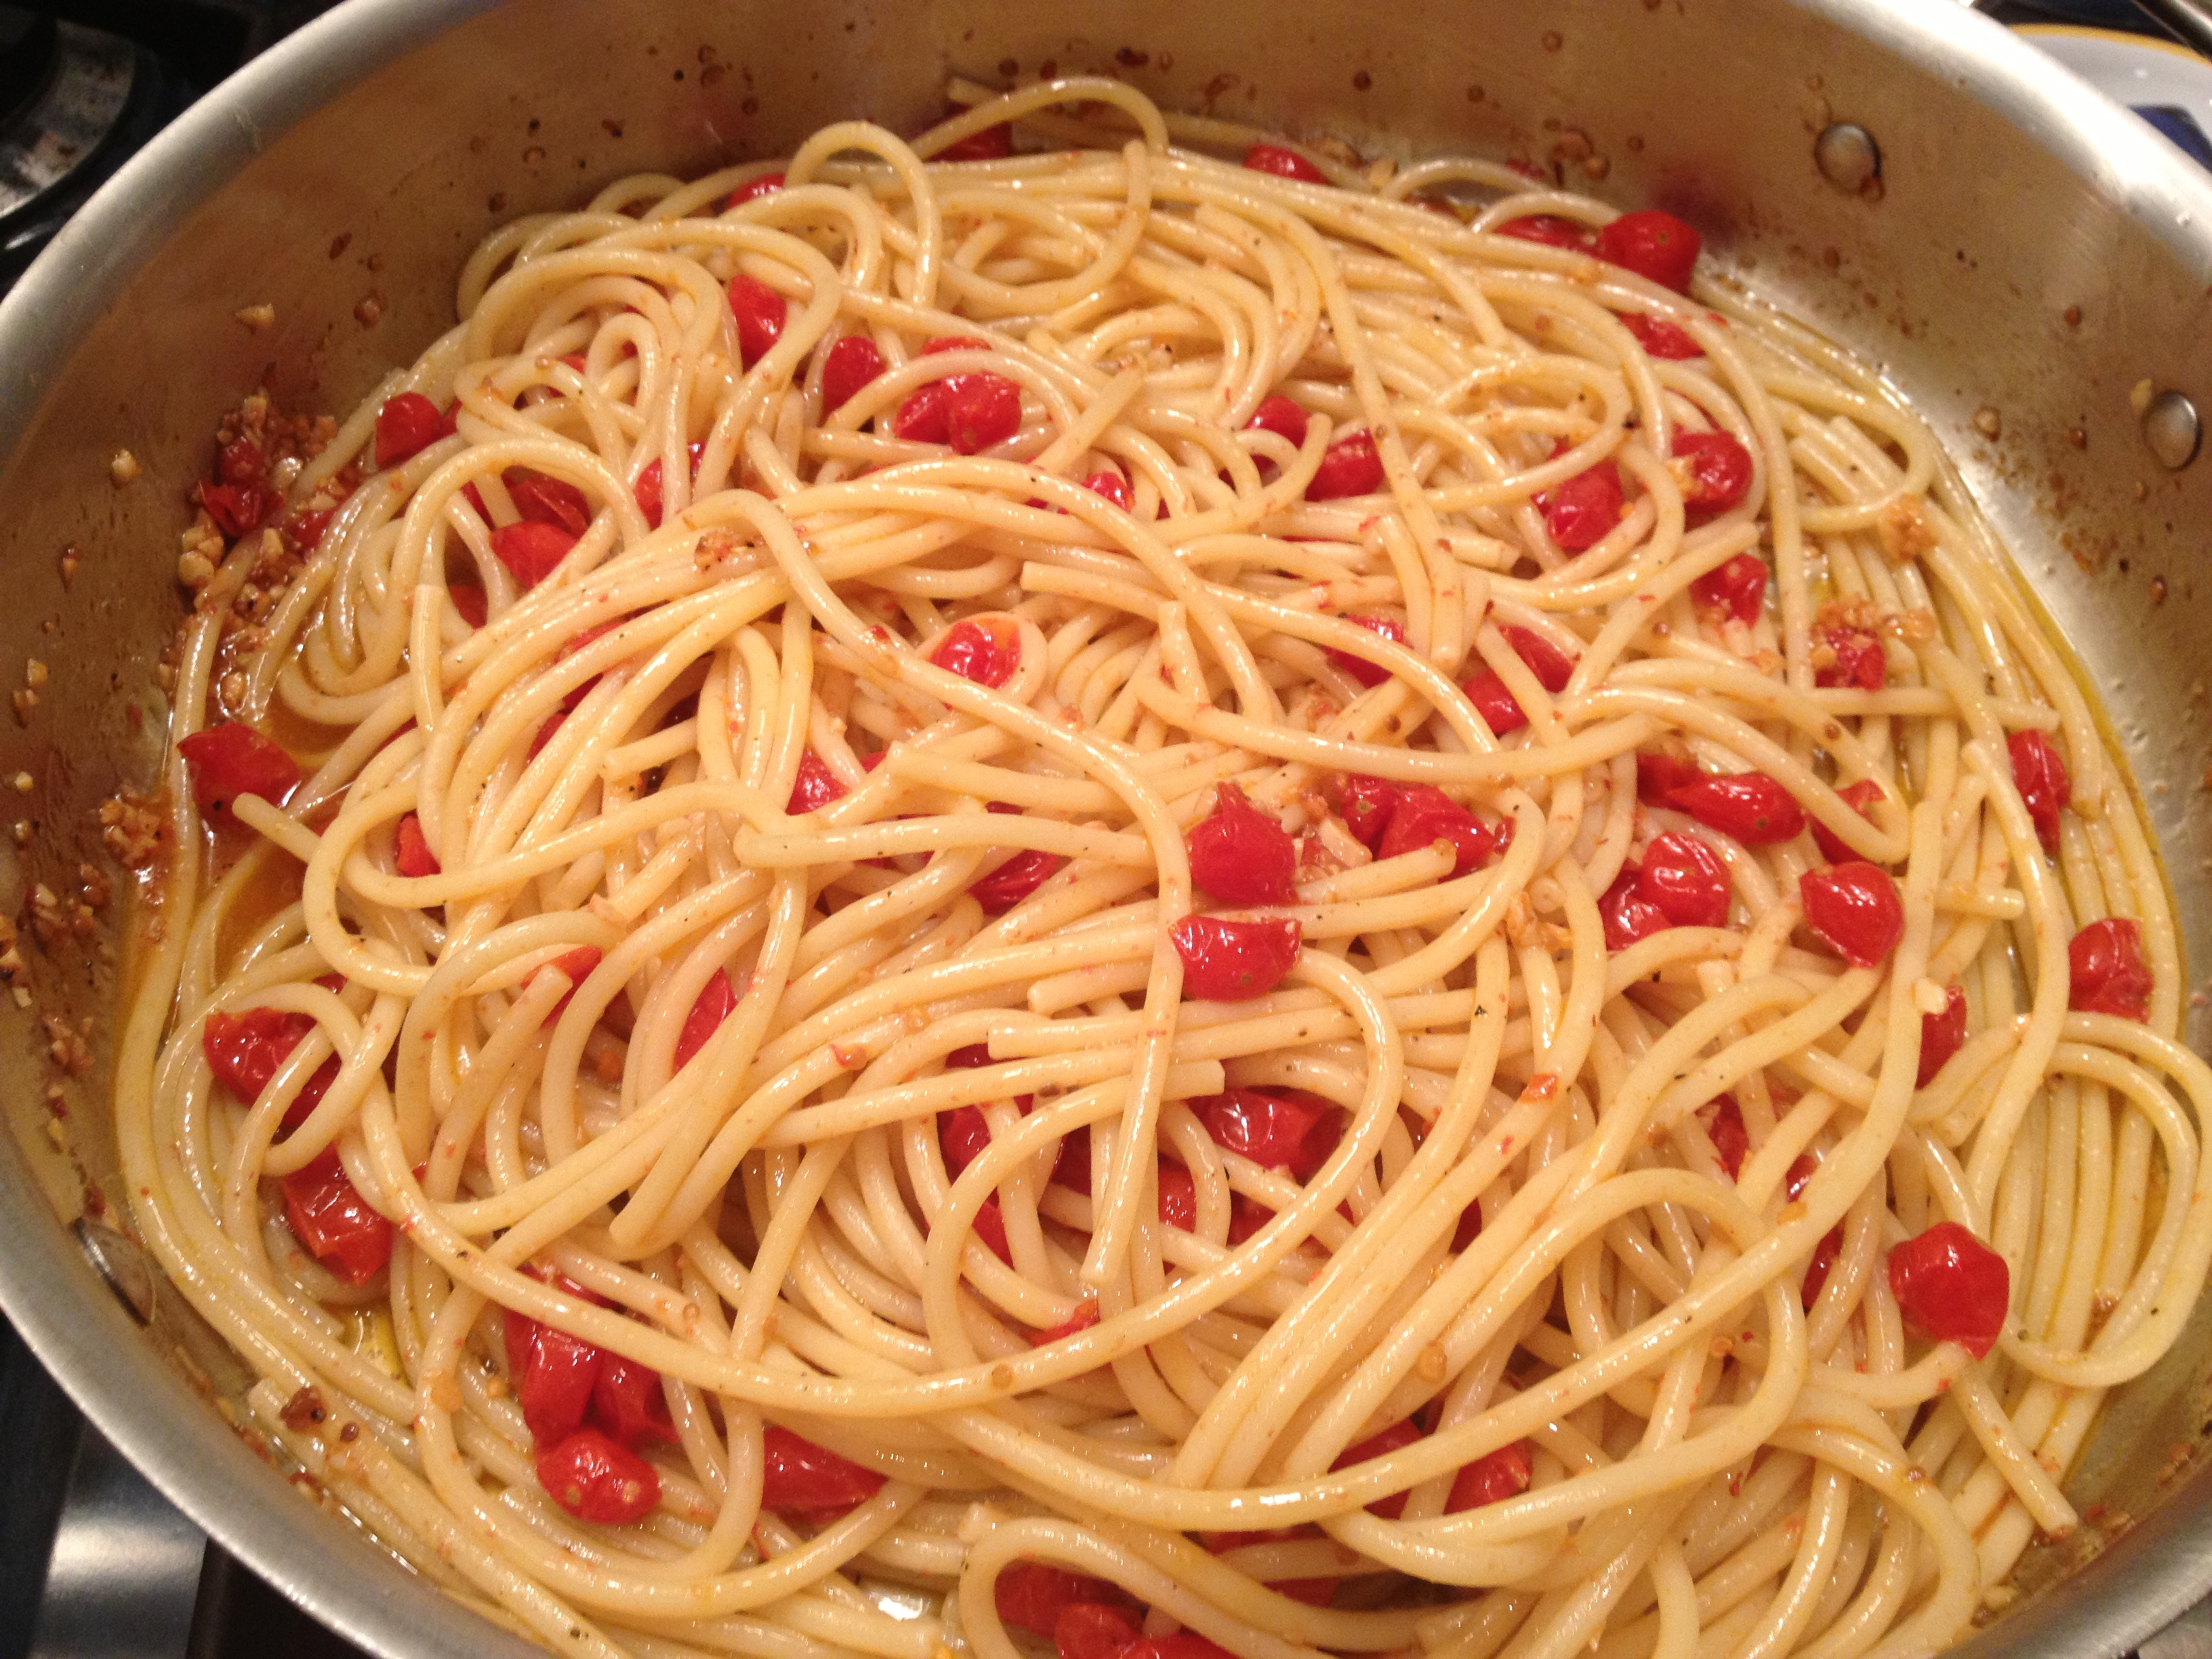
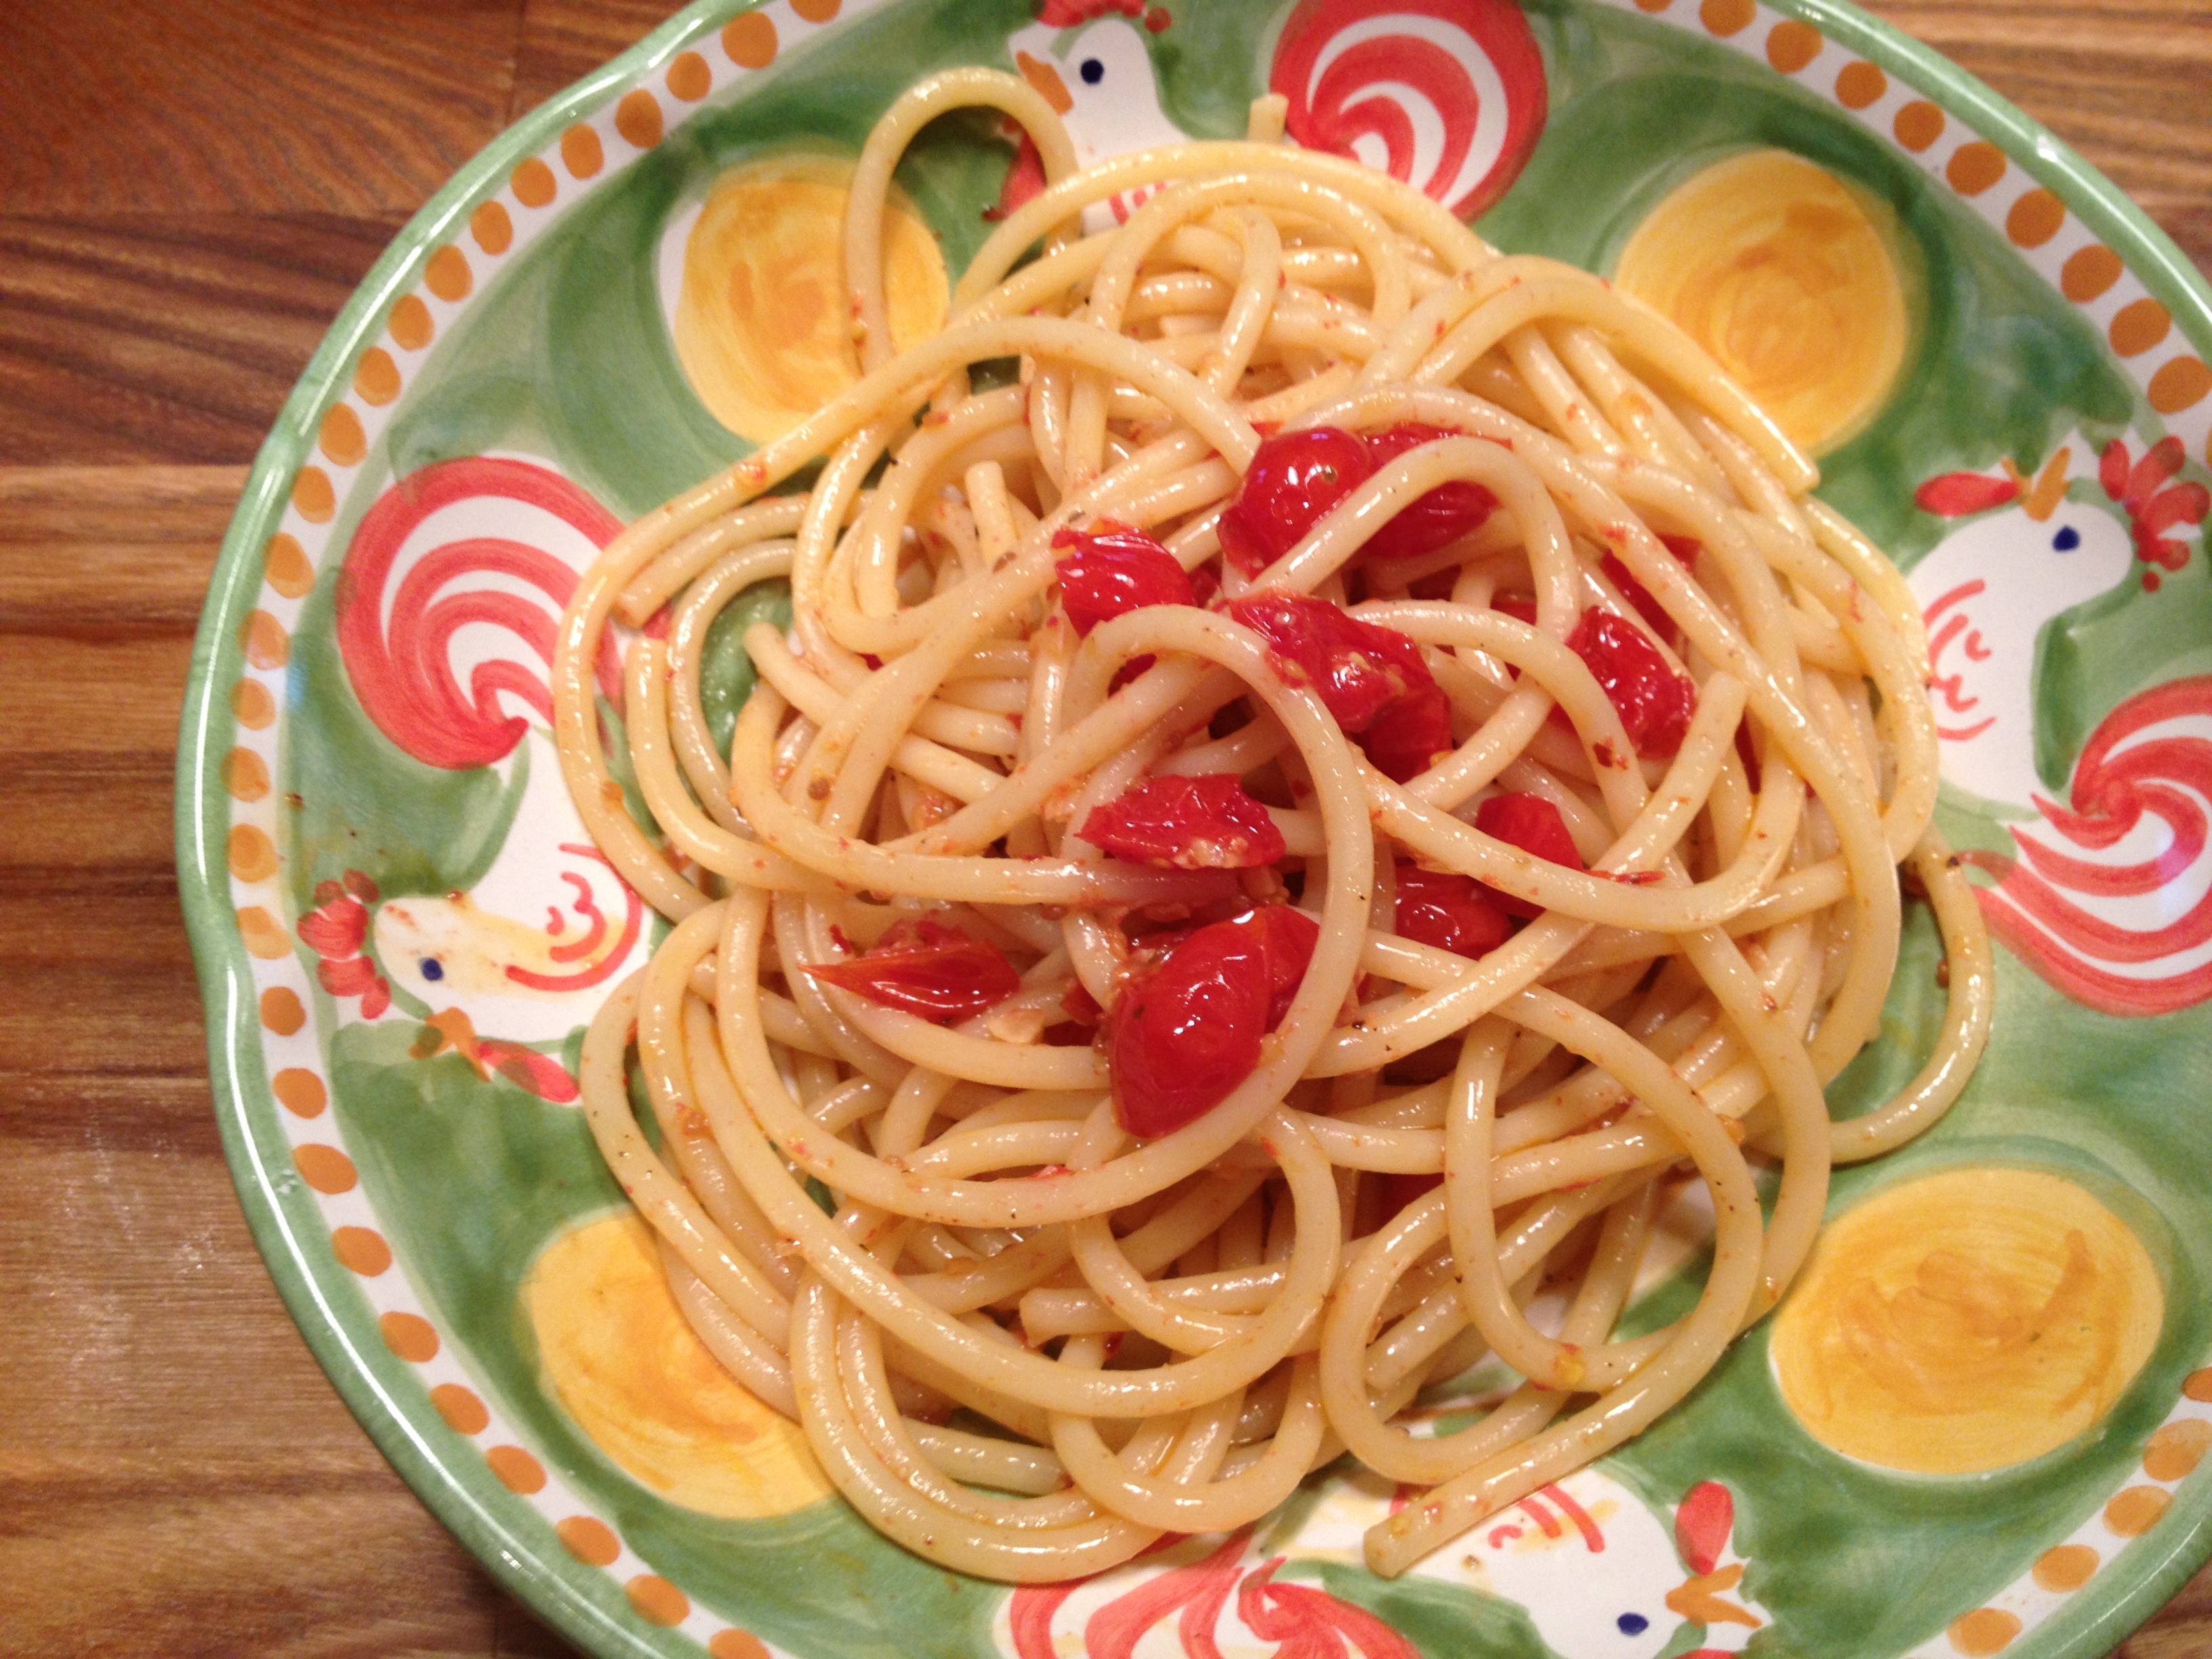
Actually this pasta shouldn’t only be for the summer b/c you can make it all year, and I do. It just seems to suit the summer best, because it’s so light in it’s taste. It can be made with fresh tomatoes from the garden, farmstand, supermarket, etc. Oftentimes I use a package of baby plum tomatoes, or the cherry tomatoes; it doesn’t really matter which ones you use. This couldn’t be simpler, and it tastes awesome the next day cold out of the fridge.
INGREDIENTS:
4 CLOVES GARLIC (MINCED)
3/4 CUP OLIVE OIL
1 LB. FRESH TOMATOES, OR A PACKAGE OF BABY PLUM TOMATOES, OR A PACKAGE OF CHERRY TOMATOES IN THE NET BAG WORKS JUST FINE. OBVIOUSLY THE FRESH ONES ARE MOST SWEET AND DELICIOUS IN THE SUMMER.
1 PACKAGE OF THIN SPAGHETTI,WHATEVER YOU PREFER
Directions:
Heat olive oil in large frying pan. When oil is hot, add garlic and then shut off heat. Pan will be hot enough. Sometimes I even remove from heat. Let garlic sit in olive oil for a bit (if you leave heat on be very careful not to burn the garlic.) After a few minutes of garlic sitting in oil (10 minutes), add chopped up tomatoes. If I am using little plums or little cherries I pretty much just cut in 1/2. Larger tomatoes I give a rough chop. Then put on a low flame and add tomatoes to oil and garlic. Cook the tomatoes for about an hour, adding kosher salt and freshly ground pepper along the way, check again for salt and pepper at the end of cooking before pasta goes in. Cook pasta according to directions. The longer the tomatoes sit in the oil, the tastier and the better and the more broken down they will get. I drain pasta, and then add it to the oil in the large frying pan. Serve with freshly grated parmesan cheese. I also sprinkle red pepper flakes, but I like it spicy. Toss pasta well with tomatoes and keep tossing until sauce covers all pasta. I leave it in the pan ’til I’m ready to serve. It is best served at room temp. anyway. So you can make it ahead of time and just let it sit and give it a good toss before you serve.
Serve with salad, bread, or as a side dish with any entree.
It will serve 4 as a main dish, and 6 – 8 as a a small plate.
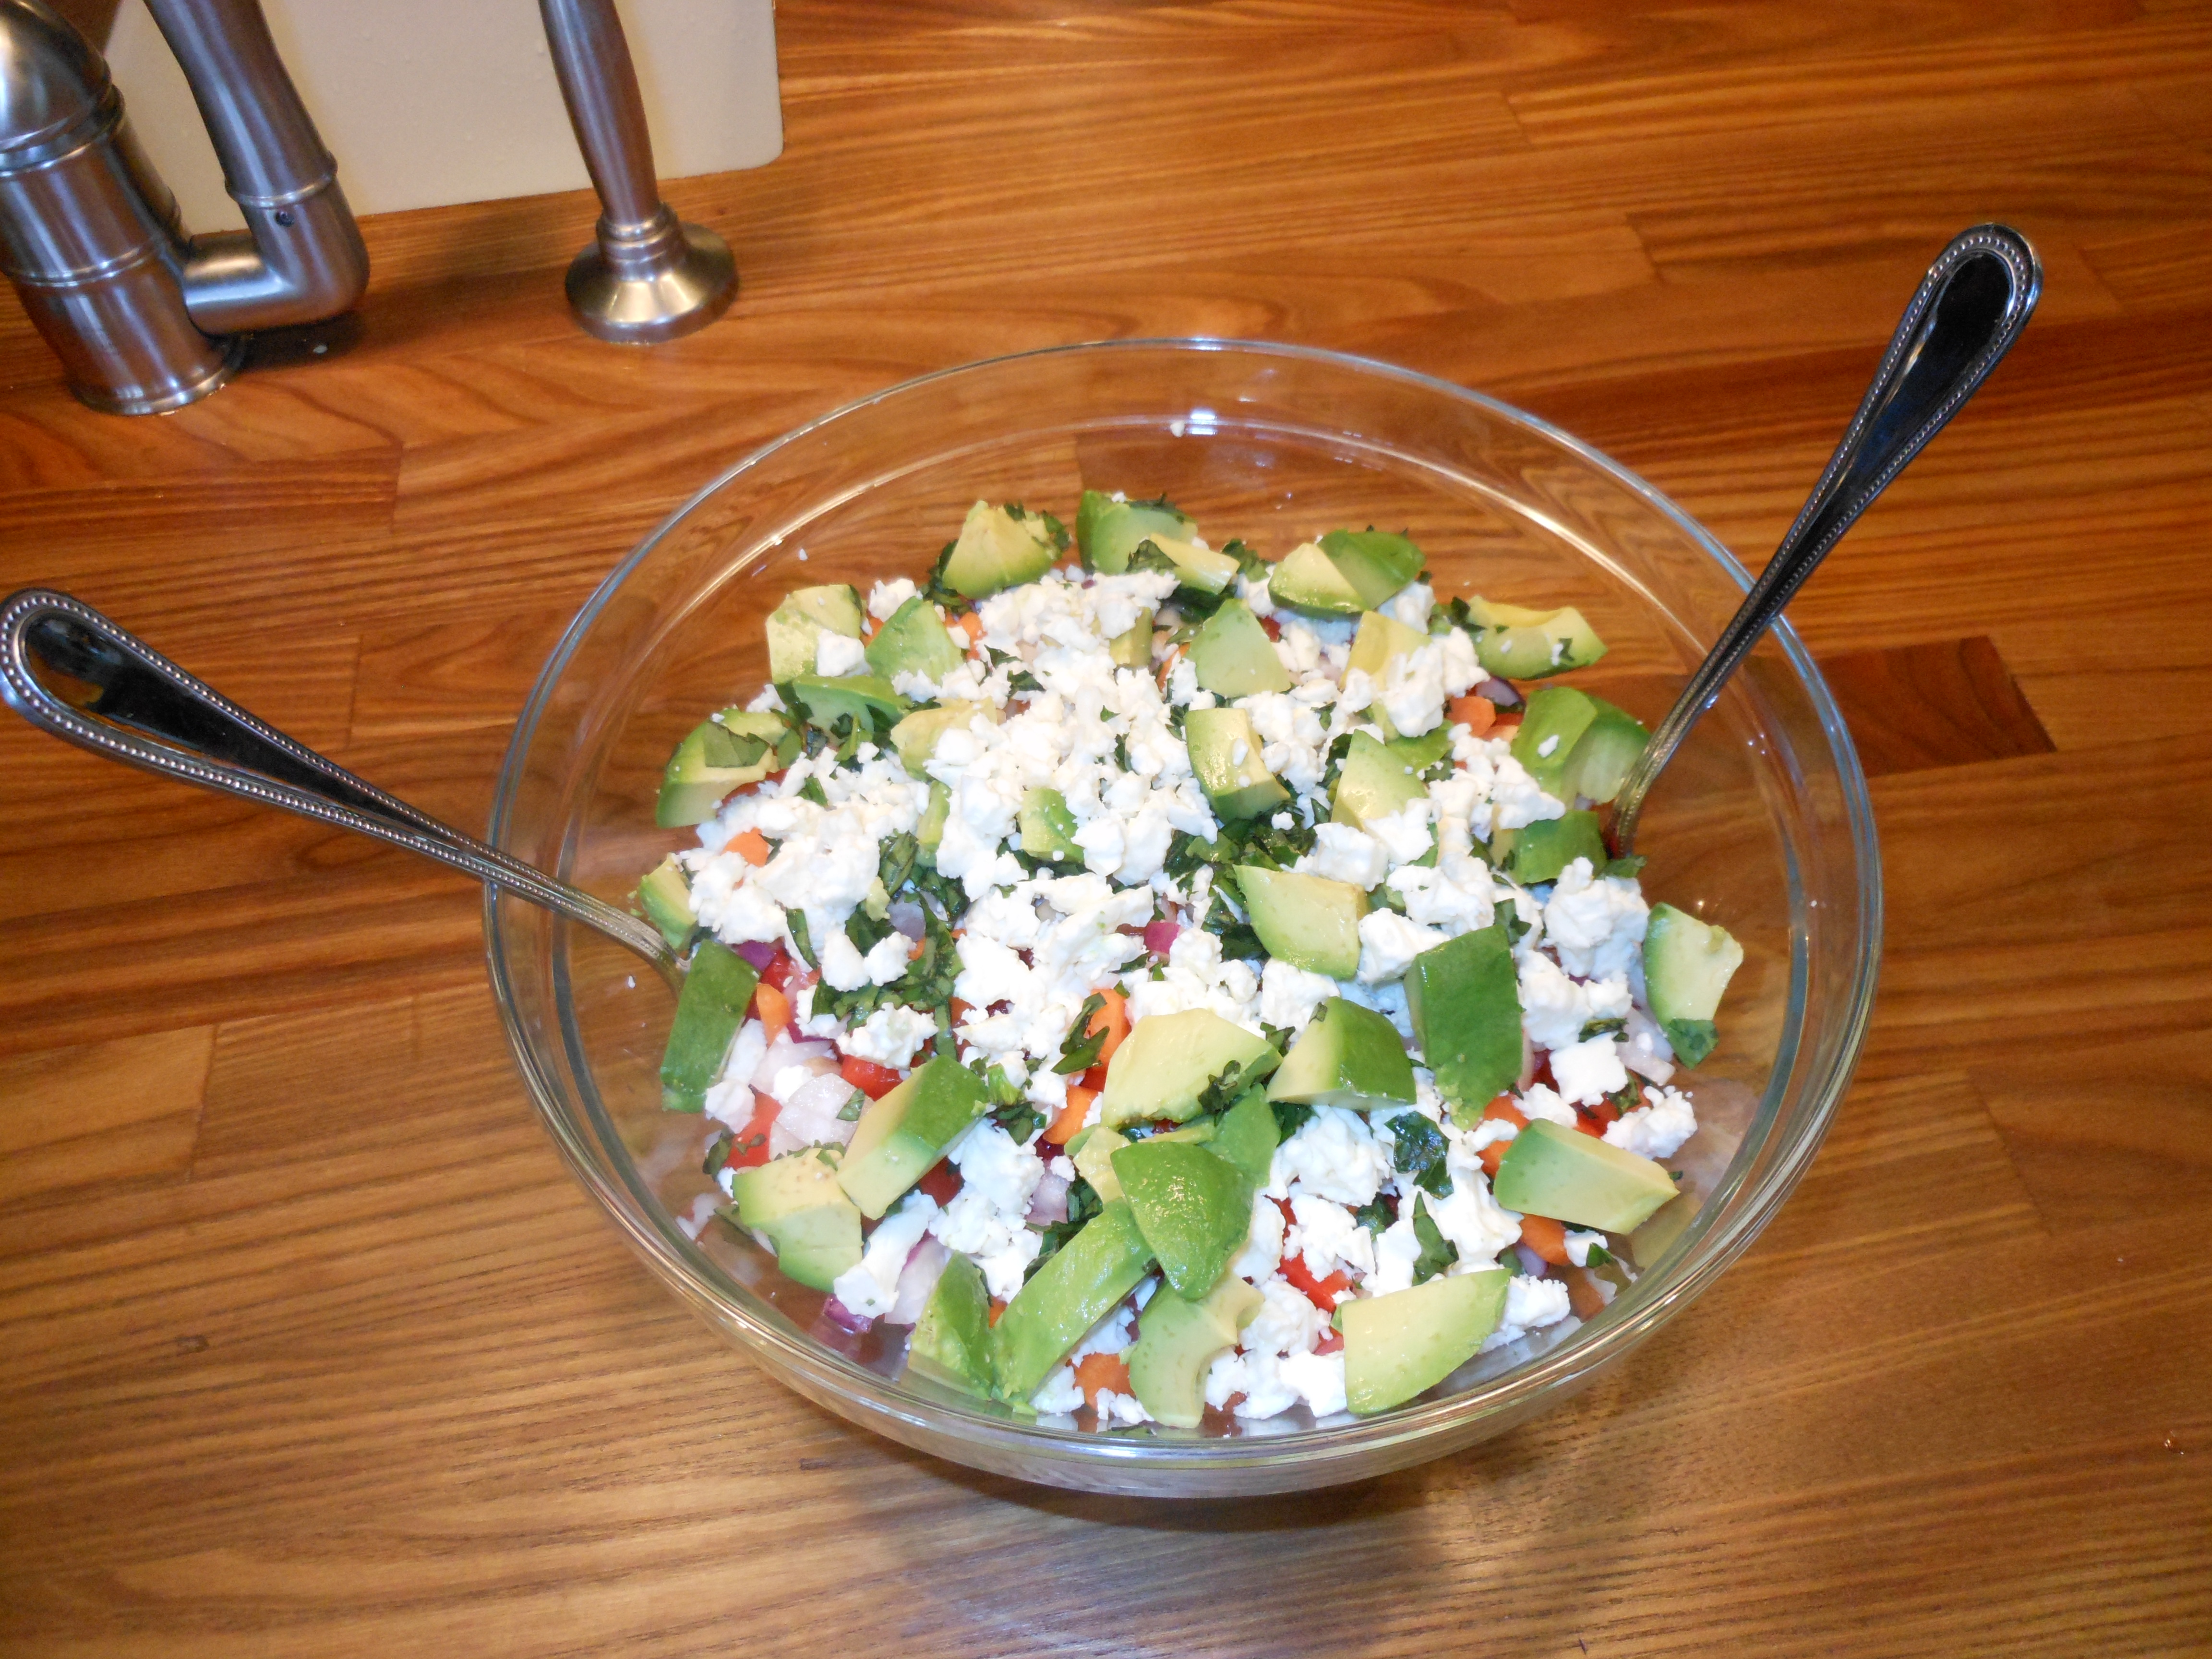 Our daughter, Kerri, came out to visit us in Colorado and made this delicious salad. It is fresh, tasty, crunchy, and best of all, it’s all veggie! It’s worth the chopping and the effort. It’s not an exact science, though, so add, subtract, or substitute to your liking. This salad makes a beautiful presentation because it is colorful–so keep that in mind when choosing ingredients.
INGREDIENTS:
2-3 sweet peppers, chopped into small bite-sized pieces (Use different colors! Orange looks the prettiest, if you can find it and then add a yellow or red. No green.)
1 bunch radishes, chopped into small bite-sized pieces (we were able to get multi-colored, beautiful, local ones; but if red is all you can get, that’s fine too)
1/2 large hothouse cucumber, peeled and chopped into small bite-sized pieces (You can also use two small Persians. Seedless is ideal but not necessary.)
2 regular-sized carrots, chopped
1/2 red onion, diced
1 avocado, cubed
6 oz feta cheese, cubed (French is awesome but if it’s unavailable, any of the aged ones are good.)
Basil (about seven leaves), shredded
1 lemon (to squeeze all over salad)
1 tbsp olive oil
1/4 cup red wine vinegar
Kosher sale to taste
Freshly ground pepper to taste
Layer all the ingredients, leaving the avocado, cheese and basil for last. Squeeze fresh lemon juice on top and then the olive oil and red wine vinegar. Toss well. Salt and pepper to taste. The feta is salty so be careful to not over salt.
Kalamata olives or other black pitted olives would be great in this as well. Make it your own. This salad is really a great summer salad.
Serves 6-8 as a side salad.
Posted in Salad

More Things to do with Berries
This cake is not too sweet, makes a lovely presentation, and is just awesome for breakfast the next morning with a cup of coffee! I made one yesterday and of course, I will have to freeze it soon because it’s just awesome for a late morning snack, an after-hiking snack, a late afternoon snack, etc, etc. It also helps to give it away to your guests as a care package since then you don’t end up finishing the whole cake yourself!
Serves 8-10
INGREDIENTS:
Use a 9 or 10-inch diameter springform cake pan
3/4 cup (1 1/2 sticks) unsalted butter, room temperature (plus more for pan and parchment paper)
2 1/3 cups cake flour (sifted) plus a little more to sprinkle in pan
2 pints blackberries
1/4 cup sugar to sprinkle on blackberries
1 1/3 cup sugar for batter
1 1/2 tsp. baking powder
3/4 tsp. salt
1/2 tsp. baking soda
3 large eggs (room temperature)
2 tsp. vanilla extract
Zest from 2 oranges (this should be about 2 tablespoons)
1 cup well-shaken buttermilk
Powdered (confectioners) sugar (for dusting cake)
DIRECTIONS:
Preheat oven to 350 degrees. Position rack in middle of oven. Butter the pan, line bottom with a round of parchment paper. I first spray Pam baking spray all over the inside of the pan, so you can cut down on some of the butter. Dust with a little flour and tap out excess.
Now, arrange blackberries in a single layer on the bottom of the pan (I cover the whole bottom) and sprinkle with 1/4 cup of sugar.
Sift cake flour, baking powder, salt and baking soda into a medium bowl and set aside. Using an electric mixer, beat butter and remaining 1 1/3 cups of sugar in a large bowl at medium-high speed (occasionally scrape down the sides of the bowl). Mix until pale and fluffy (about 4 minutes). Add eggs, one at a time, beating well after each egg. Beat in vanilla and orange zest. Reduce speed to low; beat in flour mixture in 3 additions, alternating with the buttermilk but beginning and ending with flour. Beat until well incorporated.
Pour batter over berries in pan and smooth out the top.
Bake until cake is golden brown and a cake tester inserted into the center comes out clean. I baked for 1 hour. Check on cake after 50 minutes. Let cake sit in pan and cool. Then run a sharp knife around the edge of the pan to loosen. Remove pan sides. Invert cake onto a cake plate and remove the bottom of the pan. Peel off parchment paper. Dust the top generously with powdered, sifted sugar and let the cake cool completely. I don’t dust the sugar on top until I’m ready to serve it.
Posted in Baked Goods, Cake, dessert
Tagged berries in baking, blacberry cake, blackberries

Shrimp for the BBQ
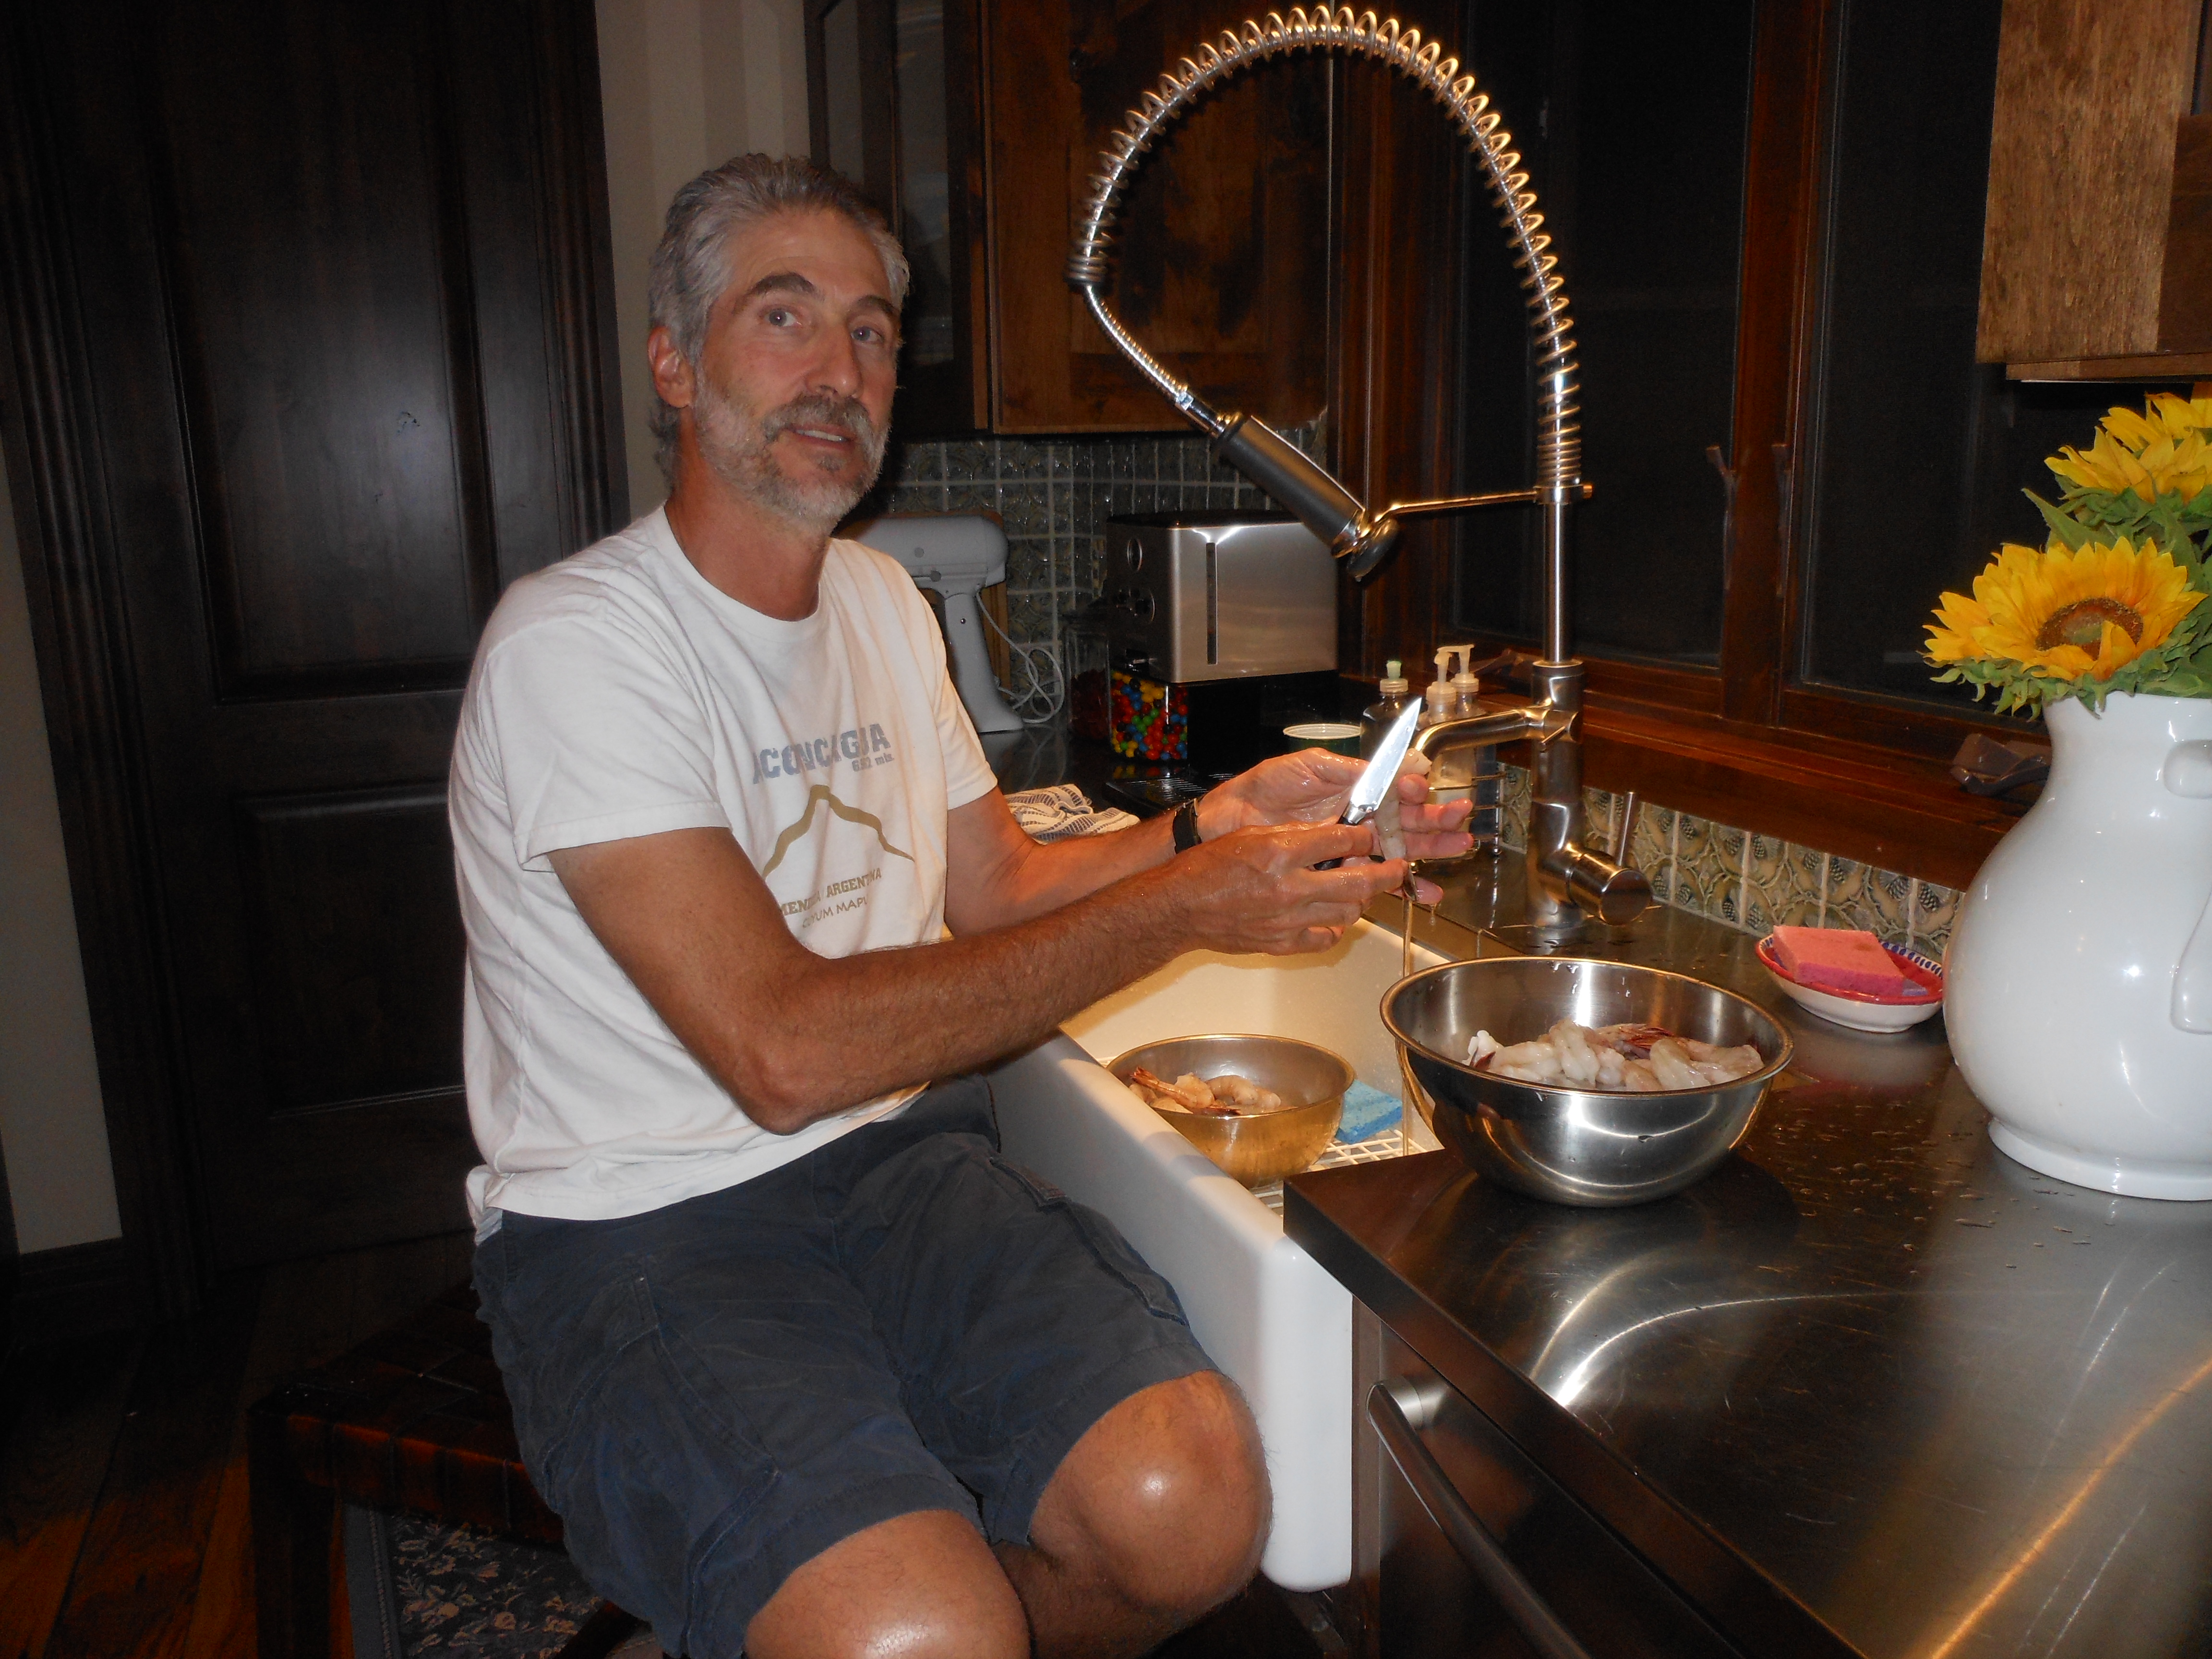
Joel cleaning shrimp for me!Shrimp for BBQ
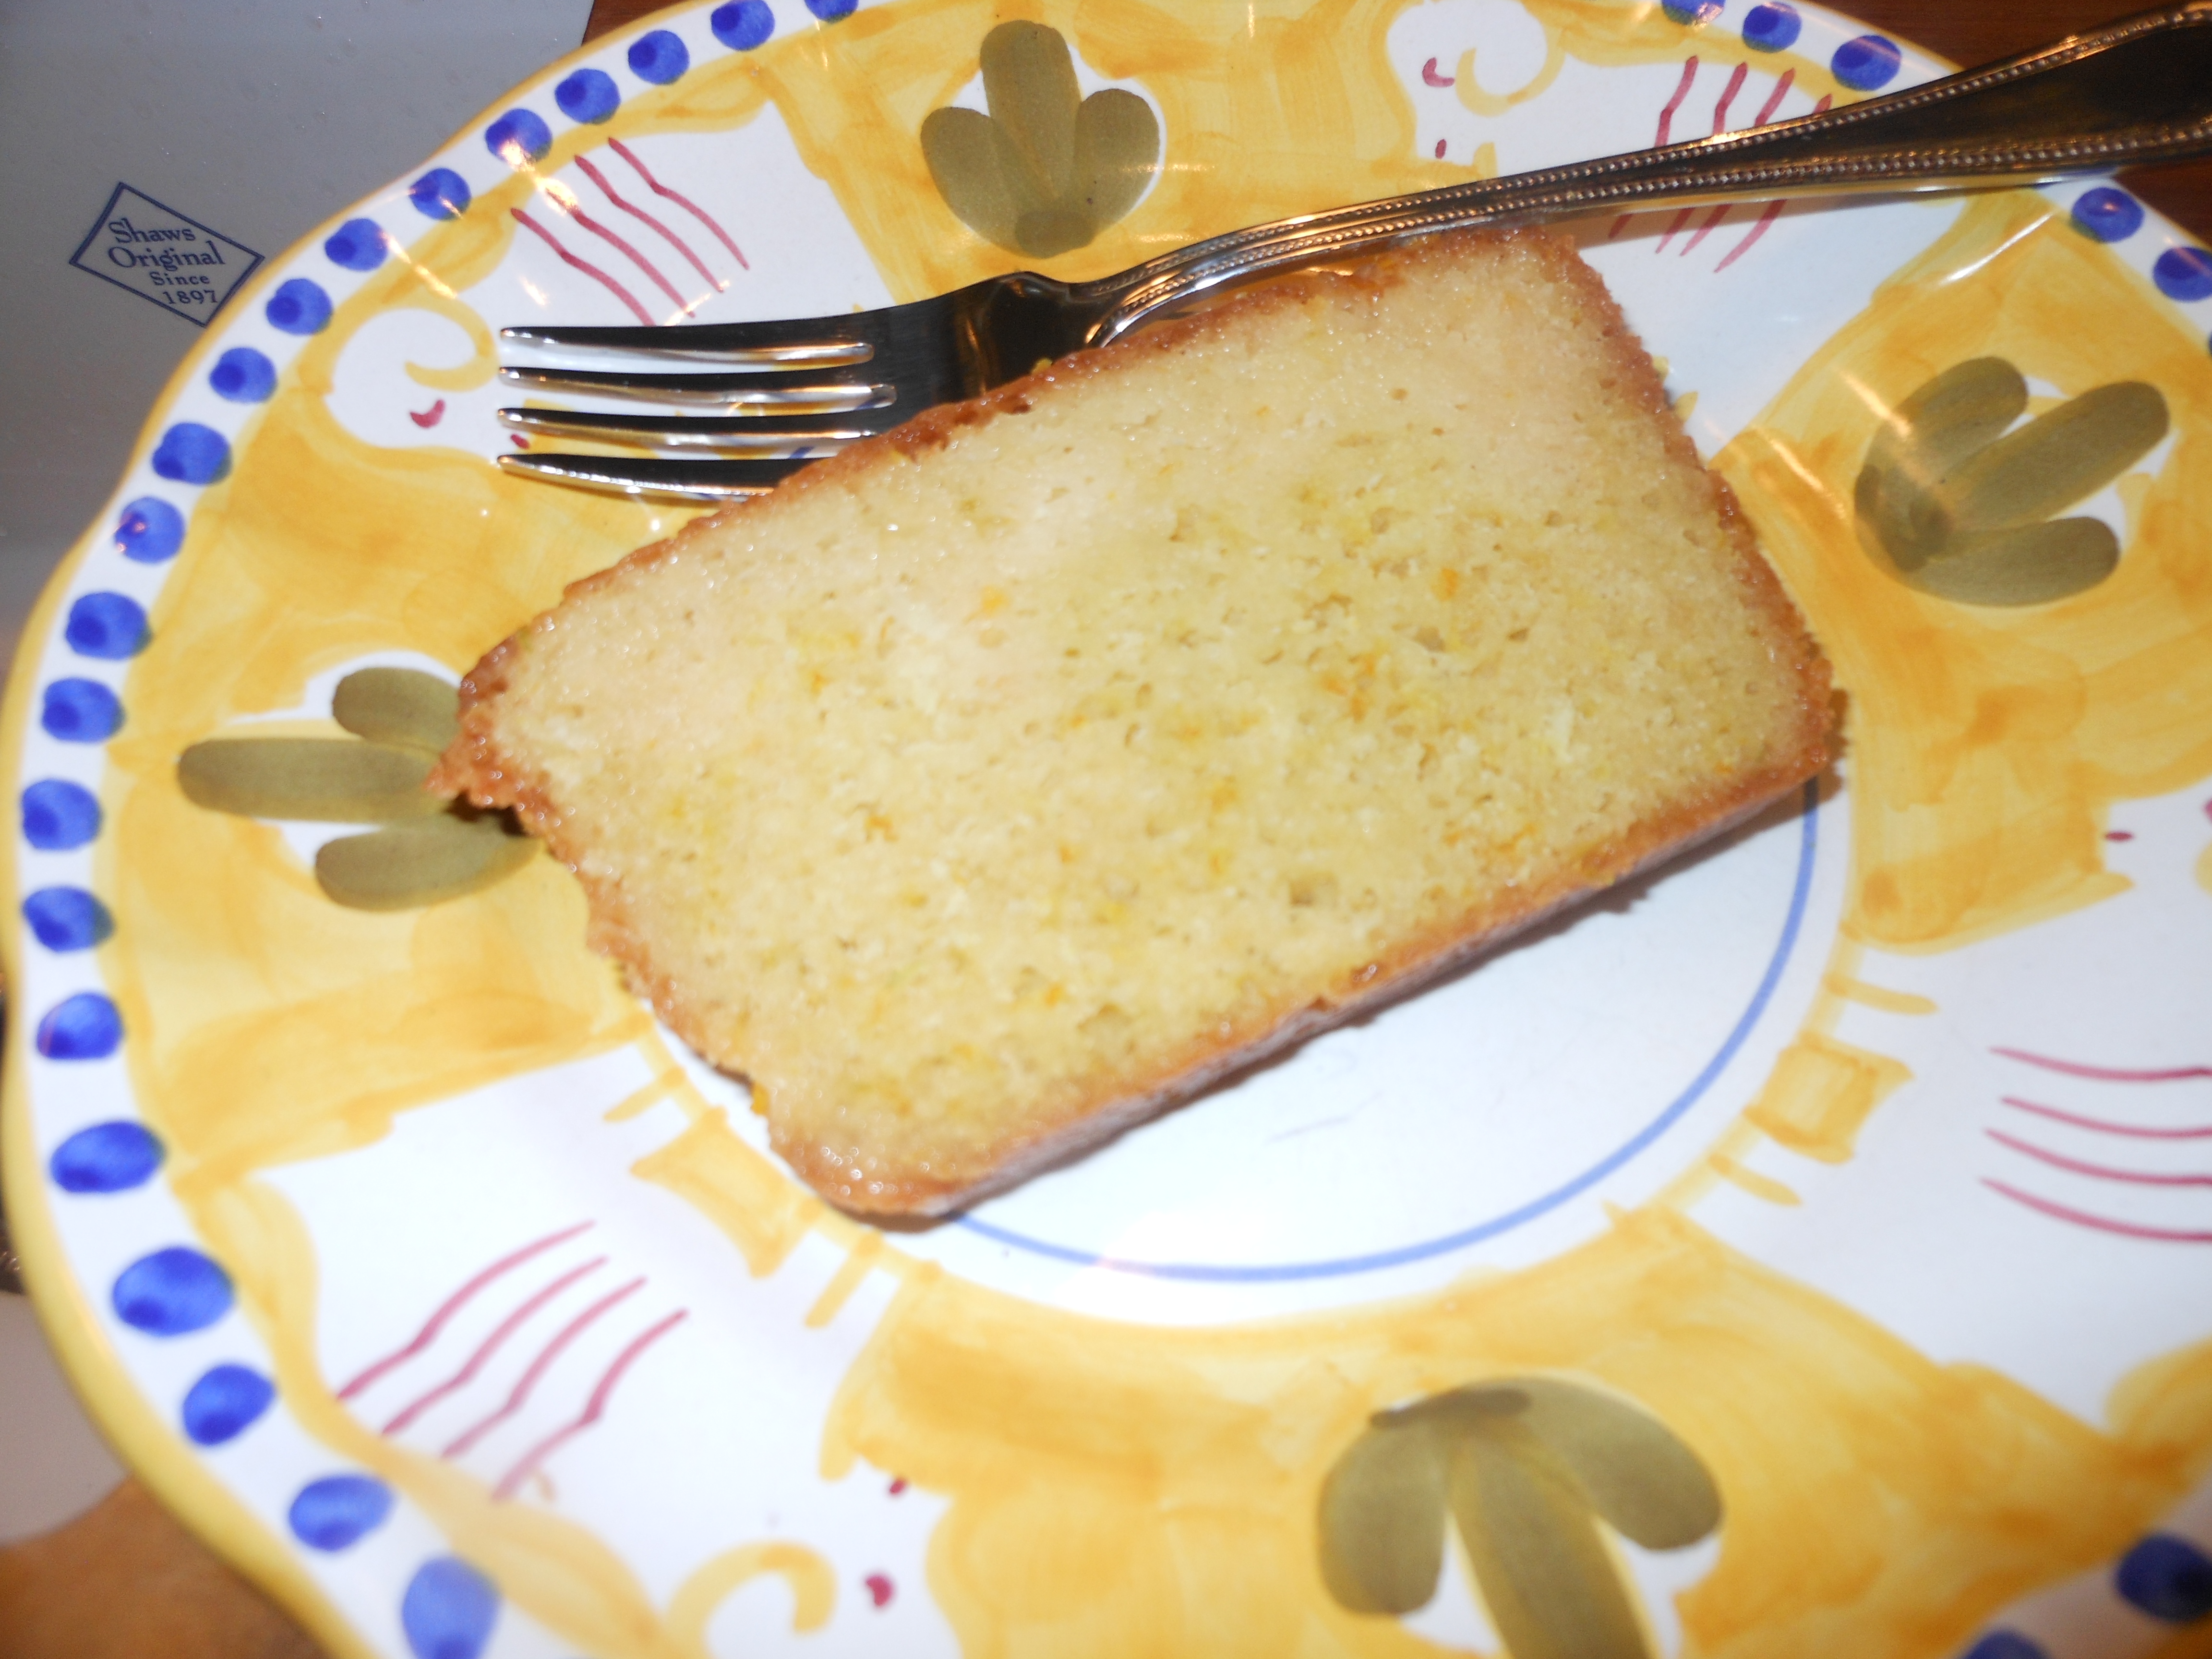


Fresh out of the oven
Posted in dessert

Balsamic Mustard Chicken in Marinade
Preheat oven to 400 degrees
Remove chicken from the bag and arrange it in a Pam-sprayed Pyrex type baking dish. Add your kosher salt and freshly ground black pepper now. Roast until the chicken is just cooked through (about 1 hour.) Look at chicken after about 45 minutes; if it is burning, cover with aluminum foil for the remaining cooking time. Transfer chicken to your serving platter and cover with aluminum foil. Take Pyrex with gravy from pan drippings and put on burner of stove (or transfer to a smaller sauce pan). Whisk in the chicken broth (and this is when I add the lemon zest as well,) scraping up all the brown bits as you go. (When you are de-glazing the pan, a wooden spoon works best.) When the gravy comes to a boil, you’re ready to spoon over your chicken. If you plate it individually, put rice on the plate, then a piece(s) of chicken, and then spoon gravy on top. Or I just pour some gravy over the chicken on a platter and put it on the table. Then I put rice in a pretty bowl and put that on the table as well. That way, everyone can take their own.
If you want to BBQ the chicken , cook it first for about 30 minutes, then do gravy as above. Lemon slices look pretty on the platter with some chopped parsley but totally not necessary.
* roasted asparagus is perfect on side
*I love Near East brand of Rice Pilaf in a box (Original) when I don’t feel like fussing with rice. Almost always comes out perfectly if you follow instructions.
Posted in chicken

Berry Crumble Filling

