Homemade Applesauce– Sweet and Tart–Not Diet and Diet

It’s Latke Time so here is an applesauce that you can make along with them. After all what’s a latke without applesauce? 2 ways to make this delicious applesauce. Happy Chanukah!!

cookingwithcandi's avatarCooking with Candi

photo (42)photo (40)photo (39)photo (38)I love apple season and what better use for all those apples but applesauce? It’s great by itself, with meat, poultry,  over ice cream , yogurt or pancakes , in muffins, any time you feel like applesauce. A staple on Thanksgiving Table and this year it will double duty with Latkes for Thanksgivukah!   I made 3 lbs. but you can easily make this with 6 lbs. of apples.  Easy shopping list, most ingredients you probably have in the house. If you’d like you can add a pinch of nutmeg or allspice. A little butter or maple syrup is also a good thought. I used a little bit of maple syrup ( maybe 1/4 cup) . Play around with flavors. Quick prep time , very easy to make, 3 lbs. will probably serve around 6 – 8 people. Cook Time is about 1/2 hour.

This is the obvious more fattening way to…

View original post 368 more words

Potato – Zucchini Latkes for Chanukah

IMG_6213

Jenn’s Potato Latkes

IMG_6214

Jenn’s Potato Latkes

Chanukah is here if you can believe it!  These tasty little pancakes are perfect for the holiday and really any day.   Most perfect of all is that you can cook them, freeze them and have them for whenever you want. They make a great appetizer or side dish. My experience with latkes is that they never really taste as good as when you first fry them, but that’s such an impossible task with people waiting to eat and having fifty million other things to do. Latkes are the ultimate comfort food. This is just a little twist on the traditional potato latke .  Usually about 2 – 2 1/2 inches in diameter is the right size, but it’s up to you. Not sure where this recipe hails from. The original from my Grandmother, but the zucchini was added later. My grandmother didn’t own a food processor and it’s a game changer, just makes it so much simpler to do.  I loved my Grandmother’s latkes and not quite sure what she did to make them so delicious but I try my best.

Happy Chanukah!

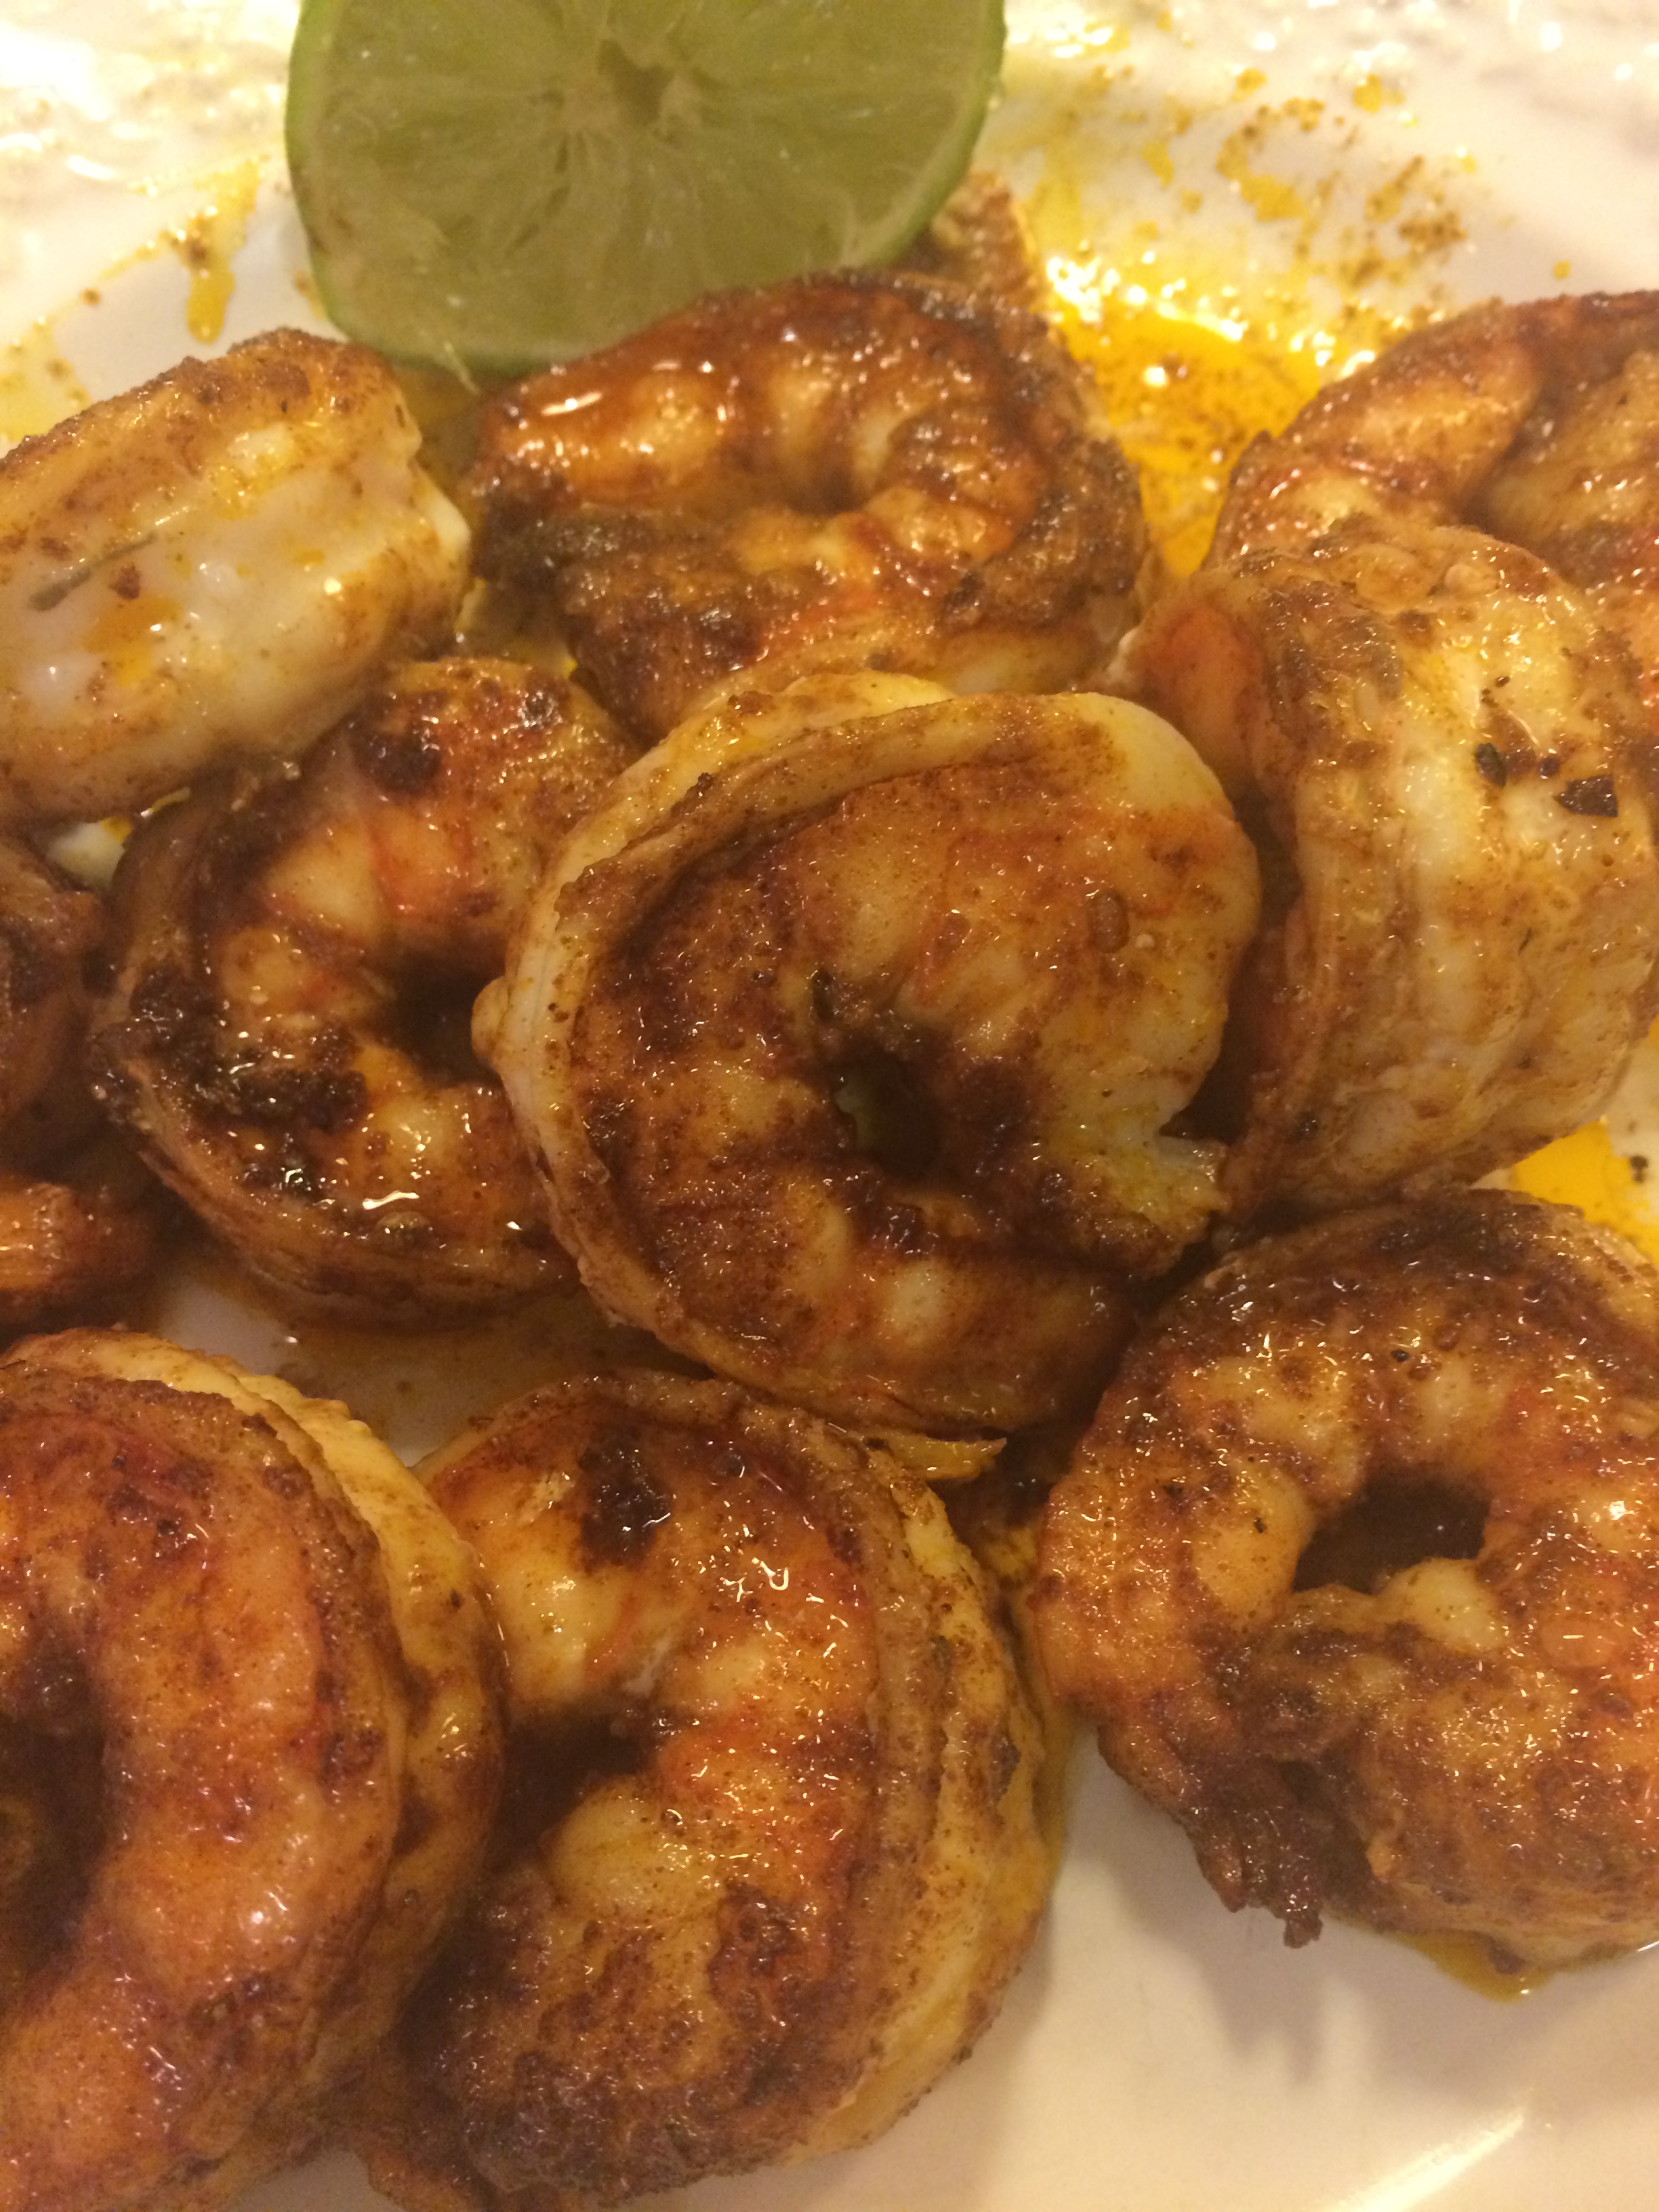
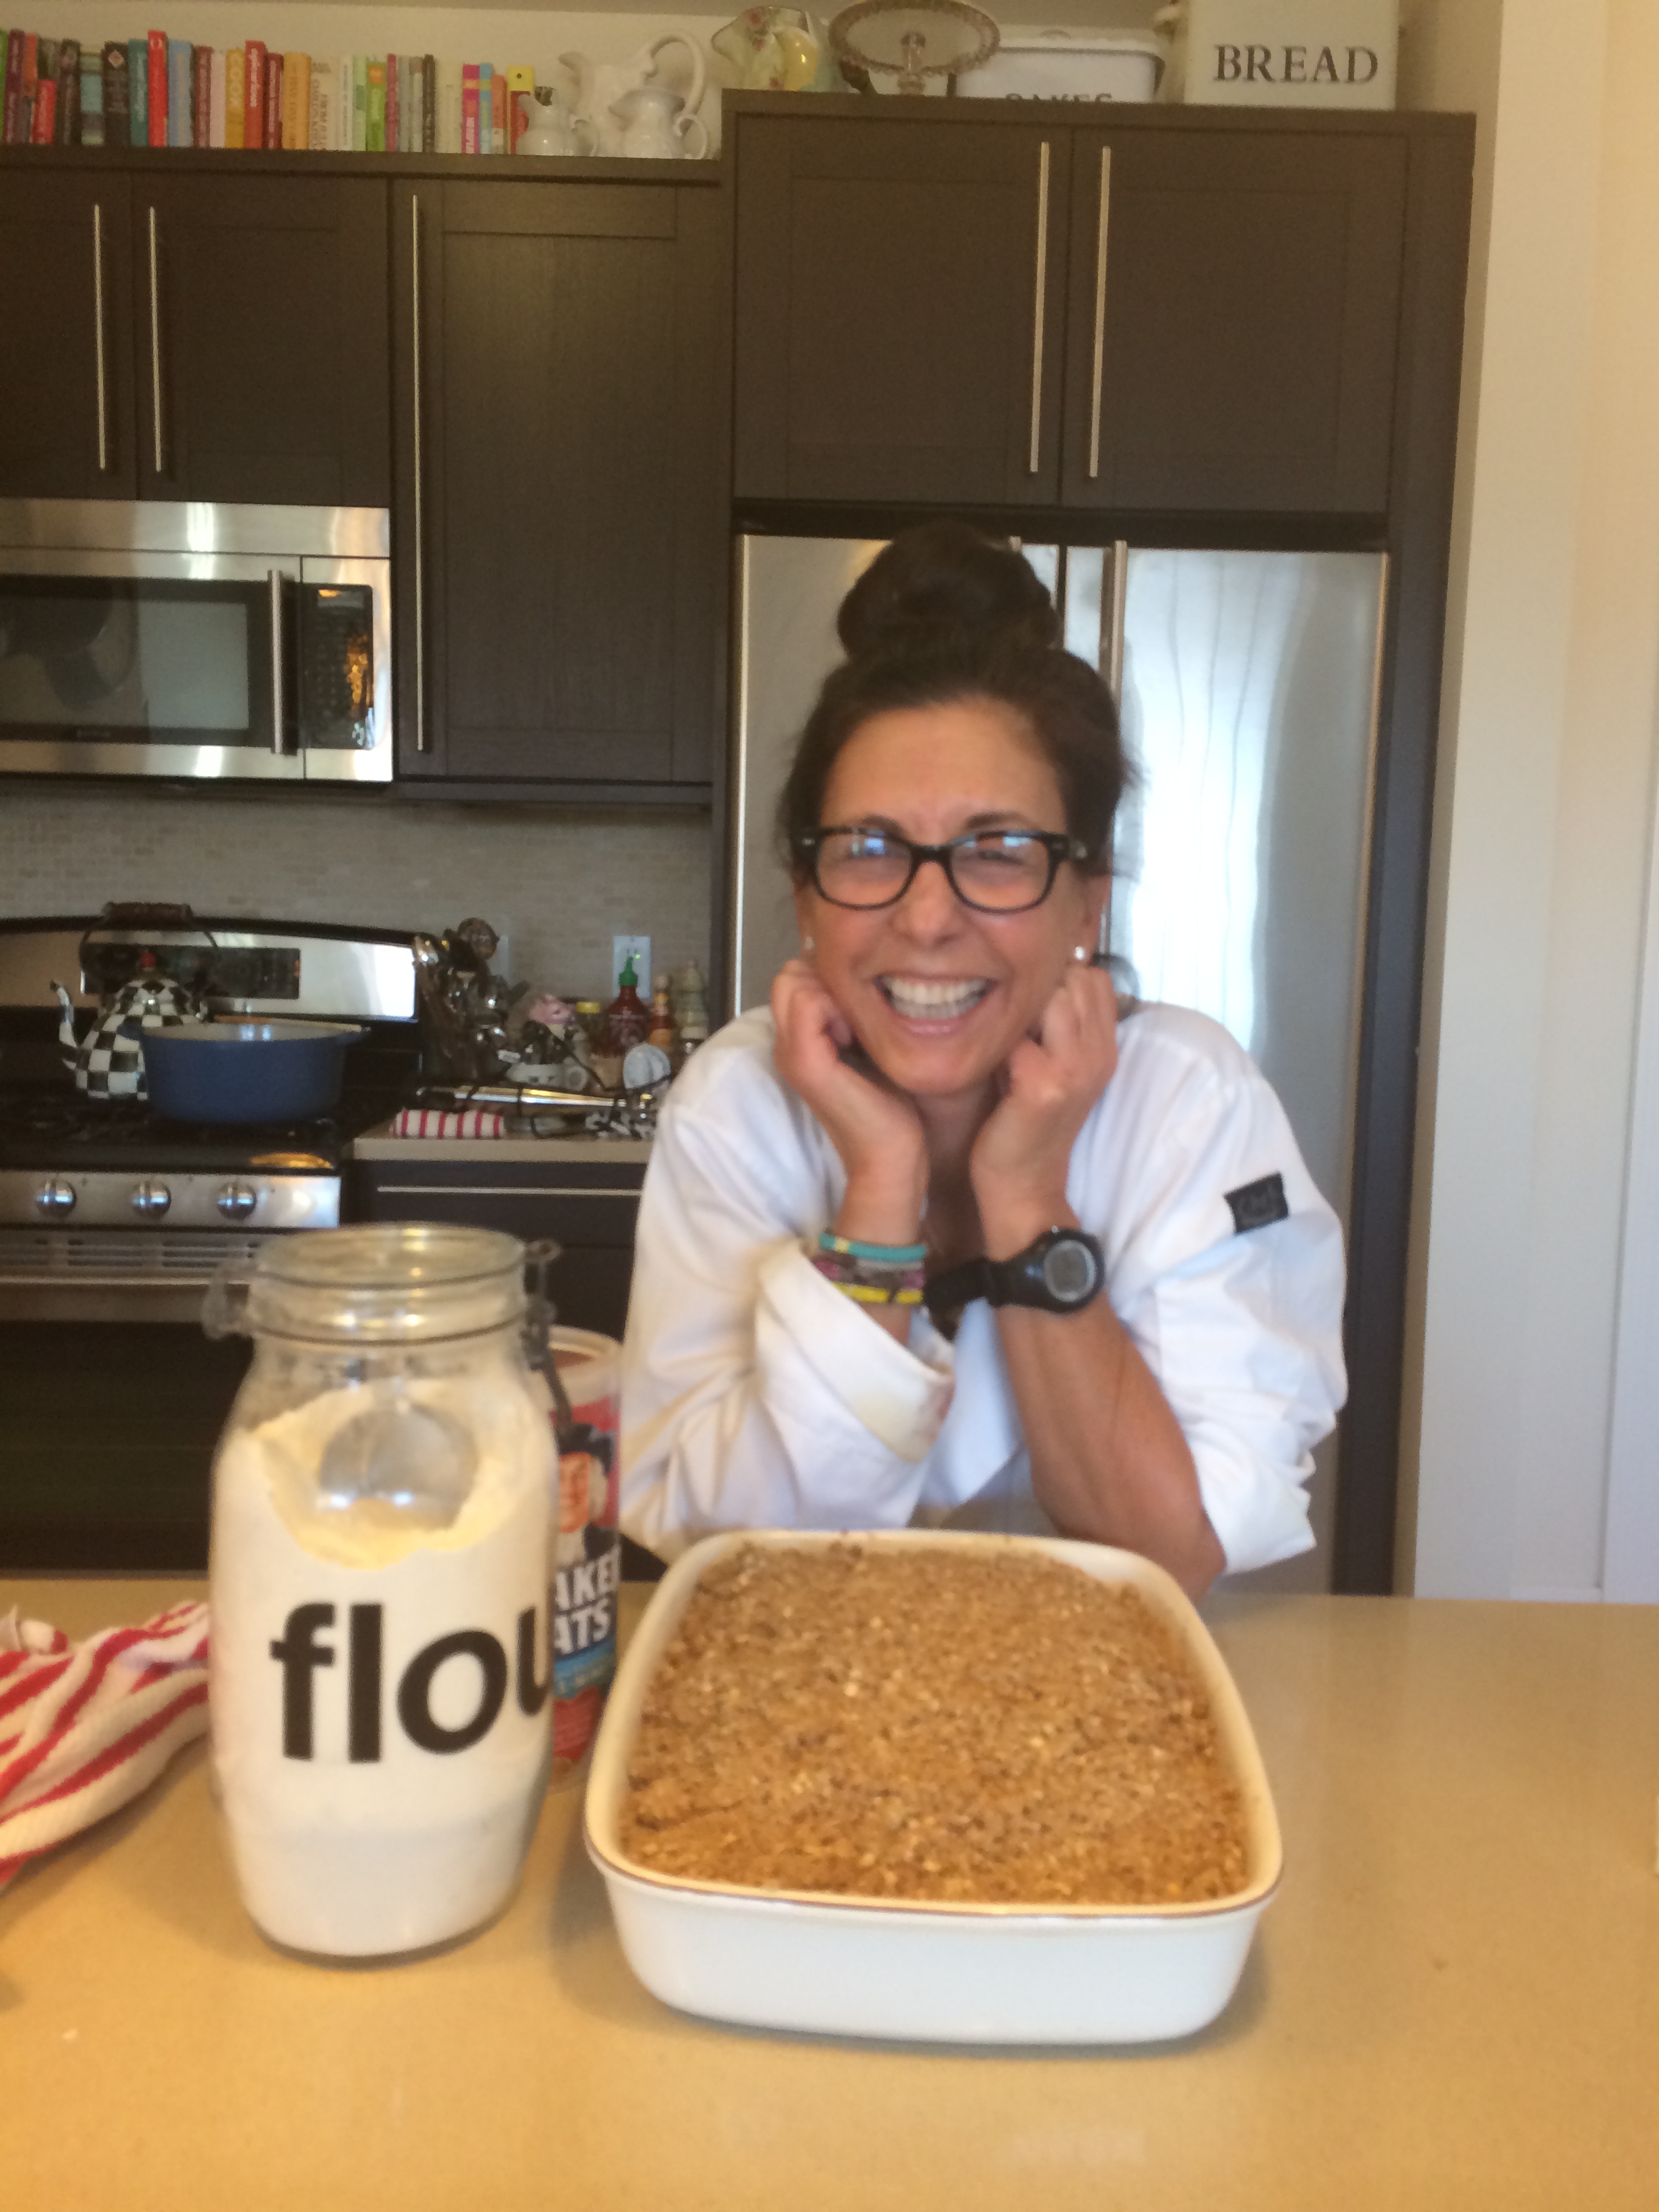
If you’re not into the zucchini thing just add 2 more potatoes and omit the zucchini. My daughter Jennifer made these with no zucchini and said they were amazing. I posted her pictures of her potato latkes.

Delicious served with applesauce , that’s how we do it here.

Ingredients:

6 russet potatoes, peeled and quartered (for food processor)

2 zucchini, cut into large chunks (for food processor)

1 spanish onion, peeled, and cut into quarters (for food processor)

4 eggs, beaten

1 – 2 teaspoons kosher salt ( more to taste) tasting is key here , potatoes can be very bland

1/2 teaspoon freshly ground black pepper

2/3 cup matzoh meal or bread crumbs ( if you’re making for Passover it’s perfect with matzoh meal)

Vegetable oil for frying

*applesauce for dipping ( optional) this is what we use

* sour cream ( optional) if you like

Directions:

Using the grater blade for the food processor, grate the onions, potatoes, and zucchini. A little trick to these latkes is to drain out as much of the liquid as possible, so I literally squeeze out every drop of liquid with my hands. I let each vegetable sit in a colander to drain as I grate the next one.

In a separate bowl, beat together the eggs, salt and pepper. Add it to the potato mixture and combine well. Next, add the matzoh meal or bread crumbs.  Taste for salt (start with 1 teaspoon and add more if needed, this is very important for flavor.

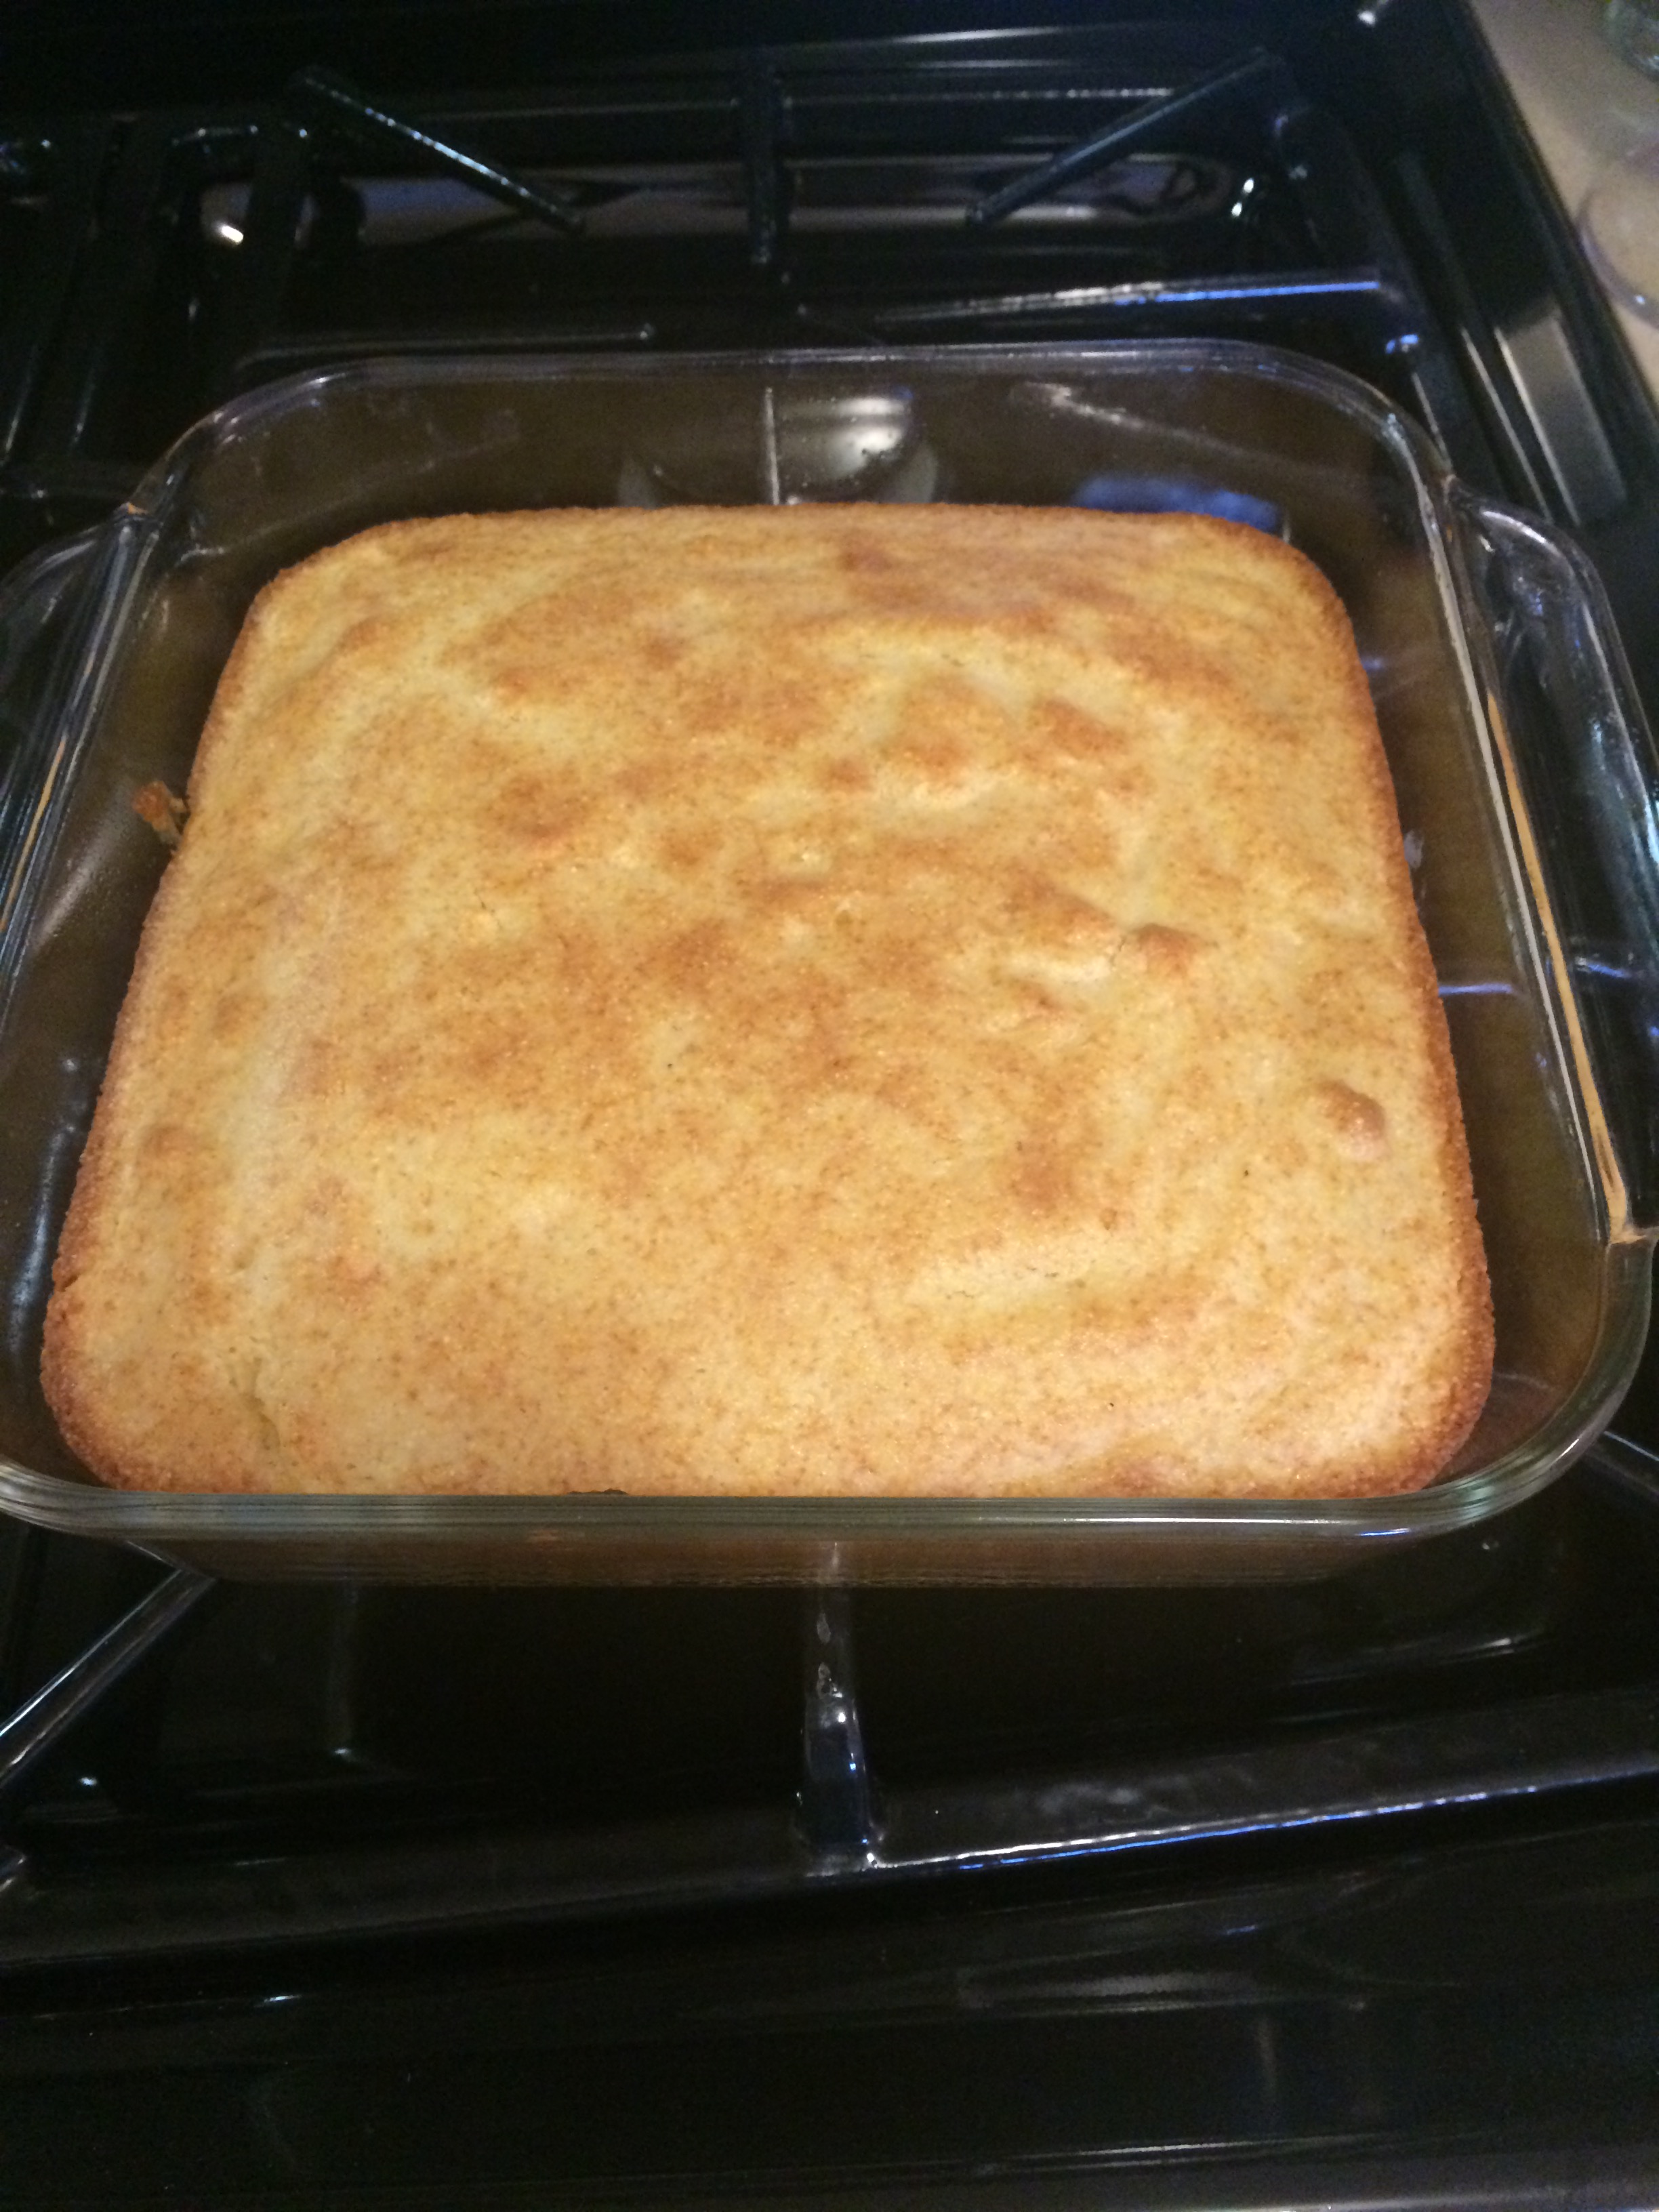
Heat oil in a large, heavy skillet or cast iron skillet, over a high flame. You want the oil very hot. I test the oil with a drop of water–when it sizzles, it is ready to fry. I put about 2 inches of oil in the pan, you may need to add more as you start frying. Form pancakes about 2 inches in diameter, place (very) carefully into the oil, and when the edges start to crisp up, turn them over and continue cooking until golden. If you like them flat and crispier, then flatten them out with a spatula while cooking and start with a little less.

*I like the oil to be clean as I fry a lot, so if it starts to run down I usually pour it out, wipe pan with paper towel and add fresh new oil. This is only in the event the oil starts to get very dark from the potatoes. It may not be necessary but sometimes it is. They will just fry up better.

Let the pancakes cool off, and serve plain or with sour cream or applesauce on the side. If you are freezing them, let cool completely first, then I usually use a Hefty Ziploc freezer bag. Mark them with the date, and take them out the night before you need them. They should stay for at least a month in freezer, and probably longer.

*to re-heat I like to use the oven at 350 degrees on a cookie sheet for about 15 mins. depending on how thick they are. Spray the cookie sheet with Pam Spray and you may want to flip them over 1/2 way through. Make sure they are heated throughout. Serve with some of that homemade applesauce on my blog. Enjoy!

Meatless Mondays–Tortellini and Butternut Squash

IMG_5927The night I made this it was a very ugly day here on the East Coast and there was no way I was going out again after I had arrived home. I had some tortellini and had already picked up a butternut squash earlier in the day.  This is what I did. I am just saying that this is very fattening and very delicious and sometimes it just has to happen like this. I mean butter and pasta but what could be more comforting on a cold ugly wet Monday in New York?

* I got my inspiration for this from The Pollan Family Table Cookbook– Cheese Tortellini with Butternut Hash and Toasted Hazelnuts Recipe.

Ingredients:

I used 2 8 oz. packages of Portobello Mushroom Tortellini but you can use cheese if you’d like , I used what I had. I like the homemade kind if you can get a hold of some you’ll need approximately  1 lb. and you can spread this to 1 1/2 lbs. just increase a little butter.

I used about 1/2 lb. of butternut squash. I cut it into small diced 1/2″ pieces.

4 Tablespoons unsalted Butter

Kosher Salt

Freshly Ground Black Pepper

1/3 cup blanched raw hazelnuts

1 Tablespoon olive oil

2 small cloves garlic, minced

2 Tablespoons balsamic vinegar

I used shredded Parmesan Cheese , you can certainly use grated.

Directions:

Preheat oven to 425 degrees. Set oven rack to the middle.

Prepare a rimmed baking sheet with Cooking Spray or Parchment Paper

I cut the butternut squash into 1/2″ cubes. I had bought the squash pre-cut and just cut those chunks into smaller cubes , cut into similar sizes for more even cooking.

In a large mixing bowl, combine the squash, oil, 1/4 teaspoon of kosher salt, and a couple of grinds of the pepper mill. Spread the squash on the prepared baking sheet. Roast until golden brown, about 30 – 45 minutes. I like it browned. You will want to flip it 1/2 way through the cooking time. Remove from oven and set aside.

Place the hazelnuts in a small dry skillet over medium heat. Shake the pan a few times to stir the nuts so that they don’t burn. Cook until they begin to brown, 4-5 minutes. Transfer to a plate to cool. Chop the nuts roughly. Set aside.

Prepare Tortellini according to package directions. Cook al dente. Drain in a colander.

Melt the butter in a large skillet over medium heat, stirring now and then, until the butter turns brown without burning it, app. 4 minutes. Add the garlic and cook until the butter bubbles and the garlic begins to soften up and brown not burn. Turn off the heat and let it cool down for a few minutes. Add the balsamic vinegar, 1/2 teaspoon of salt and a few grinds of the pepper mill or about 1/8 teaspoon.

Add the drained tortellini and butternut squash to the butter sauce and gently toss to coat. Transfer to a serving bowl and sprinkle with the chopped hazelnuts and Parmesan Cheese.

Serve Hot.


Simply Spiced Shrimp

This shrimp dish was delicious , easy and cooked up in about 15 minutes. First thing you’ll want to do is buy the shrimp. I go to a local fish store and ask for Mexican White Shrimp and then I ask what size they have . I usually buy the largest ones they have which this time were under 16, which is sort of perfect, anywhere from 15 – 20 per pound is what you want.  I bought 1 lb. and had them cleaned and de-veined. Very easy so far right? I had 16 beautiful cleaned shrimp. This is beautiful served over any rice, orzo, or any pasta. This time we ate them alone as a sort of side dish . Served over rice or pasta this makes a wonderful entrée. The whole thing cooked up so fast and the prep was nothing, really. Beautiful sautéed shrimp with spices.IMG_6182IMG_6178

*inspiration for this recipe came from my new favorite cookbook “The Pollan Family Table” which I highly recommend.

Ingredients:

1/2 cup extra-virgin olive oil

4 large cloves garlic, sliced into thin slivers

1 1/2 teaspoon sweet paprika ( just not hot paprika) now you can use 1/2 teaspoon of smoked paprika and I didn’t have it so I just used plain paprika

1/2 teaspoon ground cumin

1/4 teaspoon ground chipotle-chile pepper, or to taste if you’re not a fan. I love this flavor and it gave it a little kick. Next time I am using 1/2 teaspoon of this

1/2 – 3/4 teaspoon of Kosher Salt , and I think next time I will use 3/4 teaspoon of salt

1/8 teaspoon of freshly ground black pepper–a few grinds of the mill

1 – 1 1/2 lbs. of shrimp ( anywhere from 15 to 20 per pound) peeled and deveined

* 2 tablespoons finely chopped Italian parsley–I didn’t have in the house but if I did I would have used it ( makes it look prettier and adds a nice little flavor)

1/2 lime

Directions:

In a large skillet, heat the oil over medium-heat until it shimmers. Add the garlic and cook until it is soft, about 4 minutes. Don’t Burn the Garlic!!! lower the heat if you have to .

I also lay my shrimp out on paper towels so my shrimp isn’t wet. I like it to be dry when I start.

In a small little bowl combine the paprika, cumin, ground chipotle, 1/2 teaspoon salt, 1/8 teaspoon pepper.

Raise the heat to medium-high and add the shrimp in one-layer. Cook until the shrimp just turn pink and start to curl up, about 3 – 4 minutes, then flip the shrimp and cook until just opaque, at least 2 minutes more, you’ll have to be careful not to overcook but you don’t want to undercook either. You can give a little cut into one if you’re not sure. I pretty much can feel the shrimp and know when they are done but it doesn’t always work and sometimes you just need to cut into it.

Remove the pan from the heat. I transferred the shrimp to a plate and added some of the flavored oil to the shrimp, sprinkle with parsley and squeeze a little lime!! That’s it.

Now if you are adding rice you’ll probably want a little more of the flavored oil on it.

Obviously you can play with spices, using smoked paprika will give it a smokier flavor . More chipotle will give it more kick. You can even add a little cayenne pepper. However you do it, it is delicious and very quick to prepare.

What I made for Dinner – Turkey Bolognese

IMG_6184

Beautiful Zucchini Linguine in Turkey Bolognese Sauce

The weather has finally gotten cold enough to make me want to cook some heartwarming meals and this has to be one of our all time favorites. I will be making enough to eat some tonite and freeze the sauce for another meal when I don’t have the time to make the sauce. Perfect Sunday night food. I must say Pasta is probably my most favorite food to eat. Bolognese sauce is one of my most favorites. Today I decided not to go to my usual Bolognese which is delicious but very heavy and rich. I went with a lighter approach today using Turkey and Chicken Sausage because I couldn’t find italian turkey sausage and didn’t feel like hunting it down, and the chicken sausage worked just fine. I did use dark meat turkey because it is much more flavorful, it is ideal but if you really don’t want to use the dark meat use 1/2 white and 1/2 dark or all white meat . The only negative to this sauce is that it really needs 3- 4 hours for the sauce to cook down. The longer the sauce cooks the more flavorful it will be.  This sauce would probably serve 4 nicely with 1 lb. of pasta. You can easily double it and freeze the leftover sauce. So nice to have it in the freezer and just have to make the pasta and you have a wonderful homemade meal. I have now started serving the sauce over shredded zucchini (zucchini linguine) and spaghetti squash.  It is so delicious and you may feel a little bit better eating it over zucchini or spaghetti squash than noodles.  Pasta or Vegetable it’s pretty awesome. Look on my blog for Zucchini Bolognese Recipe for how to recipe, posted 12/20/2012.

Ingredients:

6 Tablespoons Olive Oil, plus more if necessary

1 lb. Italian style Turkey or Chicken Sausage, removed from casings. You can also mix in hot or sweet Italian pork sausage if you don’t mind using the pork.

1 pound ground Turkey ( I used dark meat )

Kosher Salt

Freshly Ground Black Pepper

2 medium yellow onions, peeled and finely diced ( app. 2 cups)

3 large cloves garlic, peeled and minced

2 28 oz. cans whole peeled tomatoes with their juice

1/3 cup tomato paste

1 box. Rigatoni ( or any other macaroni you like ) or spaghetti or if you like use *shredded zucchini or *spaghetti squash ( see notes)

Grated Parmesan Cheese for serving

Directions:

Heat 3 tablespoons of the olive oil in a large heavy pan over medium high heat. ( I use my Le Creuset ) Add the sausage meat and break it up as it cooks, turning now and then, until browned all over, about 10 minutes. Remove the sausage with a slotted spoon to a bowl and set aside, add the ground turkey to the pan along with a good pinch of salt and a few fresh grind of pepper. Cook the meat stirring here and there, for 10 minutes as well, till meat is nicely browned. I remove and put in bowl with the sausage which was set aside. Add another 3 tablespoons of olive oil to the pan and add the onions and garlic. Cook until onion breaks down and gets soft, another good 10 minutes. Add the tomatoes and their juice along with 1/2 cup of water. ( You may need more water as you go) Add the sausage and ground turkey, stir the sauce well. Bring the sauce to a boil, season to taste with salt and pepper and turn the heat to low. Cover almost completely with a lid (allowing a little steam to escape) and gently simmer for 4 hours. You may want to add splashes of water if sauce is drying out. After 2 hours I added the 1/3 cup of Tomato Paste, and replace lid and continue simmering for 2 more hours. I added water as it cooked, you’ll have to judge for yourself how much water you add. I added 1/4 cup at a time.

When the sauce is ready for serving, bring a large pot of water and prepare pasta according to package directions.

serve with sauce over the rigatoni ( or any pasta you like) with a nice grating of Parmesan.

Yum!

*so many stores now sell zucchini already shredded and it’s dry and ready to go. The only problem with doing it yourself is that you must get the extra moisture out.

*Spaghetti Squash – just have the store cut it in half because it’s a tough one to cut at home. Preheat oven to 350 degrees and scoop out the seeds. Spray a rimmed baking sheet and turn squash open side down on baking sheet and cook till soft, probably 45 minutes or so. Remove from oven and with a fork remove the inside of the squash into a bowl, it comes out like very thin spaghetti.

For full recipe on Zucchini/Squash go to my Zucchini Bolognese Recipe.

Simple Banana Bread

IMG_6029

batter for banana bread

IMG_6031 IMG_6032This is a simple and delicious Banana Bread. A “no frills” amazingly delicious banana bread. It is Dominique Ansel’s recipe for Banana Bread. While my other banana bread is amazingly delicious it contains brown sugar and a streusel type crunchy topping which makes it more like a cake than a bread.  This is delicious served as a bread or with something delicious spread on top of it, butter, jam or even peanut butter. It is pantry ready except for the bananas which I happen to have 4 over ripe ones sitting around.  All other ingredients should be in your pantry . I use an electric mixer to mix bananas and eggs because I like the consistency of it done this way. If you don’t have an electric mixer you can mash the bananas by hand and beat in one egg at a time. The bread will start browning early on and this is OK, it forms a wonderful brown crust from all that butter! Mine never got burned.

You will also need a loaf pan. This is  a large loaf so I filled my standard loaf pan and poured the excess into a small mini loaf. I used a 9×5 loaf pan filled about 3/4 to the top. This bread will turn brown quickly just be careful not to burn it so check on it after 50 minutes.  I actually baked for only 60 minutes and it was perfect. Brown and crispy on the outside and moist and delicious on the inside. A really perfect banana bread. You can also use 3-4 mini loaves and they will probably cook in 30 minutes or so. You’ll have to check because it really depends on your oven. I checked mine with a cake tester and it came out clean so I knew it was done. If you touch center of cake it should spring back .

I made this banana bread without nuts but if you’d like add some chopped walnuts. Totally optional and about 1/2 cup would be enough for this recipe. Nothing to stop you from adding some chocolate chips either.

Enjoy!

Ingredients:

2 cups sugar

2 cups flour

3/4 teaspoon baking soda

3/4 teaspoon ground nutmeg

1 teaspoon salt

1 teaspoon baking powder

3 eggs ( room temperature)

4 over-ripe bananas

14 Tablespoons unsalted butter, melted–yikes I know!!!

Directions:

Preheat the oven to 350 degrees.

I spray the loaf pan with Baker’s Joy cooking spray. ( I love this spray for baking)

In a large bowl, combine the dry ingredients. Sugar, Flour, Baking Soda, Nutmeg, Salt and Baking Powder.

Melt Butter in Microwave (35 seconds should do it)

In bowl of an electric mixer I place the bananas and with paddle attachment beat the bananas into a mush. I then add one egg at a time and beat each one in.

Mix the wet ingredients with the dry ingredients and mix until just combined. Don’t overmix. Stir in the melted butter until fully incorporated.

Pour the batter into loaf pan and bake until golden brown or a cake tester inserted into the center comes out clean, about 60-70 minutes. Check after 50 minutes to be sure.

Allow to fully cool before slicing. At least 1/2 hour.

I will probably freeze this bread so I will allow to completely cool before freezing as well.

New Salad Dressing–Pollan Family Table

IMG_6099 IMG_6093IMG_1488 IMG_6094 I am in love with this new cookbook “The Pollan Family Table” . If you’re in the market for a new cookbook I highly recommend it. I made the “Pollan Signature Salad Dressing” tonight and it is delicious. Here is the recipe for the dressing, I used greens, candied walnuts and pears and shaved parmesan.  You can use it on any salad you like. You’ll need a tight-fitting jar or another jar that you can keep dressing in. I also did it in a blender but you can use a bowl and whisk it together and use right away. I was making it for later and I like the way a blender emulsifies the dressing . I love a Ball Bell Jar to store dressing in.

Thank You to the Pollan Family for the cookbook and the recipes. This is what I did .

This is known as their “Signature Salad Recipe” if you go to the book.

Ingredients:

1/3 cup white balsamic vinegar

1 tablespoon champagne vinegar

1 1/2 teaspoons Dijon Mustard

1/3 cup grape seed oil

2 Tablespoons extra virgin olive oil

Kosher Salt/Sea Salt whichever you have

Freshly Ground Black Pepper

Directions:

I did it in a blender but if you’d like you can use a small mixing bowl. Combine the vinegars, mustard, 1/8 teaspoon kosher salt, and a few grinds of the pepper mill. I turned on the blender and slowly added the oils in through the top to emulsify. If you’re using a bowl just whisk vigorously.

That’s it! just taste for salt and pepper before serving.

Italian Wedding Soup with Chicken Balls

This is what I’m cooking for dinner as we speak. Absolutely one of my most favorite soup/meals ever. Perfect for any night of the week. Enjoy!

cookingwithcandi's avatarCooking with Candi

Italian Wedding Soup with Chicken Balls

this is one of my absolute favorite recipes. It is a soup , which is also a full meal. It is hearty and pretty healthy.  It is one of my staples from September through April. It freezes well and you can just take it out of the freezer the night before, and you’ll have a wonderful meal the next evening. When you defrost it you will probably want to add broth/water to it. add a little at a time till you get the consisitency you like. Enjoy:)

Ingredients: chicken balls

1 lb. ground chicken

1/2 lb chicken sausage, casings removed

3 slices whole wheat bread for bread crumbs ( I put into food proccesor with steel blade for crumbs) i remove crusts . should be app. 1 cup of bread crumbs

2 teaspoons minced garlic ( 2 – 3 cloves)

1/4 cup grated Pecorino…

View original post 393 more words

Time to Put the Fat Pants On Again

Thanksgiving pictures 007

Corn Bread Pudding

IMG_9877

photo 4 (2)

photo 1 (4)photo (54)


photo 2 (3)

Fresh Cranberry Sauce

IMG_6043 (2)

Creamy Butternut Squash Soup–with no cream

IMG_6049

Stuffing that will be on our table before it goes in the oven

Thanksgiving is one day away and I am cooking up a storm. If you’ve caught some of my action on Instagram or Facebook you’ve seen it all . So much planning, shopping and cooking. It’s crazy. Not to mention I still have to polish my silver, make at least 4 more dishes and set the table, get my flowers, etc. All the prep and craziness is part of it. I must have been in the supermarket everyday this week and just when I think I’m finished there is one more thing I need. I know I go a little crazy but I want everyone to have what they are looking forward to.

If you’re hosting and cooking and prepping then take a deep breath and try to enjoy it all! Whatever happens is going to happen and let’s all just try to relax and enjoy our family and friends. It’s our first Thanksgiving without my Dad and that’s going to be tough on all of us. Be happy for those faces around your table and if you screwed up a recipe or forgot something it’s really no biggie. Eat up because Thanksgiving we don’t count calories and your host knocked herself out to make all that food!!! It’s not a time to diet for sure .

Remember Gratitude not Attitude. Grace not Hate.

IMG_9869

corn bread

IMG_9875

Pumpkin Penne Bake

Namaste.

IMG_6032

Simple Banana Bread

IMG_6037

Apple Crisp

IMG_6041

Michele’s Jumbo White Chocolate Macadamia Cookies

From my Kitchen to yours Have a Happy Thanksgiving.

Michele’s White Chocolate Macadamia Jumbos

Michele sent me this as her entry for my CWC Thanksgiving Contest. Wow! they are amazing and before I keep eating them they are going in the freezer for Thanksgiving. Michele always makes these for her fabulous Christmas party. They will keep in the freezer for up to 3 months, so the plan is to make ahead for Thanksgiving, because these have to be on my table.  I didn’t get dried cherries, but I had craisins so I used them. They cooked up in 17 minutes at 325 degrees and were just beautiful. I am happy that I went to the gym this morning that’s all I can say. Thanks Michele for participating and for your support of my blog :). These are going on my Thanksgiving dessert table without a doubt.  These are decadent, but if you’re eating a cookie shouldn’t it be? These were so amazing that everyone who ate them fell in love with them, so I must give this prize to Michele. Thanks to everyone else who participated, and I loved Shelly’s muffins and Julie’s Pie which may find it’s way on to my Thanksgiving table.

*P.S. they never did stay in our freezer because of Hurricane Sandy.  Alot of people got to eat these delicious cookies and everyone agreed they were some kind of wonderful.

Ingredients:

2 1/2 cups all purpose flour

3/4 cup butter or margarine ( 1 1 2/ sticks softened)

3/4 cup granulated sugar

1/2 cup dark brown sugar

3 Tblsp. corn syrup

2 tsps. vanilla extract

1 tsp. baking soda

1 tsp. salt

2 large eggs ( room temperature please)

12 oz. bag white chocolate chips

1 jar ( 6 1/2 oz) macadamia nuts chopped about 1 1/3 cups

1 1/2 cups dried tart cherries or cranberries, I actually used craisins

Directions:

Preheat oven to 325 degrees. In a large bowl, I placed flour, baking soda and salt  and mixed together. In bowl of kitchen aid mixer I placed softened butter, sugars, corn syrup , vanilla, butter and eggs, mixed at medium speed while adding the flour in. When it’s all combined scrape bowl with rubber spatula, and stir in white chocolate chips , nuts and cherries.

Drop by slightly rounded 1/4 cups, 3 inches apart onto ungreased cookie sheet, I used a Silpat and an ungreased cookie sheet. These cookies are large so be sure to space 3 inches apart. Transfer to a wire rack and cool. Can be frozen up to 3 months.

I baked for 17 minutes, check them after 15 depending on your oven.

These cookies are amazing. Enjoy!