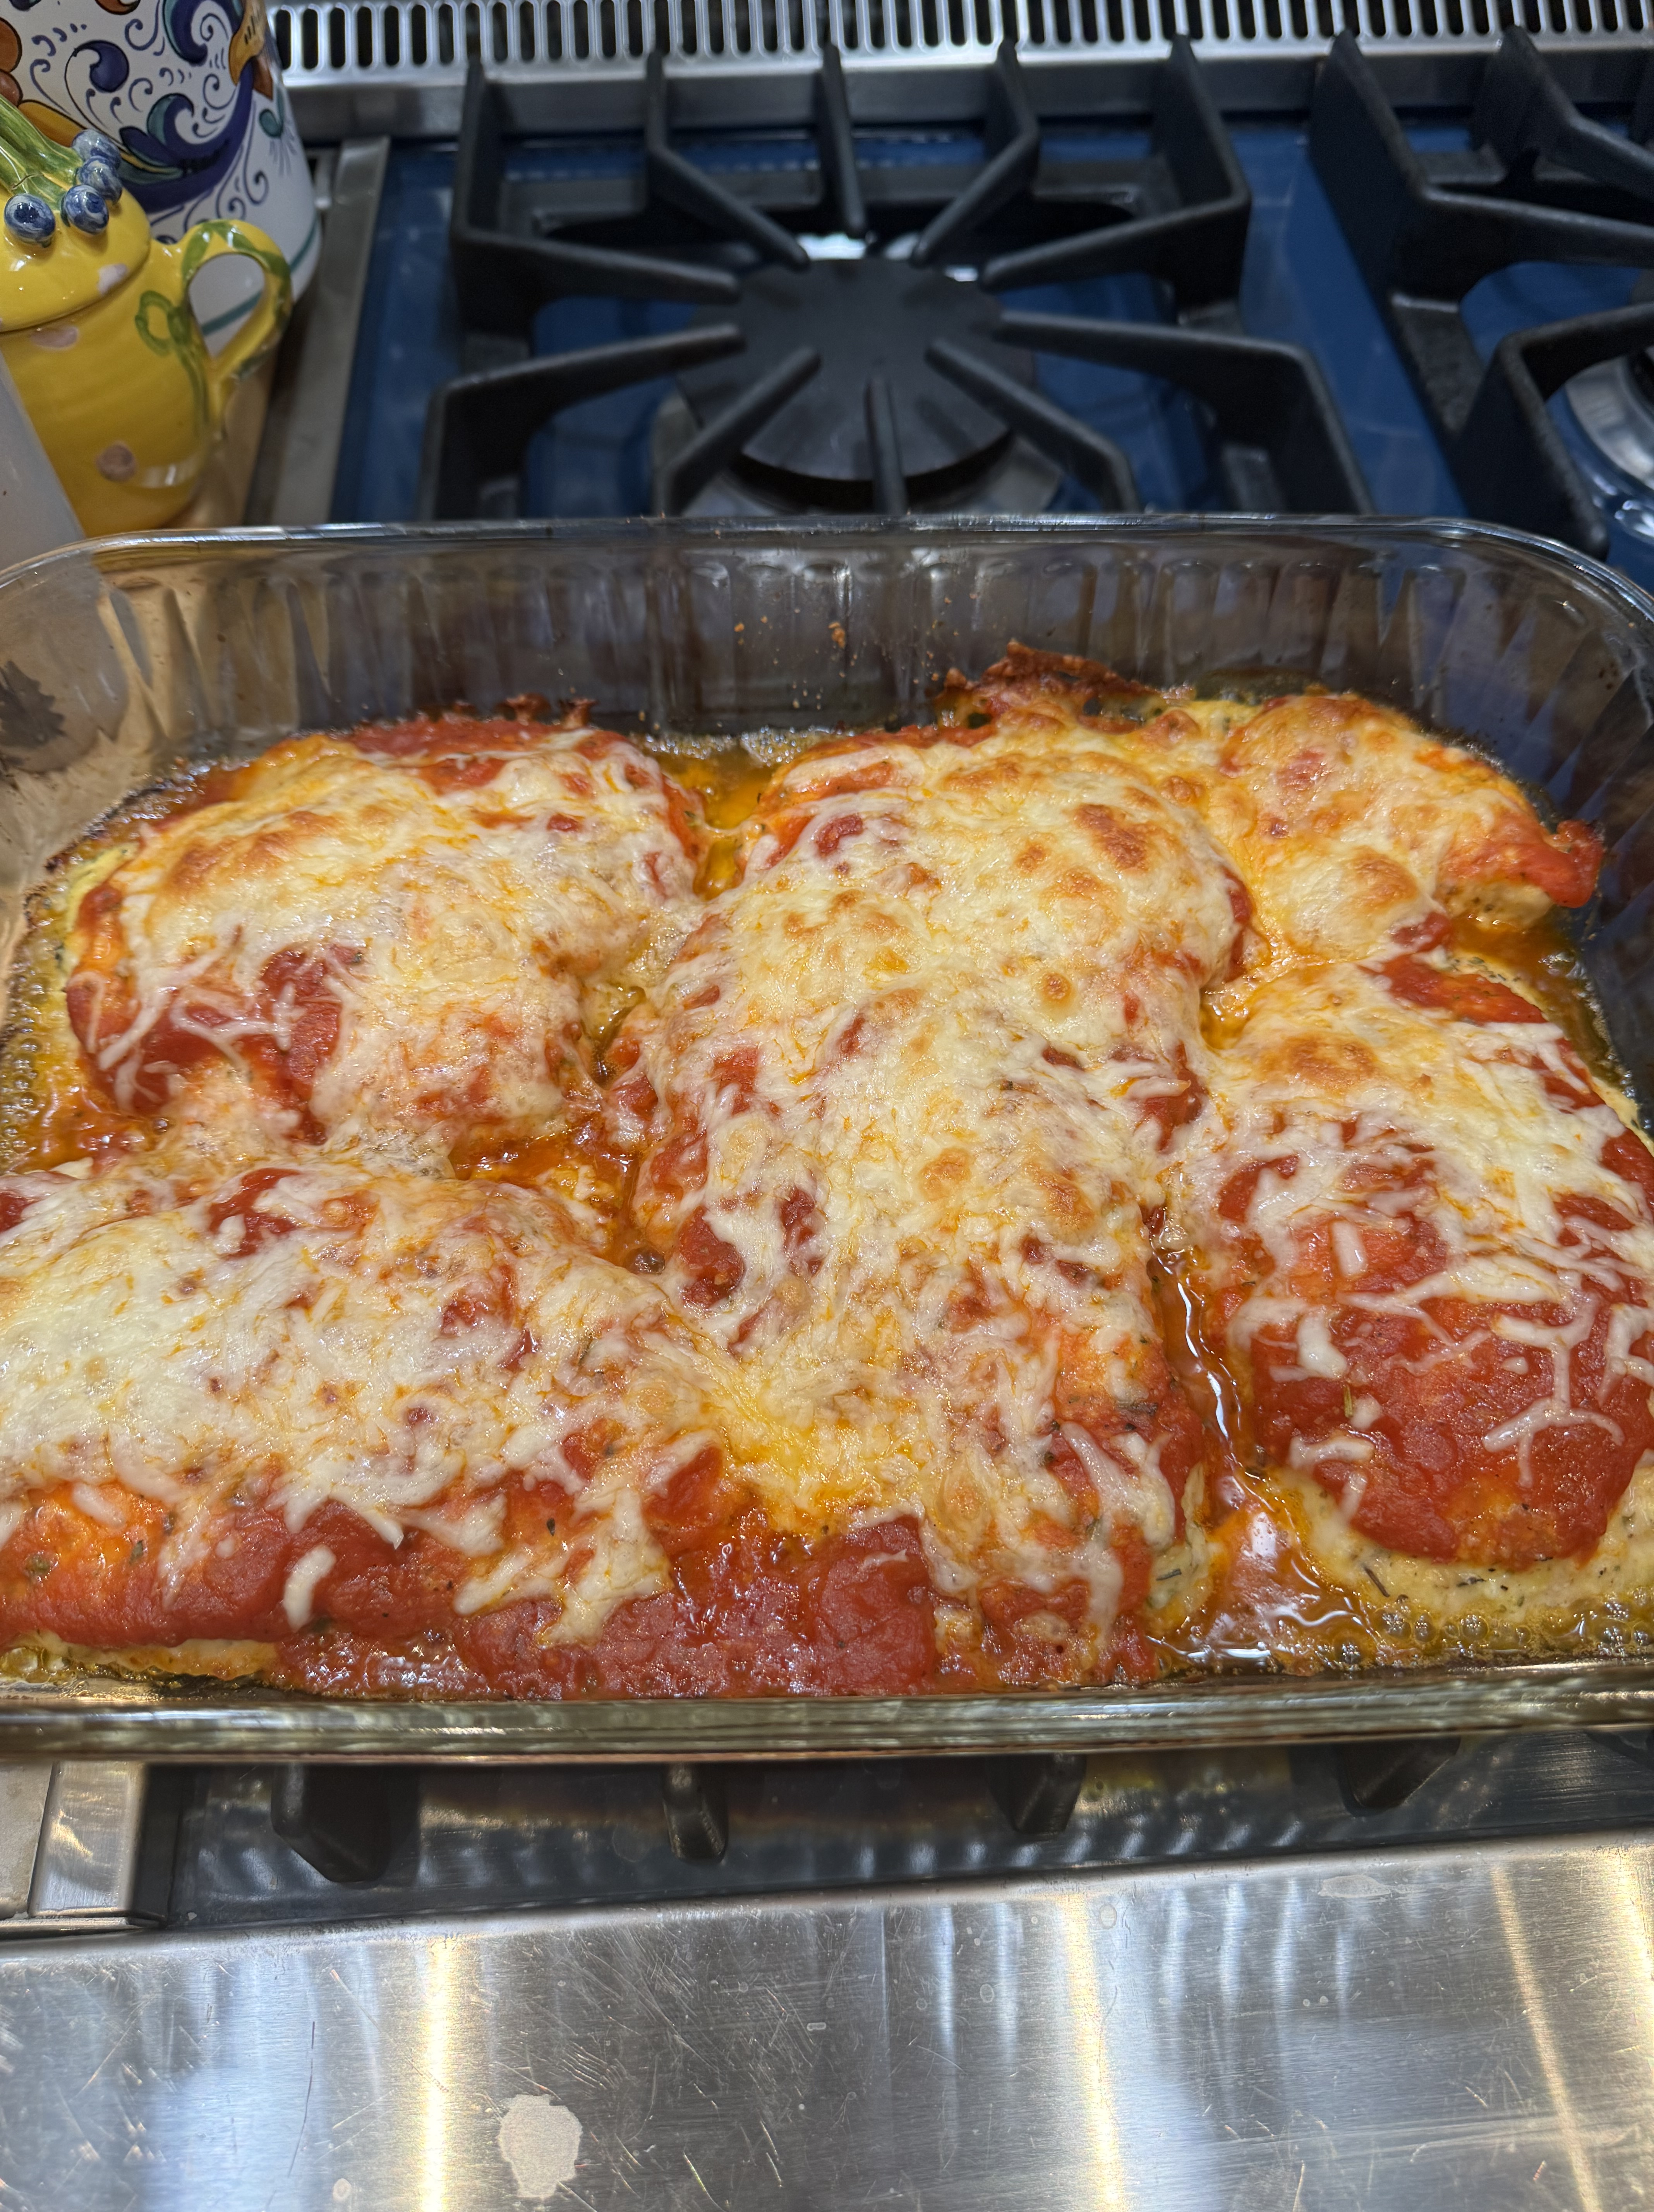
One of my most favorite go -to meals is my Greek Chicken- Sheetpan style with Potatoes and Lemons but the trick to that recipe is marinating at least 6-8 hours and it needs some planning which is just fine if I make the plan. Yesterday I decided to make this while I was in the supermarket and came home – no marinating and voila — not exactly the same but satisfied the craving for those flavors and didn’t have too marinate.
Easy peasy ingredients and you can adjust the seasonings to your own liking. Again , I prefer thighs to breasts but if you insist just watch your cooking time as the breasts tend to dry out. And this is skin-on bone in thighs.
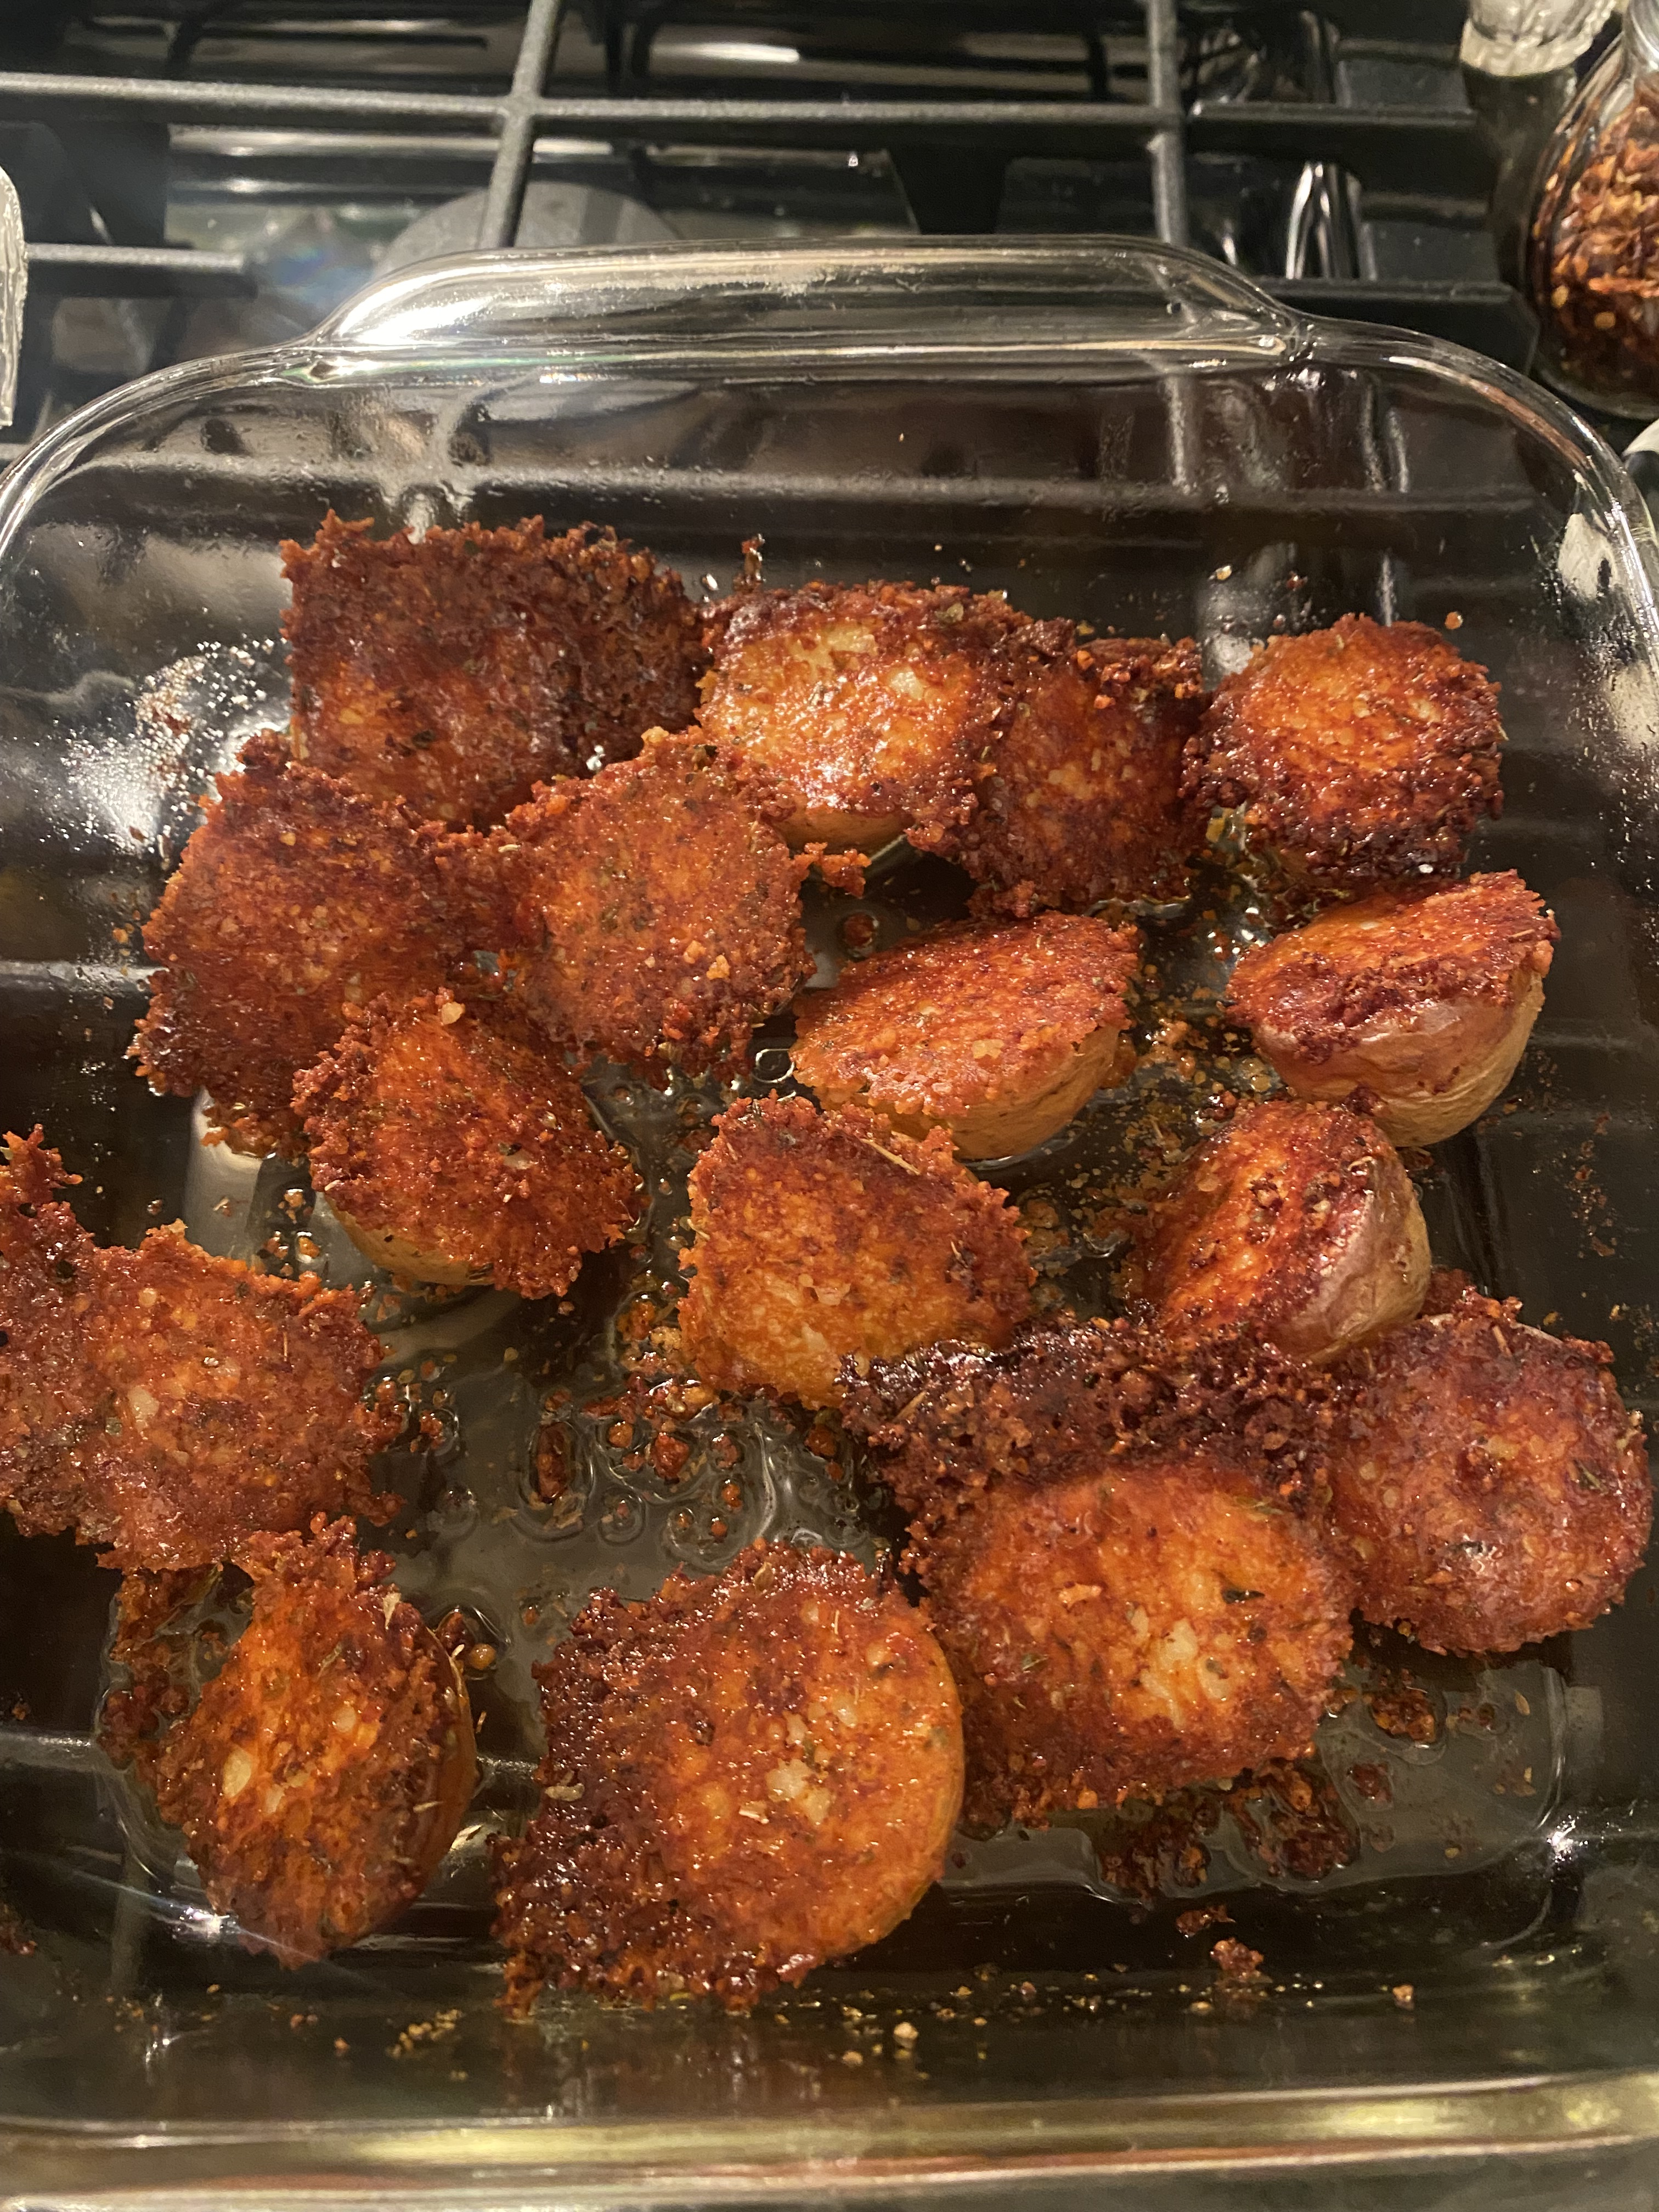
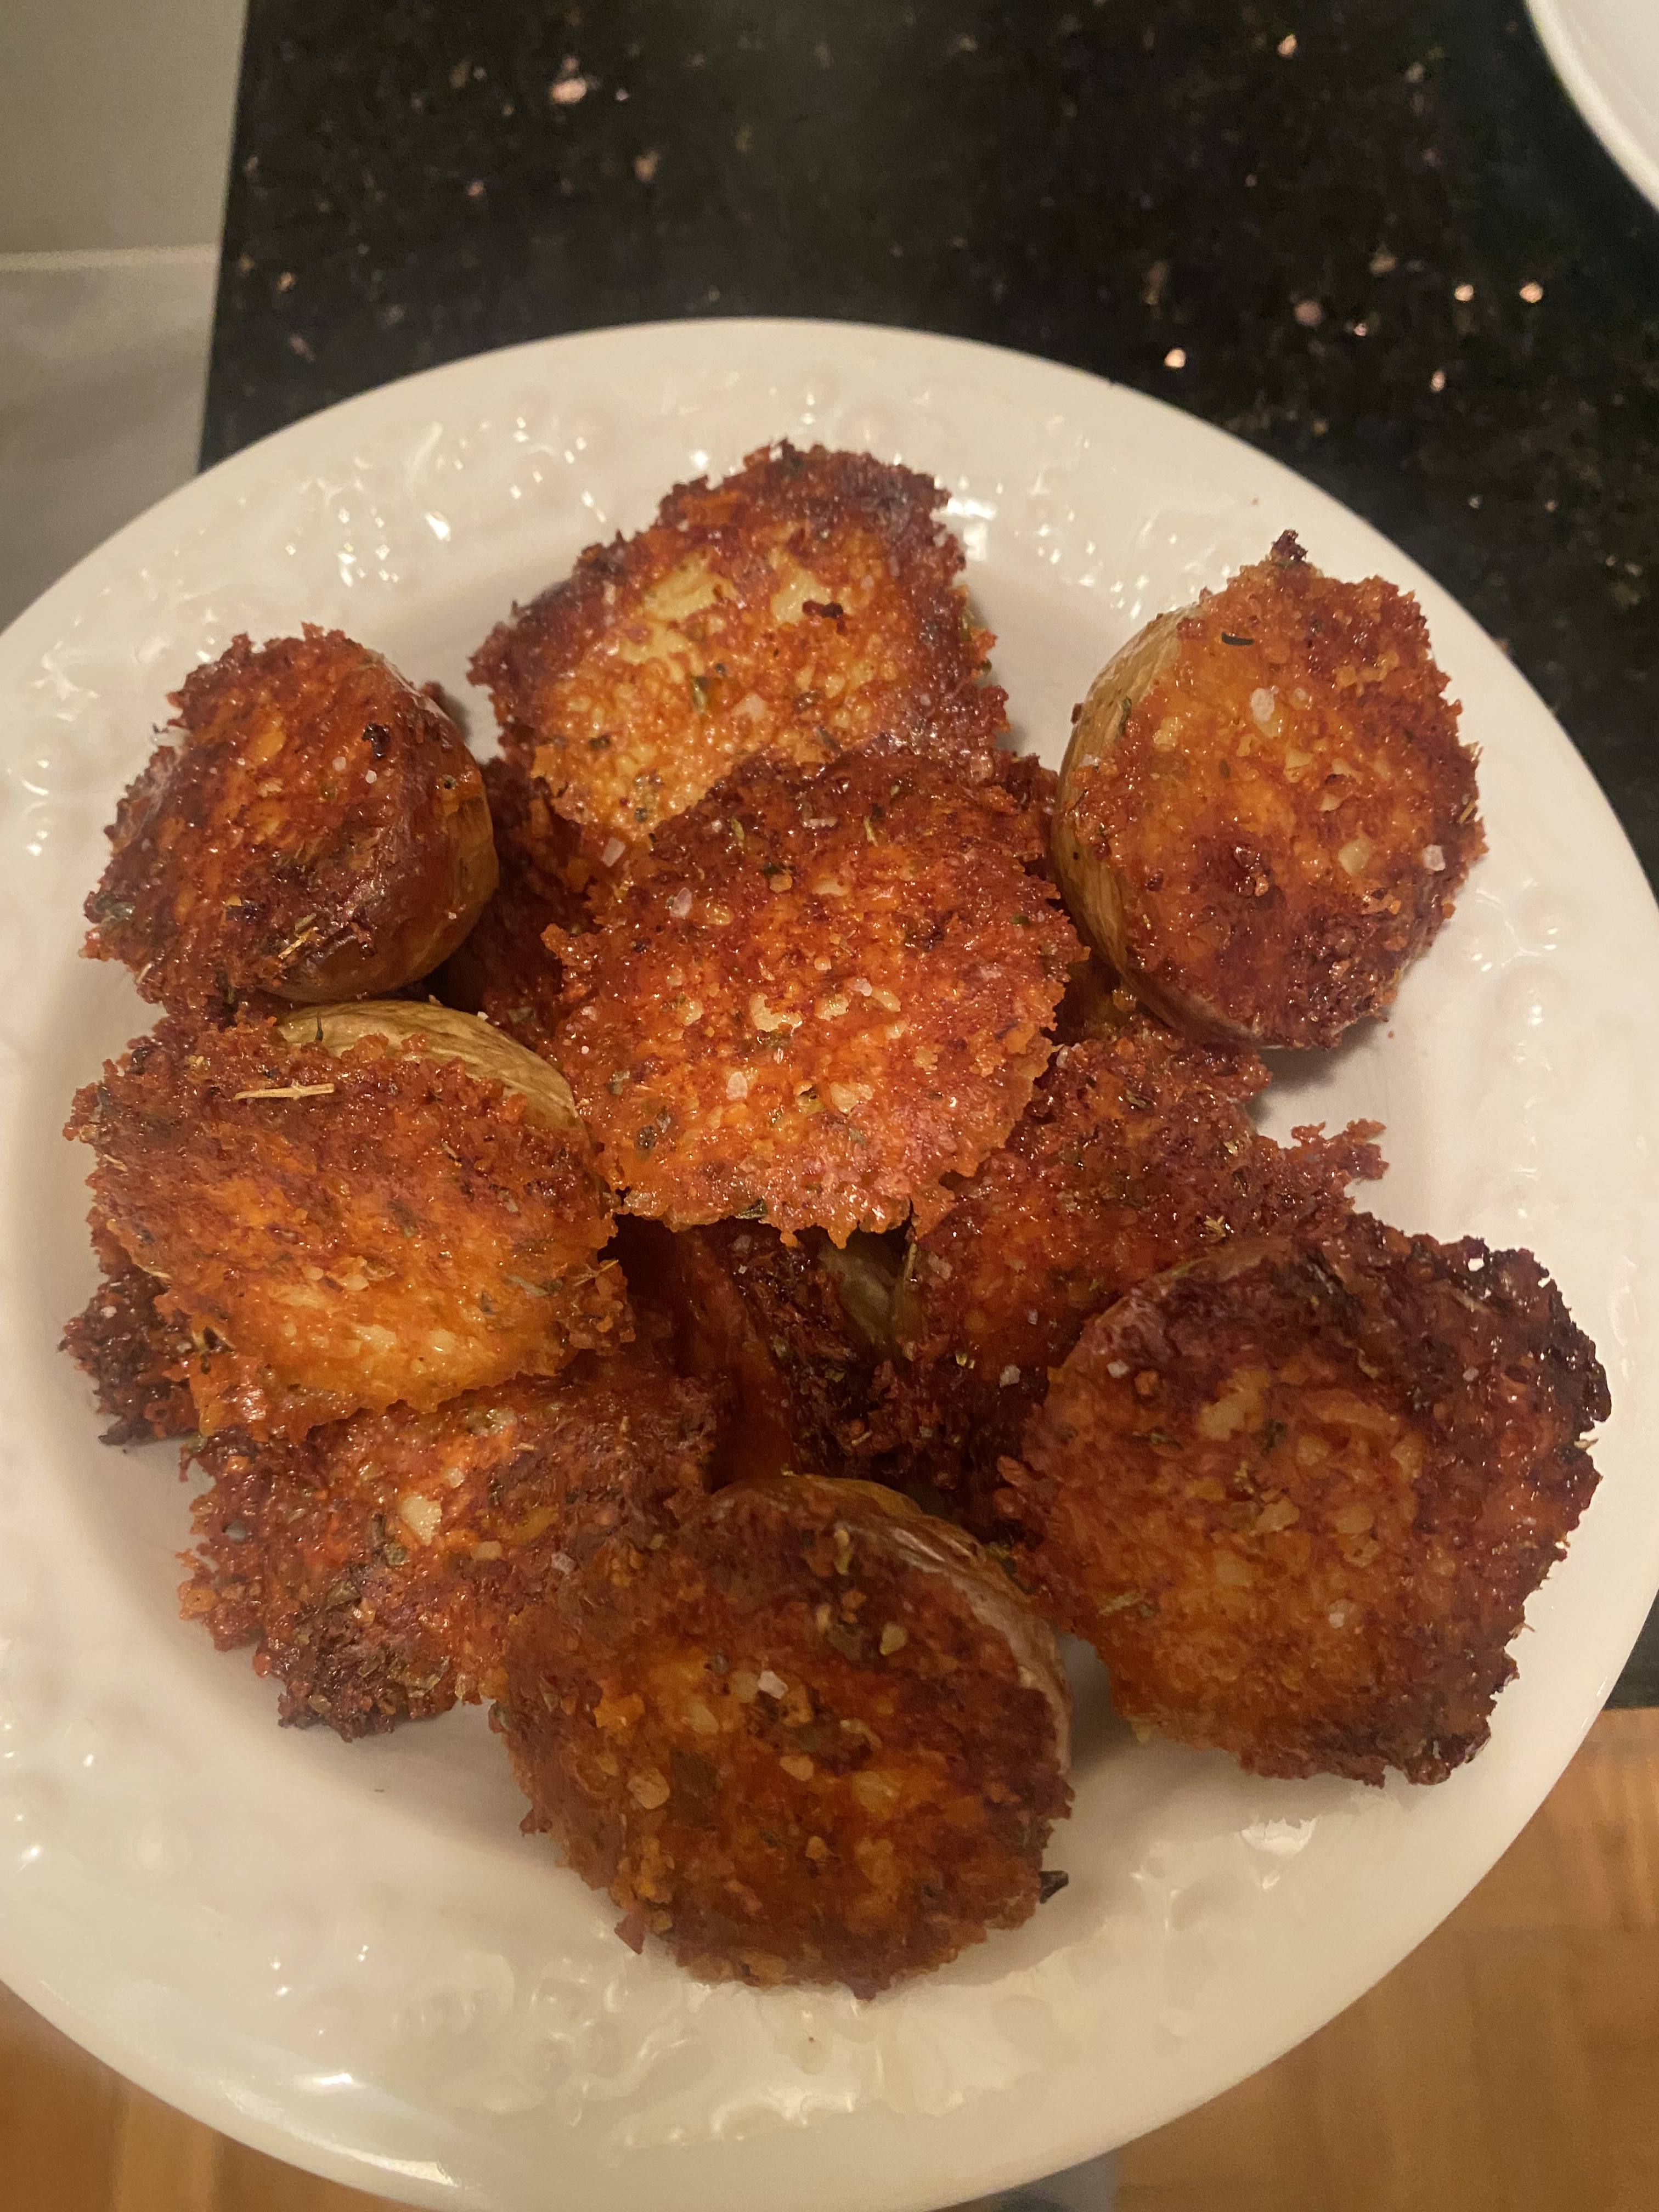
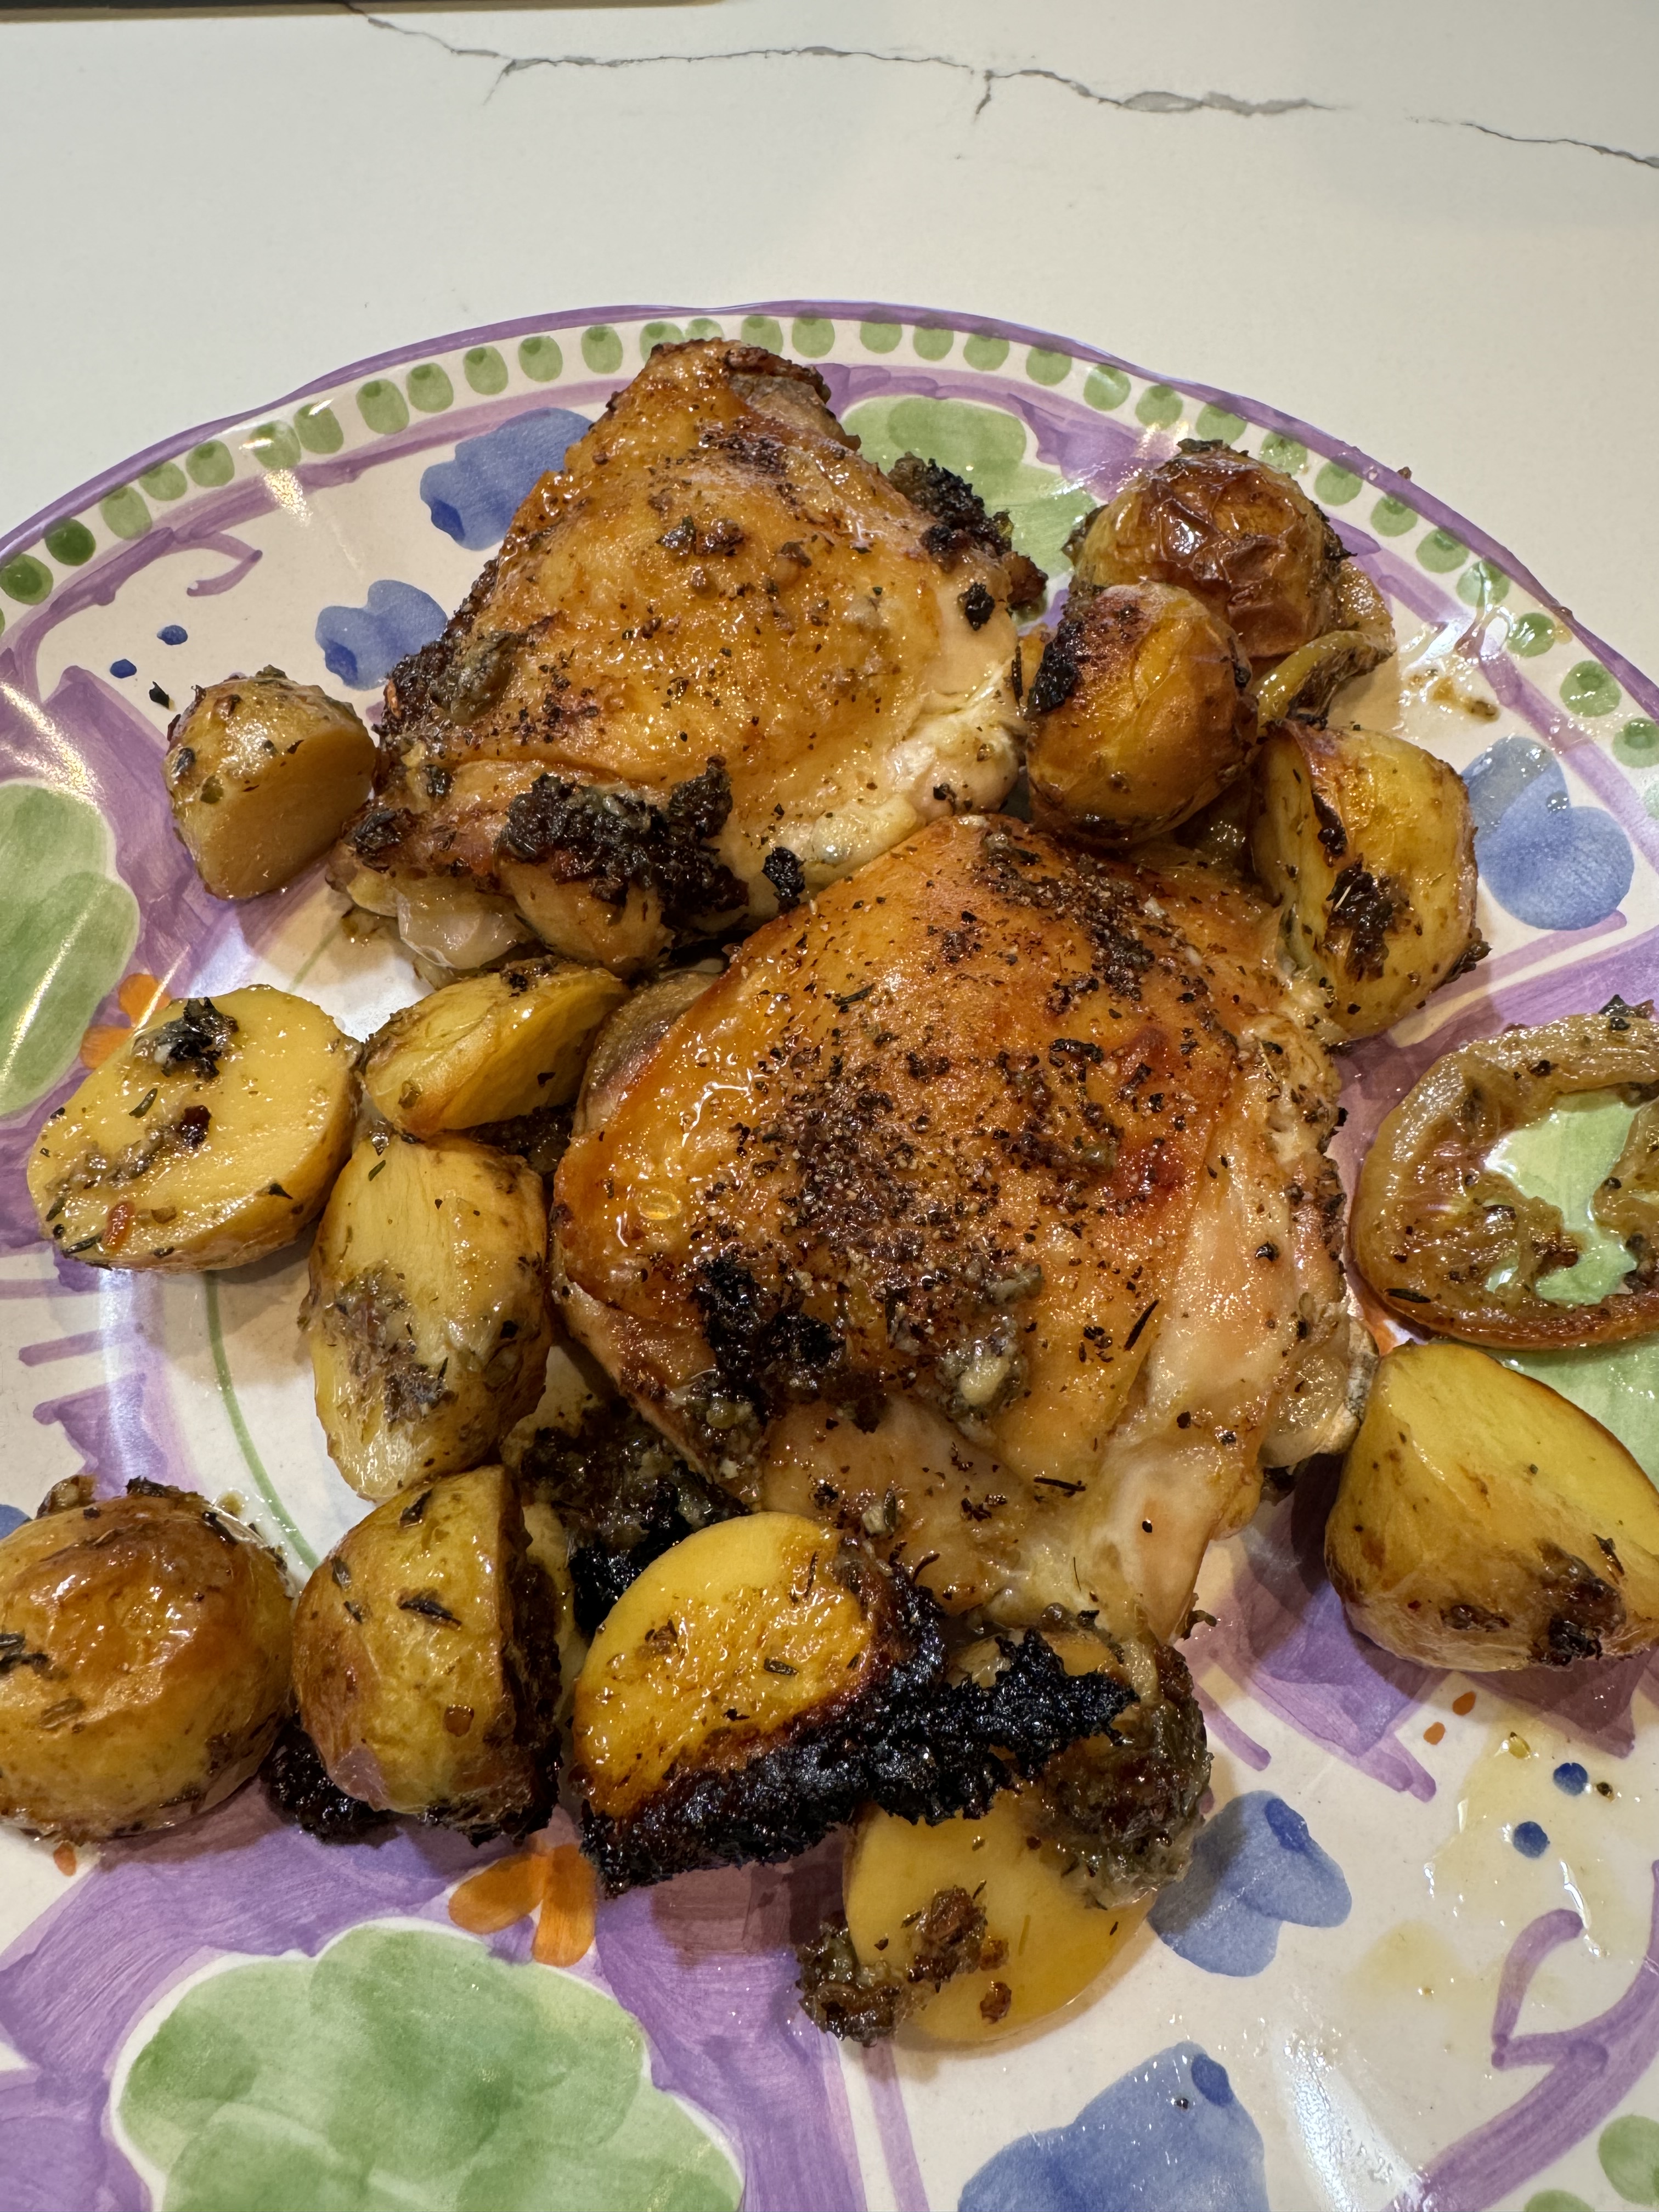
The potatoes crisped up beautifully and if you’d like you can have some tzatziki sauce on the side for them. I used small Yukon Gold potatoes leaving the skin on– the skin is paper thin and eliminates the need for peeling.
This was just delicious — serve alongside a green salad or any veggie you’d like and you’ll have a most perfect meal.
Ingredients:
For Chicken:
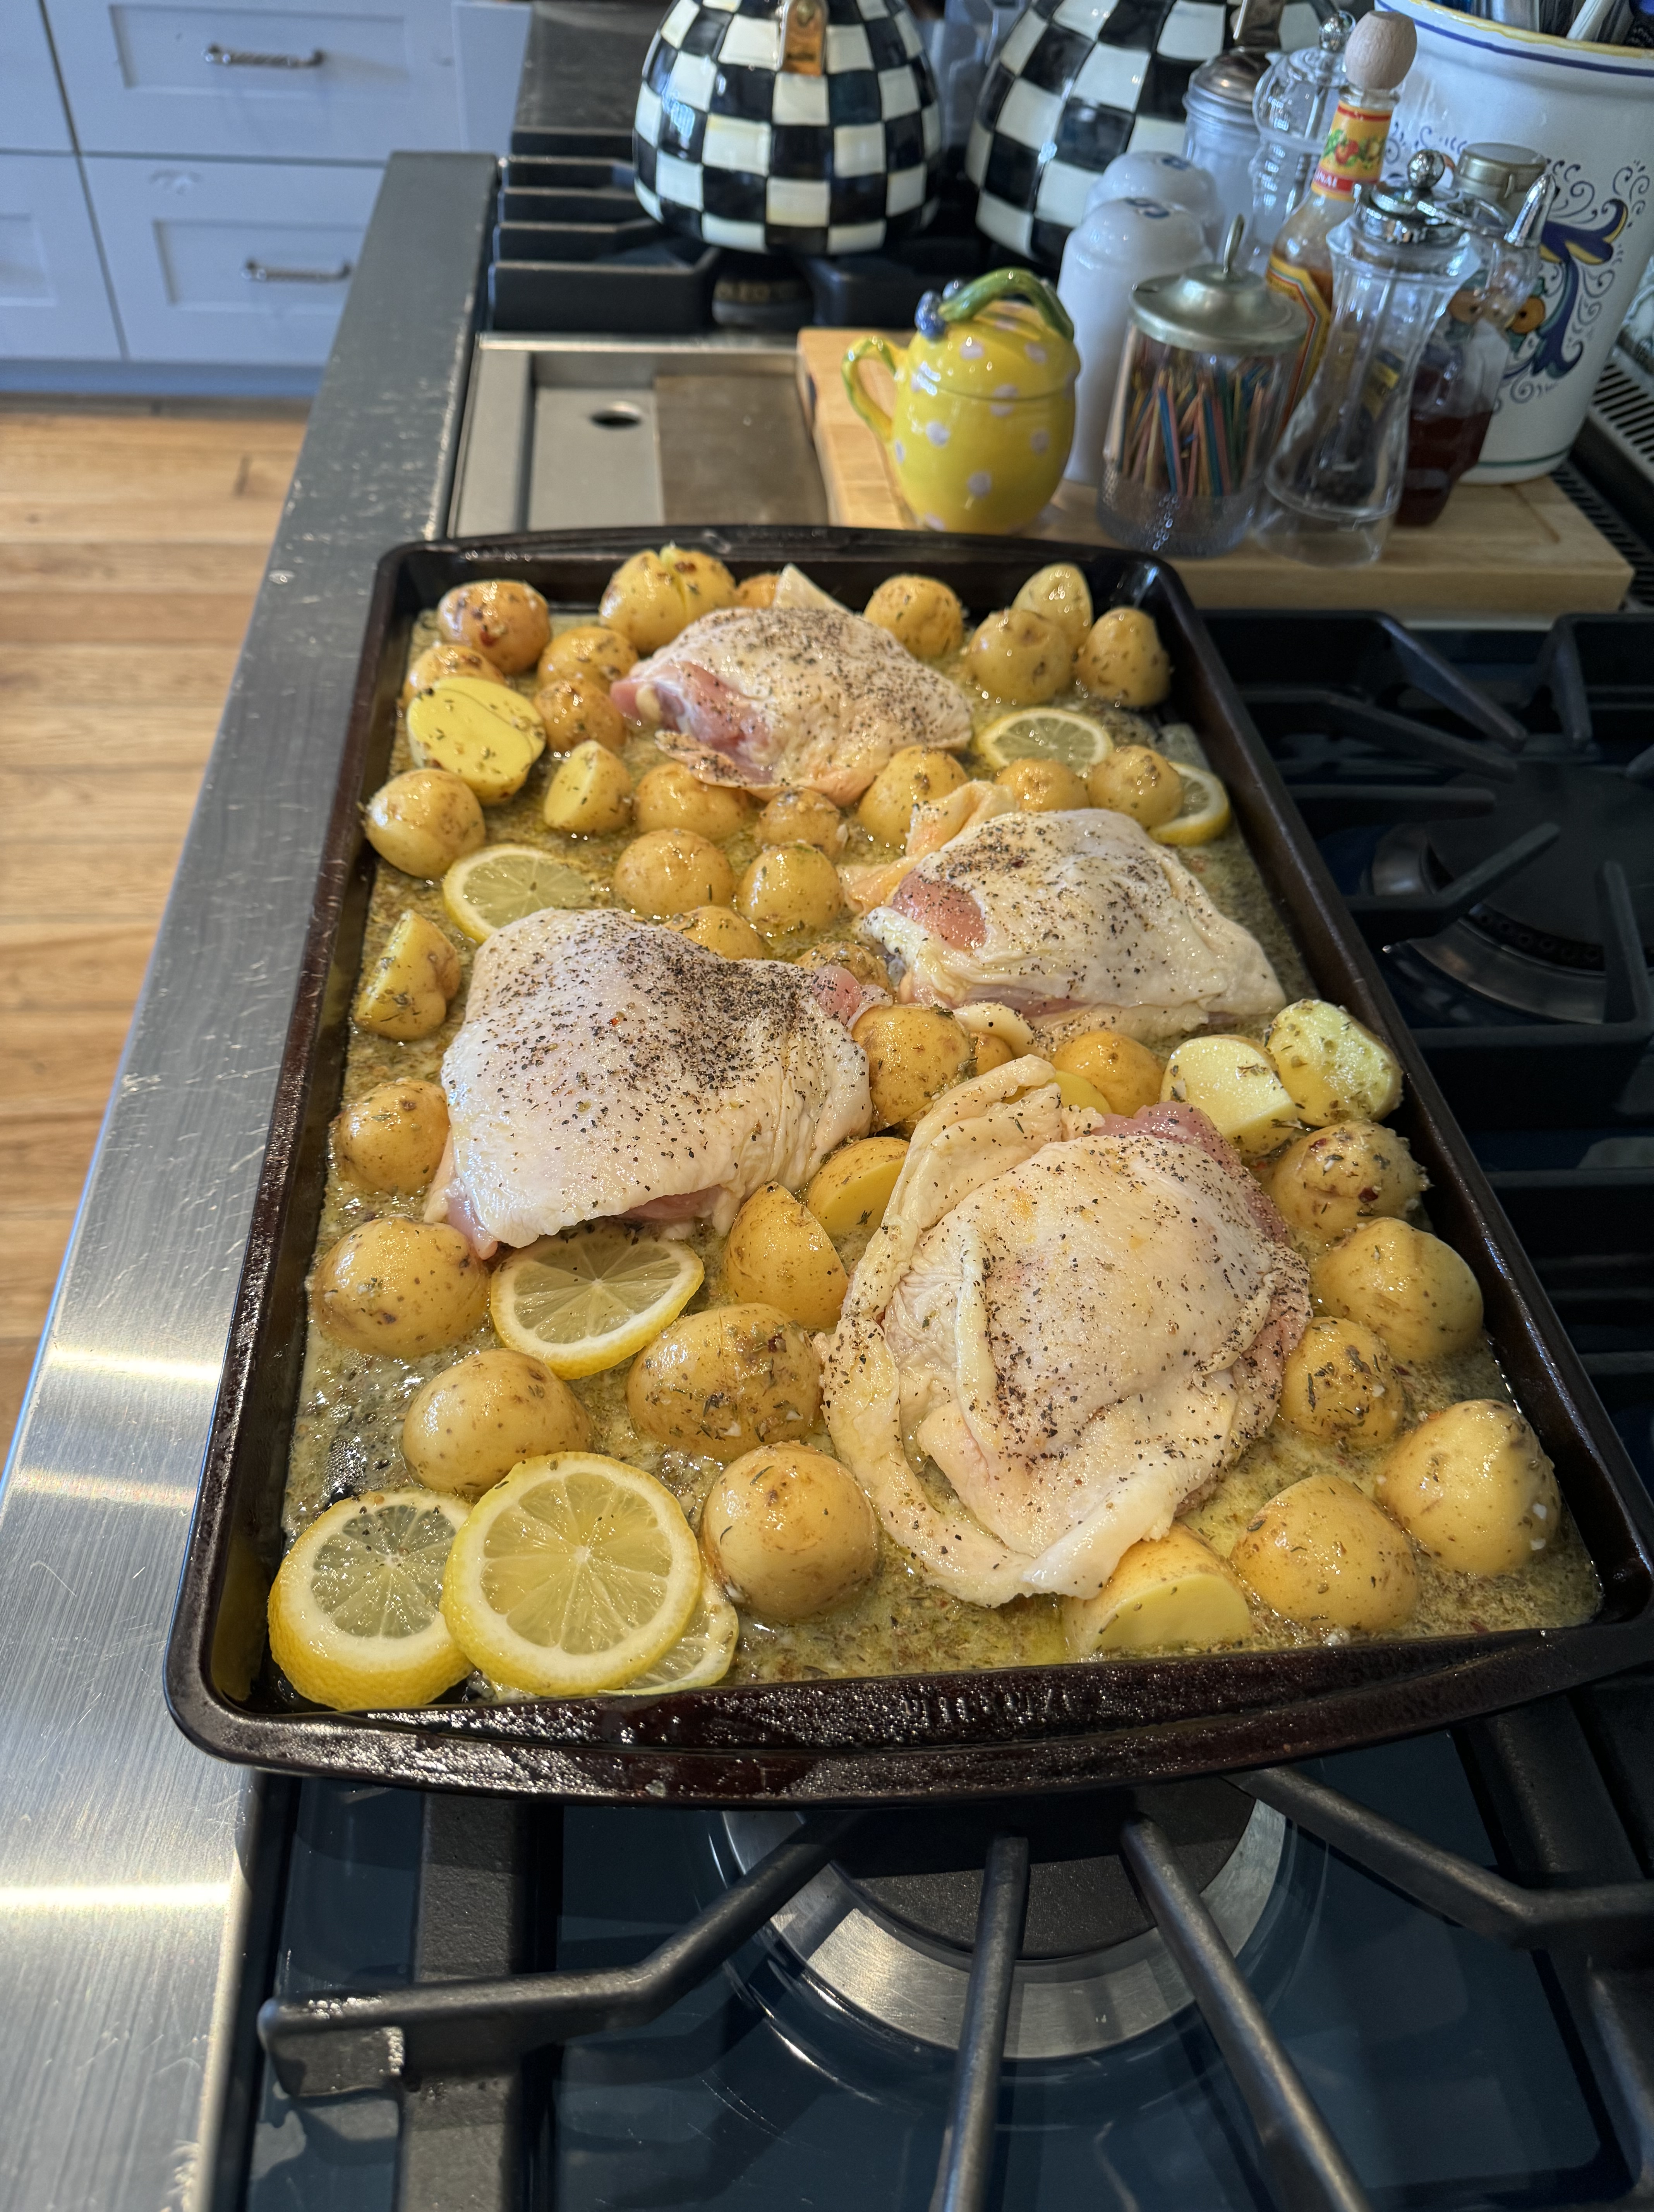
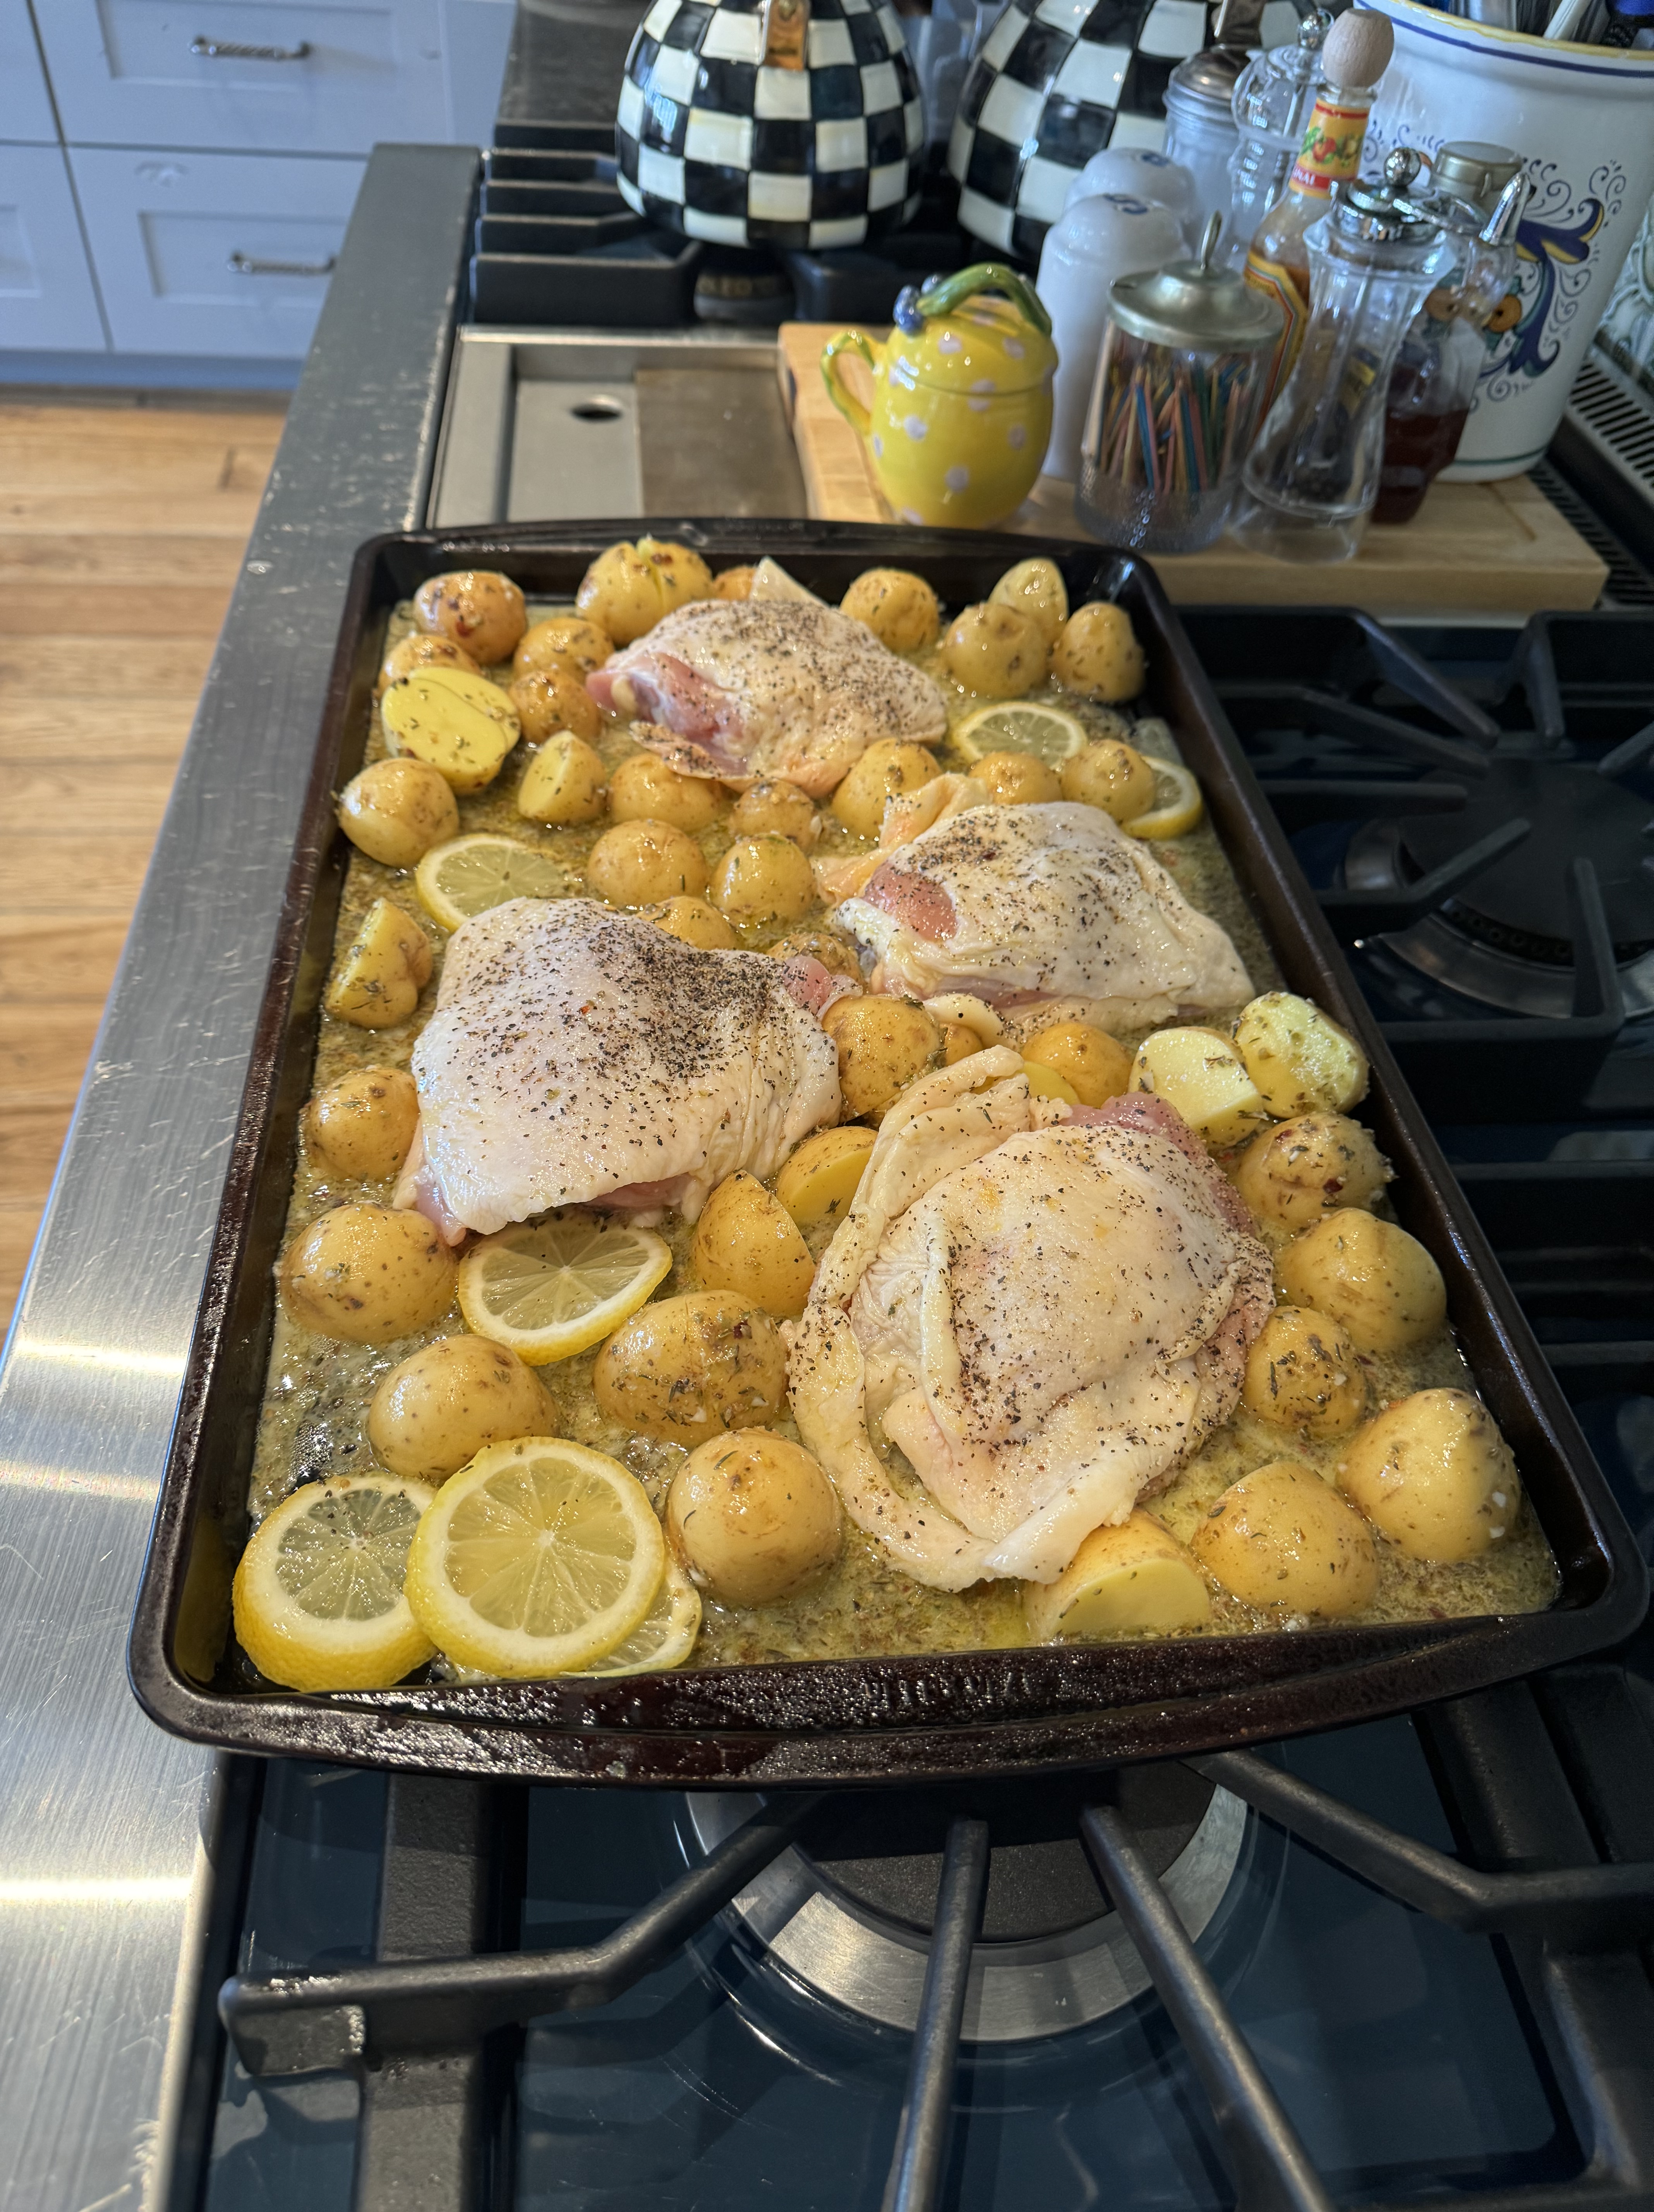
1 package of chicken thighs, skin on bone in — app. 2 lbs
Kosher Salt and Freshly Ground Pepper and a drizzle of EVOO ( extra virgin olive oil) — for chicken
For Potatoes:
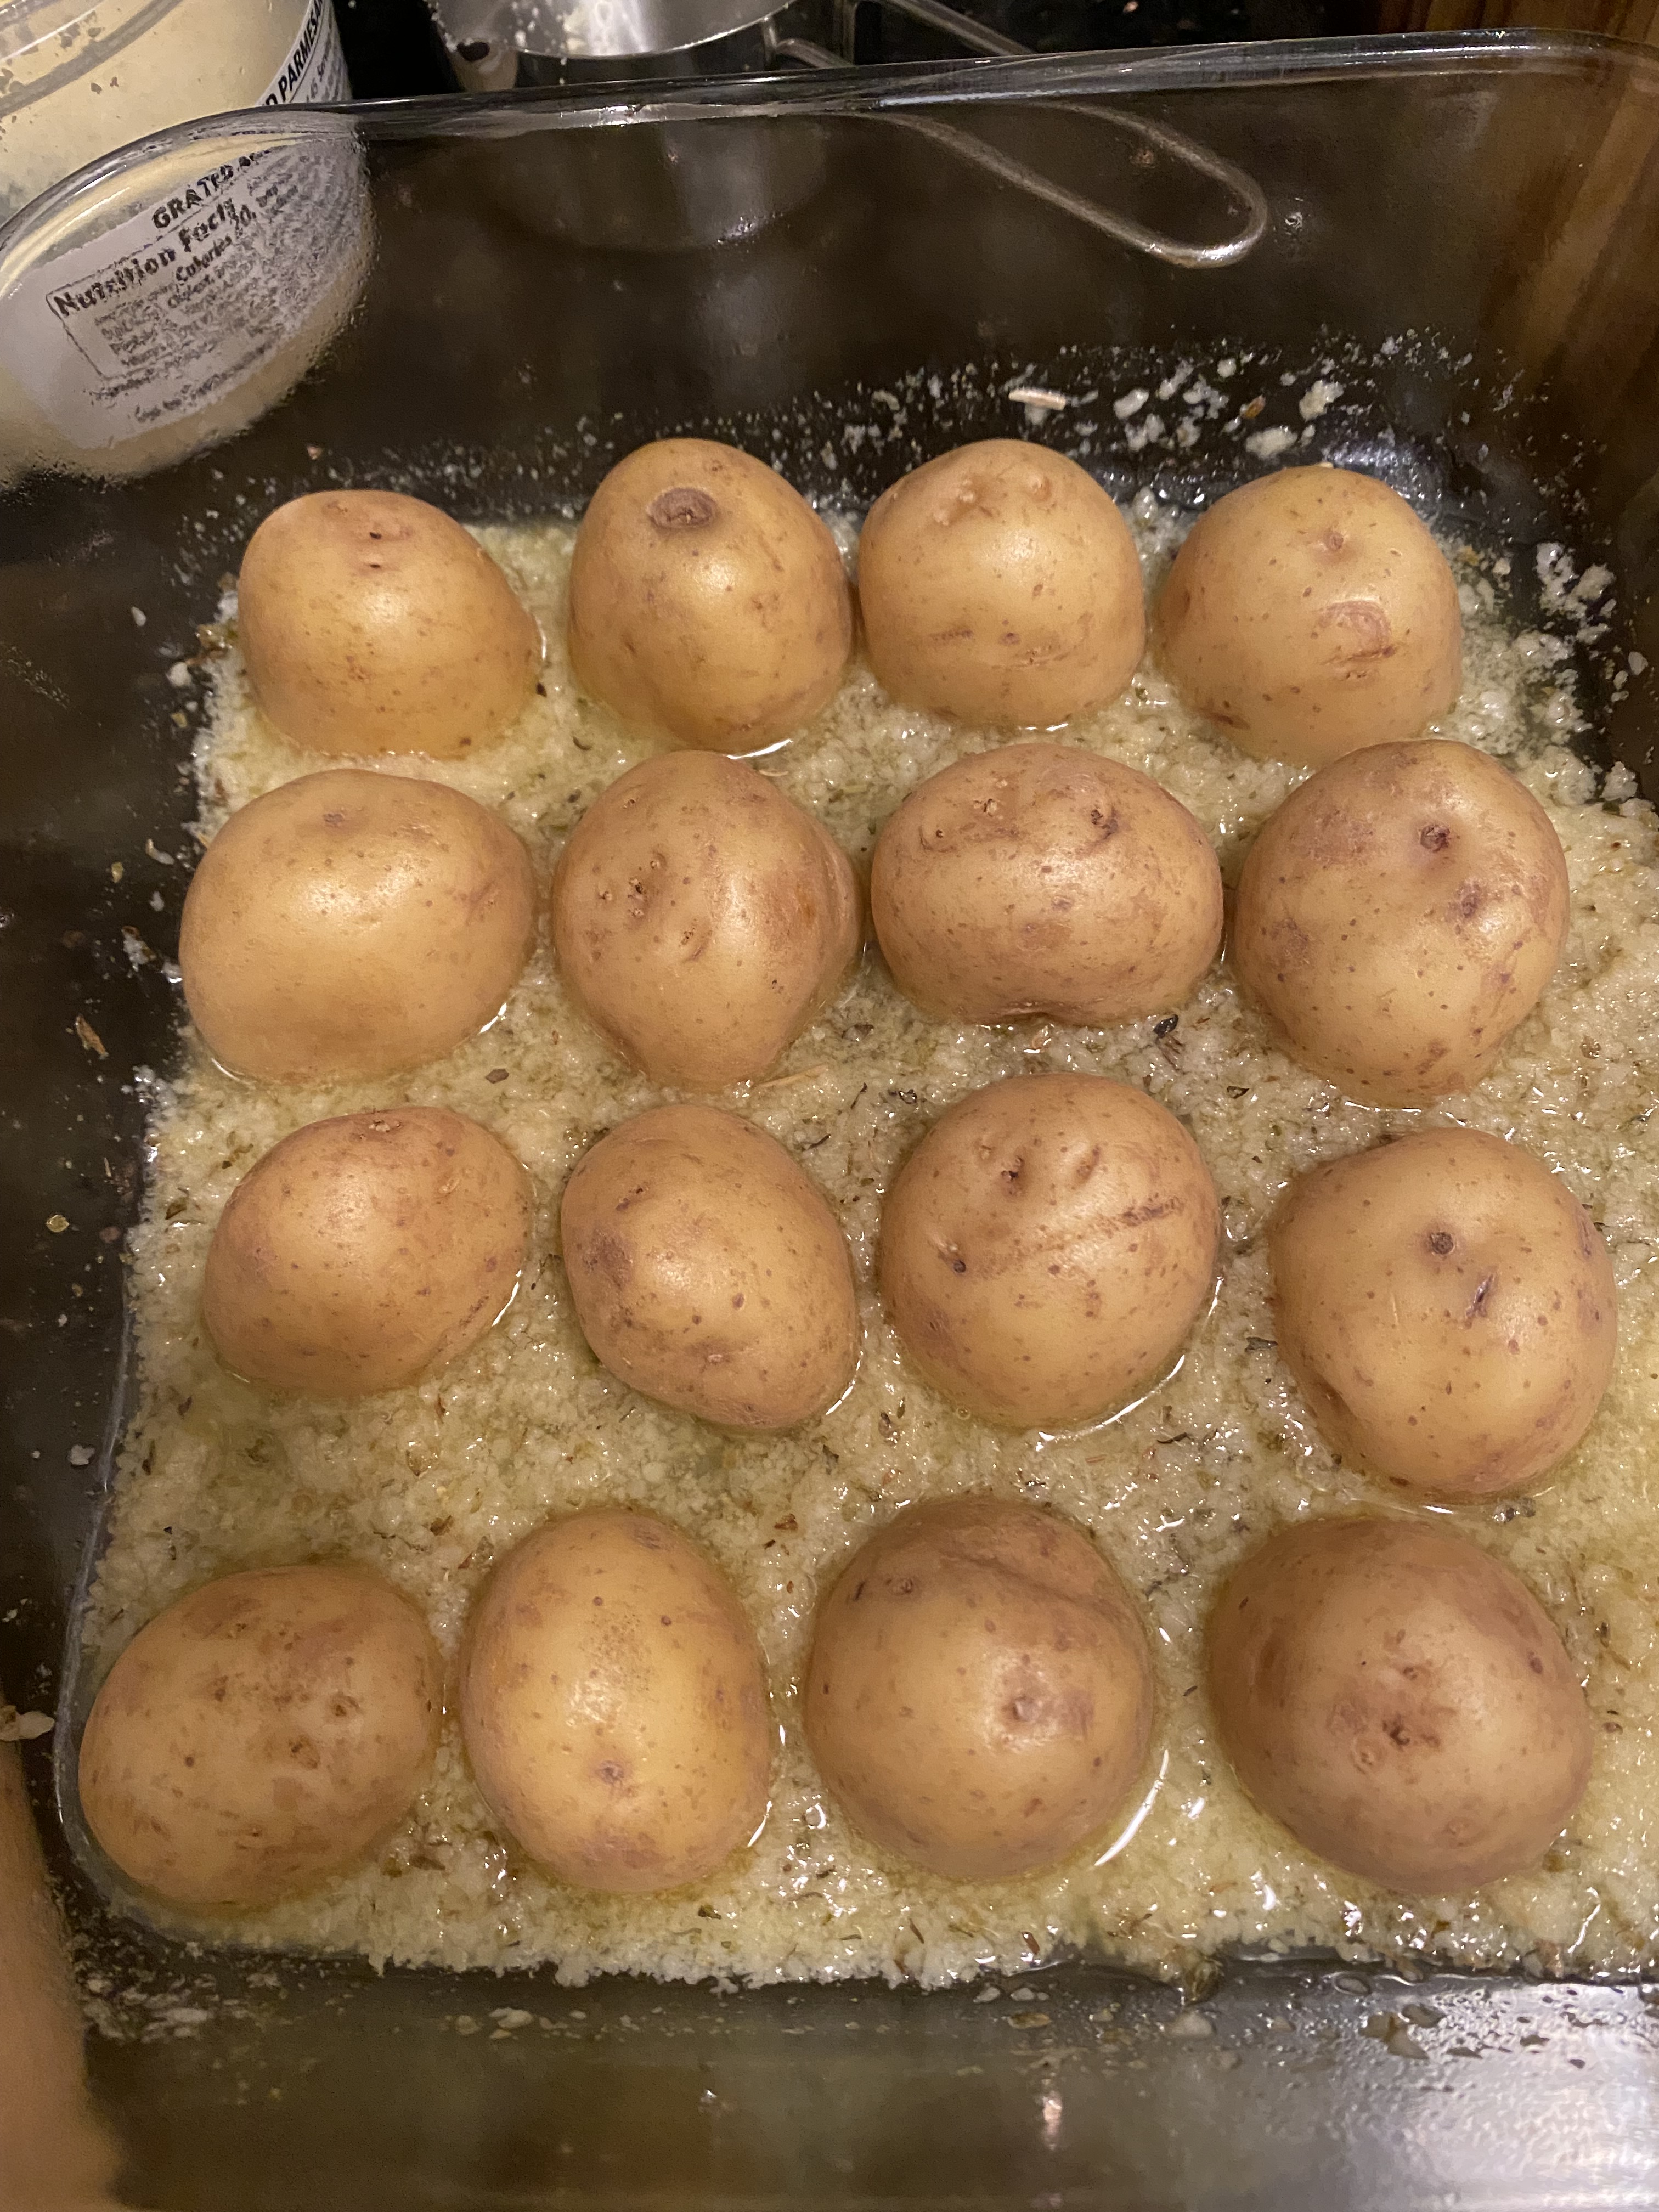
1 1/2 -2 lbs. potatoes I used Yukon Gold small potatoes, wash and cut into 1″ pieces
1 tsp. Kosher Salt
3/4 tsp. freshly ground black pepper
3 lemons– I used 2 small lemons for marinade and I sliced 1 for sheet pan
2 tbsp. dried oregano
1 1/2 tsp. dried thyme
3 garlic cloves, minced
1/4 cup water
1 tbsp. heaping dijon mustard
1/4 cup EVOO ( extra virgin olive oil)
*pinch of crushed red pepper — totally optional but we like the kick
Directions:
Preheat oven to 400 degrees
Dry off chicken thighs and drizzle with olive oil and season with kosher salt and freshly ground black pepper, set aside
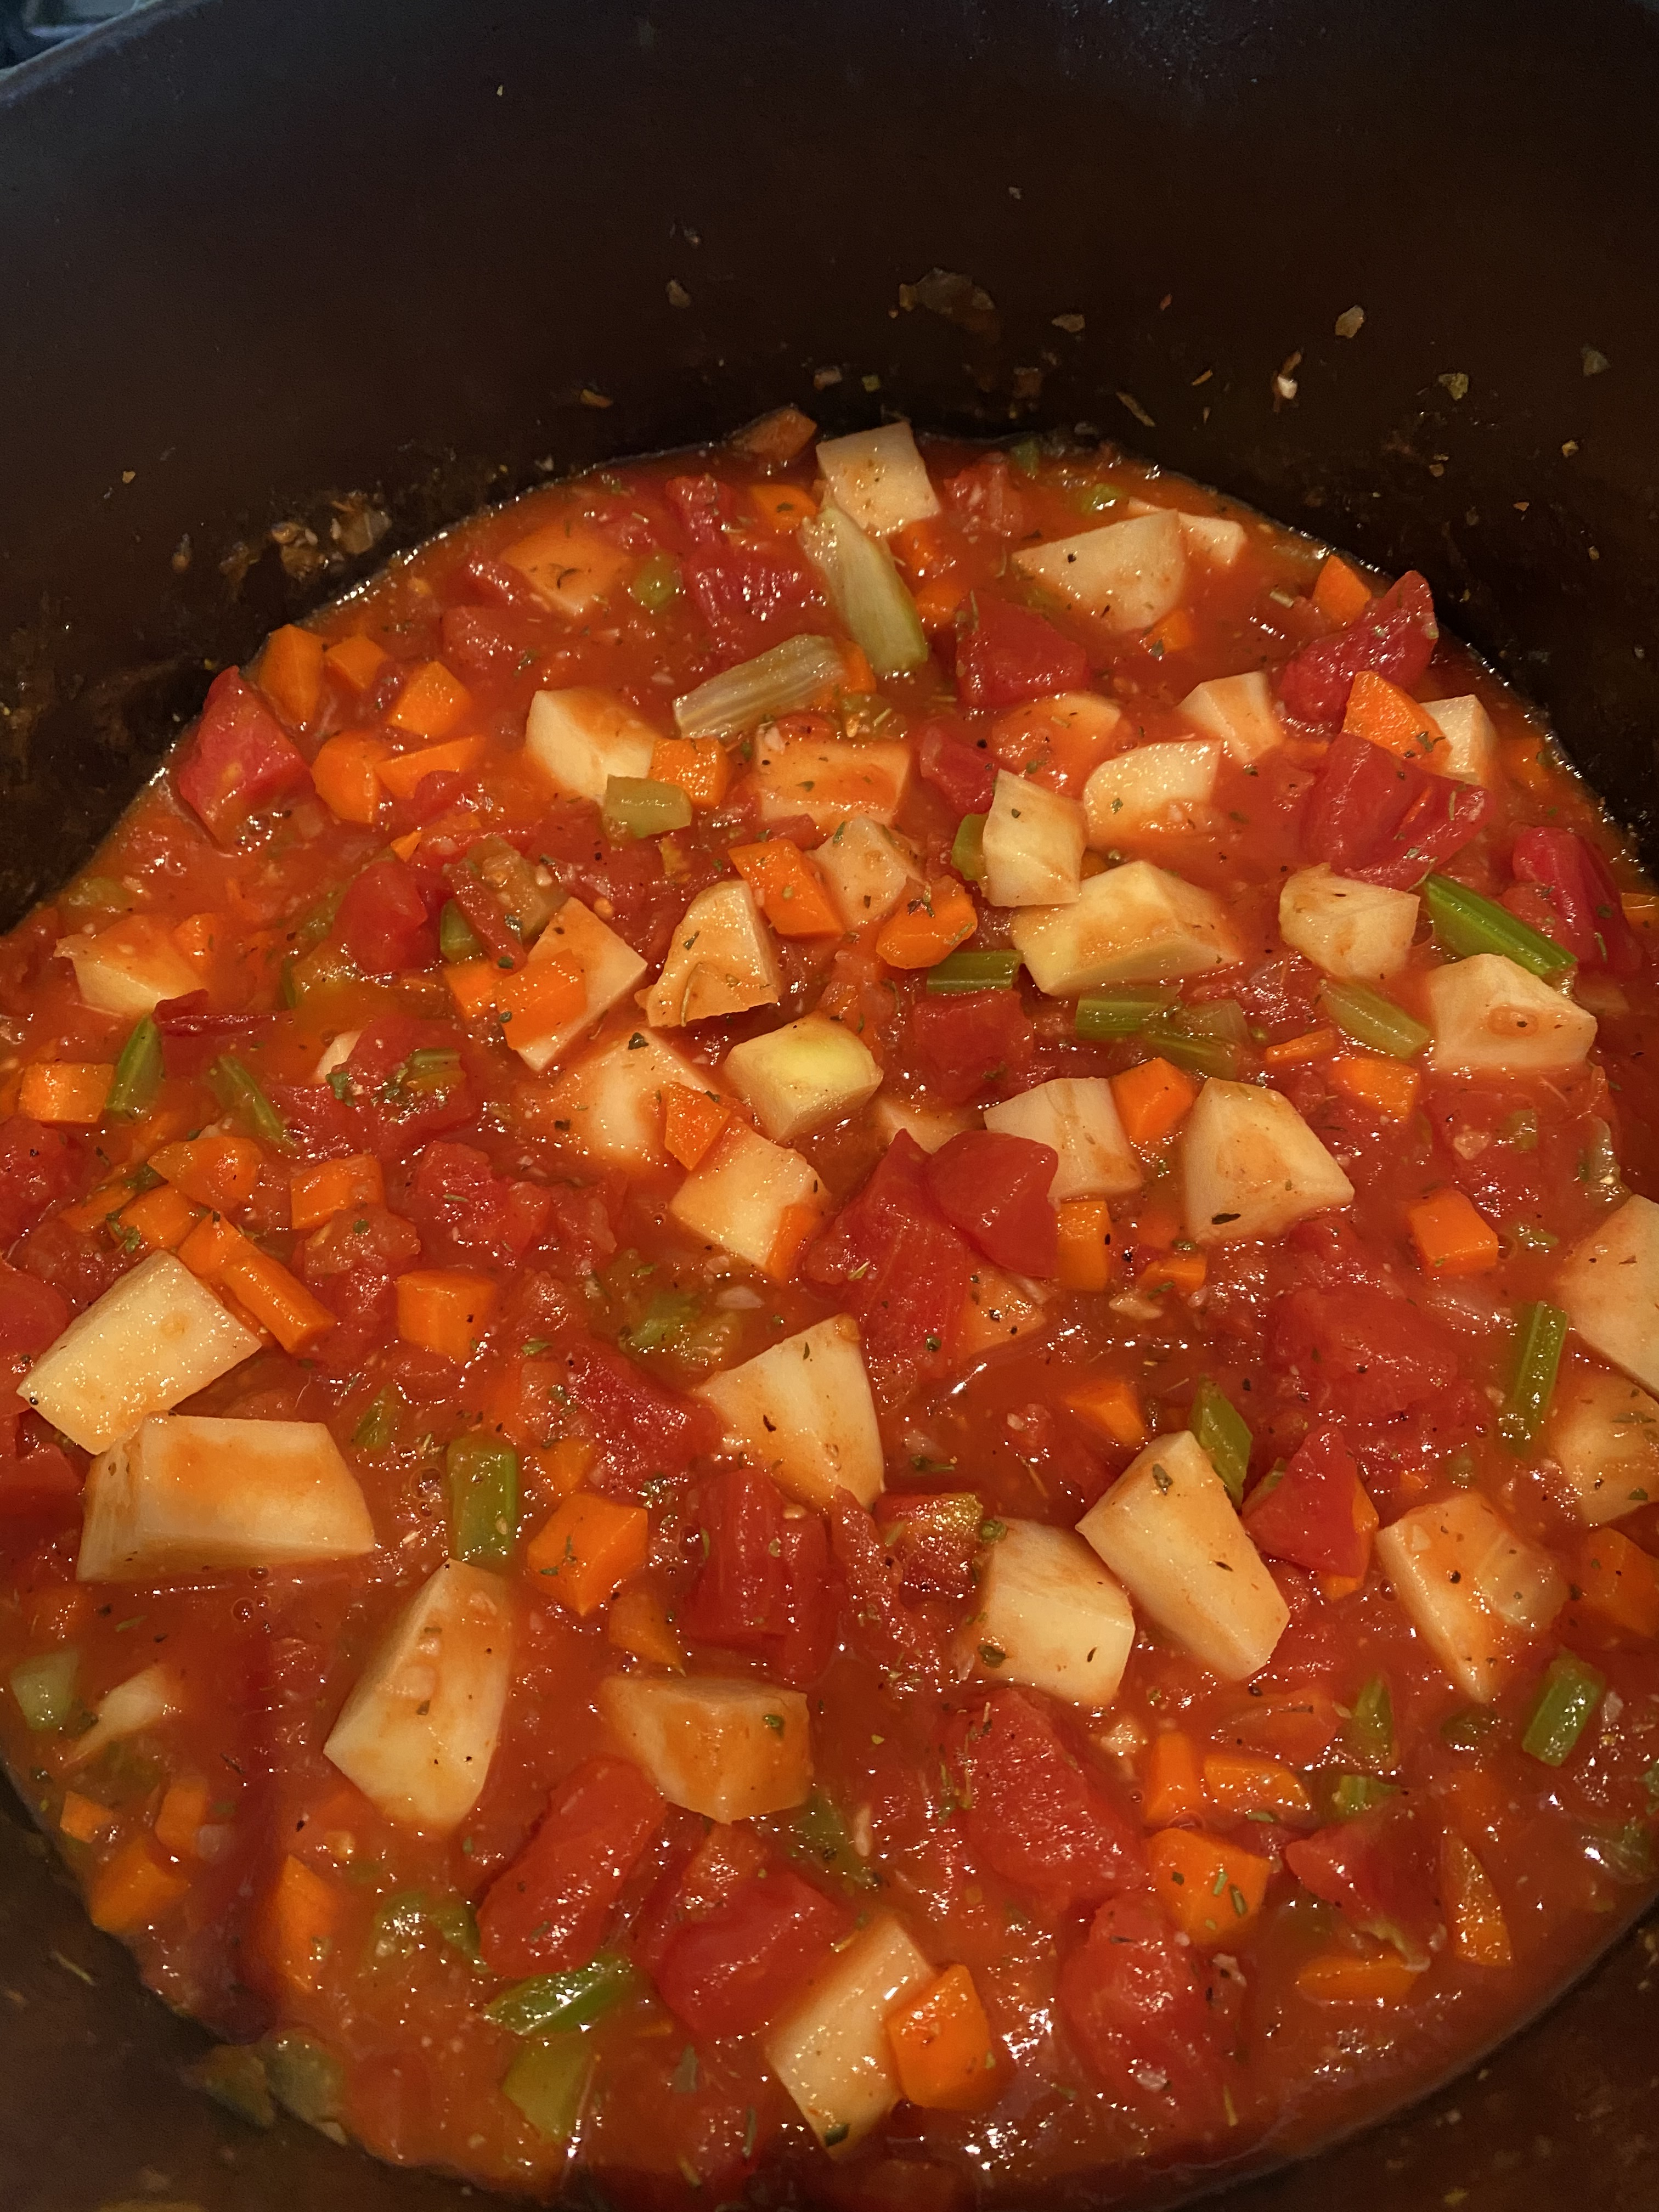
In a large mixing bowl, combine potatoes, salt, pepper, lemon juice, oregano, thyme, garlic, water, dijon mustard, and EVOO , Mix well
Pour potatoes onto a well sprayed ( cooking spray like Pam) sheet pan. Arrange lemon between the potatoes, place chicken thighs on sheet pan — I like to make sure that the chicken is directly on the sheet pan
Bake at 400 degrees for an hour and check on it. I baked for about 1 hour and 15 minutes for perfect crispy skin and perfectly crispy potatoes
Now go and Enjoy this delicious meal!


j