This is my homemade chicken soup recipe which is already posted on my blog as Homemade Chicken Soup which is great to have anytime and is what I add my not so homemade matzo balls to during Passover. I couldn’t re-blog it again so I decided to just re-write it. I would recommend making this at least a day ahead of using, and you can certainly make ahead and freeze till you’ll want to use it.
If you put Passover into Search Box this and other Holiday recipes should come up.
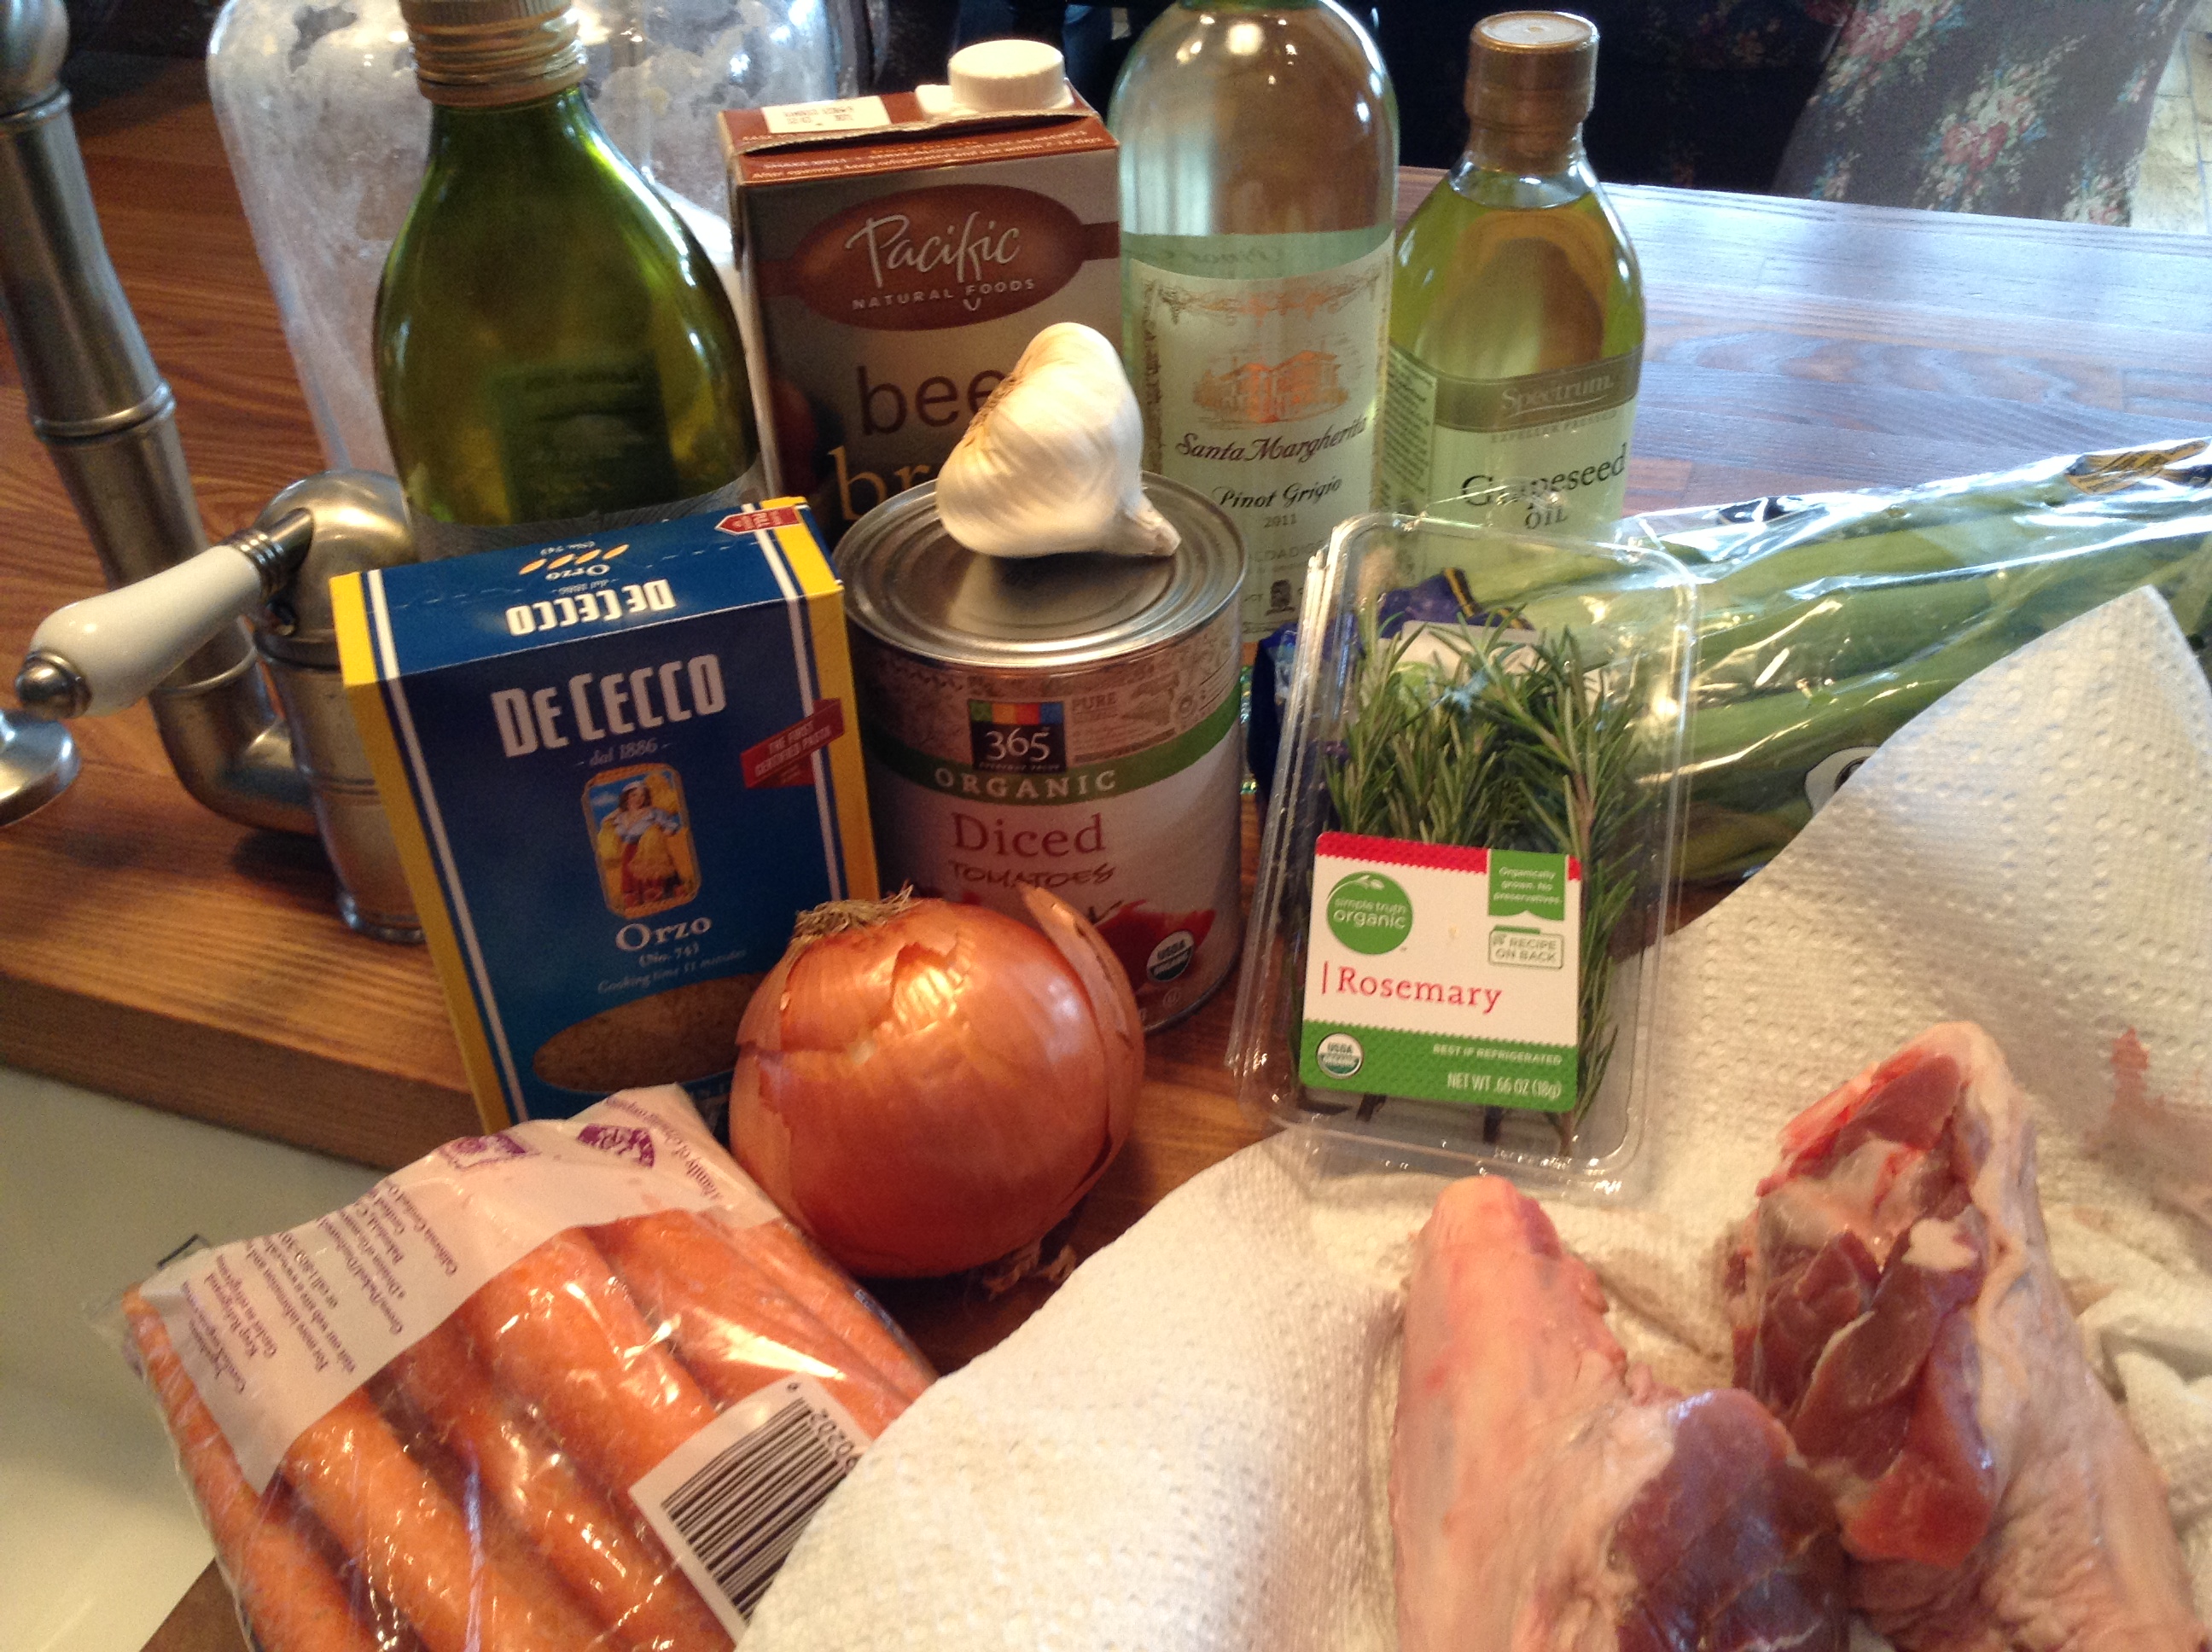
Ingredients:
For Chicken Stock:
1 5 lb. organic roasting chicken ( I don’t use the insides)
1 package of chicken wings ( this was suggested to me a long time ago by my BFF Karyn and she was oh so right. It will add some fat, which translates into a whole lotta flavor , and you will skim off the fat anyway. Thanks again Karyn.
1 large, yellow Spanish onion, unpeeled and quartered
a big bunch of fresh dill
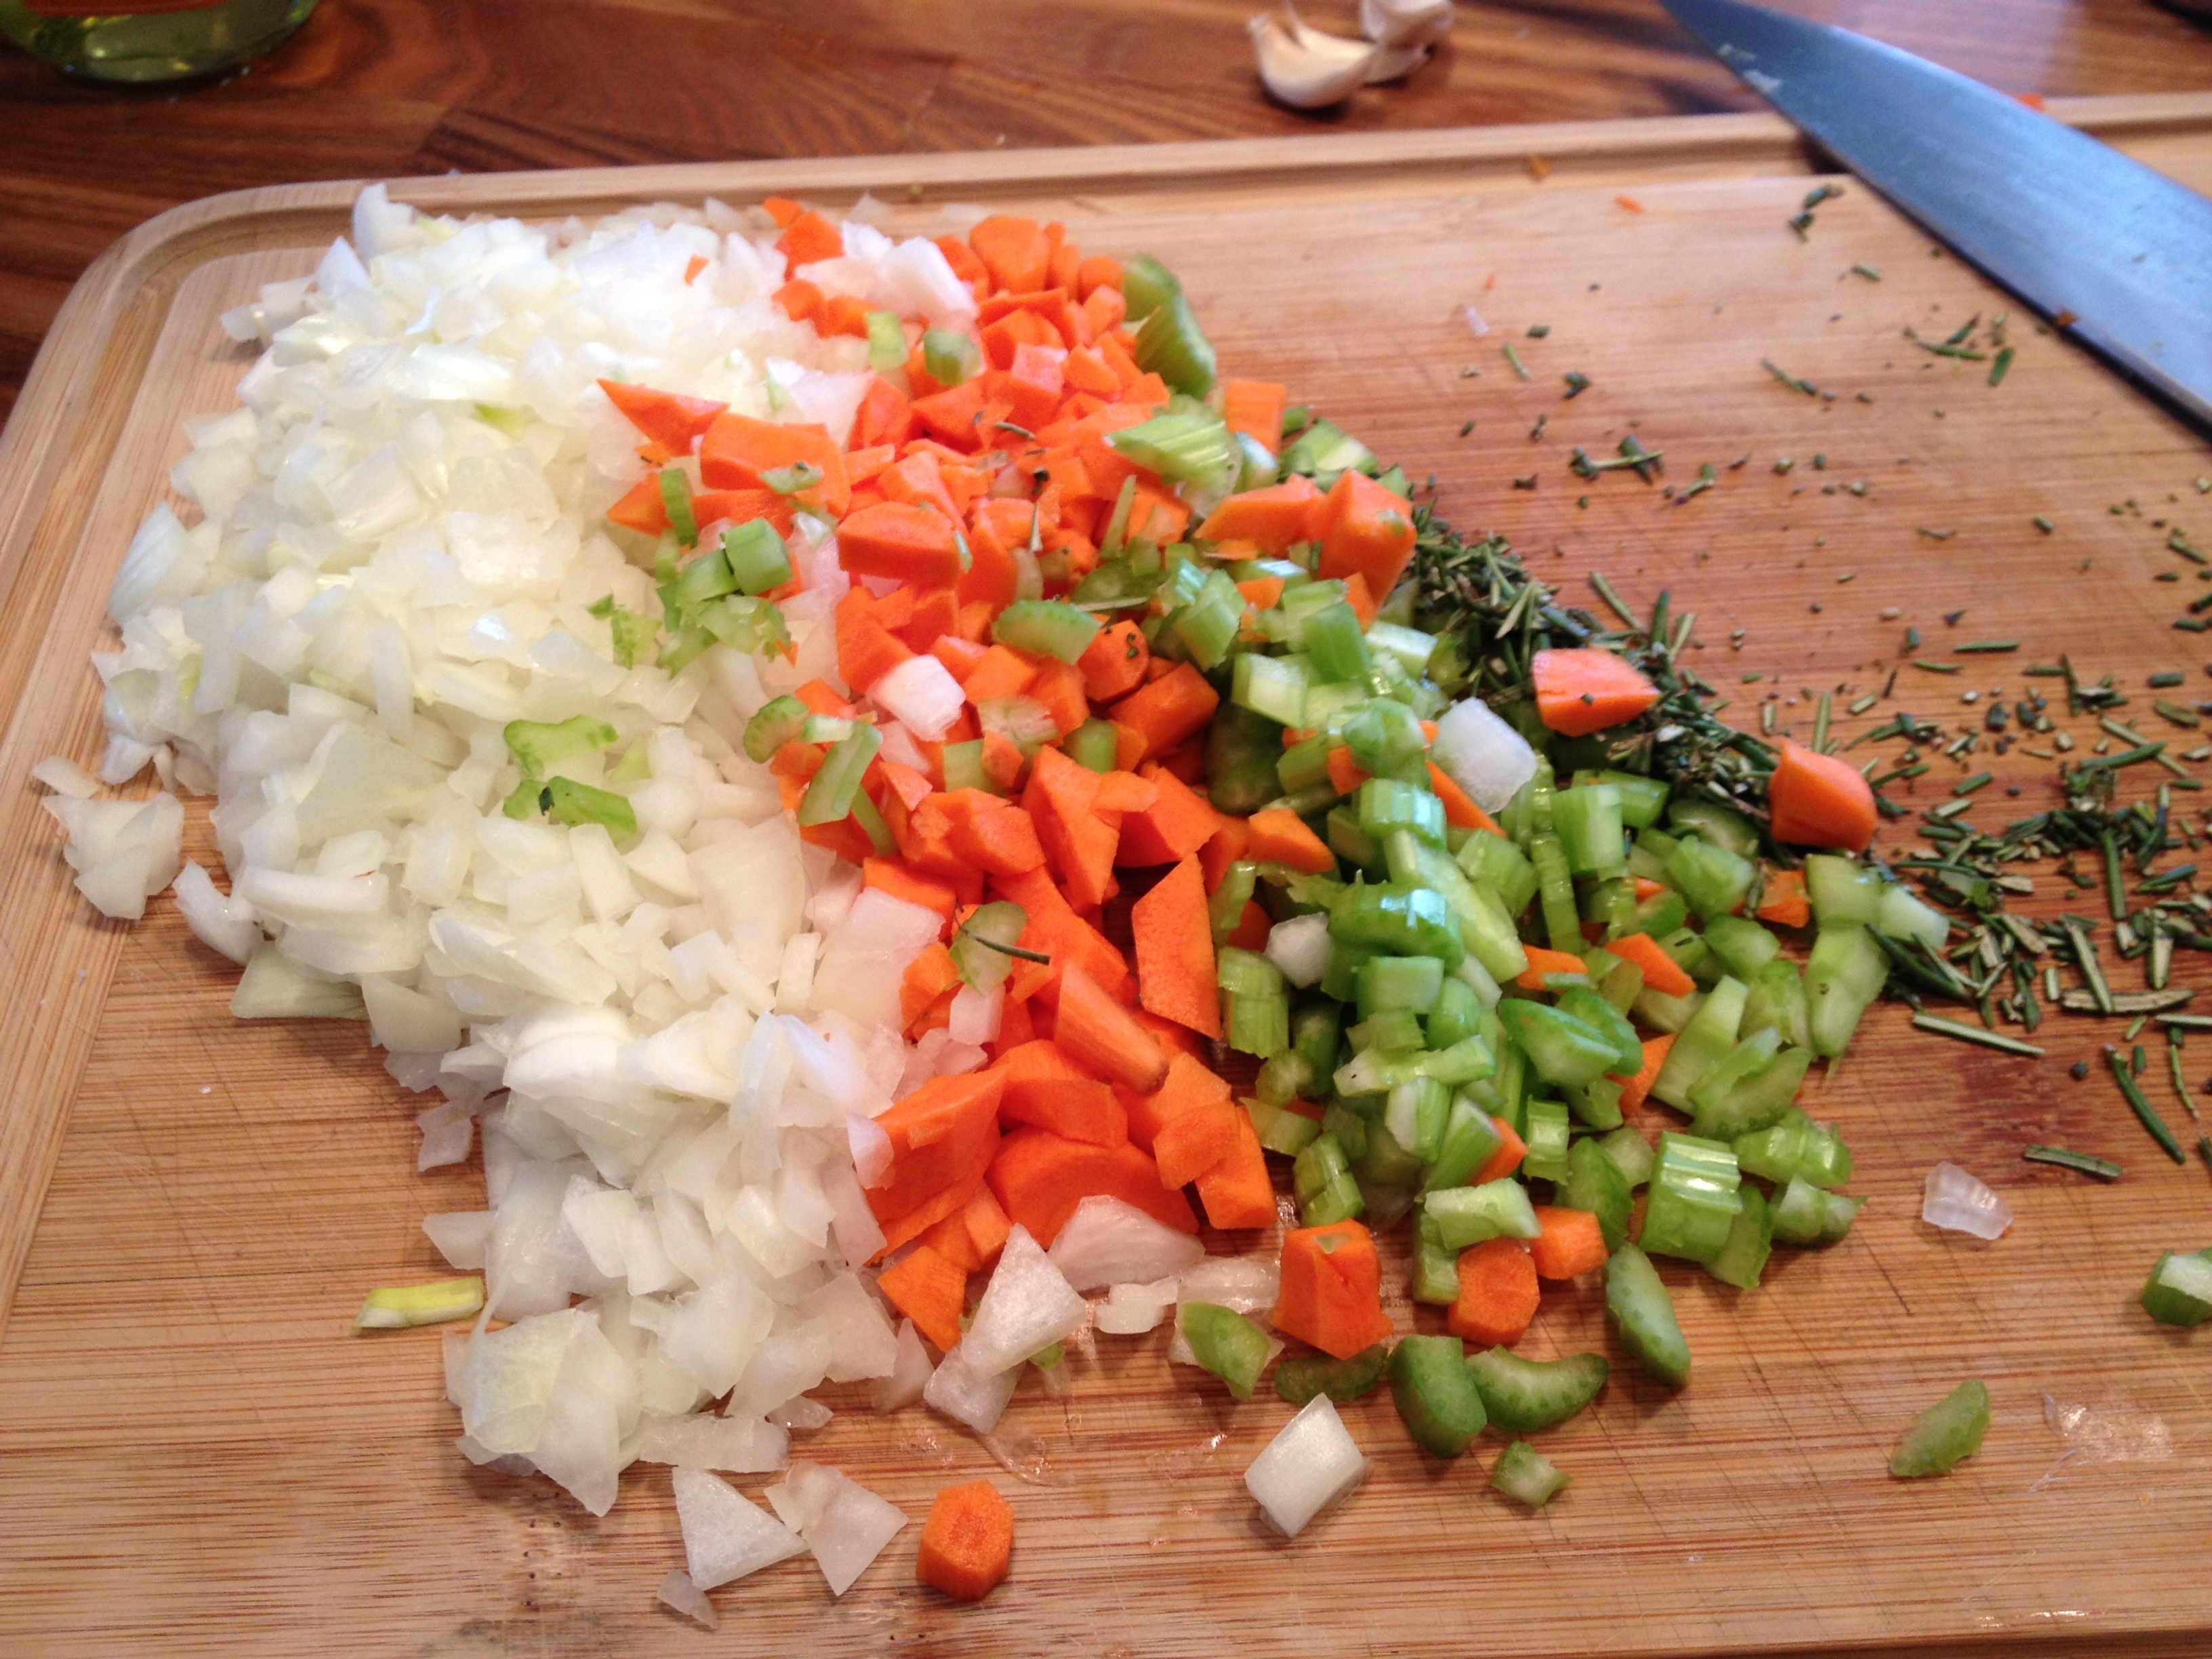
4 celery stalks with leaves and cut into thirds
4 carrots, unpeeled and halved
a bunch of flat-leaf parsley
a bunch of fresh thyme
1 head of garlic, cut in half cross-wise ( skin and all)
2 tbsp. kosher salt
2 tsp. whole black peppercorns
Directions for Soup:
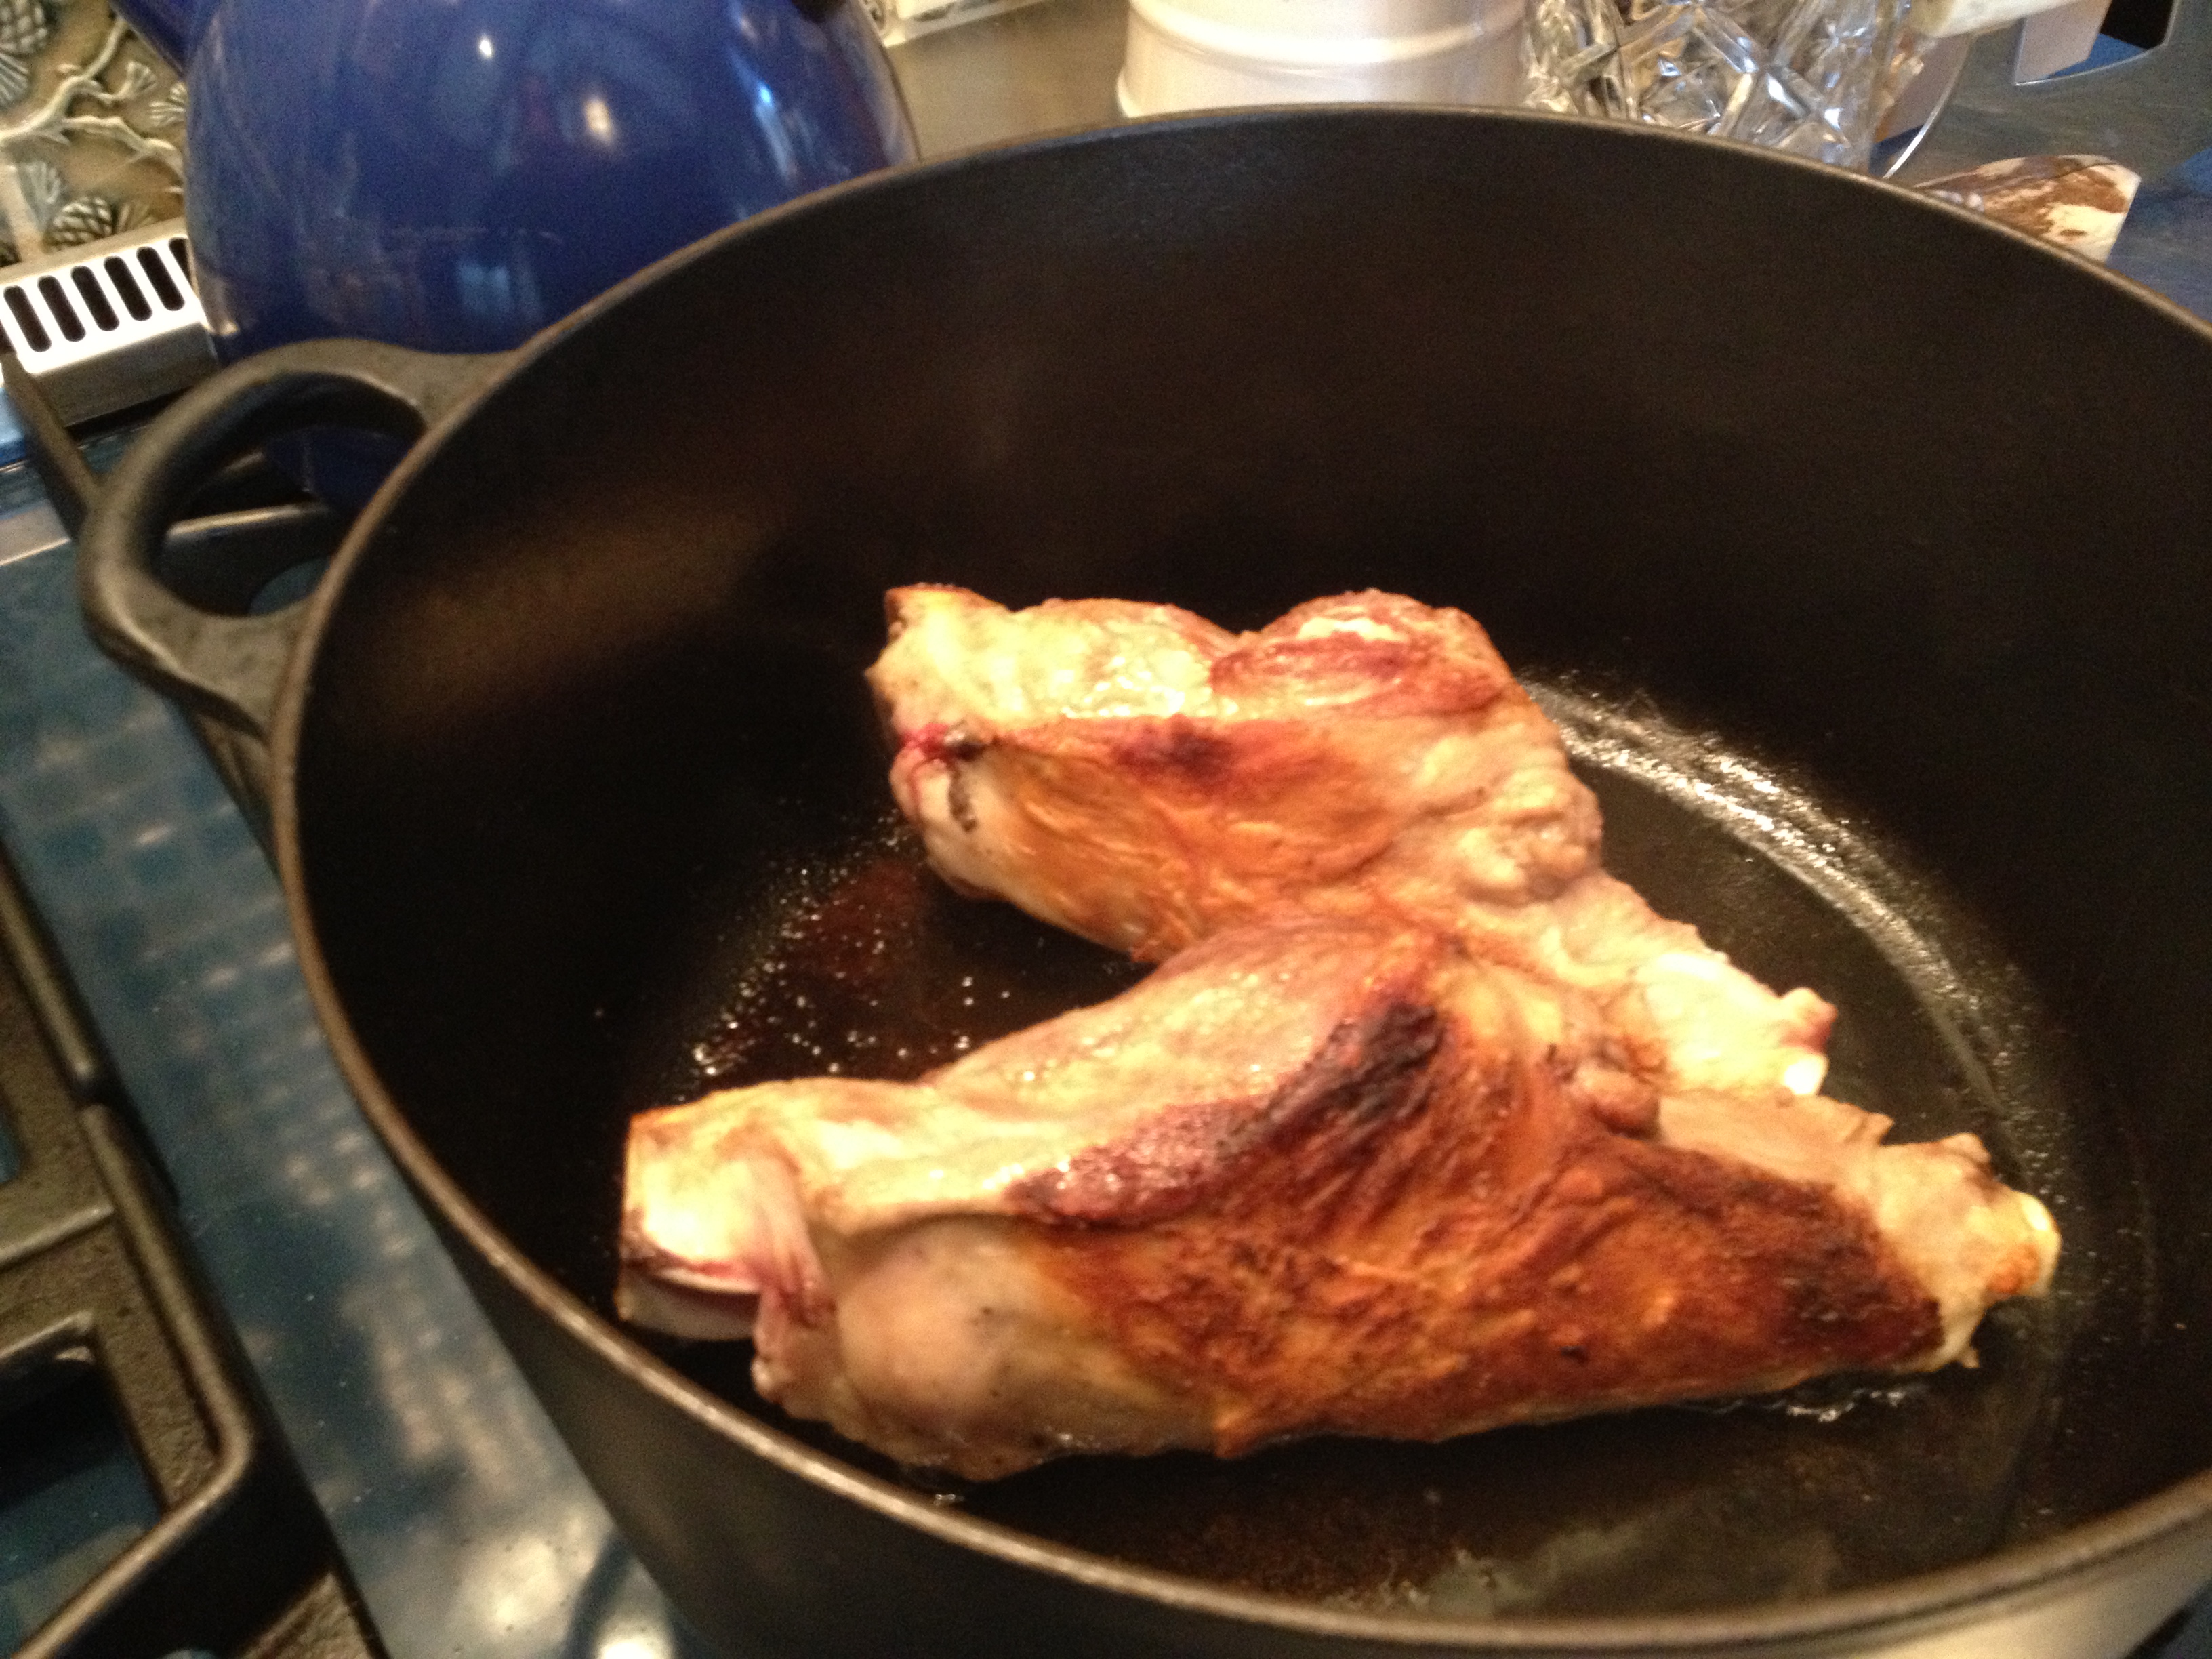
I place the chicken , chicken wings, onion, carrots, celery, all the herbs, garlic, salt and pepper in as large a stockpot as I can find, I actually have a 16-20 qt. stockpot that I use. Add cold water to cover chicken by at least 2″ above the chicken but not to the top of the pot because it will boil over (very messy) . Bring to a boil and then simmer, uncovered for about 3 hours. I skim the soup for the first 1/2 hour or so after that you shouldn’t have much more. I remove the chicken from the broth after an hour or so, because it is cooked and it will taste like a rubber chicken if you plan on eating it. Sometimes I like to shred it and return it to the soup. If you are not using the chicken ( a waste of a good chicken ) you can just leave it in the water for as long as you’d like, it will fall apart in there. I leave the wings in and discard them after about 3 hours. After letting soup simmer on stove top for about 3 hours all together, I let it cool down significantly first, strain all of the soup in a large colander, discard all remnants, fill my containers and put in the fridge. The next day, I skim off any noticeable fat that has risen to the top and make my matzo balls. (see recipe below)
*you can also make chicken salad from this chicken , go to my curry chicken salad recipe on cookingwithcandi.com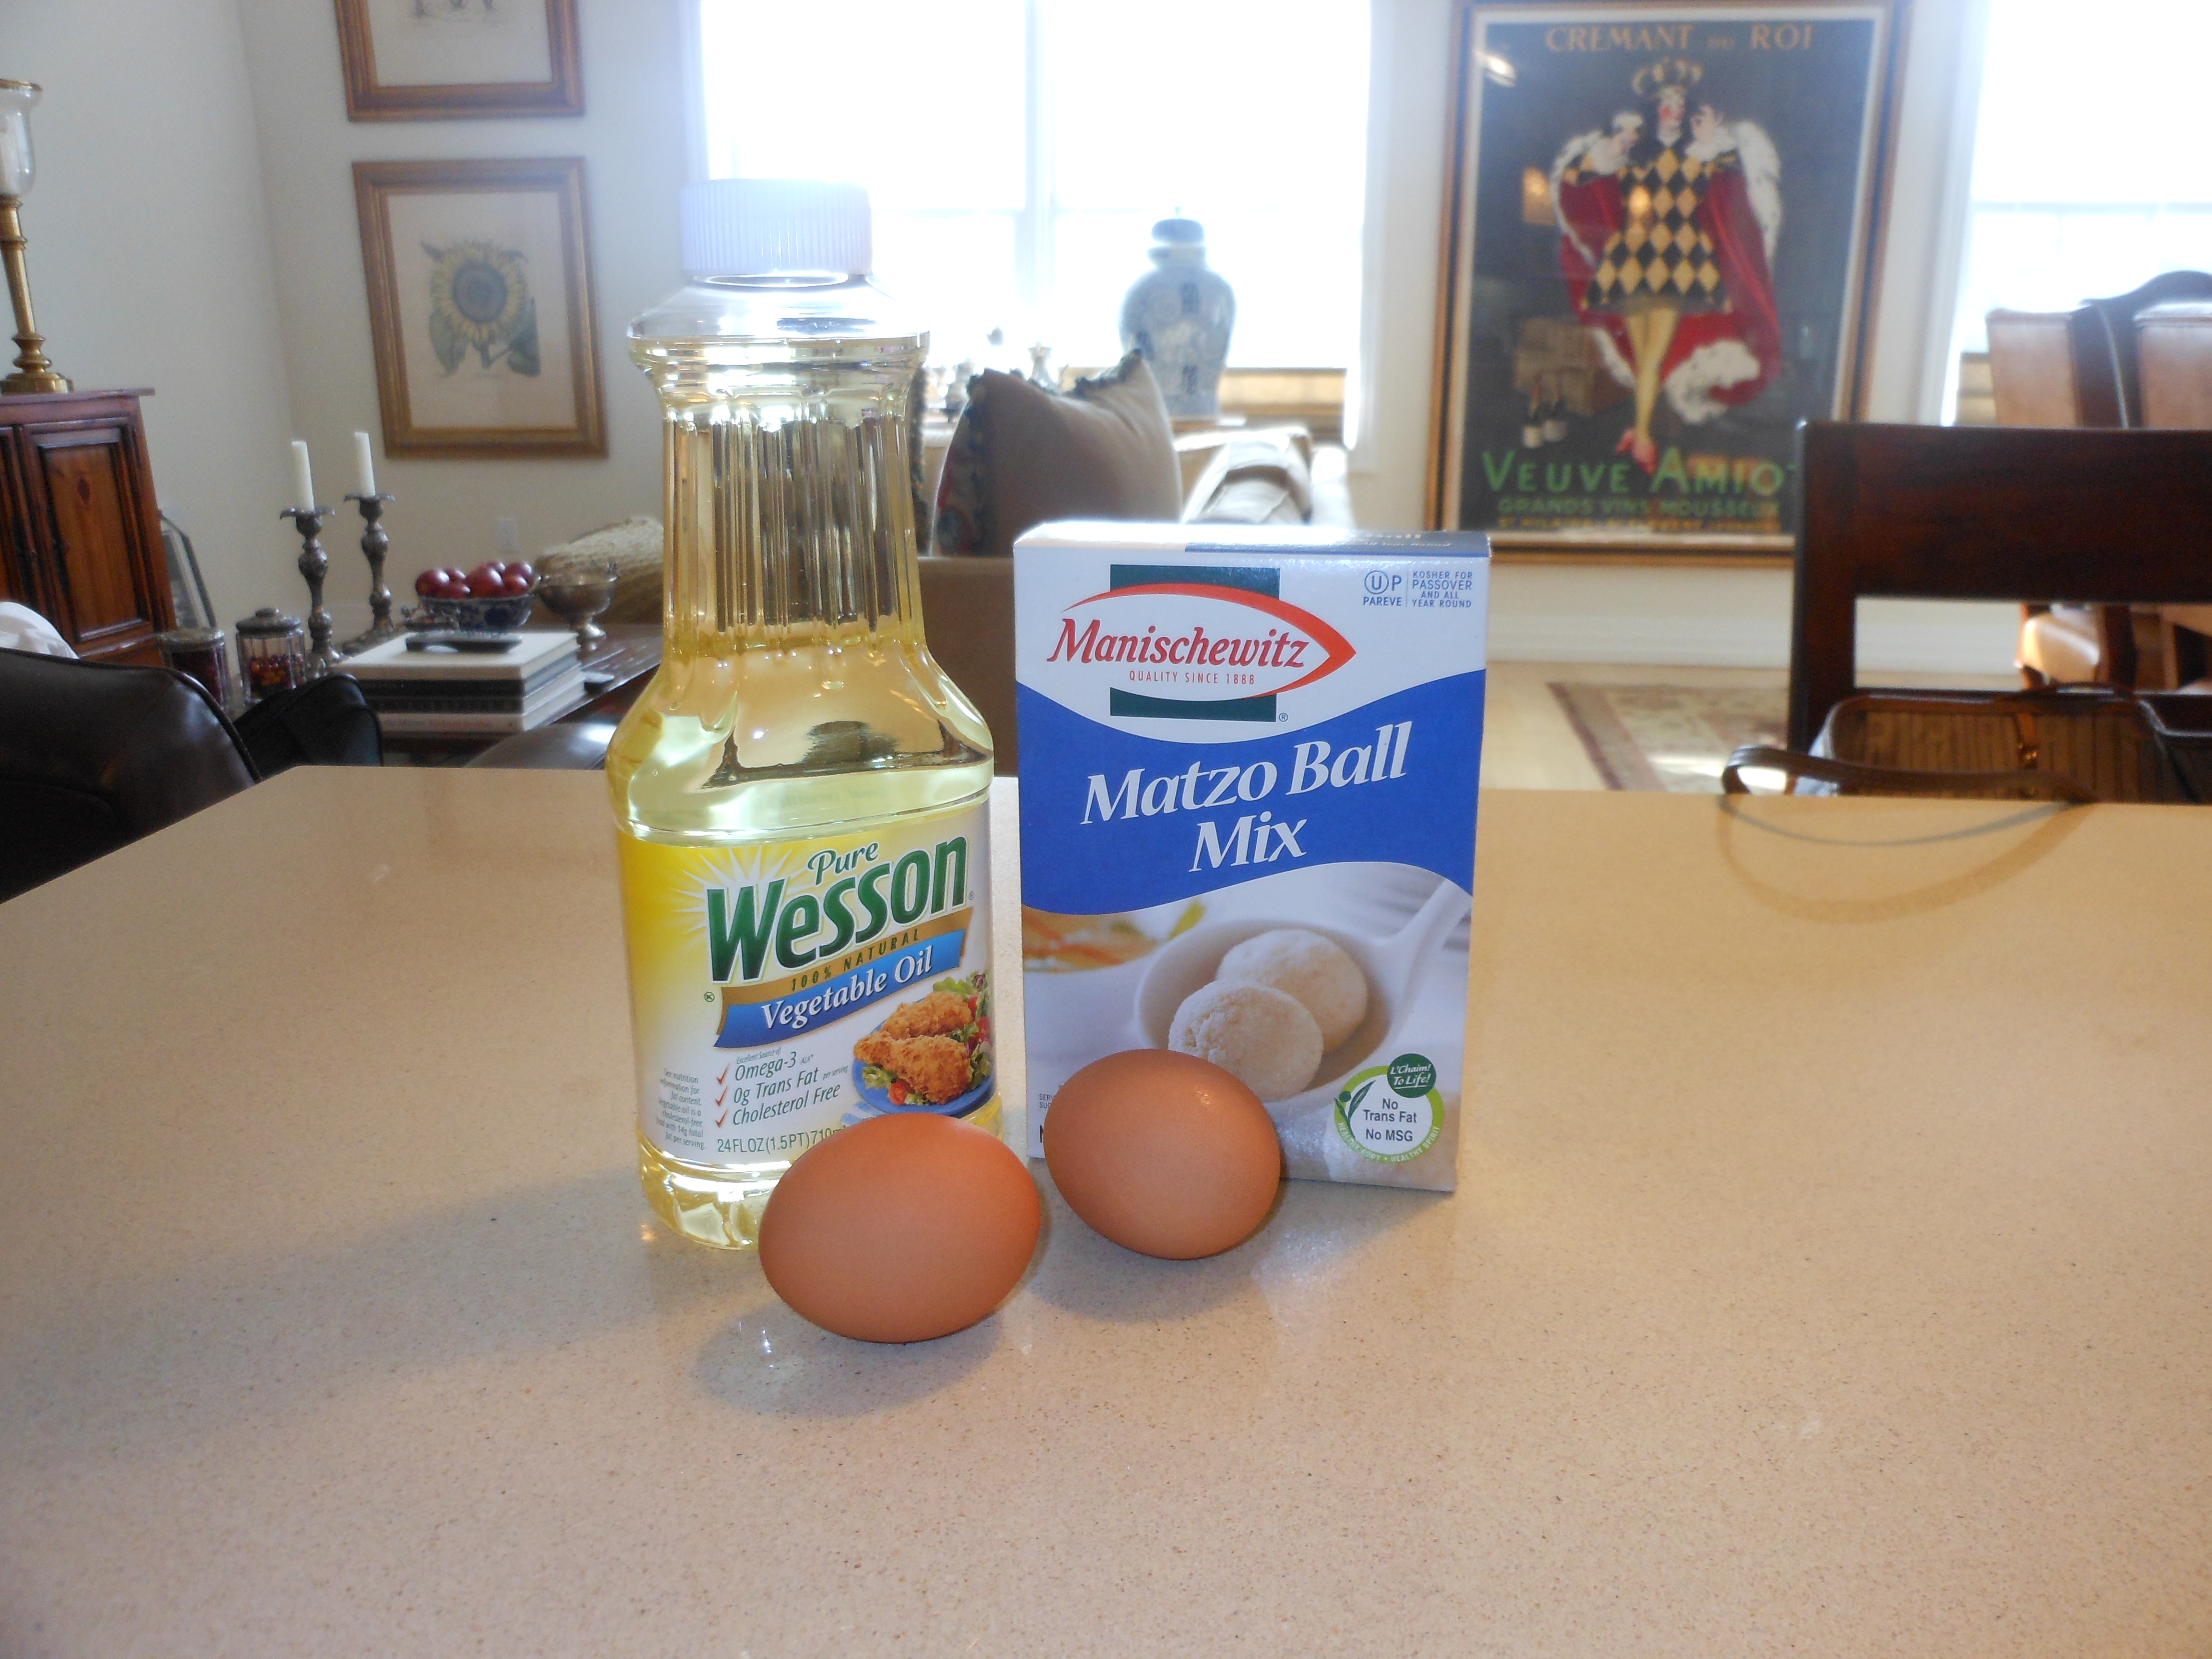

Matzo Balls:
This has always been my little secret to great matzo balls. I own it, after years of making matzo balls from scratch, my Mother ( yes, my Mother the cook) turned me on to Manischewitz boxed matzo ball mix! It just wasn’t worth the time spent, the balls weren’t as consistent as I would have liked, whereas these are always perfection every time! Light and fluffy and everyone always loves them, and asks for recipe . No sinkers here!
I follow the directions on the box carefully. They sell just the mix in a box. You will need vegetable oil and 2 eggs per box. I do add a little piece of dill inside each ball, but that’s it! Now my secret is out, sometimes this is really the only way to roll. It saves time and ingredients, and they are really good. No MSG or trans-fats either, so make the homemade soup, cheat with the balls and enjoy. There is no substitute for homemade chicken soup , though.
*when not observing Passover, this soup is delicious with noodles