

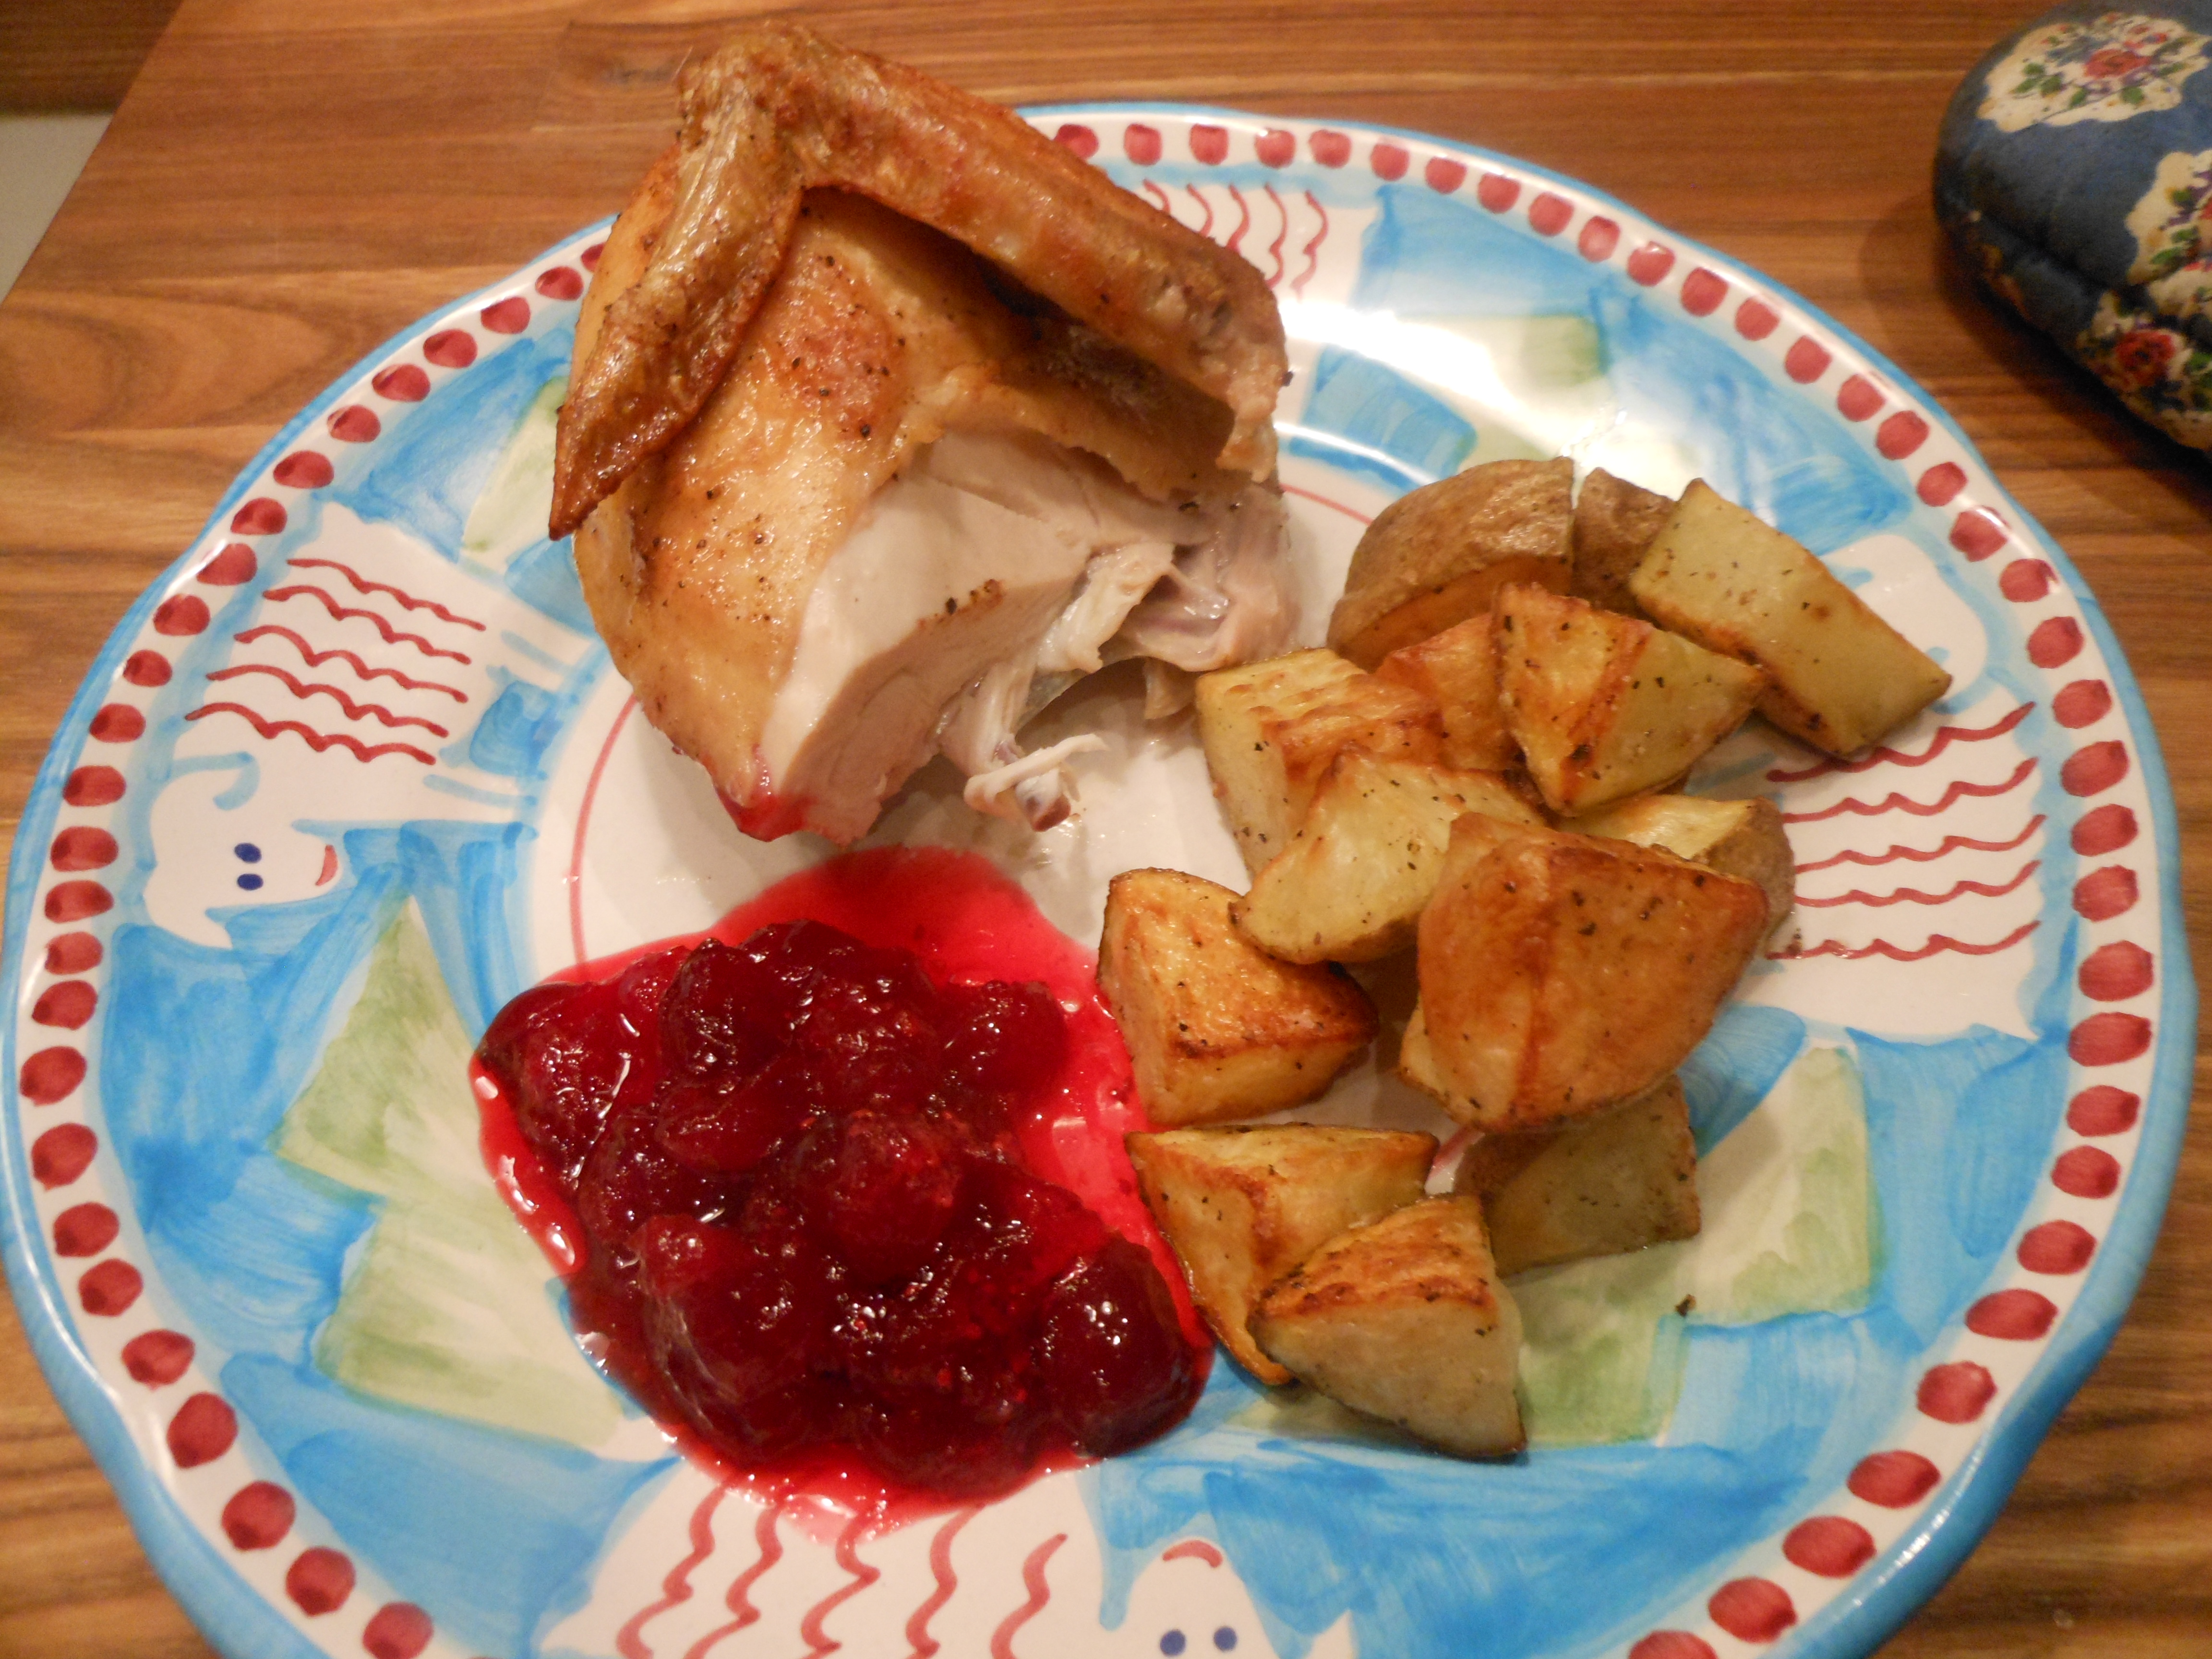
I have wanted to roast my chicken this way for quite some time, but always fall back on the standard. I have posted the standard way under Good Old Roast Chicken. You’ll need to remove the backbone of the chicken , and I am not that great with butchering so left it to the butcher in Whole Foods or whoever you go to. Just ask the butcher to remove backbone ( I discarded it or save it for making stock) and cut chicken in 1/2. This removal of the backbone of the chicken is known as spatchcocking , simply put, you roast the chicken in about 1/2 the time as conventional methods with the maximum crispiness to the skin, and very moist chicken is achieved. I used my more shallow Le Creuset pan and chicken fit snugly in which is what you want. You don’t want it in too big a pan, just make sure your pan is flame proof , a 12 inch cast iron skillet is also perfect. This is really easy, and I must give credit where credit is due, I got my inspiration from the Zuni Cafe Cookbook. I changed it a bit by cutting the chicken in 1/2 but used the times it posted and it was sheer perfection. Crispy and moist! Served with fresh cranberry sauce and roasted potatoes. You’ll have to turn your exhaust fans on for this one . By the way did I mention prep to table in an hour???
Ingredients:
1 whole chicken cut in 1/2 and remove backbone ( app. 2 1/2 to 3 1/2 lbs)
kosher salt and freshly ground black pepper (app. 3/4 teaspoon of kosher salt per pound)
sweet paprika
olive oil–1 to 2 Tbsp. of Olive Oil for the pan
*feel free to play around with seasonings of your choosing. Thyme , garlic and lemon are always perfect
Directions:
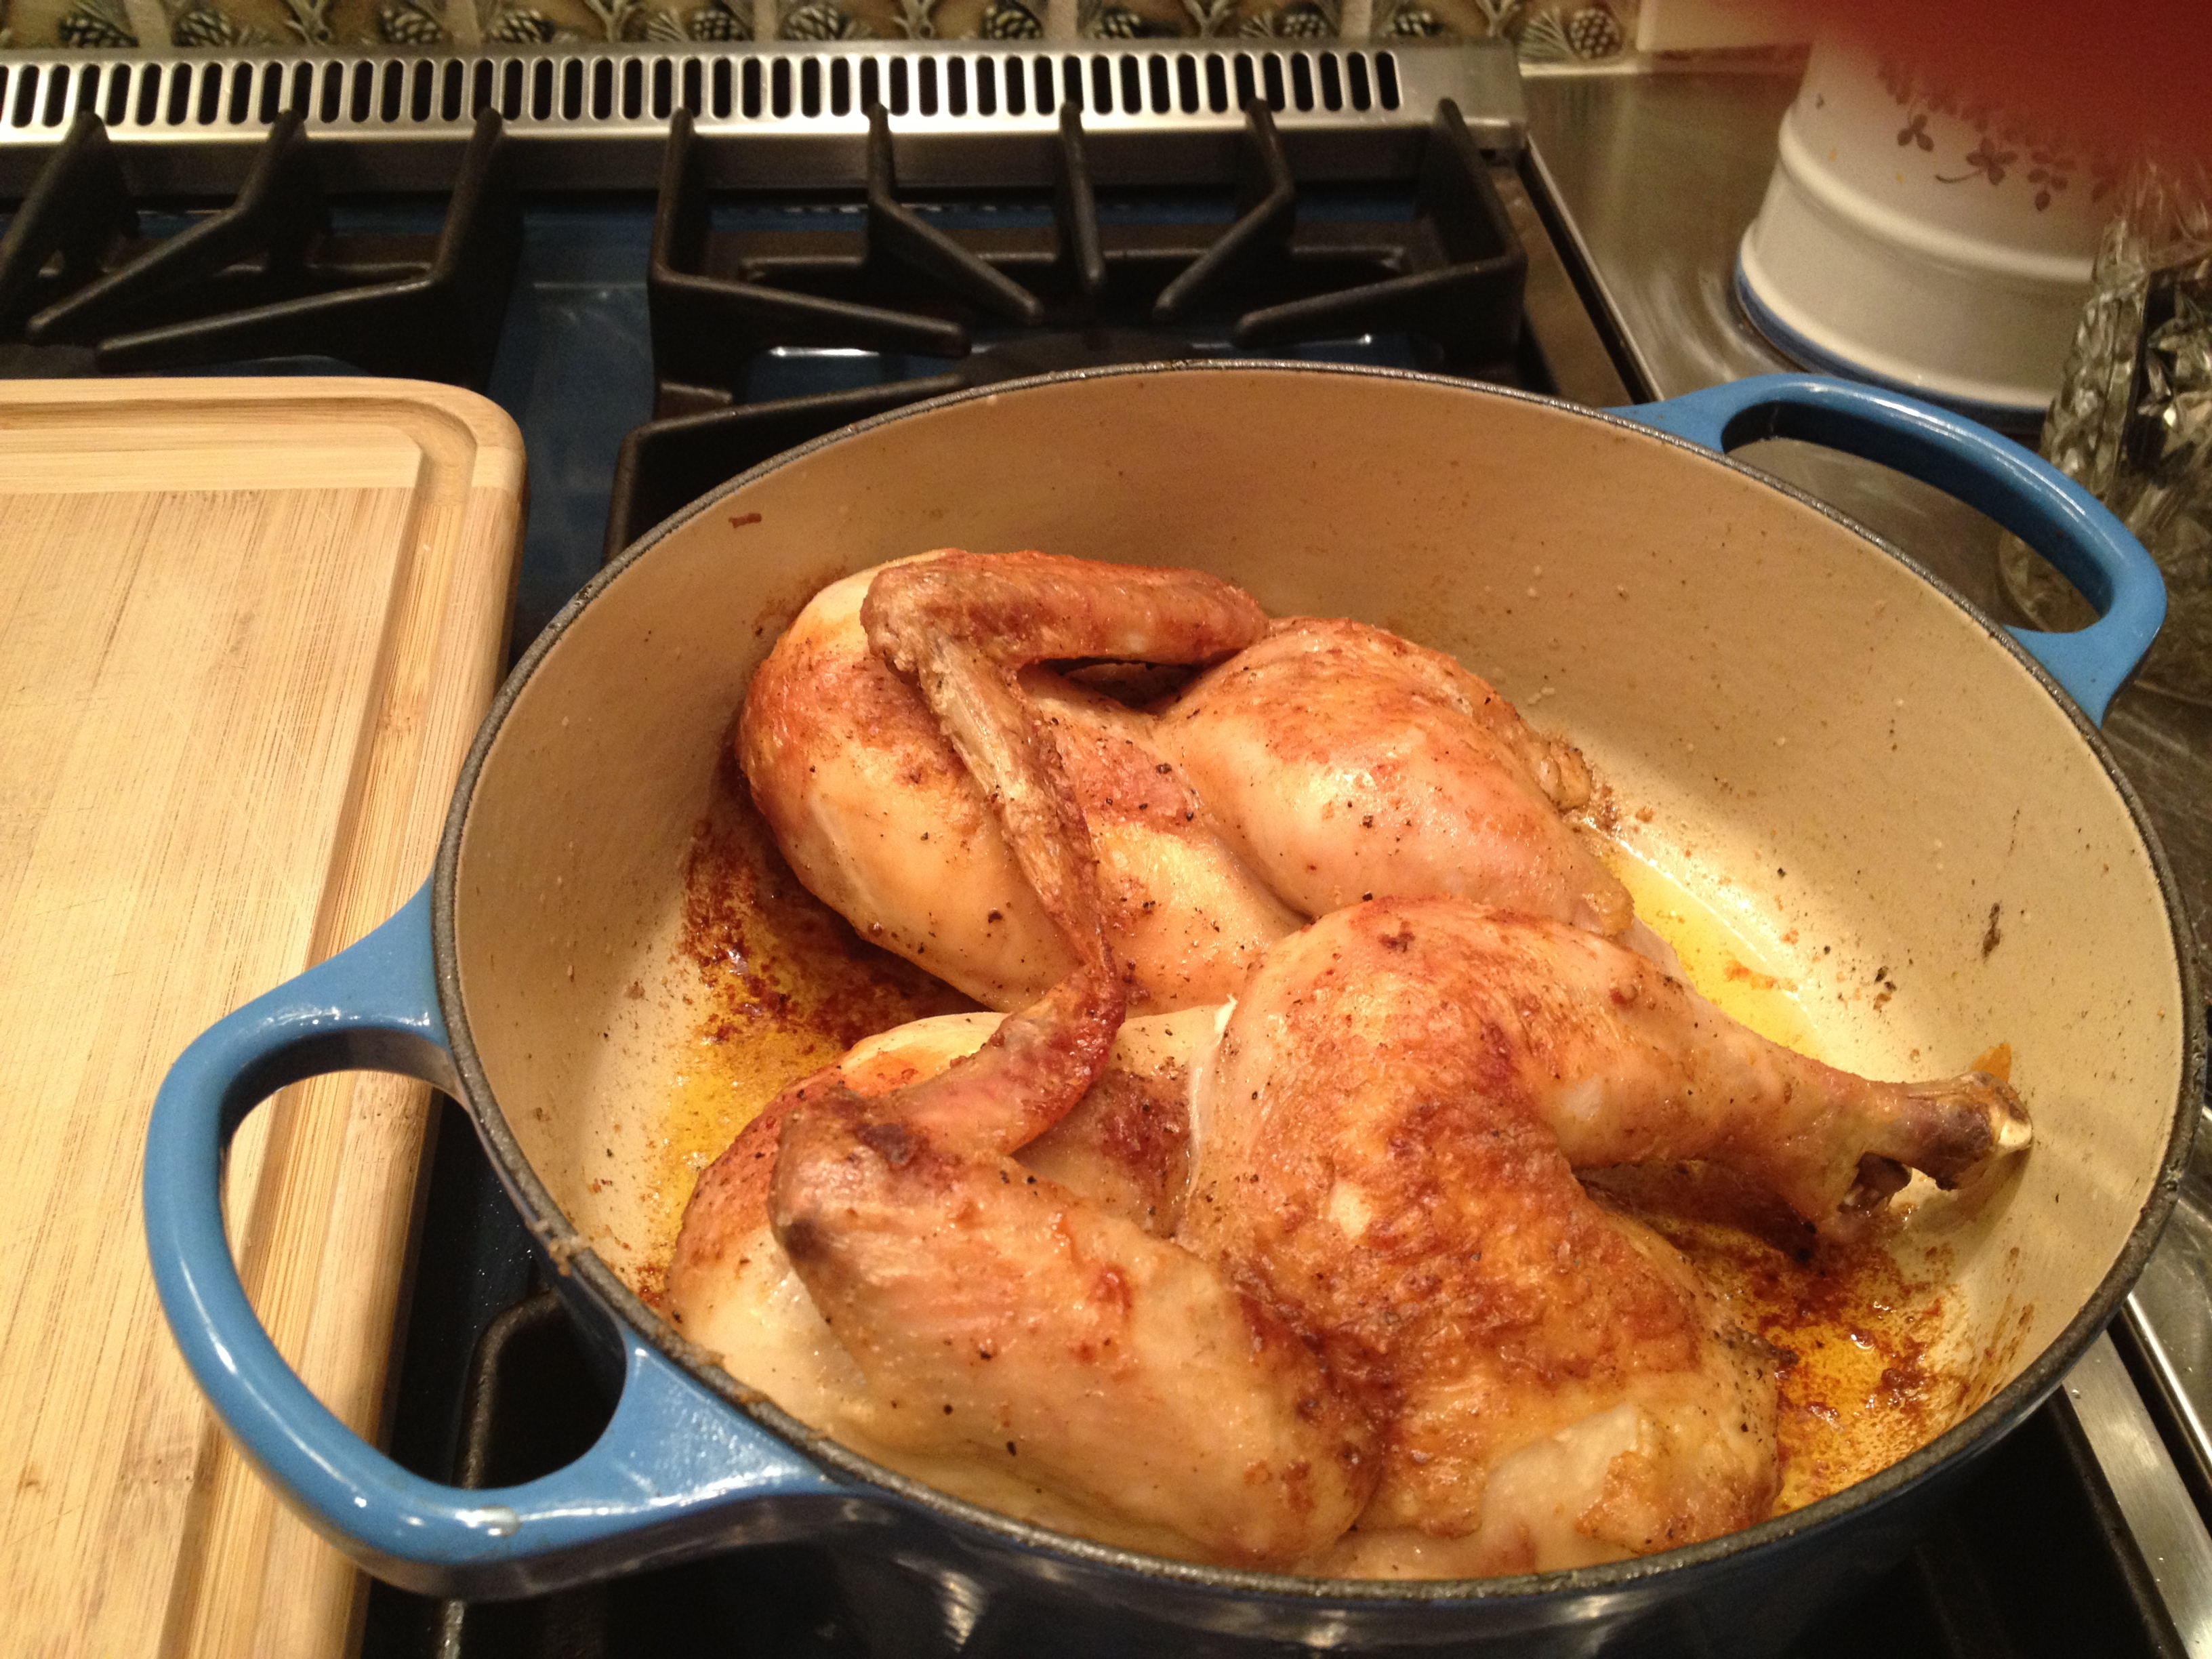
Preheat the oven to 475 degrees. I dried the chicken pieces with paper towels on both sides. The drying is very important for maximum crispiness. I put about 2 teaspoons of olive oil in Le Creuset pan. Lay the chicken breast side down on a seperate plate and with a brush pour a little bit of olive oil over the chicken and salt and pepper and paprika , then turn over to breast side and add a little oil and salt, pepper and paprika. I used clean hands and rubbed the chicken to make sure the spices and oil got all over . Be liberal with the salt, they say 3/4 teaspoon per pound and that is just a guideline, but it’s about right. I then put pan on the stovetop and heated up the olive oil in pan , you’ll want oil very hot so that chicken will sizzle when you put it in breast side up. You will now place pan in the oven with the chicken. The 2 halves of chicken fit snugly in the the pan.
I cooked at 475 degrees for the first 20 minutes, chicken should start to crisp up, I then flipped it over to the other side for another 10 minutes. Then put it back in the oven for about 15 minutes breast side up till it was finished cooking. My total oven time was 45 minutes! Use tongs to handle chicken because you don’t want to pierce skin, you’ll lose too much liquid that way. I removed from oven , checked meat thermometer for the right temperature ( 165) in thigh, and removed from oven and let it sit for another 10 minutes. This was restaurant worthy chicken for certain. See photos, though they don’t do the crispiness justice. My oven was hot enough at 475 degrees, when you flip chicken over check the crispiness and make sure it’s not burning, so you may need to lower to about 450 or raise to 500 to get it to brown perfectly. My chicken didn’t stick at all due to drying out the chicken and preheating the pan. Total cooking time should be anywhere from 45 – 60 minutes.

When you say breast side up or down, do you mean skin side?