Category Archives: Uncategorized

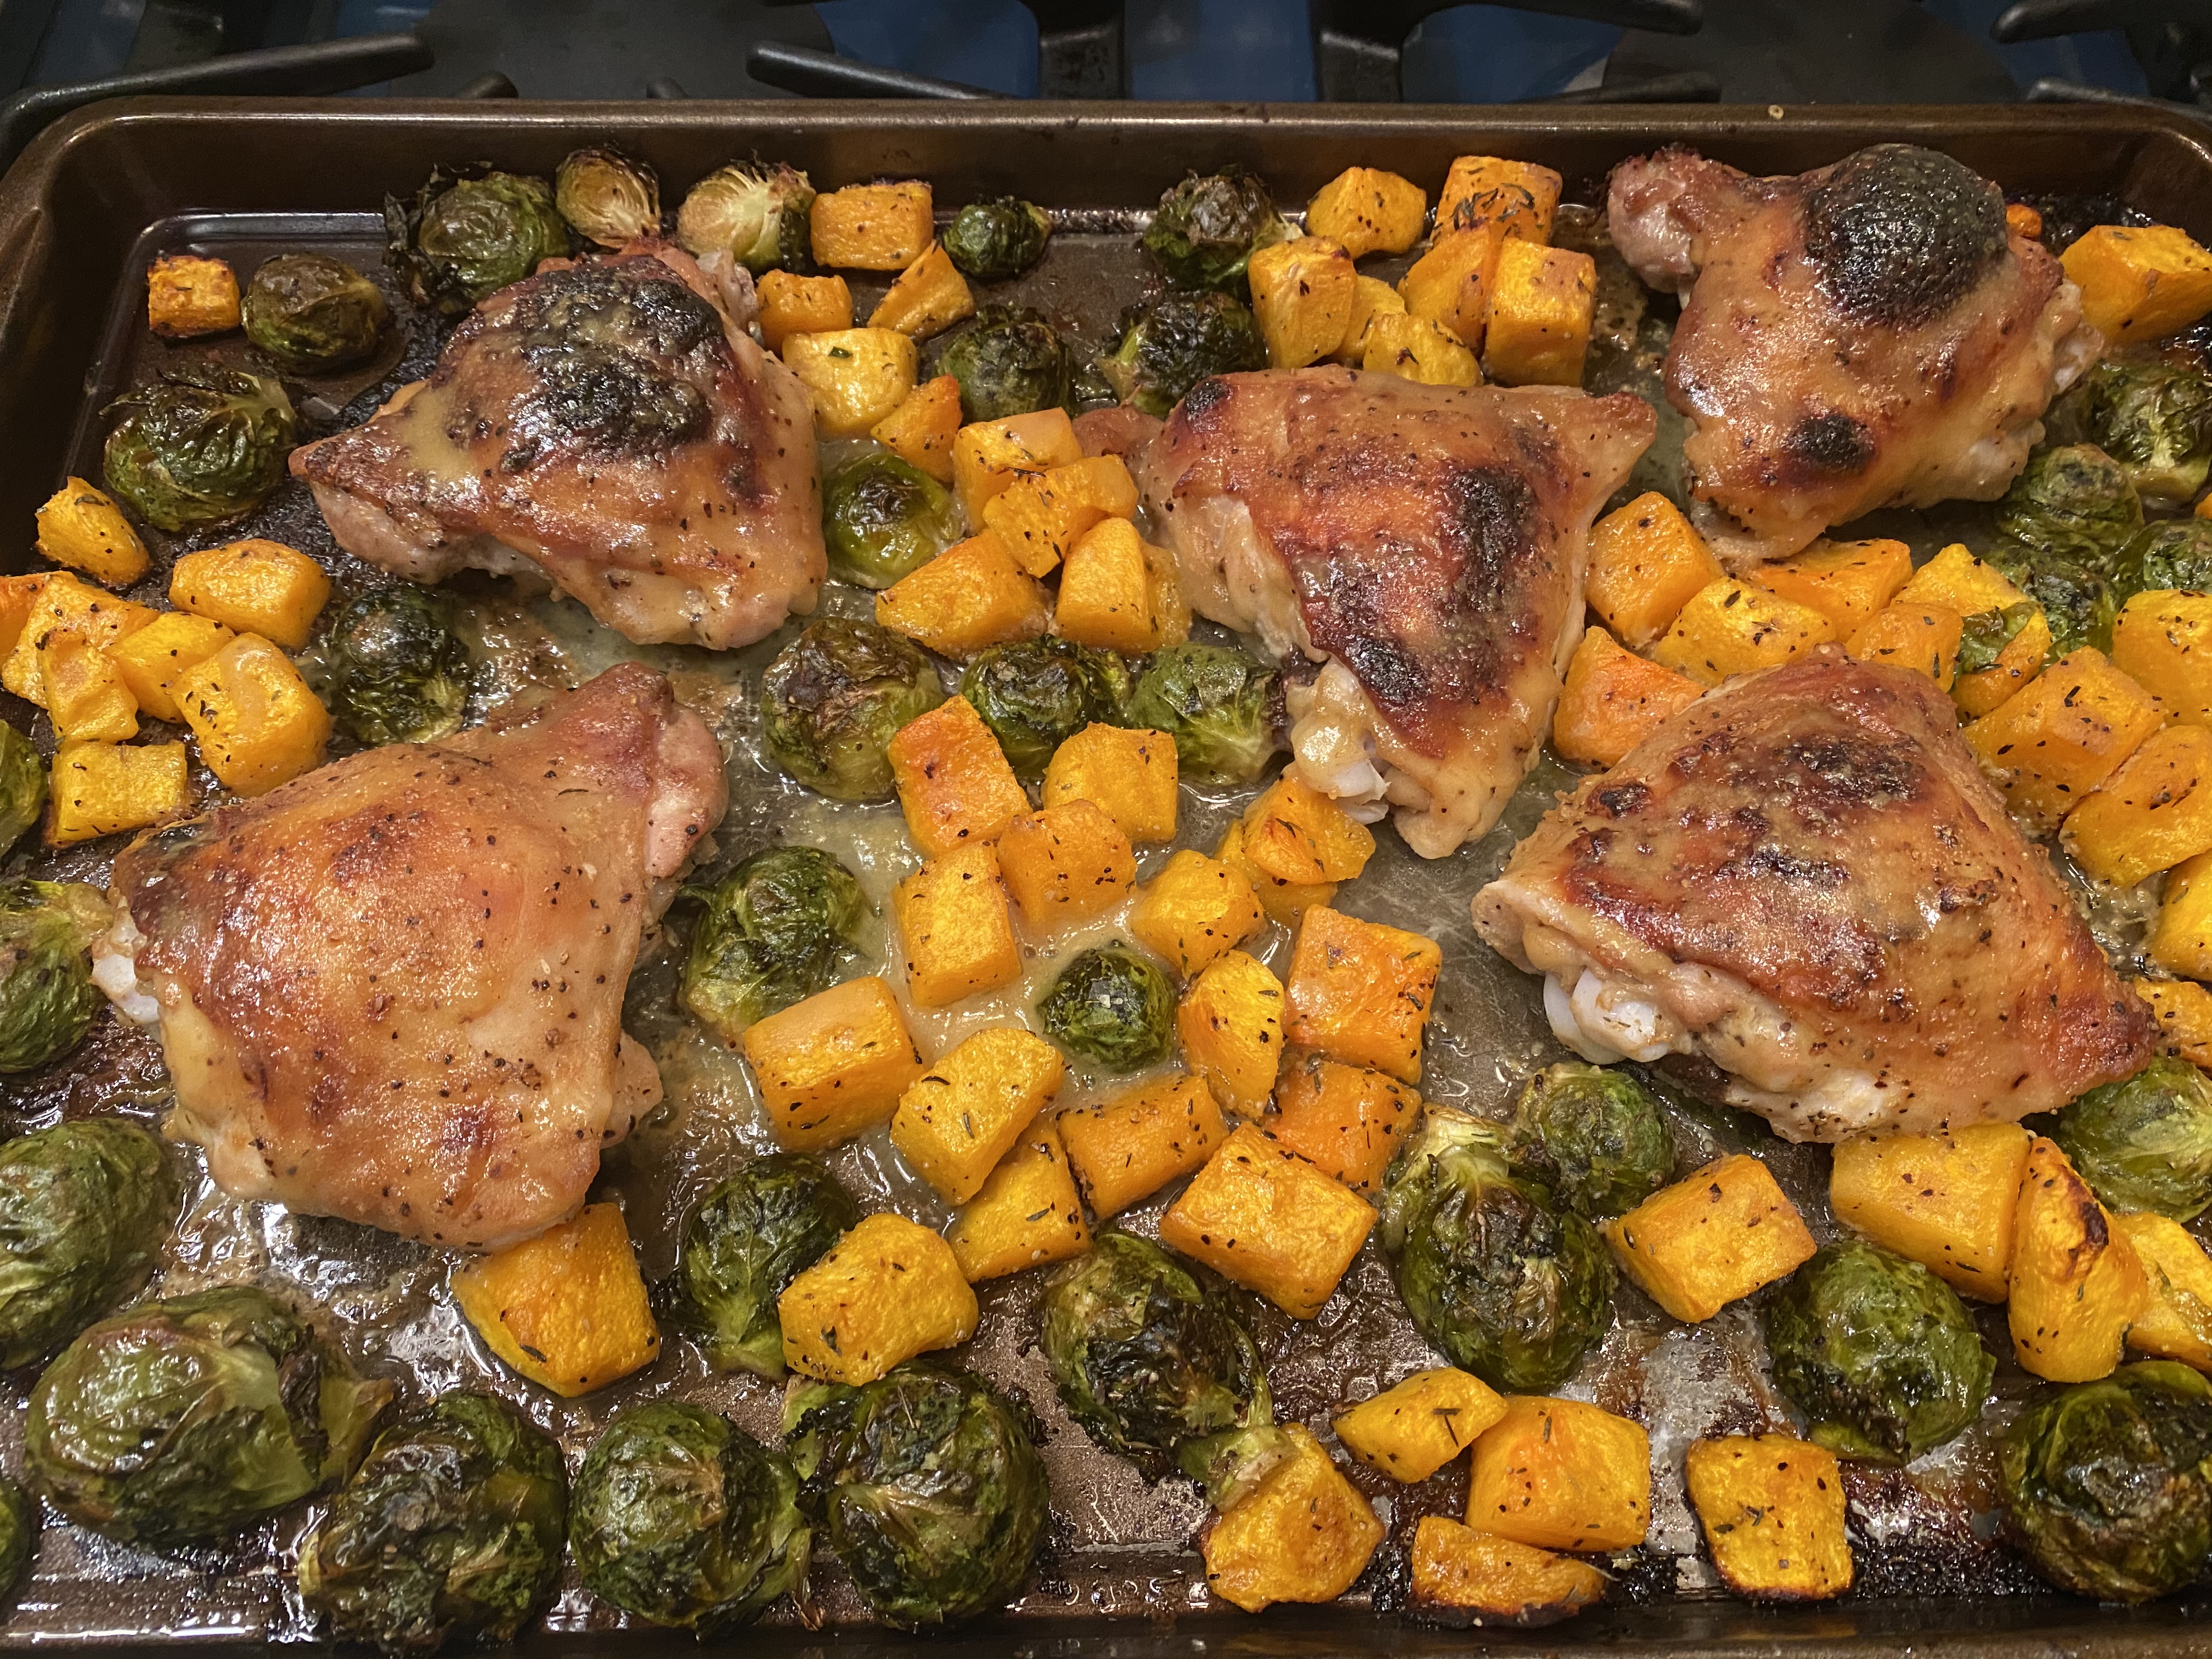
Maple – Dijon Chicken with Brussels Sprouts and Butternut Squash.

Here’s a new recipe that I absolutely loved making and loved eating! Tasty and Easy and anyone can do it. All it took was a few pantry ingredients that almost everyone has in their home.

I just love one sheet meals — another reason to go out and buy a large sheet pan if you haven’t done so already. 18 x 13 is the size you’ll need because if you crowd the ingredients they end up steaming and not really roasting. Roasting is what you’re after here.

I chose Chicken Thighs because they can stand up to the cooking time along with the veggies. I didn’t use Drumsticks but you certainly can use both. If you insist on white meat you’ll have to remove chicken earlier than veggies or you’ll have dried out chicken for sure.

Enjoy this lovely sheet pan meal and add Brown Rice or White Rice or Rice Pilaf or any rice is kind of perfect here. Basmati and Jasmine are also perfect.

Please follow my blog on Instagram @cookingwithcandi— thanks

Ingredients:

2 Tablespoons Reduced Sodium Soy Sauce

4 Tablespoons Dijon Mustard, plus 1 Tablespoon

3 Tablespoons Pure Maple Syrup, plus 1 Tablespoon

6 large bone in chicken thighs, or use 4 thighs and 4 drumsticks or whatever pieces you’d like

Kosher Salt and Freshly Ground Black Pepper

app. 12 ounces butternut squash, peeled, seeded and cut into 3/4 inch cubes

app. 12 ounce Brussels Sprouts, trimmed and halved

6 sprigs of fresh thyme or dry thyme if you don’t have fresh

2 Tablespoons Olive Oil

and you’ll need some cooking spray — you can use Olive Oil spray or just regular spray

Directions:

Preheat the oven to 425 degrees. Spray an 18 x 13 inch large rimmed sheet pan

In a small bowl combine the soy sauce, 4 Tbsp. of the Dijon Mustard and 3 Tbsp. of the pure Maple Syrup and 2 Tablespoons of Soy Sauce

Season the chicken all over with Salt and Pepper and then I like to dip my chicken into the mustard mixture and place on prepared baking sheet

In a large bowl combine the Brussels sprouts, butternut squash, thyme, and olive oil, season with a sprinkling  of salt and pepper here too. (lightly)

Arrange the vegetables on the baking sheet around the chicken. Pour any left over Dijon-Maple -Soy sauce over the chicken and pour any remaining sauce over the veggies.

Bake until the chicken is cooked through and the veggies are tender, app. 35-40 minutes. Look at the chicken after 30 mins. I cooked for 35 minutes and it was browned up rather nicely.

Meanwhile, whisk together the remaining 1 Tbsp. Dijon and 1 Tbsp. Maple Syrup and remove chicken from oven.

Brush the remaining mixture over the chicken. Bake a few more minutes till browned and perfect looking if not browned nicely you can place under broiler for a minute or so. I have never had to do this but some ovens are different than others.

*next time out I am going to try this sauce on boneless , skinless chicken thighs — it’s gotta be good!

Serve alongside some brown rice or any rice you’d like.

Amazingly Delicious.

Maple Dijon Chicken with Brussels and Butternut Squash
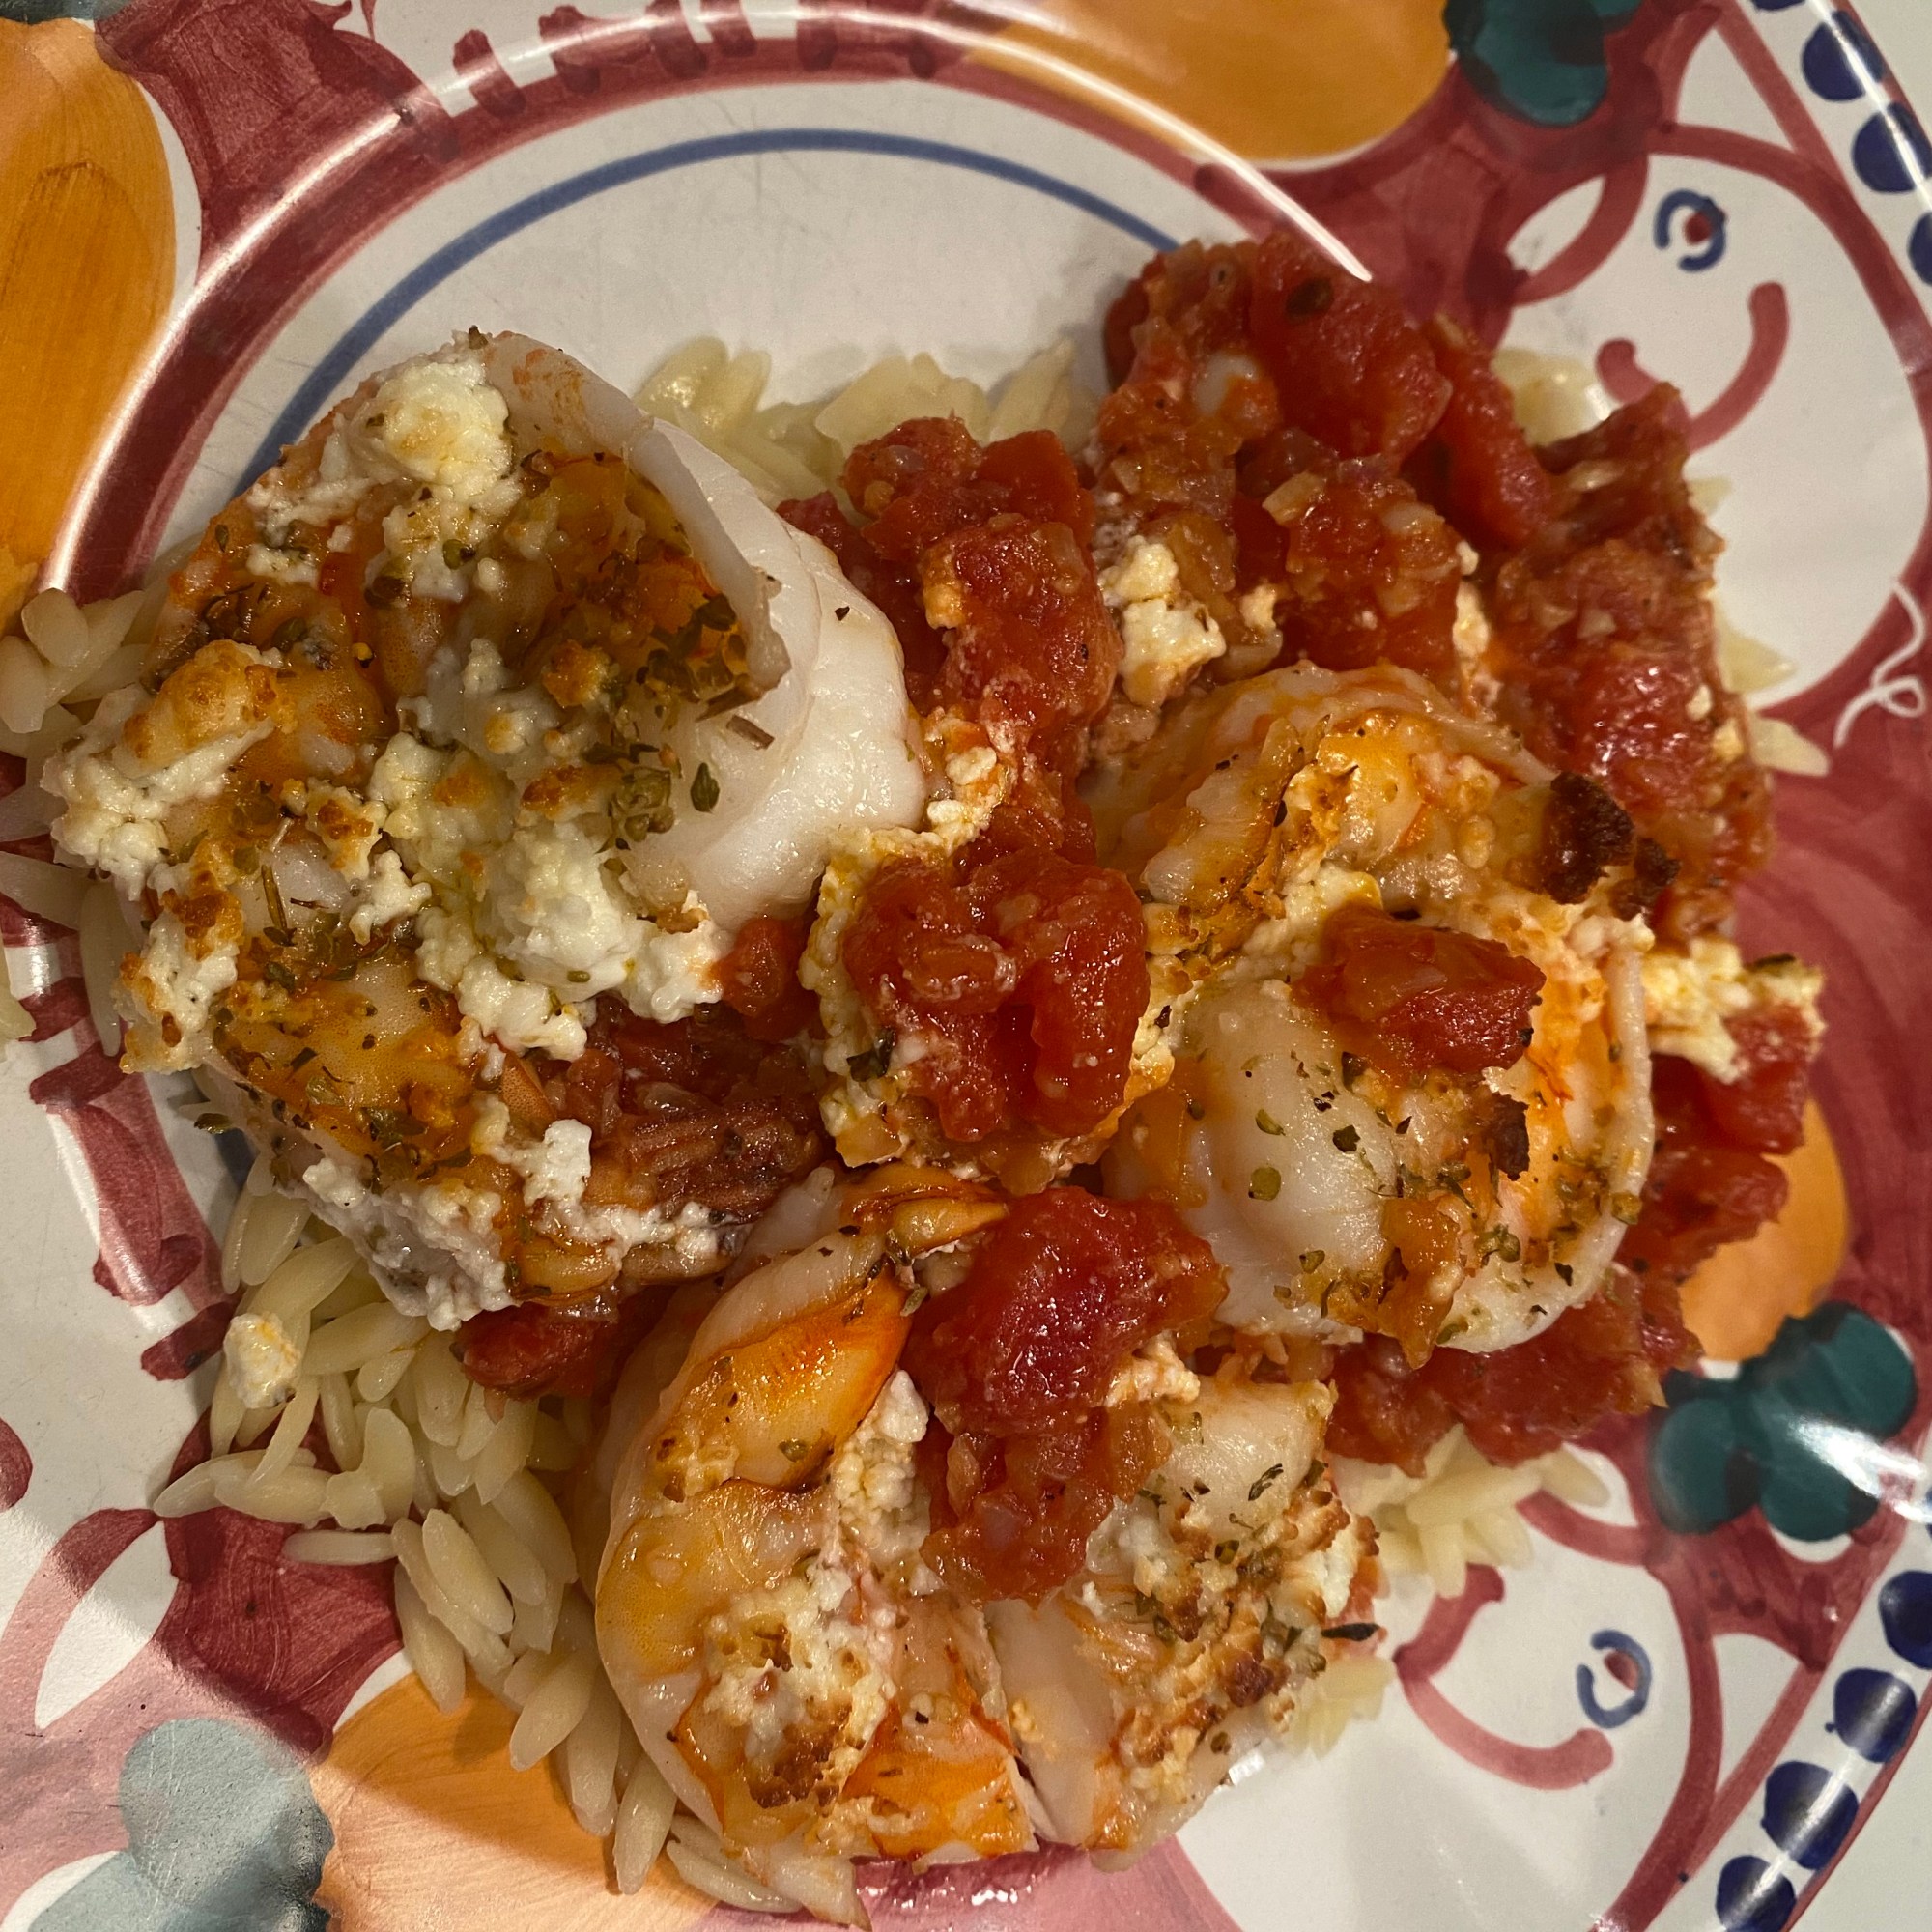
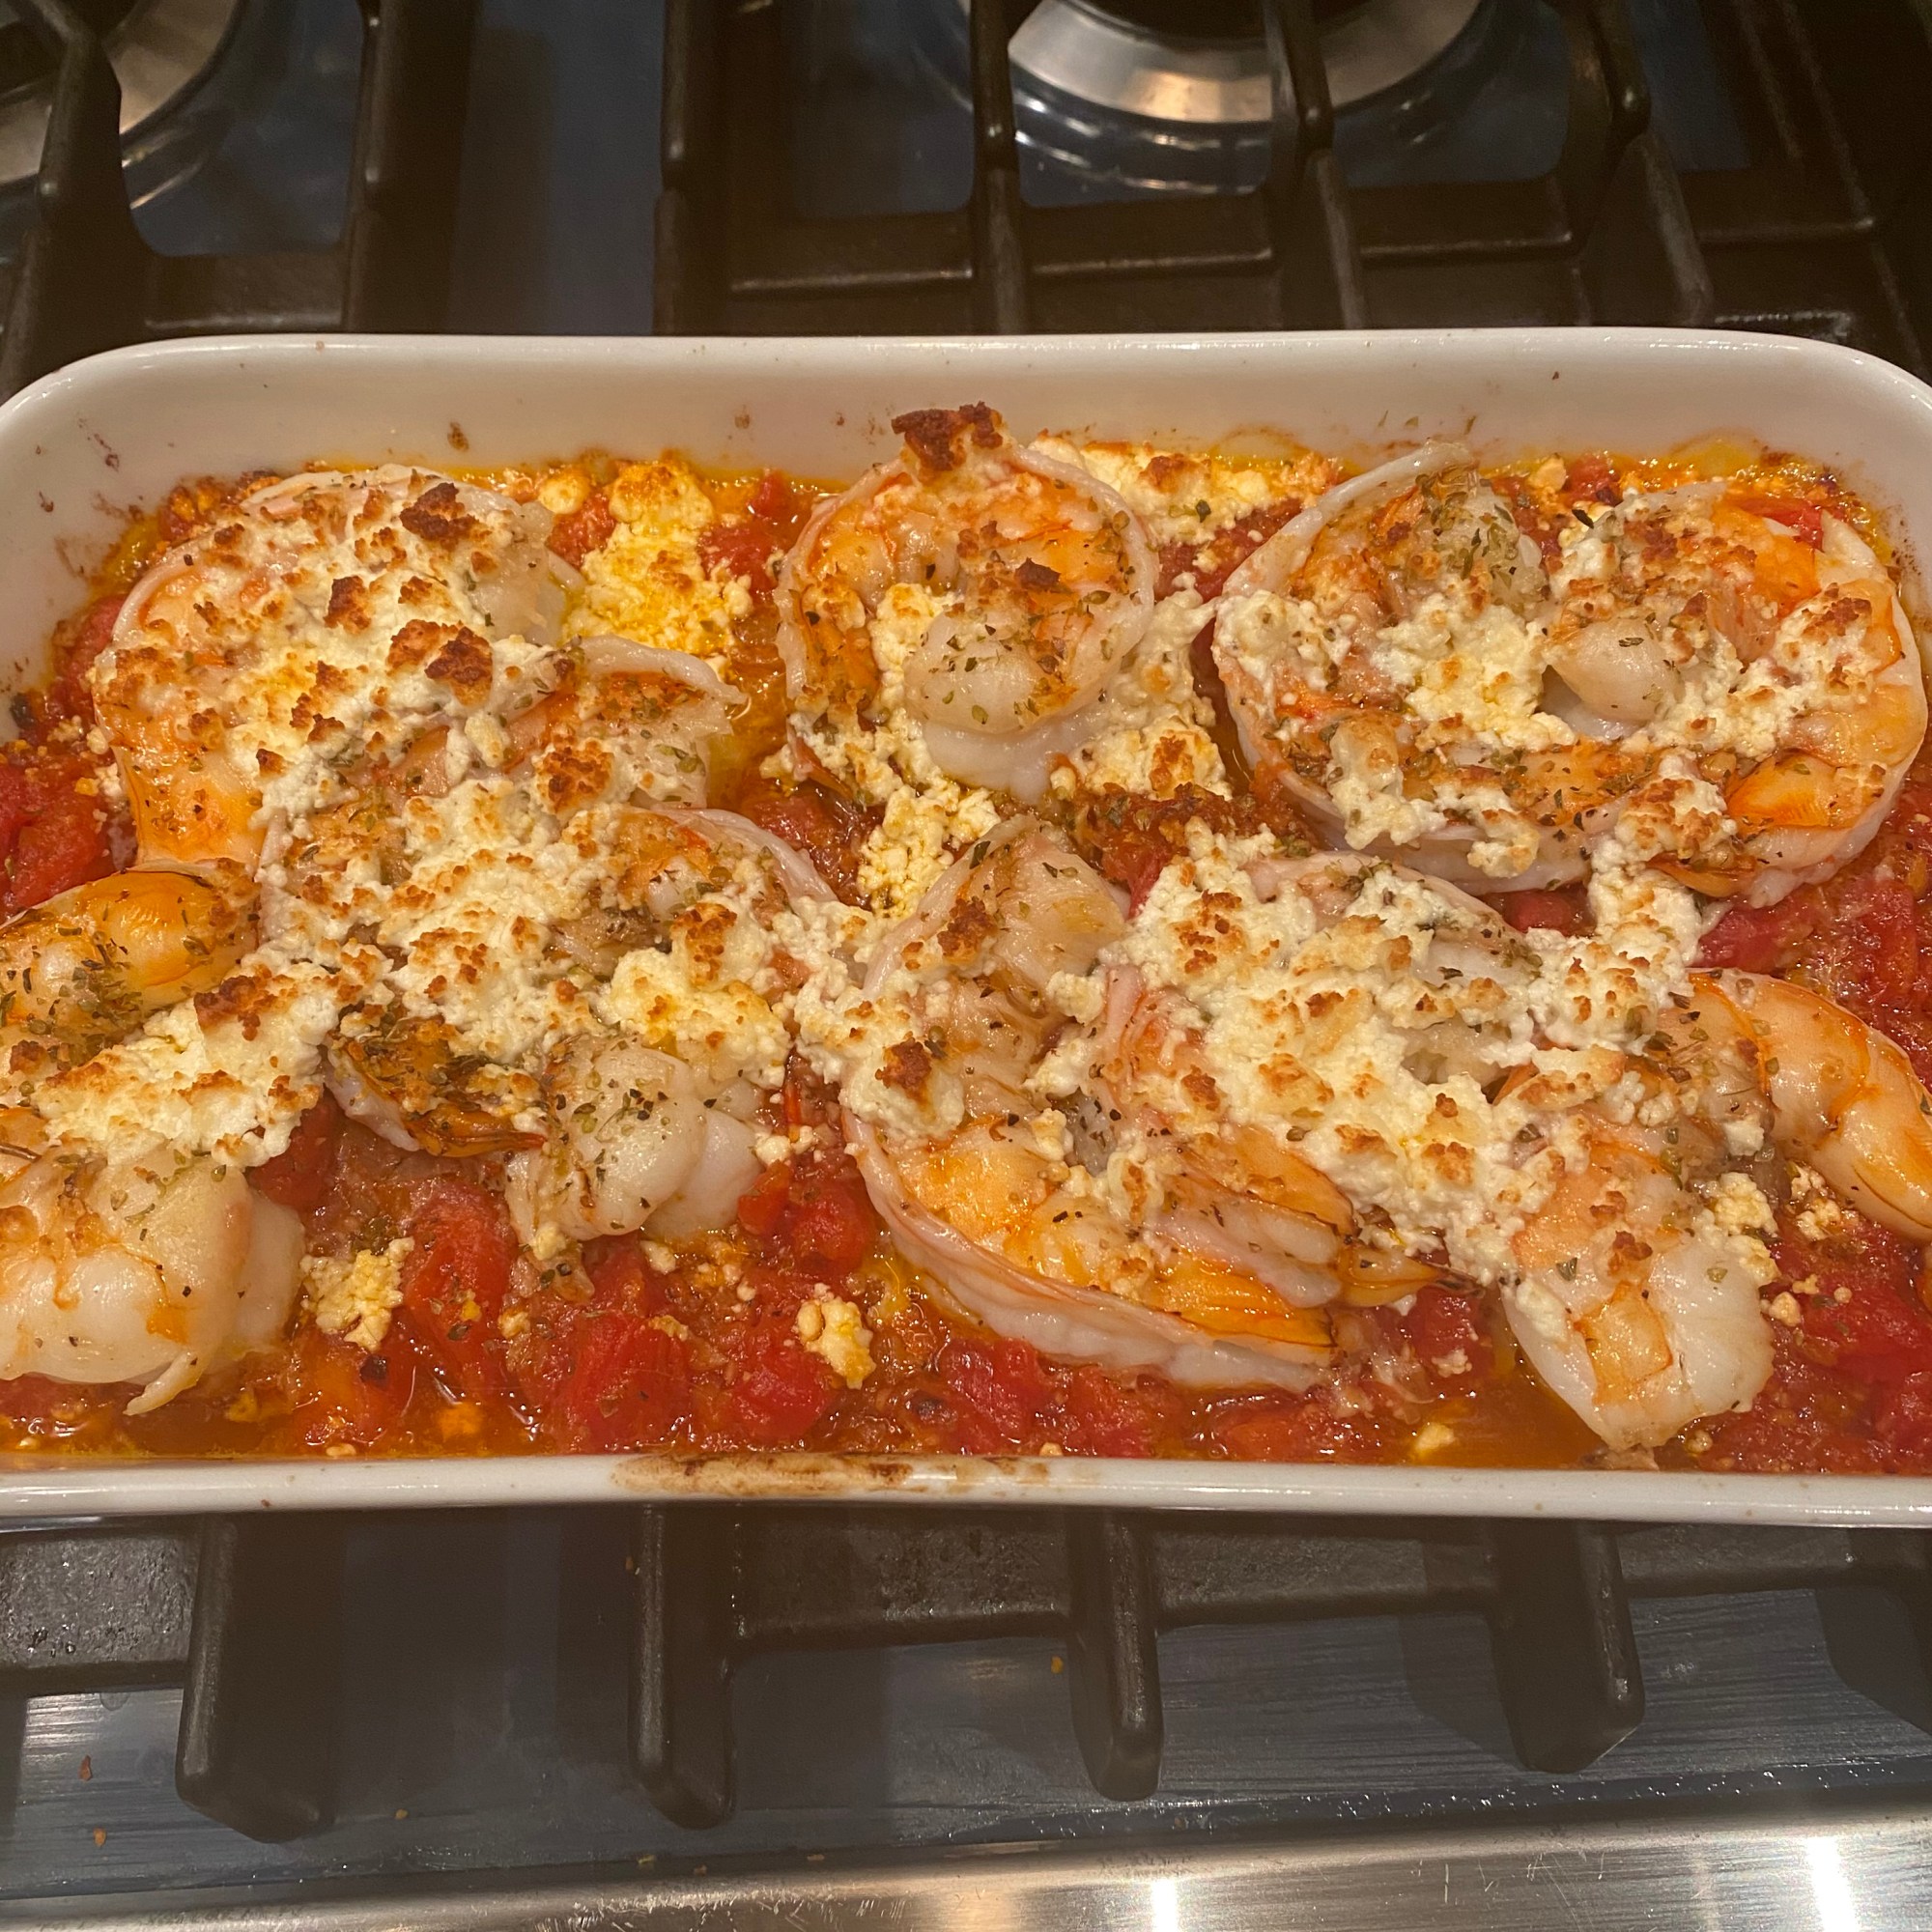
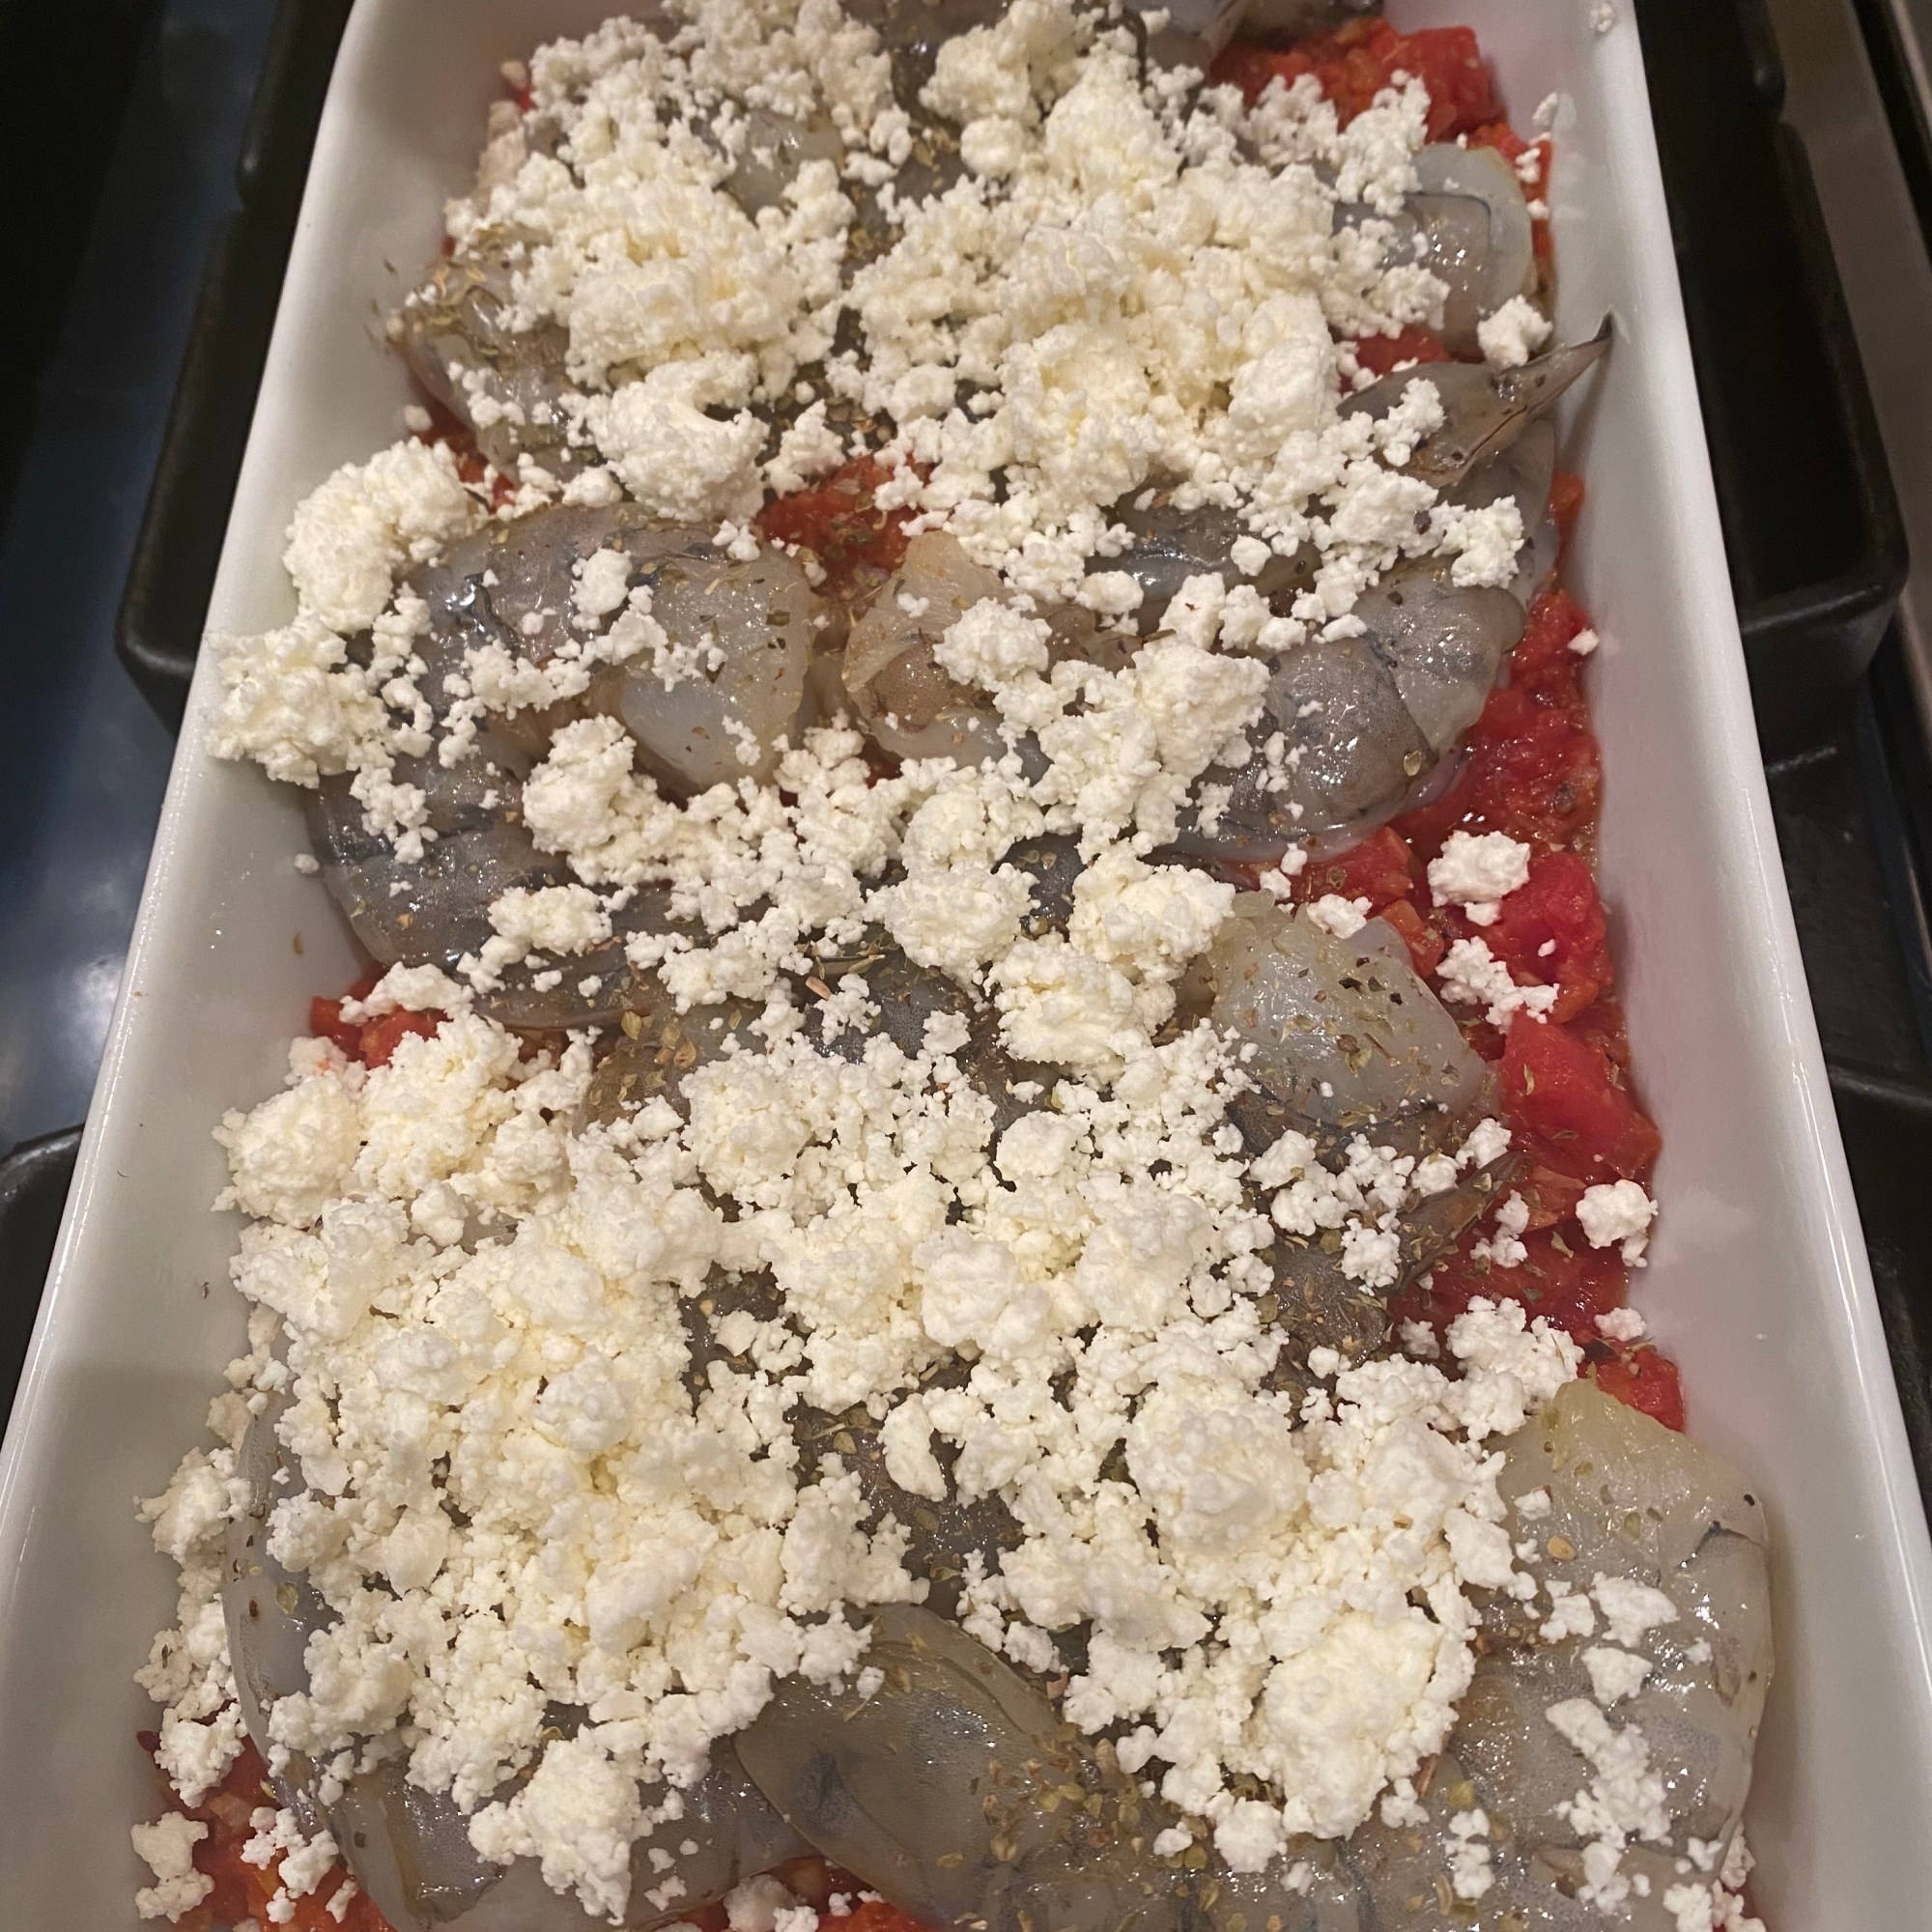
Baked Greek Shrimp

I saw a recipe for Baked Greek Shrimp on the NY Times Cooking site by David Tanis and he was my inspo for this recipe. I made a few changes to the original to make it my own and I think it was wonderful . So thanks to David Tanis and the NY Times Cooking site which I absolutely love.

This is Greek Shrimp and not Italian mostly by the fact that obviously the Greeks don’t mind adding cheese to their seafood and I have to say it all tastes rather delicious.

I made it for the two of us this past xmas eve and this is what I did.

Ingredients:

2 large shallots, minced ( use a mini processor if you have one)

4 garlic cloves, minced

Kosher Salt and Freshly Ground Black Pepper

1 28 oz. can of diced tomatoes– drained

a nice size pinch of crushed red pepper flakes

1 1/2 lb. of large shrimp, peeled and deveined and tails off

app. 4 oz. of crumbled feta cheese or block that you crumble

Extra Virgin Olive Oil

1/2 teaspoon dried oregano

Directions:

I use my mini food processor and I mince the shallots and the garlic together. If you don’t have this little machine I suggest purchasing it it’s a life saver in terms of chopping and mincing garlic and onions. Put 4 Tablespoons of olive oil in a skillet over medium heat . Add shallots and garlic, season with a little salt and pepper and cook till softened, about 5 to 8 minutes. Stir around to keep mixture from browning. Add drained can of diced tomatoes to the pan, season with salt and pepper to taste and add a large pinch of crushed red pepper. Cook stirring, until mixture is juicy and tomatoes have softened, about 10 minutes.

Pre-heat oven to 400 degrees.

Put shrimp in a mixing bowl and add 1 Tablespoon Olive Oil, season shrimp with salt and pepper and stir to coat. I used about 1/4 teaspoon of kosher salt and a little black pepper.

Transfer tomato mixture to a shallow baking dish ( not metal) glass , ceramic or earthenware. Add shrimp in one layer over tomato mixture in one layer. Crumble cheese over surface and sprinkle with oregano.

I baked for about 15 minutes , you’ll want tomatoes to be bubbling and shrimp to turn pink and curl a bit and cheese has browned slightly. Put under broiler for the last 3-4 minutes till cheese browns up a bit. Remove from oven and let sit for a minute or so.

I cooked up some orzo and served shrimp over the orzo and it was perfect. Served with a nice light green salad as well.

Baked Greek Shrimp

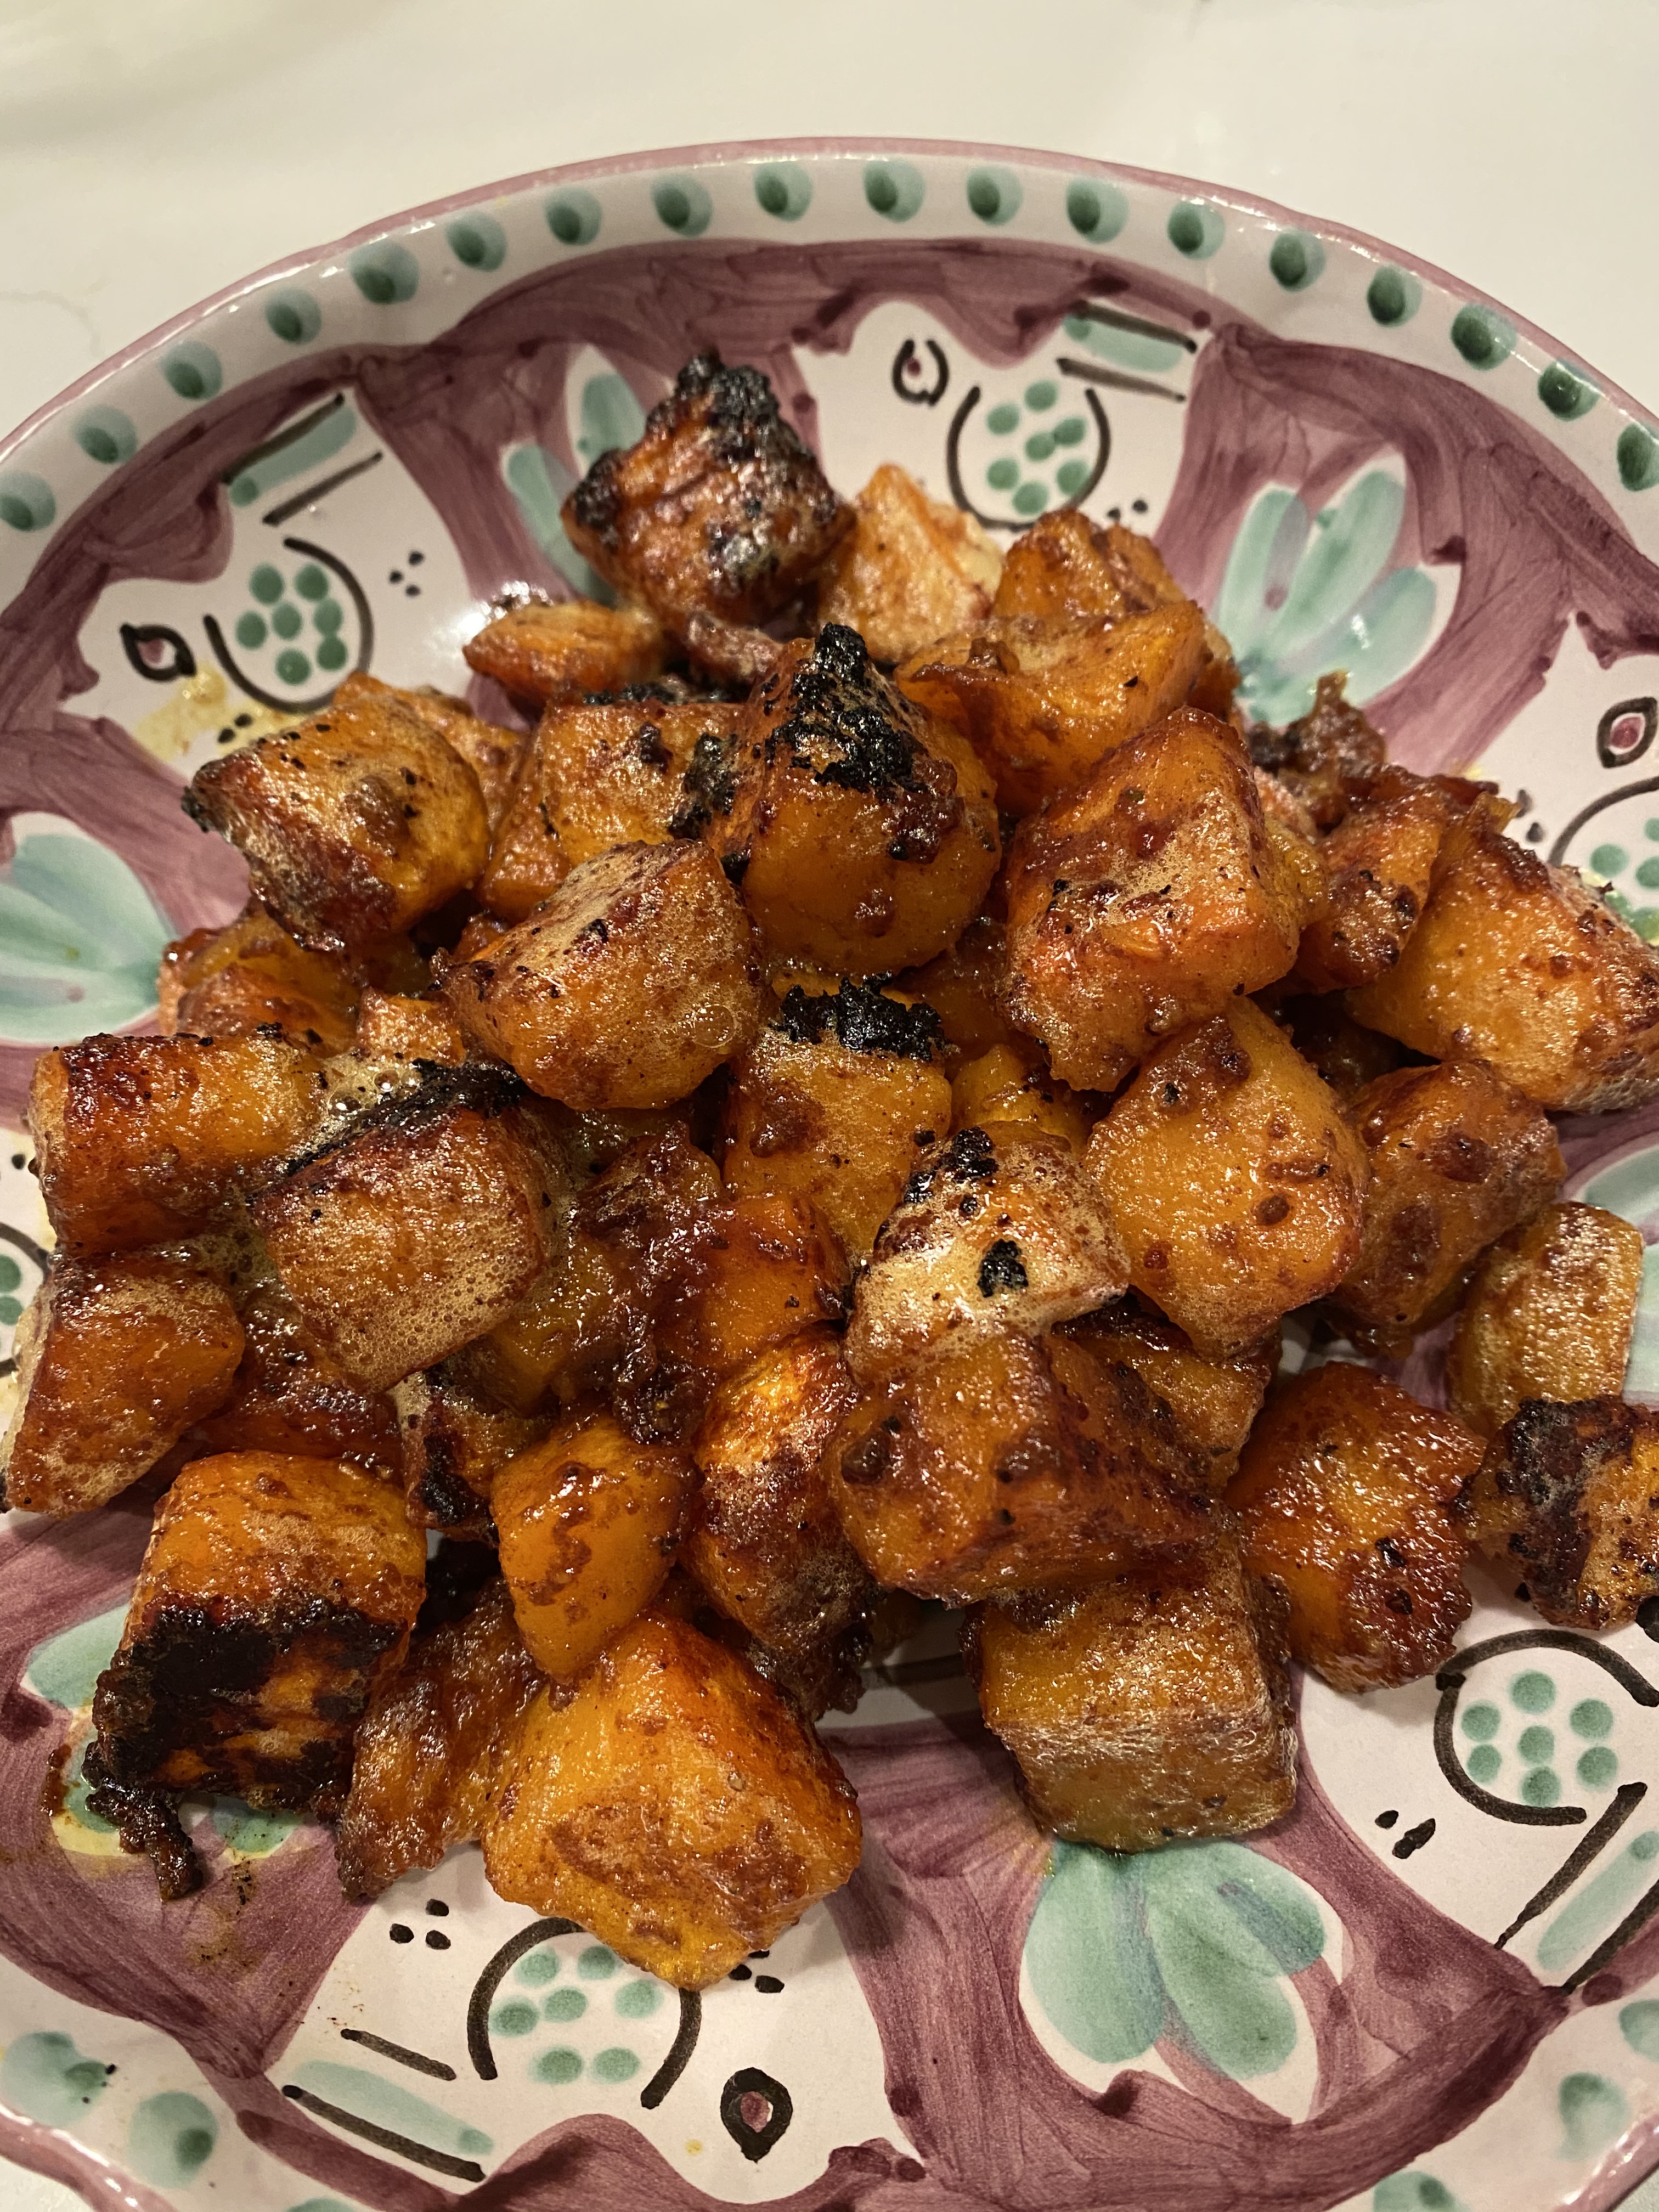
Sweet and Spicy Butternut Squash

I had some Butternut Squash in the house and usually I just roast with some olive oil and salt and pepper. This time I added a bunch of spices a little Maple Syrup and some fresh Orange Juice. It was very yummy . I am writing this up for 2 lbs. of butternut squash , feel free to cut this recipe in 1/2 . Please use pure maple syrup for this one and a fresh orange for the juice. This recipe would also be wonderful on sweet potatoes!

We loved it and it was a wonderful new side dish and one I will repeat often.

Now that you can buy butternut squash pre-cut there’s no excuse not to make this wonderful healthy vegetable more often.

Enjoy!

Ingredients:

app. 2 lbs. butternut squash cut into 1 inch pieces ( pre-packaged is the way to go here)

1 teaspoon kosher salt

1 teaspoon ground cinnamon

1/2 teaspoon ground cumin

1/2 teaspoon ground turmeric

Pinch of cayenne pepper

1/2 teaspoon freshly ground black pepper

2 Tablespoons Olive Oil

2 Tablespoons pure Maple Syrup–grade A is what I use

Juice of one fresh orange–app. 6 Tablespoons

Directions:

Pre-heat the oven to 400 degrees.

I sprayed a large baking sheet with Cooking Spray — you must or use parchment or aluminum foil for easier clean-up . Just a little note– I used Bakers Joy cooking spray I find sometimes it works best on this type of recipe. I absolutely love this cooking spray for baking so why not for sticky gooey recipes? Clean up was a snap. (just saying)

Place all ingredients in a large bowl and mix together . I let it sit for a while before I roast, I find the oil and spices meld together nicely so if you have the time I would recommend doing this for maybe 15 minutes or longer.

Pour onto baking sheet. Roast in the oven until butternut squash is tender about 45 minutes, halfway through I removed and tossed .

Remove from oven when browned up and smelling delicious. (app. 45 minutes)

Serve it up.

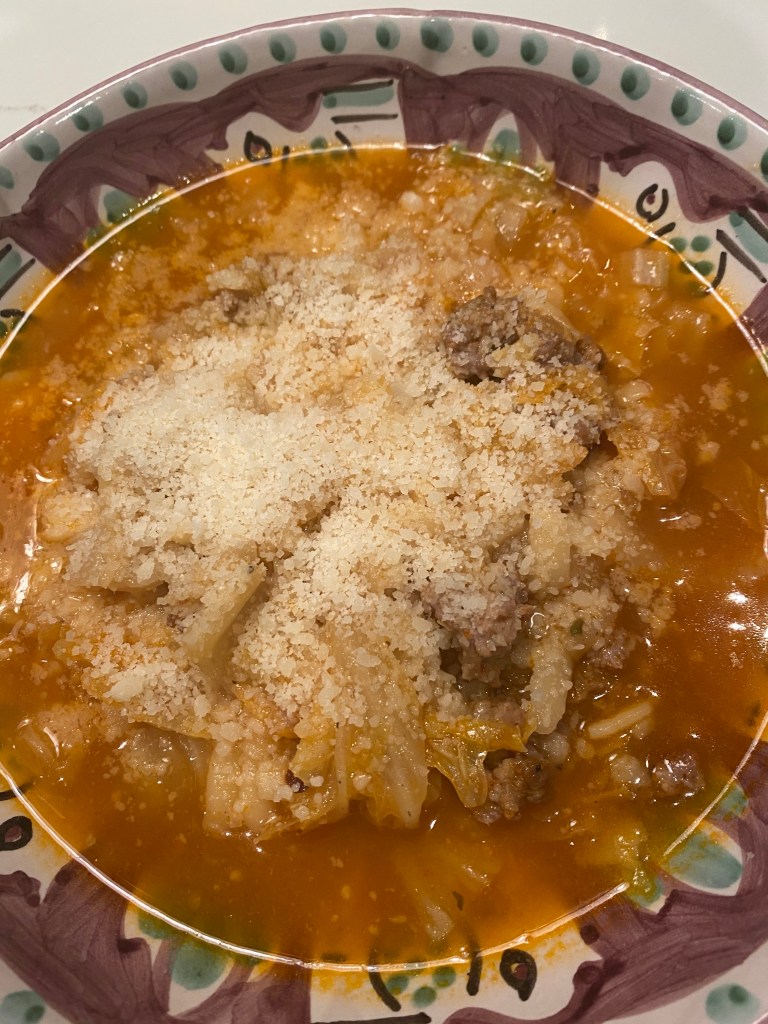
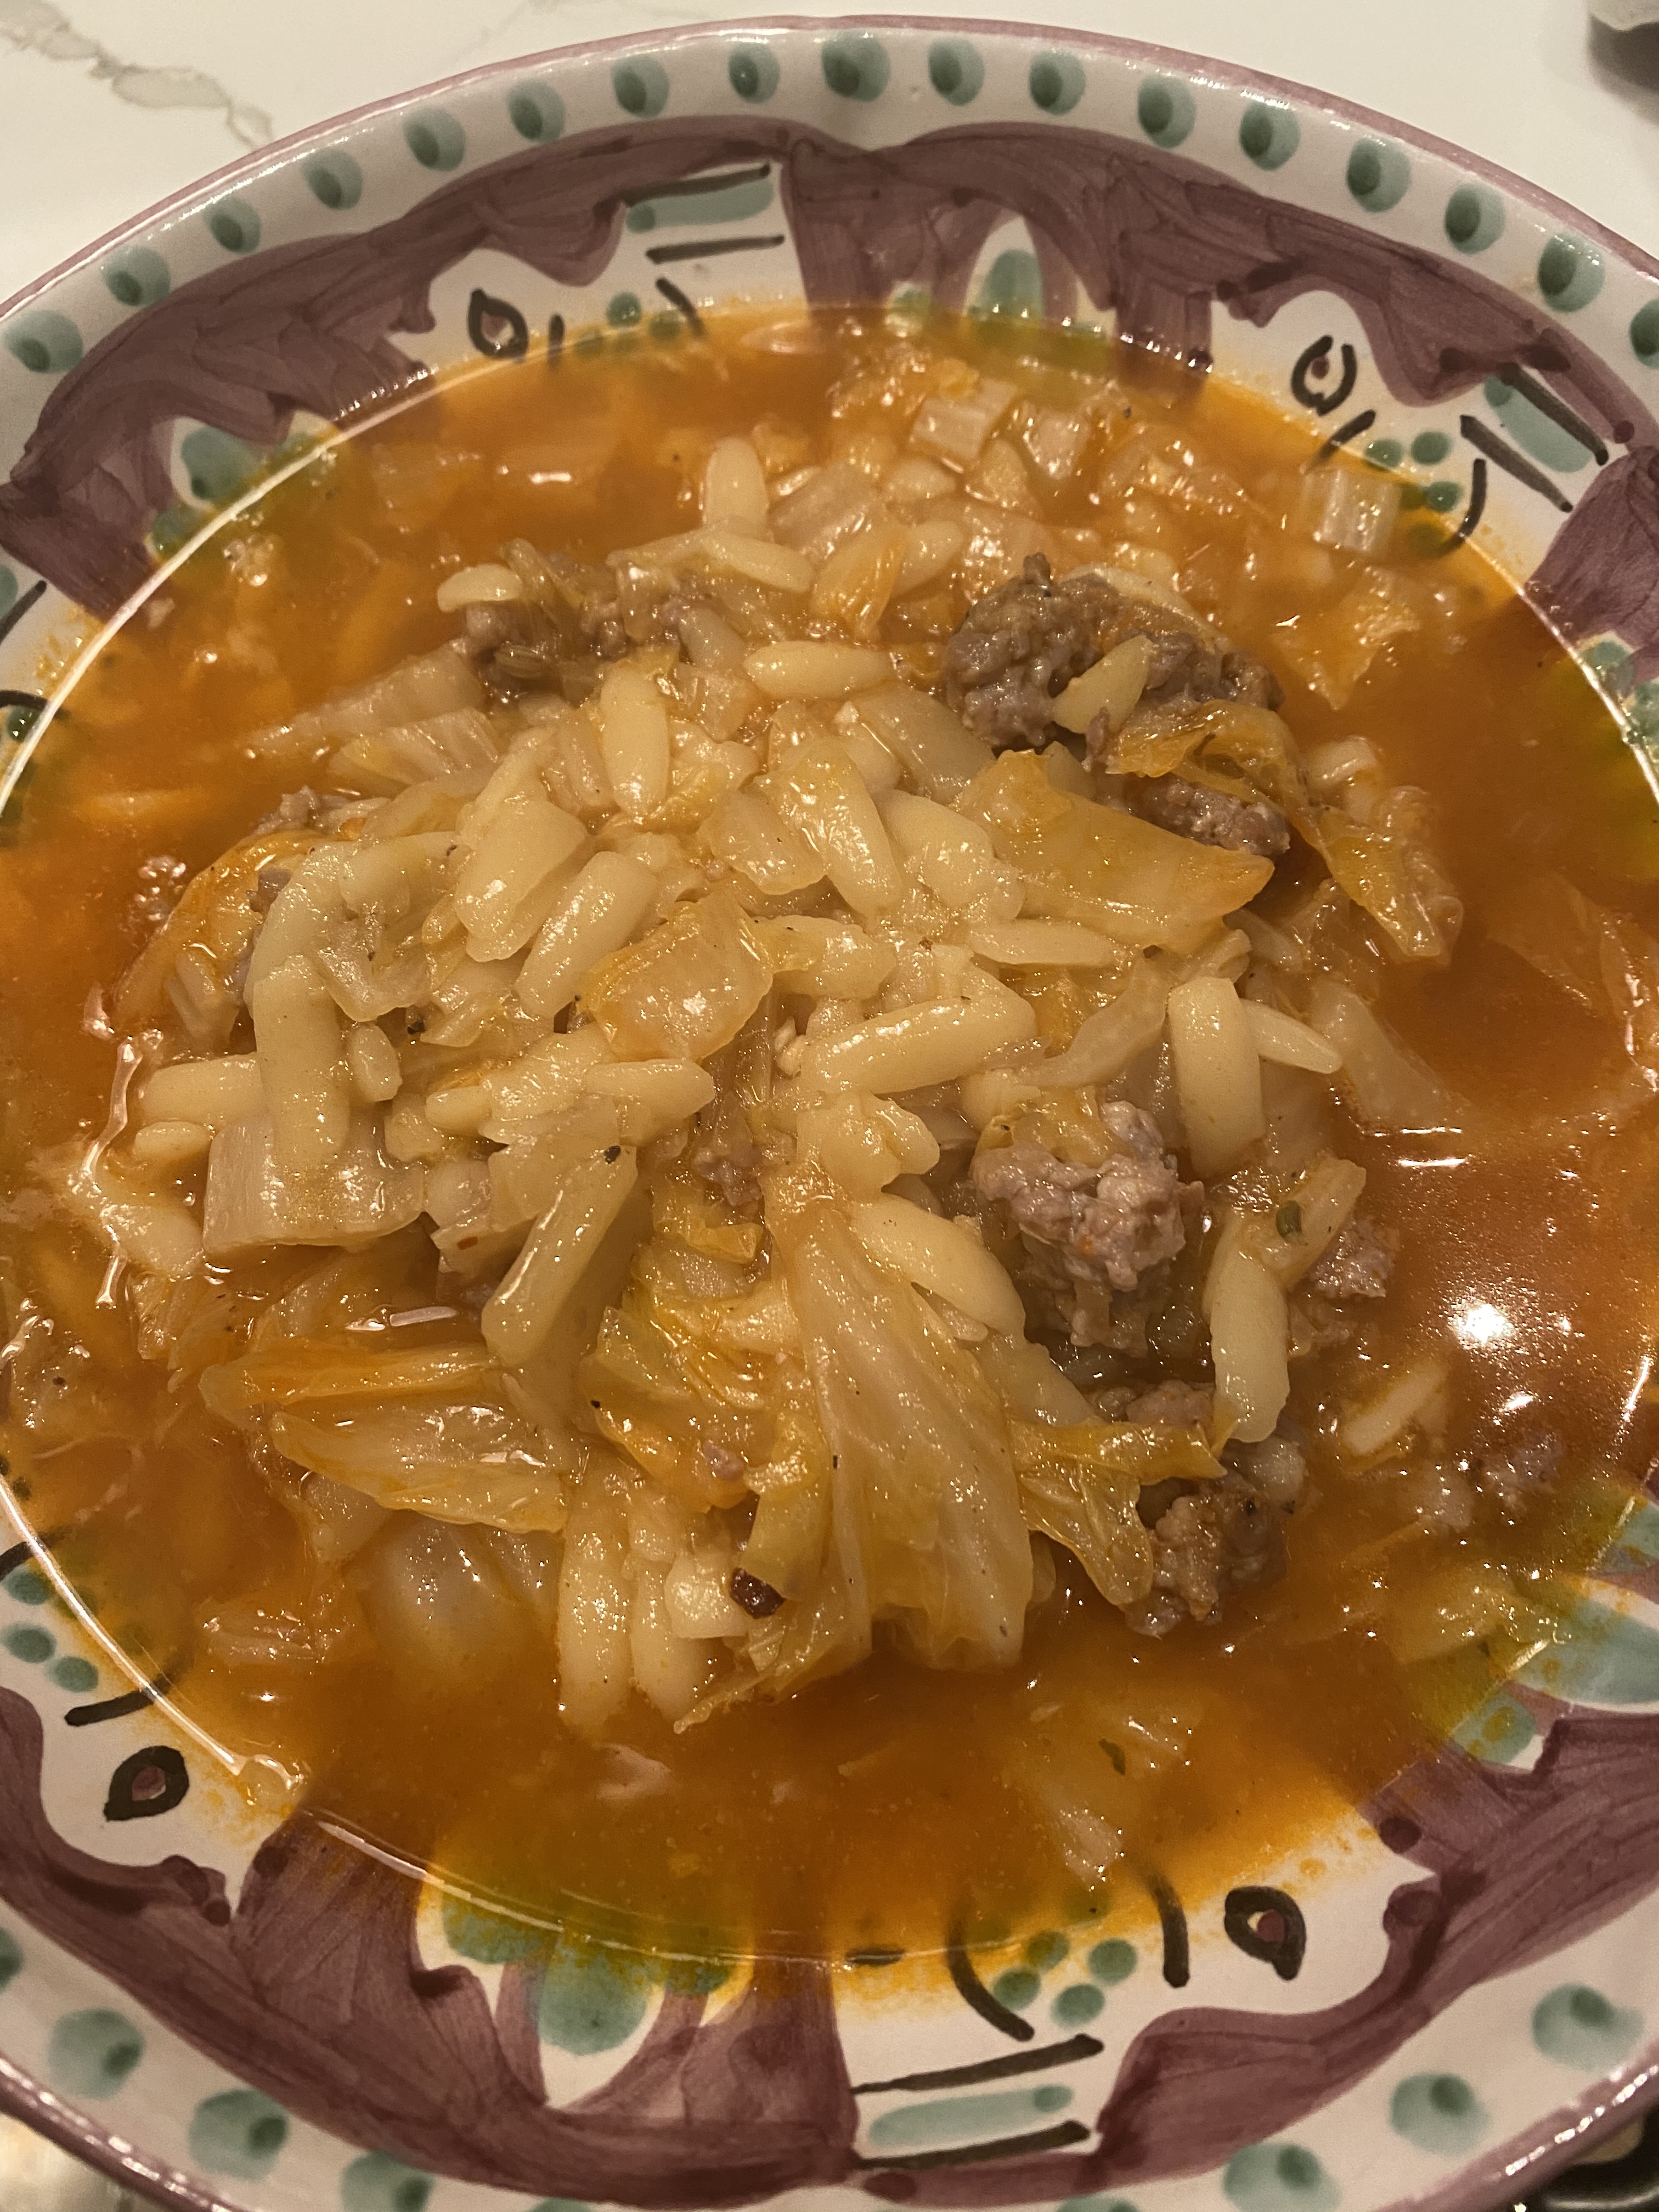
Sausage, Orzo and Cabbage Soup

This is one of those delicious easy to make super comforting soups. Of course I may have lost some of you with the Cabbage and if you hate it you hate it but if you’re willing to give it a shot this is a super cozy kind of soup which we can all use a little bit of these days. Made this for Joel and I and had 2 quarts left over for 2 more meals. Perfect dinner served with a nice green salad . I used pork sausage because that’s what I had in the house feel free to use chicken or turkey sausage whatever works best for you. I used a spicy italian pork sausage . I also used a frilly-edged Napa Cabbage . This cabbage is nice and soft and breaks down quickly . If using regular green cabbage you’ll have to cook a bit longer — probably another 15 minutes or so. Of course you can be flexible with your pasta , I used orzo but you can use any small pasta such as ditalini, mini elbows or mini farfalla .

Enjoy this most satisfying soup which is just perfect on a cold wintery day or night.

Stay safe folks.

Ingredients:

2 Tablespoons Olive Oil

1 pound Italian sausage, mild or spicy remove casings

2 cloves garlic minced

1 yellow onion, finely chopped

Kosher Salt

Freshly Ground Black Pepper, start with a pinch , plus add more to taste

1/4 cup Tomato Paste

1 large Napa or Savoy Cabbage, trimmed , quartered and thinly sliced

4 cups Chicken Stock

4 cups Water

1 cup Orzo

1 -2 Parmesan Rinds

*grated Parmesan for serving

Directions:

Heat olive oil in a large heavy bottomed Dutch oven type of pot.( Le Creuset works well here) over medium heat.

Add sausage in a single layer and break up into smaller pieces, stirring occasionally until sausage is cooked through and no longer pink. Remove sausage with a slotted spoon, leaving the rendered fat in the pot.

Add the chopped onion and several big pinches of kosher salt and black pepper. Saute the onions for about 5 minutes then add the garlic and continue cooking for a few minutes. Lower the heat and add the tomato paste and continue to cook stirring constantly and scraping the bottom of the pot. Onions will start to caramelize in about 3 minutes.

Add the cabbage, chicken stock, water, orzo , Parmesan Rinds, and add another big pinch of kosher salt. Bring to a boil and then simmer for about 15 minutes. Continue stirring so pasta doesn’t stick to bottom of pan. Add sausage and continue to simmer for about 15 more minutes or until pasta and cabbage are tender.

Remove an discard rinds. I couldn’t find one of my rinds and it is no big deal. If you use larger ones they’re easier to find. You may find when you spoon out the soup!

Taste for Salt and Pepper

I then turned off heat and let soup sit on the stove till we were ready to eat dinner. I brought to a low simmer and served in bowls with grated Parmesan.

If you do freeze you’ll probably need to add some water/stock to it because it will thicken up considerably.

Homemade Applesauce– Sweet and Tart–Not Diet and Diet

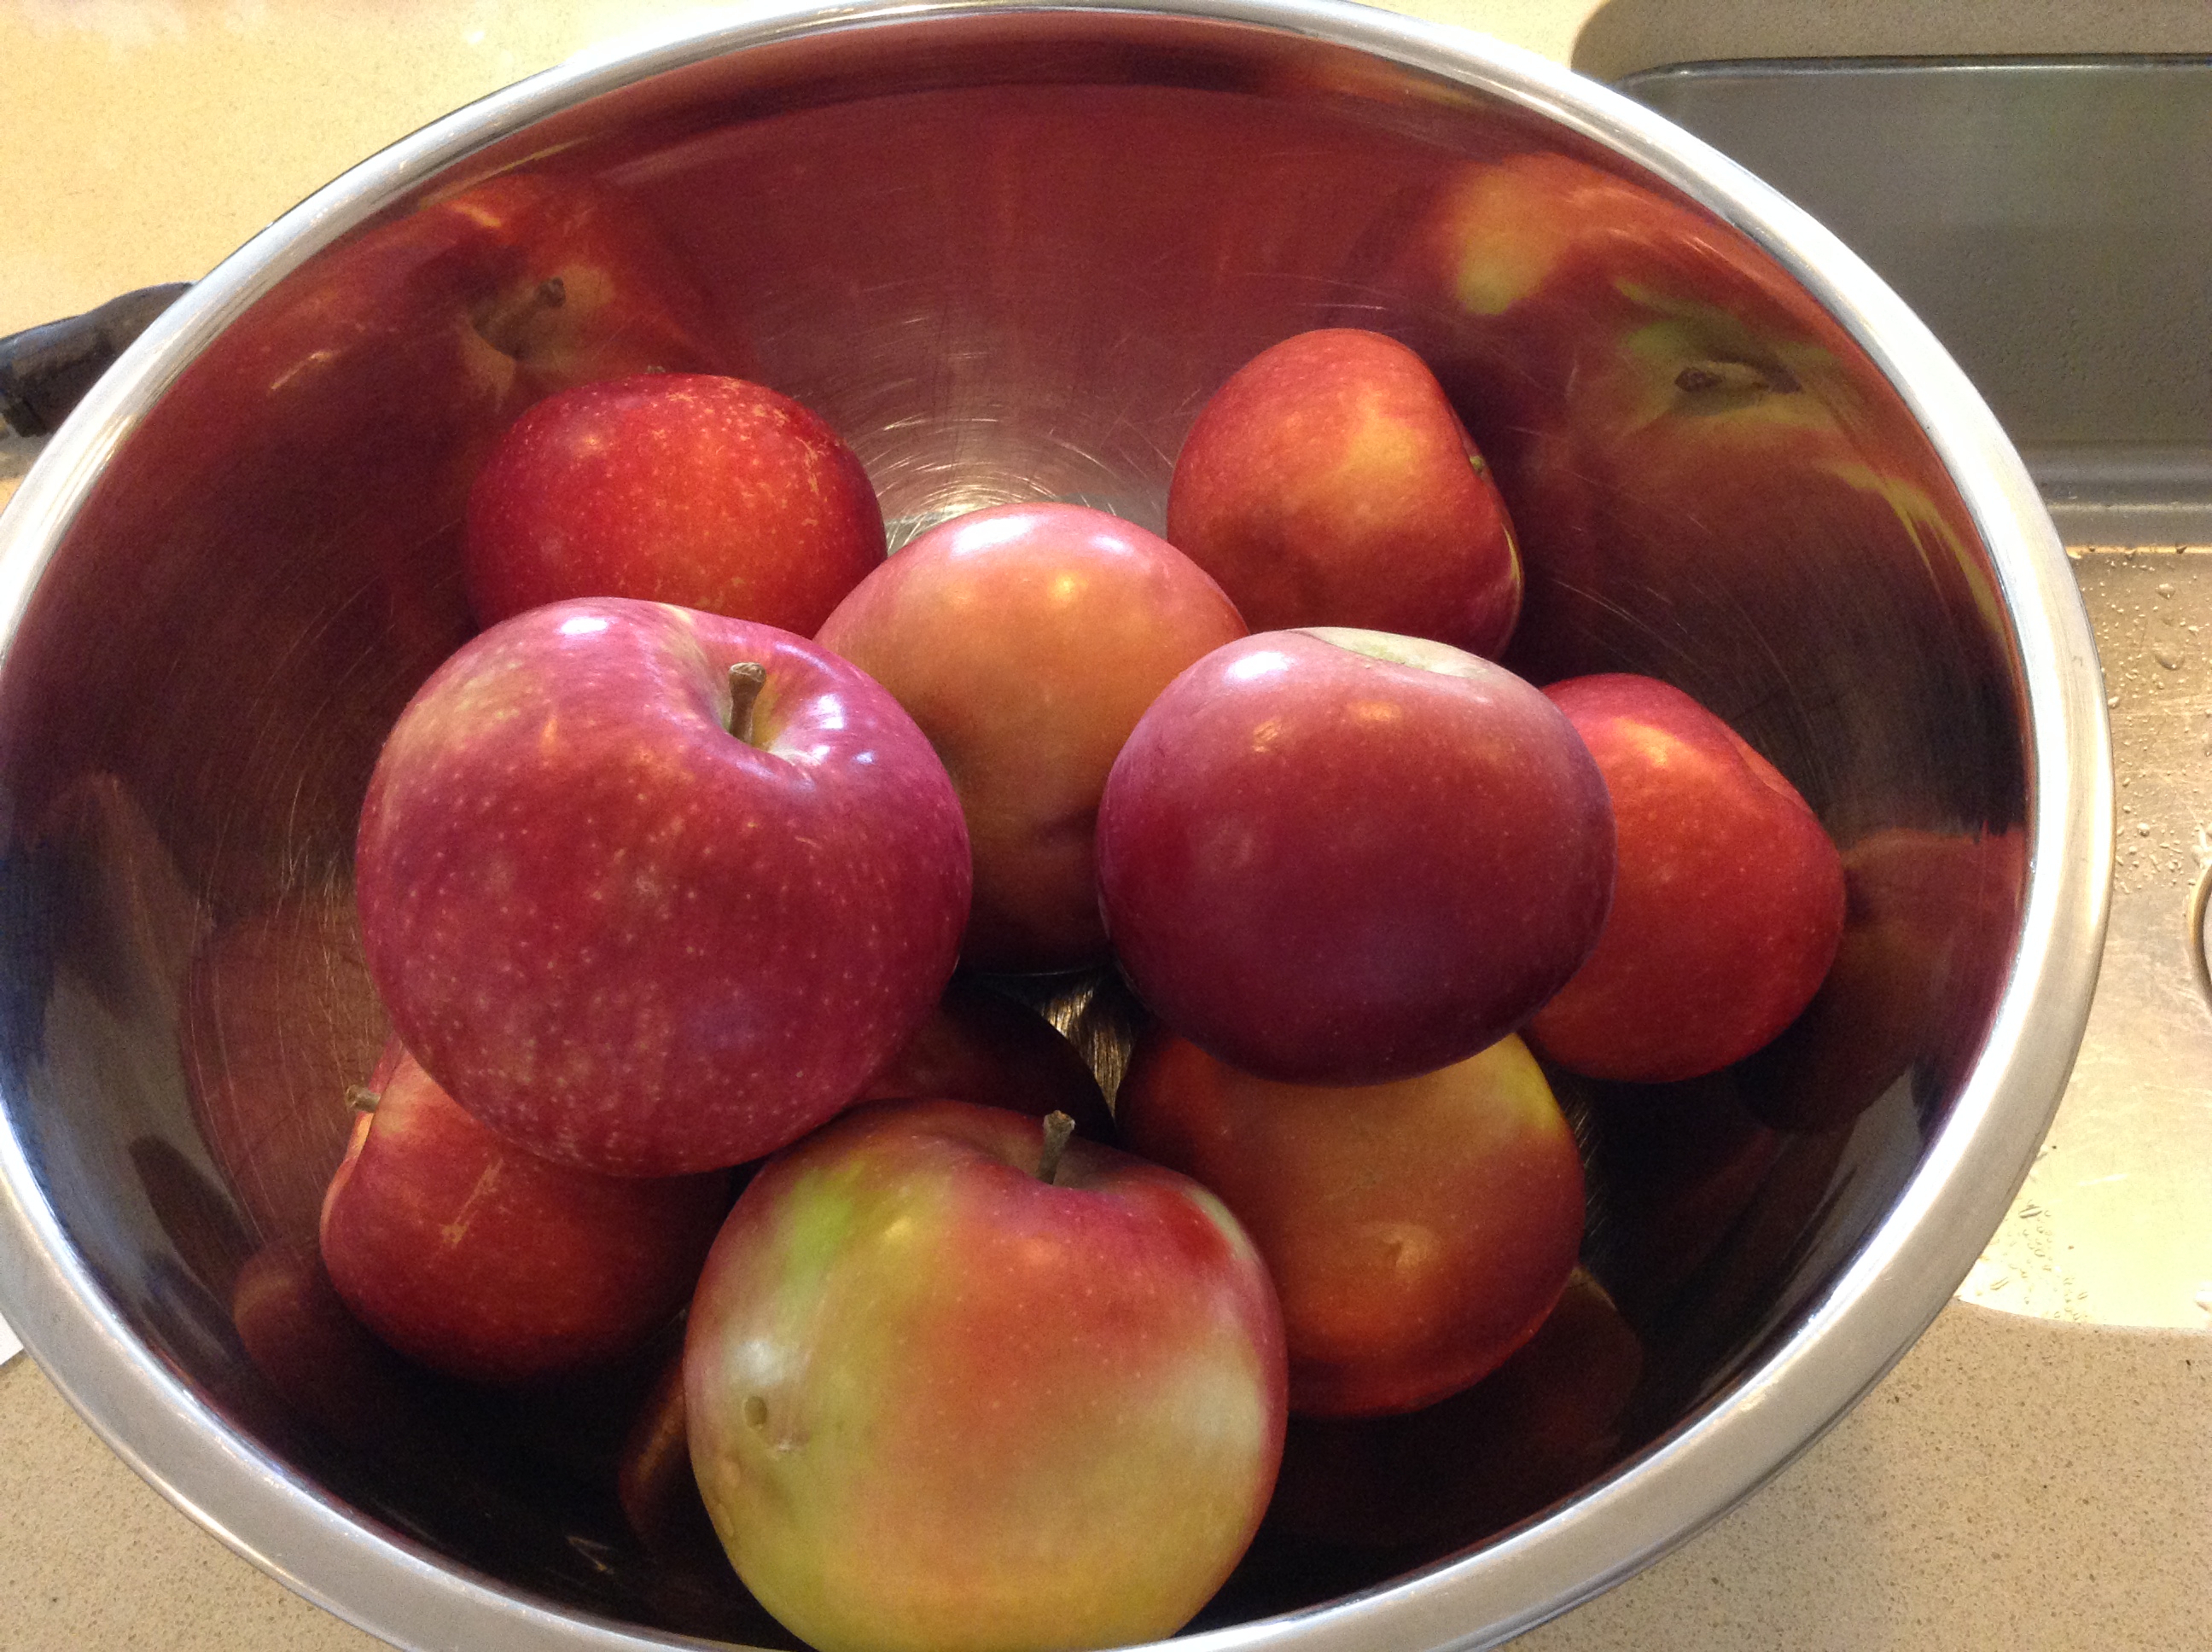
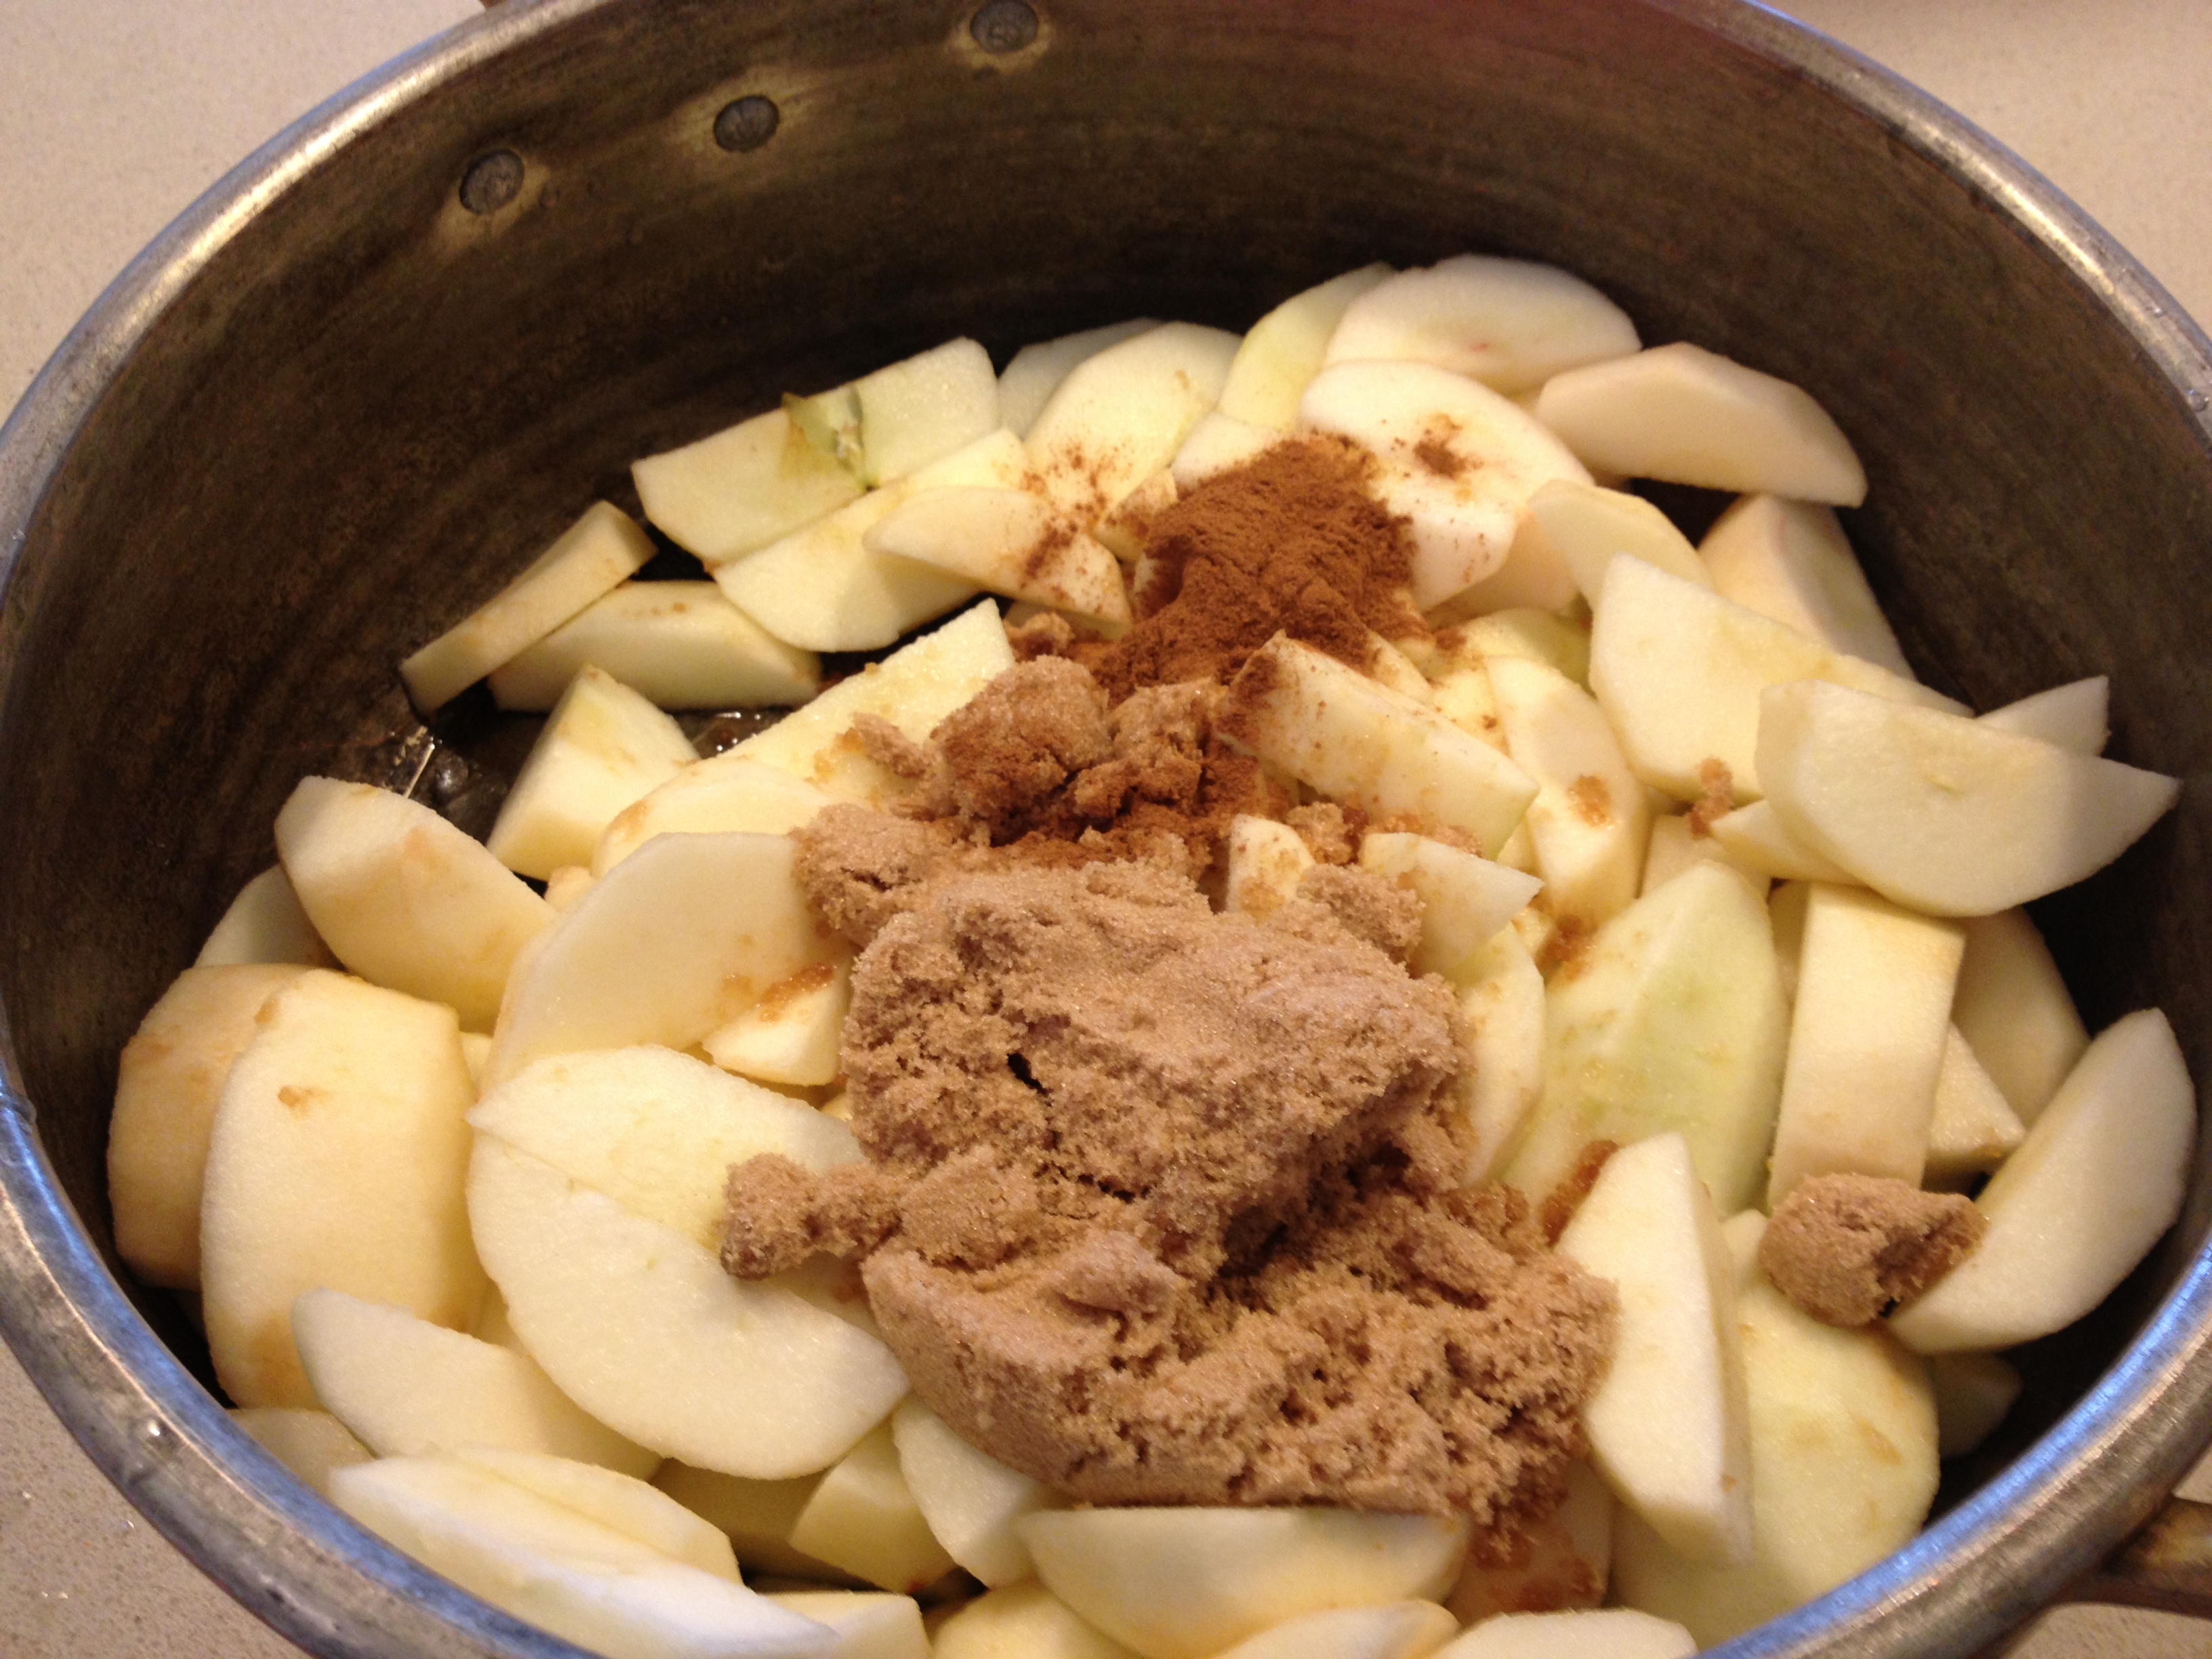
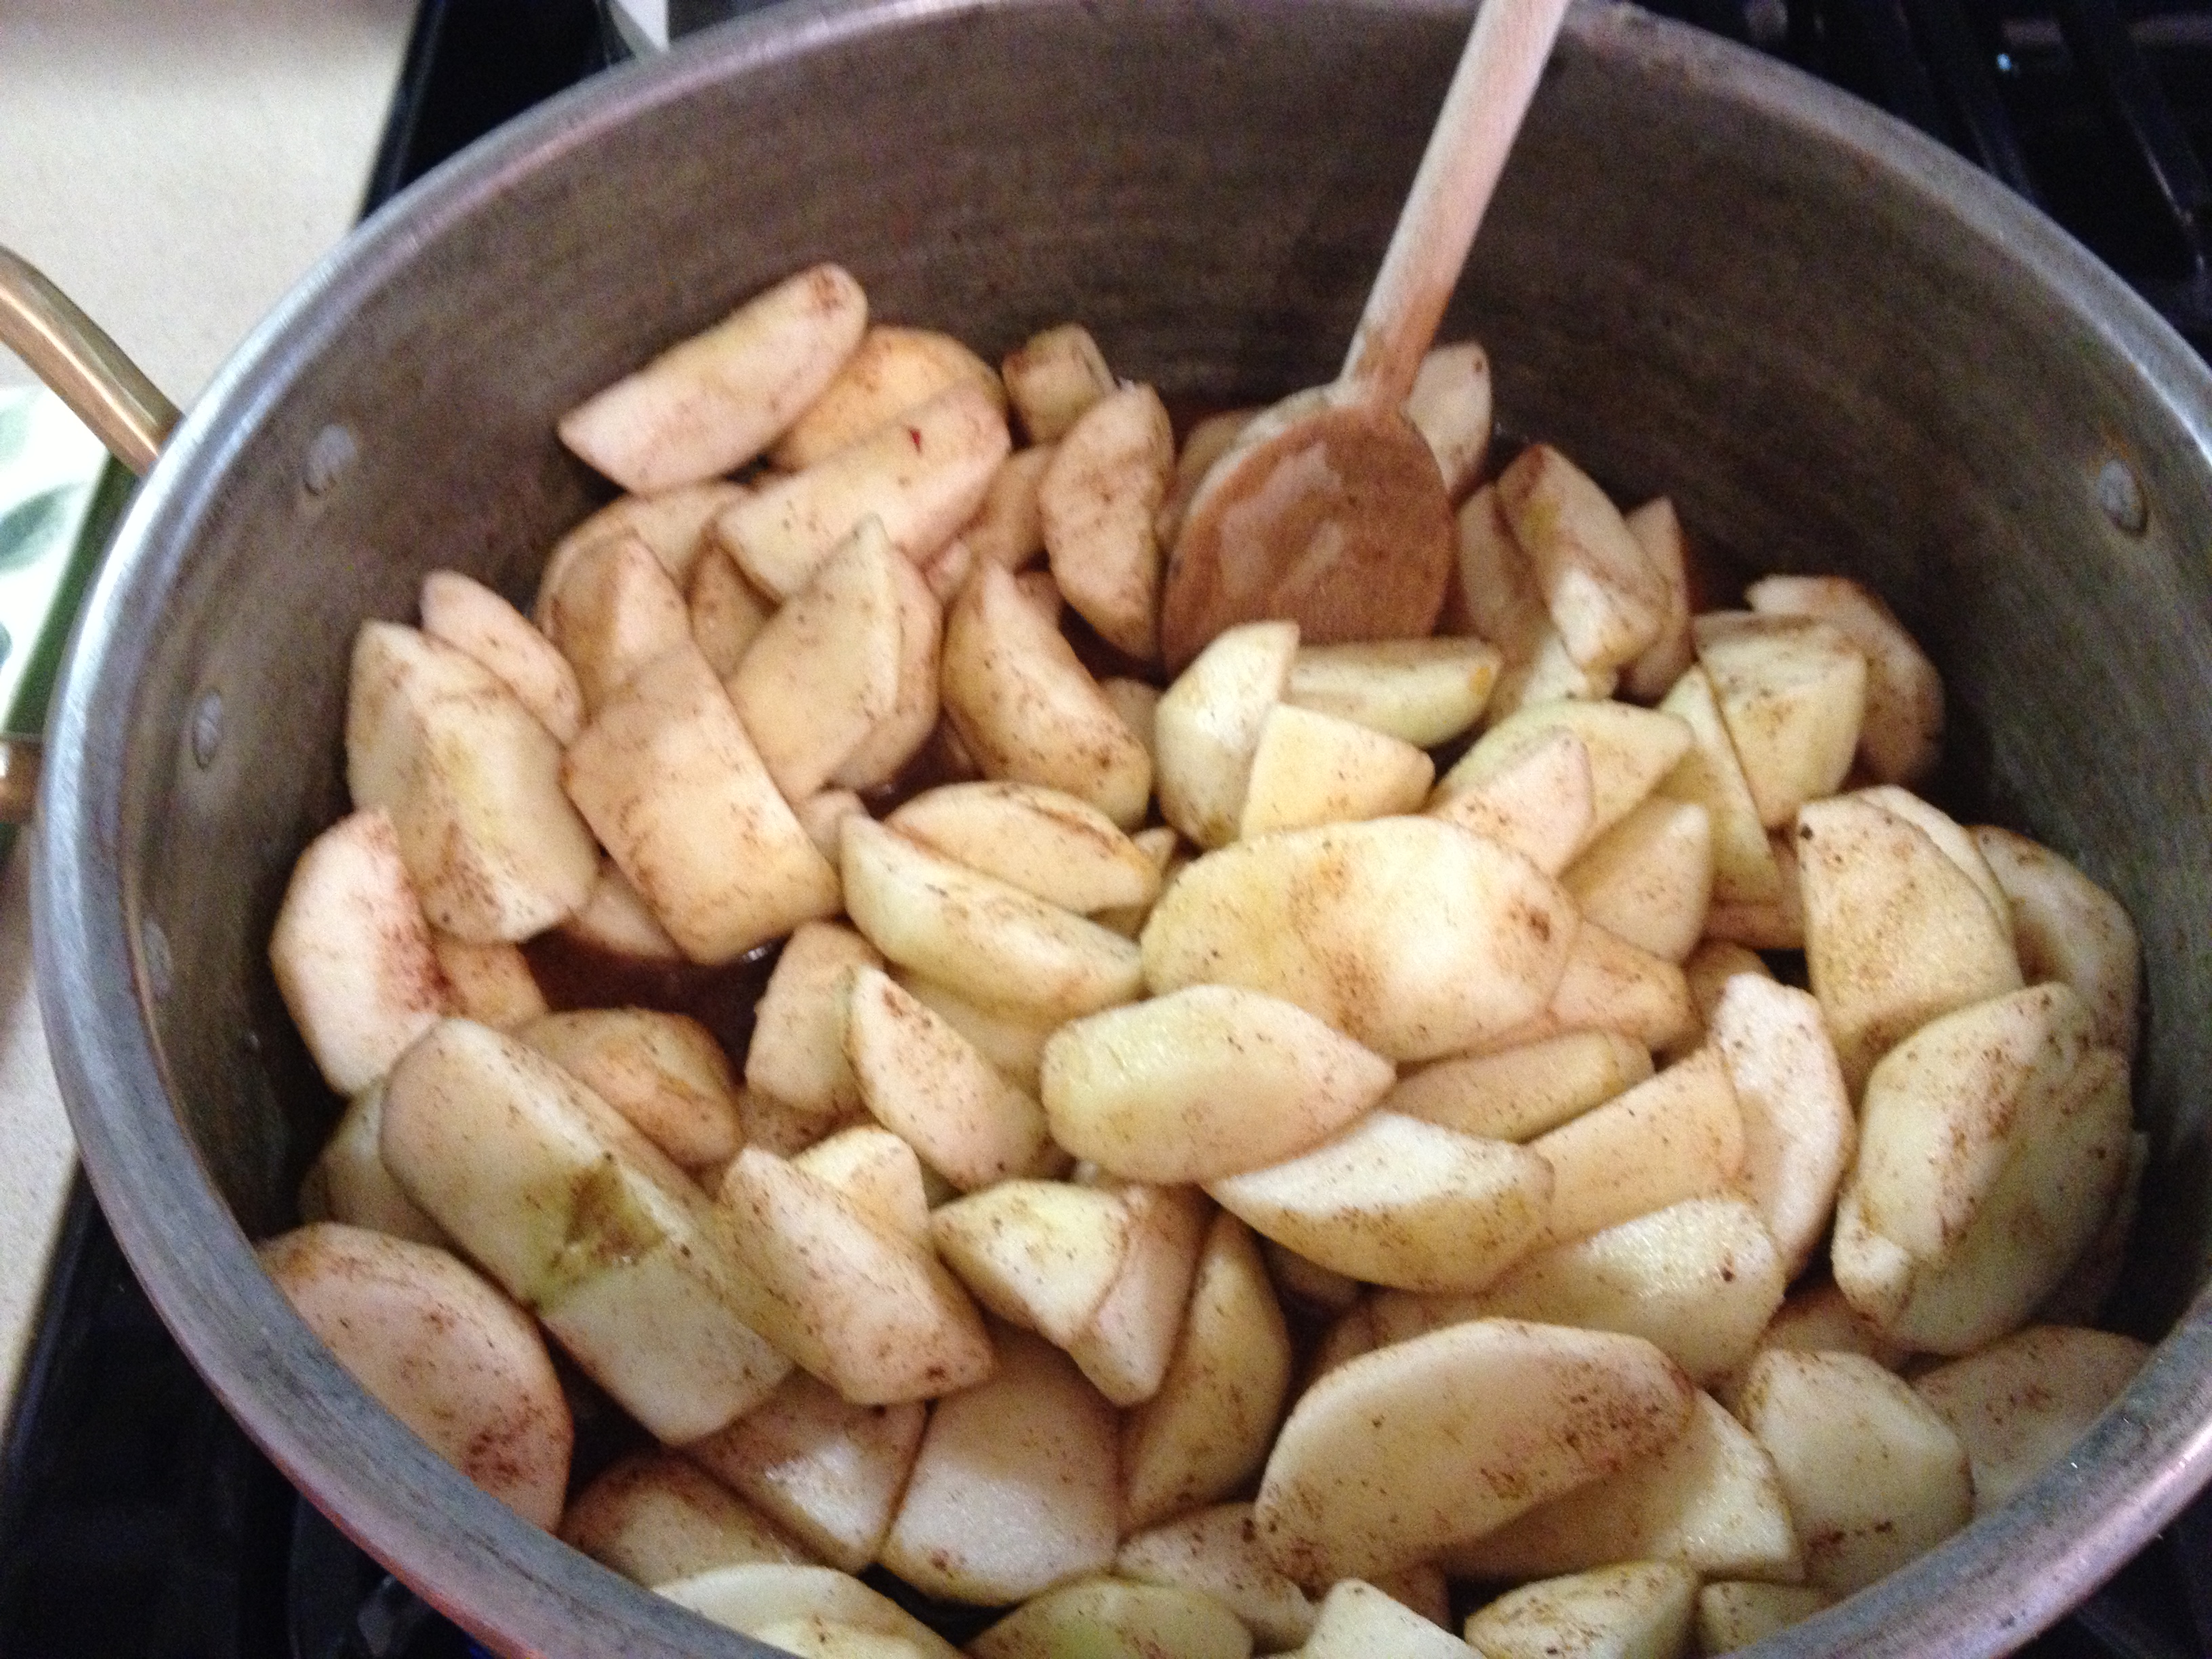
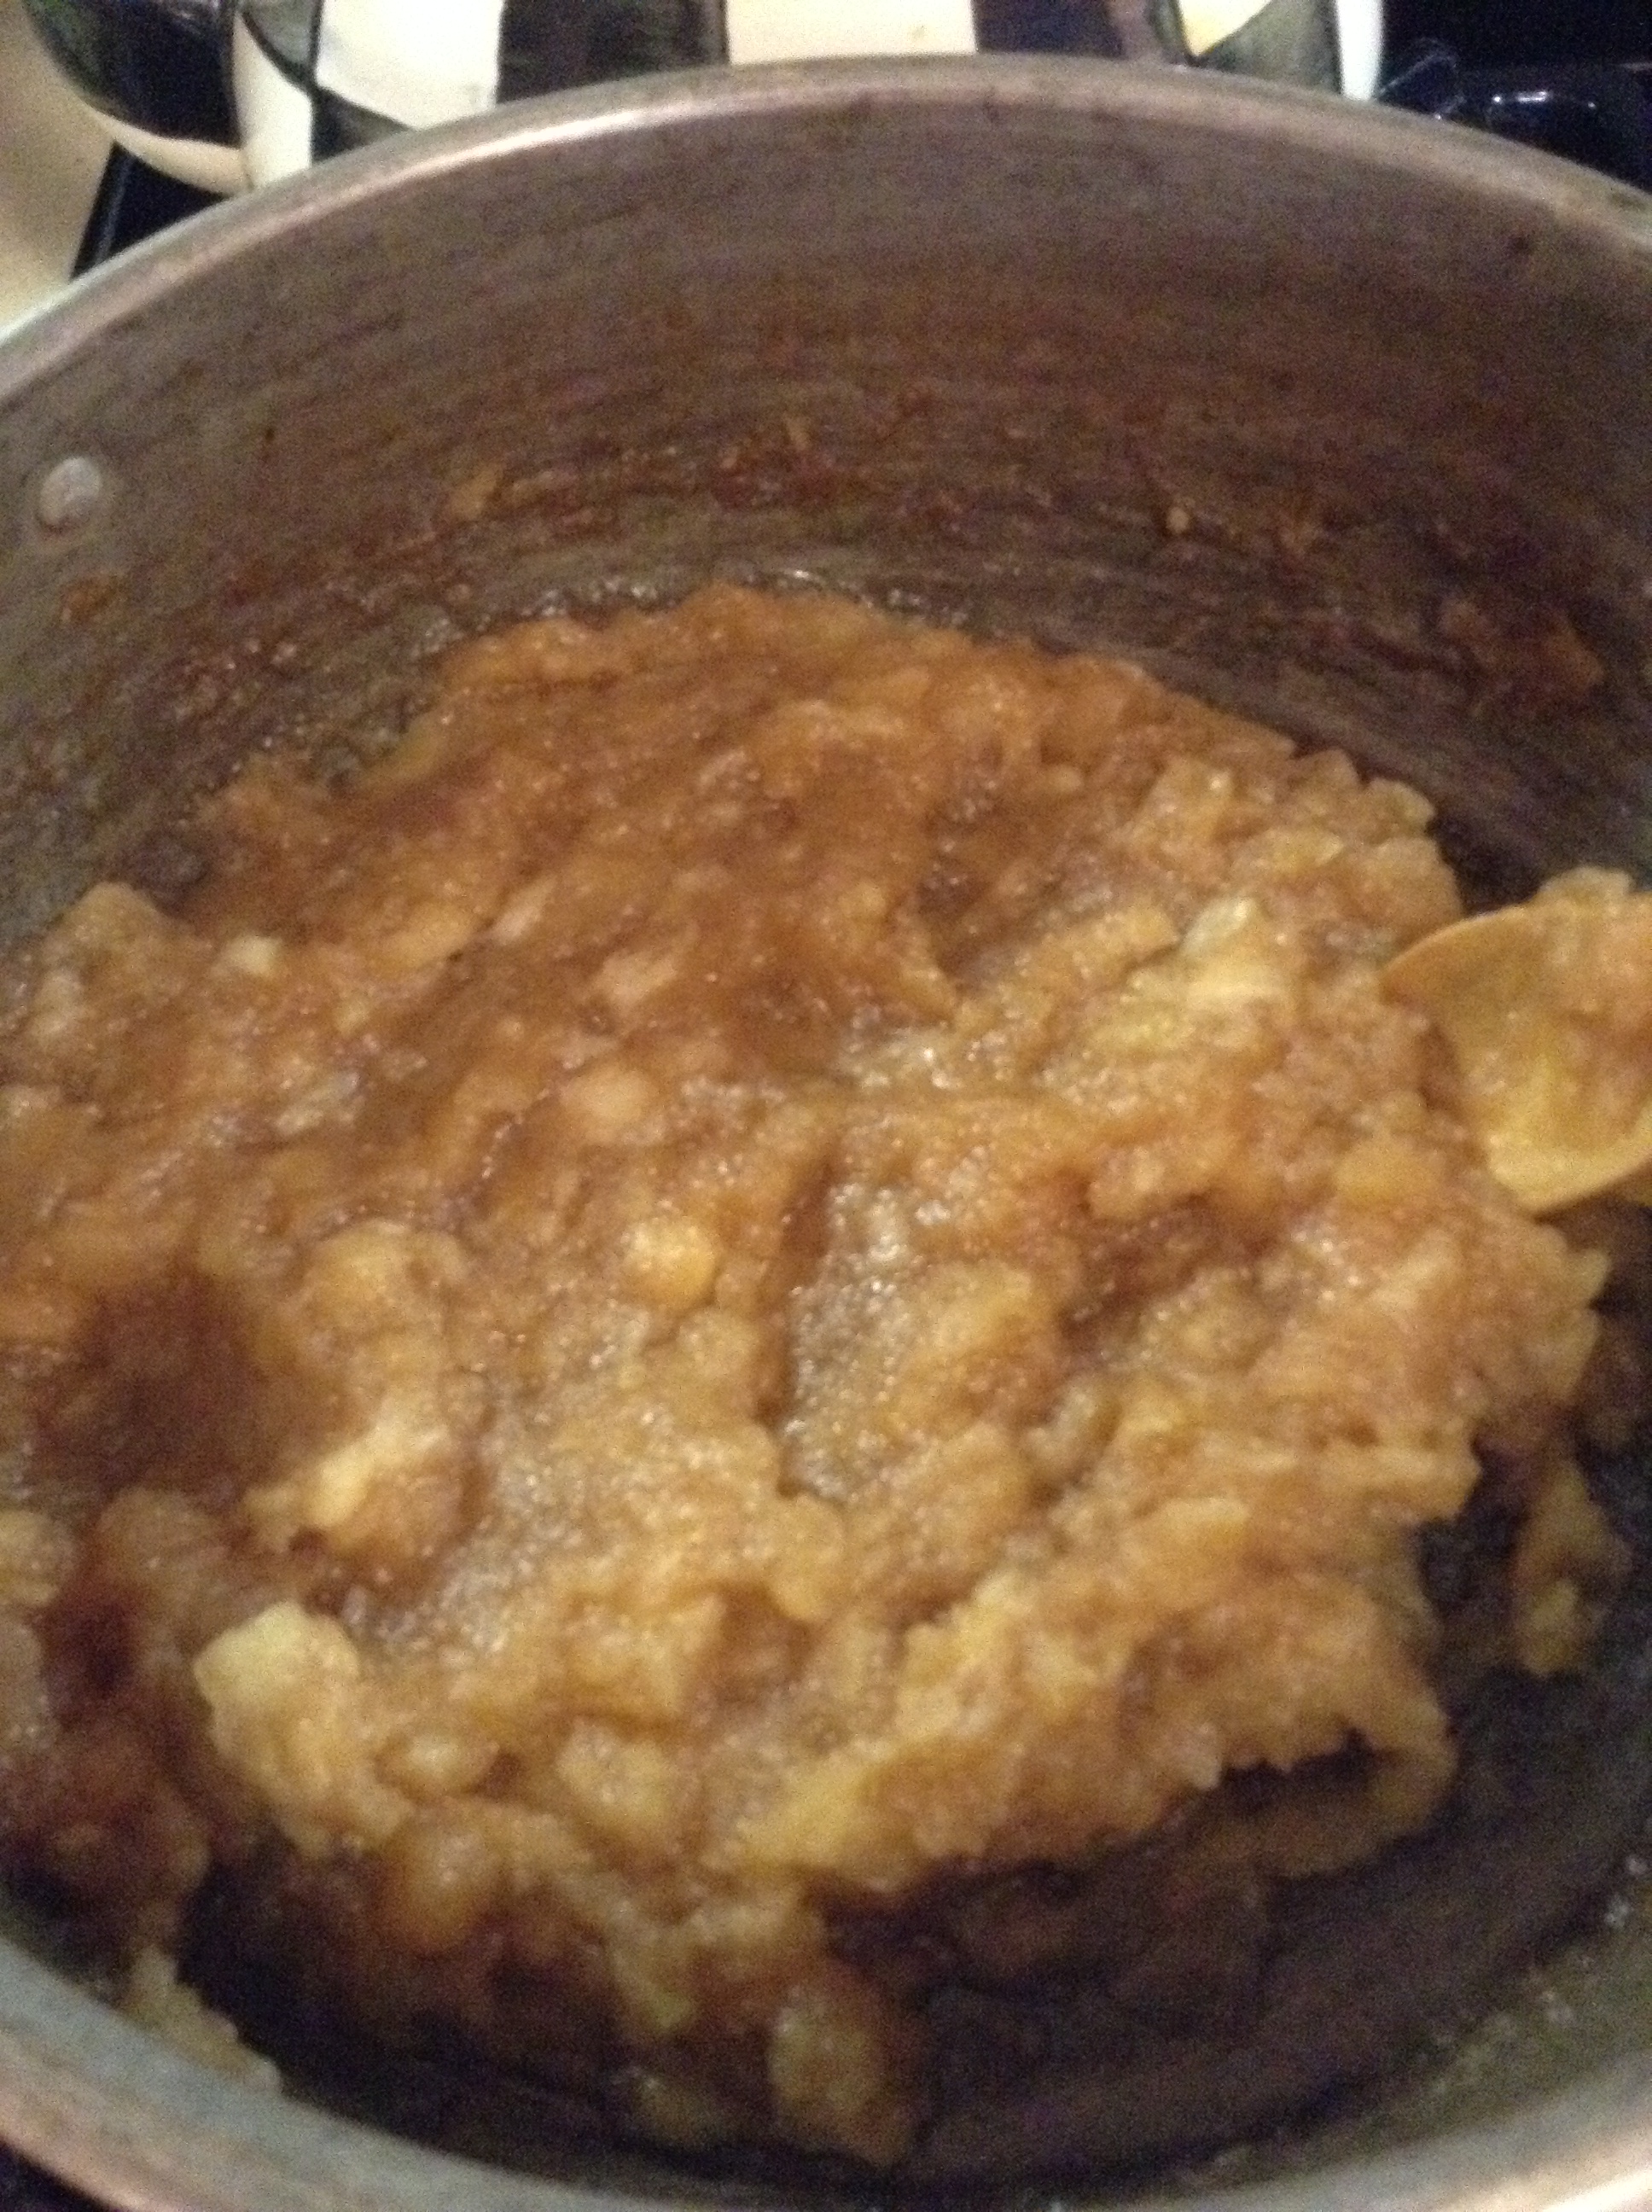
photo (42) photo (40) photo (39) photo (38)I love apple season and what better use for all those apples but applesauce? It’s great by itself, with meat, poultry,  over ice cream , yogurt or pancakes,  in muffins, any time you feel like applesauce.  Easy shopping list, most ingredients you probably have in the house. If you’d like you can add a pinch of nutmeg or allspice. A little butter or maple syrup is also a good thought. I used a little bit of maple syrup ( maybe 1/4 cup) . Play around with flavors. Quick prep time , very easy to make, 3 lbs. will probably serve around 6 – 8 people. Cook Time is about 1/2 hour.

This is the obvious more fattening way to go, I also wrote up a more diet conscious recipe for those looking to cut calories and it’s on this page as well. It is obviously more tart than the sweet one, you can add a little sugar-free maple syrup if you’d like.

Your kitchen will smell glorious. Enjoy!

Pantry ingredients:

Lemon, Brown Sugar, Maple Syrup, Cinnamon, Allspice, Butter, Nutmeg.

Shopping List:

Apples, Apple Juice or Apple Cider

Ingredients:

3 lbs. apples , peeled, cored and cut into 8 slices (any kind you have) I had Macintosh in the house and just used them

1/2 cup Apple Juice or Apple Cider

Juice of 1 Lemon, a small regular lemon is fine

1/4 cup Light Brown Sugar, packed

1/2 teaspoon Cinnamon, more or less to taste

*1/4 cup of pure maple syrup, you can use sugar-free maple syrup

*1/2 teaspoon ground nutmeg

*1/2 teaspoon Allspice

Directions:

Combine all ingredients in a large enough pot and cook over medium heat, stirring occasionally for 30 minutes, till apples break down. Now I like a chunky applesauce and it broke down so beautifully in 1/2 hour, I just mashed with a potato masher or the back of a wooden spoon.  If you’d like it smooth and not chunky puree it in food processor. It really broke down so beautifully a few mashes with a masher and it was perfect for a chunkier like consistency.

Store in the fridge.  Will keep for a week or two. Joel ate it all the next day so that was the end of that.

Enjoy!

Diet Version of Homemade Applesauce:

Ingredients:

12 medium apples, peeled cored and sliced (use whatever kind you have on hand)

2 sticks cinnamon if no cinnamon sticks , sprinkle ground cinnamon over apples.

Directions:

Place apples and cinnamon in a large Pyrex type dish with a lid or cover with aluminum foil.

Bake covered at 350 degrees for about 1 1/2 hours

Allow to cool slightly and remove cinnamon sticks.

Crush apples with a potato masher until sauce is consistency that you like .

Serve with Latkes.

Enjoy!

Easy Skillet Lasagna

This was truly one of the most epic meals! The whole meal in under an hour.  While I love a real lasagna I didn’t want to put the whole thing together and deal with it. Once you have the ingredients the prep time is minimal and you aren’t using store bought sauce.  You will be making the sauce and it will all cook together in the pan .  This can be done a few different ways and I invite you to play around with the ingredients and spices to your own liking. All I can say is Wow!  Delicious! Perfect Sunday night dinner and I am planning on making this tonight again.   All in one pot is truly a great way to cook, no fuss, no muss and no having to deal with cooking lasagna noodles!!!!!! Yeah!

This can easily be made with ricotta cheese and spinach or any veggies you like. I would even try it with cut up eggplant!

*You’ll need a large oven proof skillet with lid

*perfect for freezing leftovers

Ingredients:

1 to 1/2 Tablespoon Olive Oil–I used 1 1/2 you can start with 1 and add more to onions if you need it

1/2 lb. ground beef ( I used 80/20)

3 Italian sausage links, casings removed ( I used Hot Italian Sausage) use what you like , you can use turkey or chicken sausage as well

1 onion, diced

1 14.5 oz. can diced tomatoes

1 8oz.can tomato sauce

*Italian seasonings , if you have Italian seasonings in a jar that’s great if not use a little dried oregano and dried basil. Italian Seasonings is available in the spice department of all food stores.

*1/2 teaspoon crushed red pepper

App. 1/4 tsp. Kosher Salt and more to taste

2-3 garlic cloves, minced

app. 10 lasagna noodles, broken into 1/4’s, if it breaks up differently don’t worry it’s a very loose recipe! 8 ounces Farfalle Pasta also works if you don’t feel like using the lasagna noodles. Un-cooked Noodles!!!!!

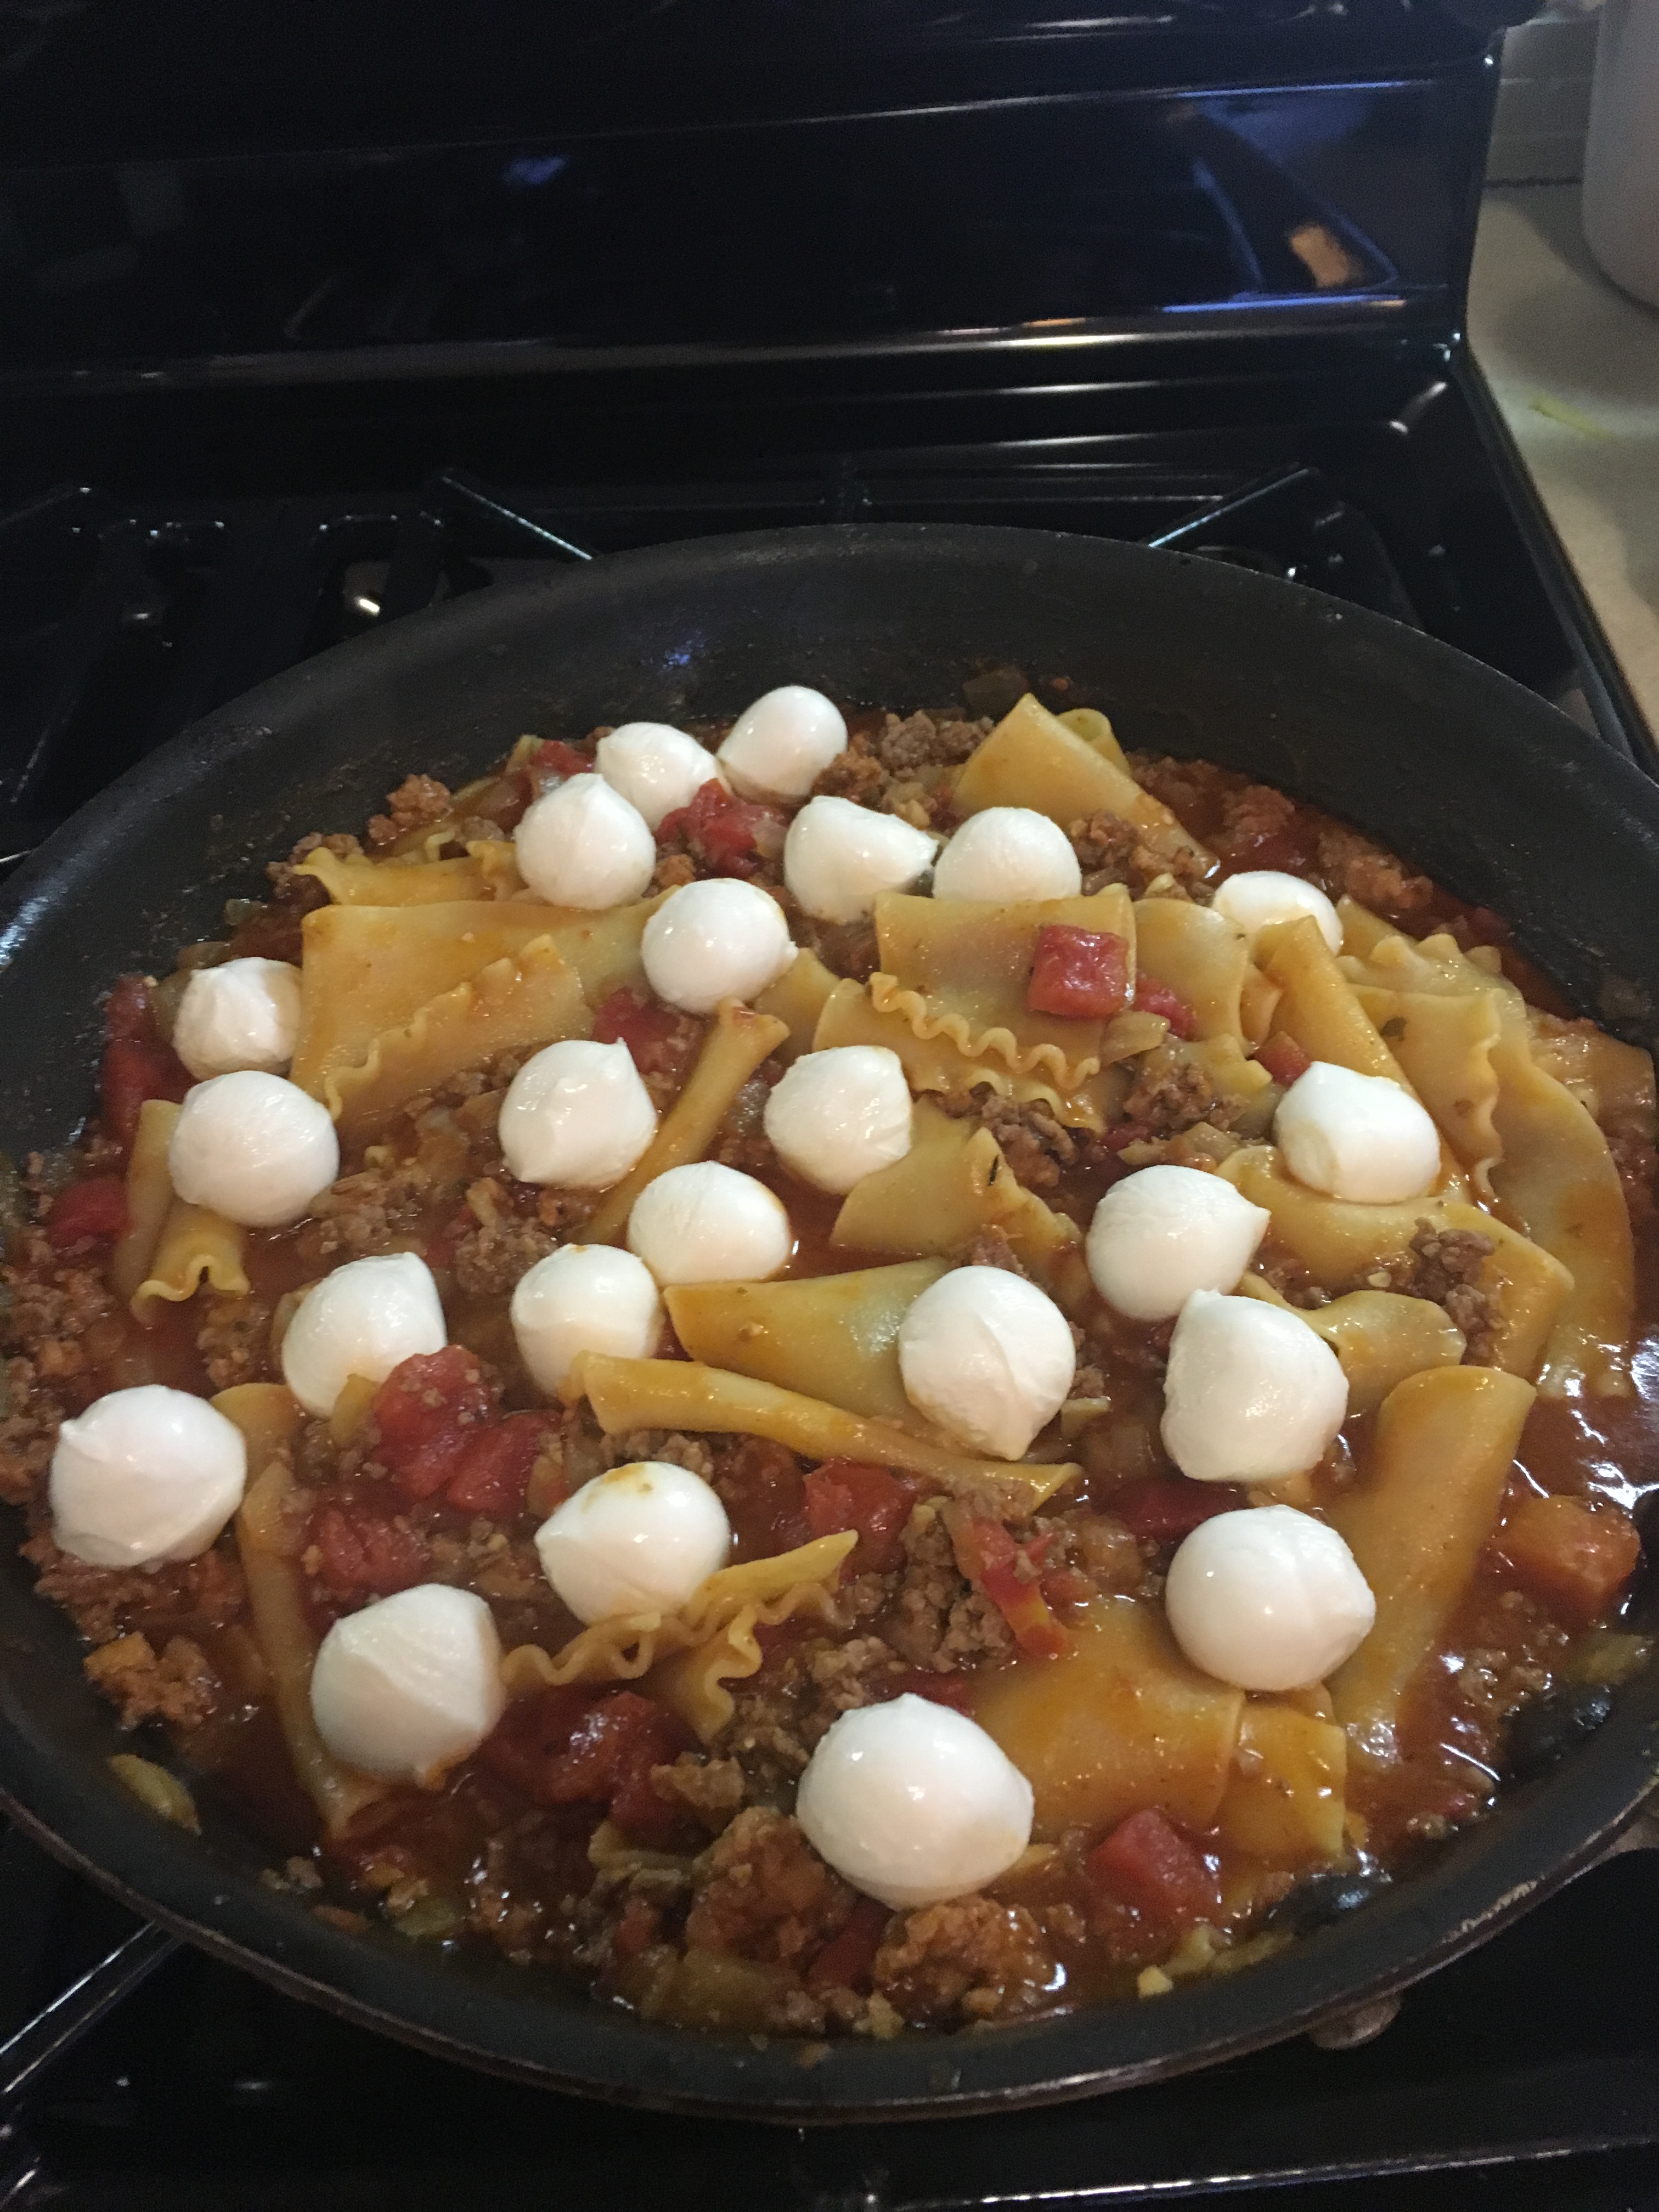
8 oz. mozzarella balls ( fresh) I used the small ones this time. Use whatever cheese you like but these worked out beautifully.  You can always use shredded mozzarella, or just cut a large ball of mozzarella into small pieces ( as much or as little as you’d like) if using shredded mozzarella, you’ll need about 1 cup

2 cups water

Freshly grated Parmesan Cheese for serving

*you can also use 1 cup Ricotta Cheese for a very cheesy version, I would use this if I was making it with spinach and going veggie.

Directions:

Heat olive oil in a large skillet over medium-high heat. Add onions and cook till translucent, add garlic towards the end of onion process. Add ground beef to the onions, stirring occasionally till browned. I removed with slotted spoon and set aside in a bowl. I then cooked up the sausage making sure to crumble the sausage as it cooked.  I then removed sausage to bowl with meat , onions, and garlic and drained all excess fat from pan.

Pre-heat the oven to Broil.

Return meat to pan, add tomato sauce, diced tomatoes, spices, add 1/4 tsp. kosher salt to taste, if you need more add it. Add in the meat mixture and stir, bring to a simmer and add in broken lasagna pieces and 2 cups of water. Bring to a boil; cover, reduce heat and simmer until pasta is cooked through, about 13- 15 minutes for al dente. I stirred it gently a few times just to make certain that the noodles cooked through and didn’t stick together.

Remove from the heat . I placed my Mozzarella on top and placed in oven under broiler for about 5 mins. Check on it because you don’t want it to blacken. All ovens are different, in mine it needed about 6 minutes to just start browning without burning, but you don’t want to burn this up so set timer and keep an eye on it!

Remove from the oven and let it sit out for a few minutes. Plate it up and let everyone add their own parmesan cheese! Enjoy! you will.

IMG_1101

Plated up and ready to eat

IMG_1097

Finished Product

IMG_1096

adding mozzarella before placing under broiler

IMG_1093

placing un-cooked noodles into sauce

This would serve 4. It’s tough to double because you would need a super large pan.

This makes for an amazing leftover!

Thanksgiving 2020

This is a tough one for sure. Thanksgiving 2020 will definitely be very different than all my other Thanksgiving dinners. We’re going to make the very best of it and for us that means a very small holiday dinner with our daughter and our 2 grandsons. We will cook all our favorites on a small scale and maybe instead of a whole turkey we will make a turkey breast.

We need to get through these next few months and the upcoming holidays in a much smaller way. Perhaps a vaccine is right around the corner? Perhaps next Thanksgiving will be a more normal scenario? I for one am praying daily for that outcome to happen ASAP.

For now I will still post all my Thanksgiving favorites and even if you’re celebrating with only 2 people you can make something new or an old favorite and enjoy the meal .

Let’s be Thankful for our good health and happiness and what we do have. Remember be grateful not hateful in spite of the pandemic.

Let’s hope for a better 2021 and let’s be optimistic about our future.

Keep in touch with me on Instagram or email me @cmk55@sopris.net or right here on my site.

Here are some of my favorite Thanksgiving Recipes, just put in the search box on my site or put in Thanksgiving . Or go to @cookingwithcandi or google the title of the recipe @cookingwithcandi.

Happy Thanksgiving .

Corn Bread Pudding

Butternut Squash Soup

Pumpkin Lentil Soup

Sweet and Spicy Mixed Nuts– I have 2 different recipes for the nuts and they are both awesome

Kale and Brussels Salad with Mustard Vinaigrette

Brussels Sprouts and Apple Salad

Pumpkin Walnut Bread and Pumpkin Cranberry Bread

Cremini Mushroom Pumpkin Lasagna

Pumpkin Penne Bake

Stuffing that will be on our Table or Cranberry Walnut Stuffing

Creamy Mashed Potatoes

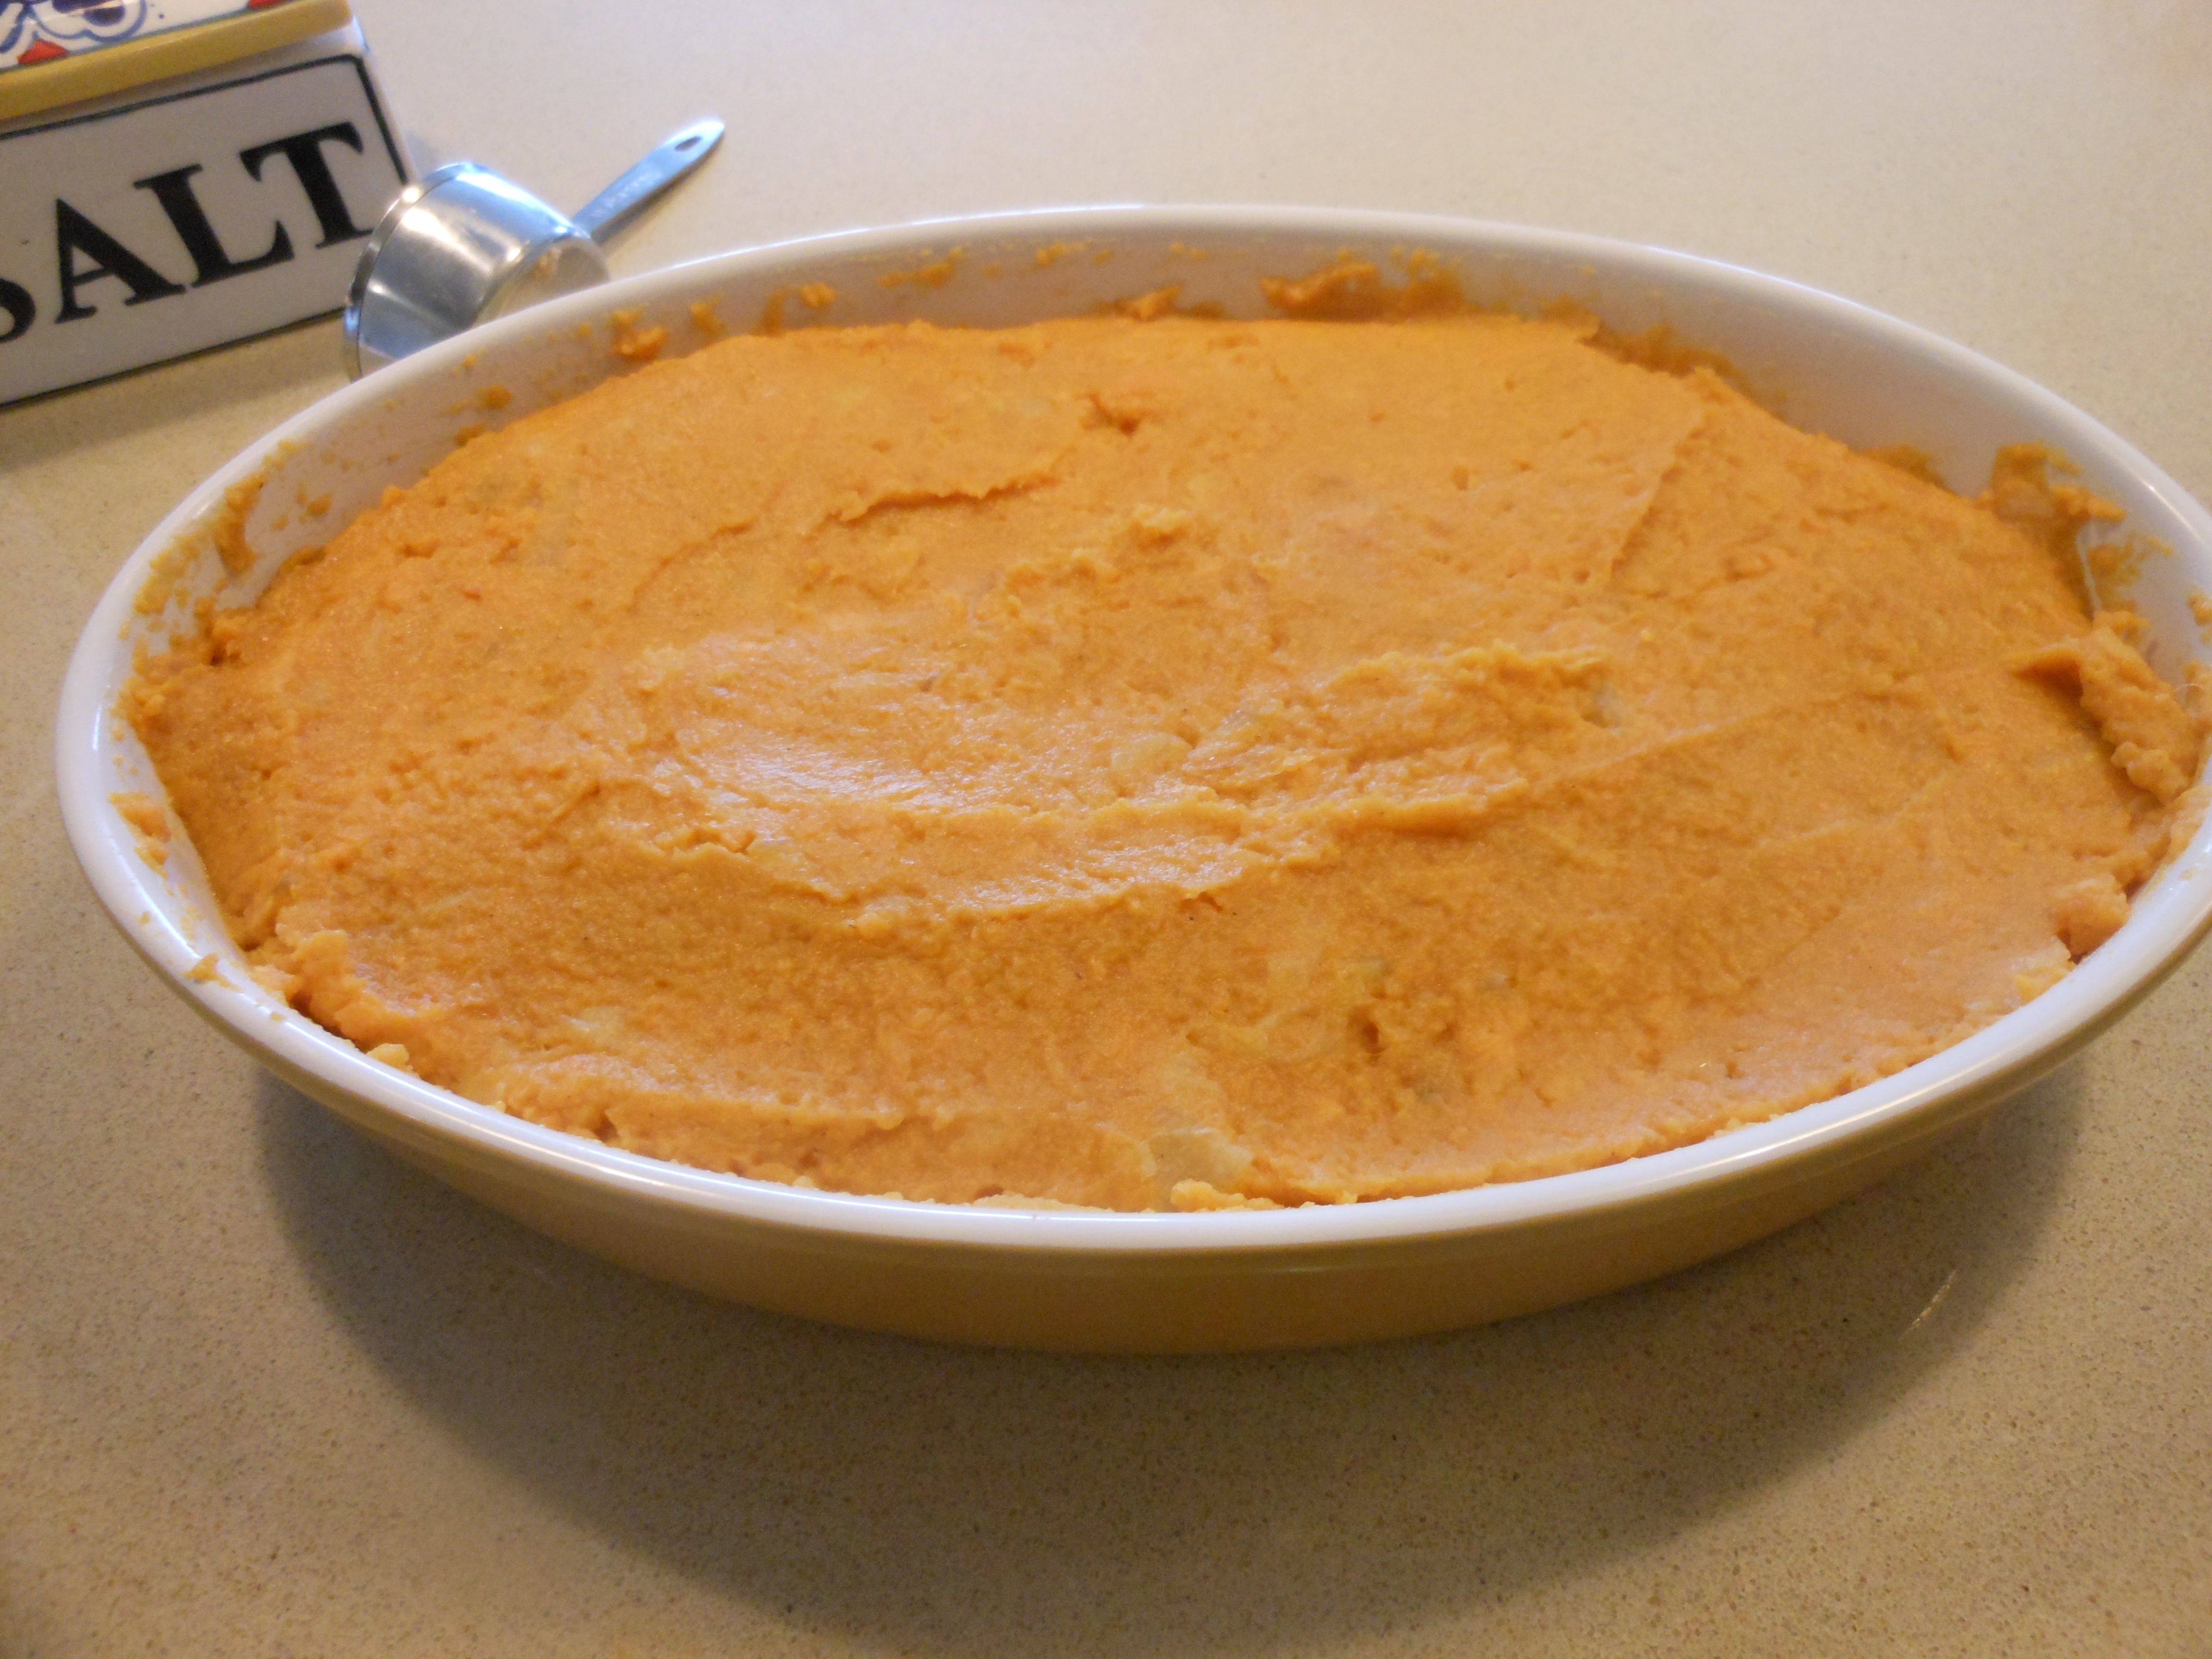
Candied Yam Souffle

Easy Peasy Marshmallow Sweet Potatoes

Aunt Pammy’s Chipotle Sweet Potatoes

Fresh Cranberry Sauce

Karyn’s Famous Thanksgiving Cranberry Crisp

Joy’s Cranberry Sauce

Michele’s White Chocolate Jumbo Macaroon Cookies

Pumpkin Cheesecake

Apple Pear Crisp

Apple Crisp

Magnolia Banana Pudding

Corn Bread Pudding
pre marshmallow topping
Karyn’s Cranberry Crisp

Butternut Squash Soup
Prep and Ingredients for Corn Bread Pudding

Stuffed Pepper Soup

Here’s the thing– I love Stuffed Peppers but it’s a lot of work to make. This soup satisfied my yen for Stuffed Peppers without all the work. It’s really delicious and this is how I made it. I actually used a whole package of Uncle Ben’s Ready Rice which worked perfectly. I also used ground beef but obviously you can use ground turkey or chicken as well. I just wanted to stay as true to the recipe for Stuffed Peppers as possible. Of course you don’t need to sprinkle the cheese on top but it added another layer of flavor .

Enjoy this hearty and easy meal in a bowl.

Paired with a green salad and some nice crusty bread it’s perfect.

*probably 6 -8 servings and you can freeze leftover soup.

Ingredients:

2 Tablespoons Olive Oil

4 medium green bell peppers, diced. Mine were giant so I used 3

1 medium yellow onion, diced

Kosher Salt

Freshly Ground Black Pepper or use coarsely ground black pepper

2 cloves garlic, minced

1 teaspoon dried oregano

4 cups Beef Broth

14.5 oz. can diced tomatoes

14.5 oz. can crushed tomatoes

3 Tablespoons Worcestershire Sauce

1 package Uncle Ben’s Ready Rice you obviously don’t have to use ready rice but I did and I used Jasmine. Any Rice will do and if you don’t want 2 cups use 1 cup rice– you’ll want the rice cooked so if you have leftover rice use it!

Shredded Chedder for topping and serving

Directions:

In a large soup pot ( think Le Creuset) a heavy stock pot which will be large enough for this soup. Heat olive oil over medium high heat. Add the diced peppers, onion, 1/2 teaspoon kosher salt and a few grinds of black pepper ( app. 1/4 teaspoon) you’ll get another chance at seasoning so just start out small. Cook, stirring occasionally, until veggies are soft. Approximately 10 minutes.

Add the ground beef and cook breaking up the beef as you stir with a large wooden spoon. Cook till no longer pink , approximately 5 minutes.

Add the minced garlic and oregano and cook for a minute or two. Add the 4 cups beef broth, diced tomatoes, crushed tomatoes, Worcestershire Sauce, and add a little more kosher salt and pepper to taste. Bring to a boil . Reduce heat and simmer until all flavors are blended. I like my soup to simmer for a long time. At least a half hour and preferably longer. If you find it too thick add a little water. Mine was perfect and sat on stovetop for a few hours. Second hour just sat on warm.

Before serving I heated to a boil, brought back down to a simmer and added rice until warmed through. Taste for S and P but should be fine.

Ladle the soup into bowls and sprinkle with some Chedder .

I held my breath because I wasn’t sure about Joel’s response to soup but he totally enjoyed and ate a big bowl.

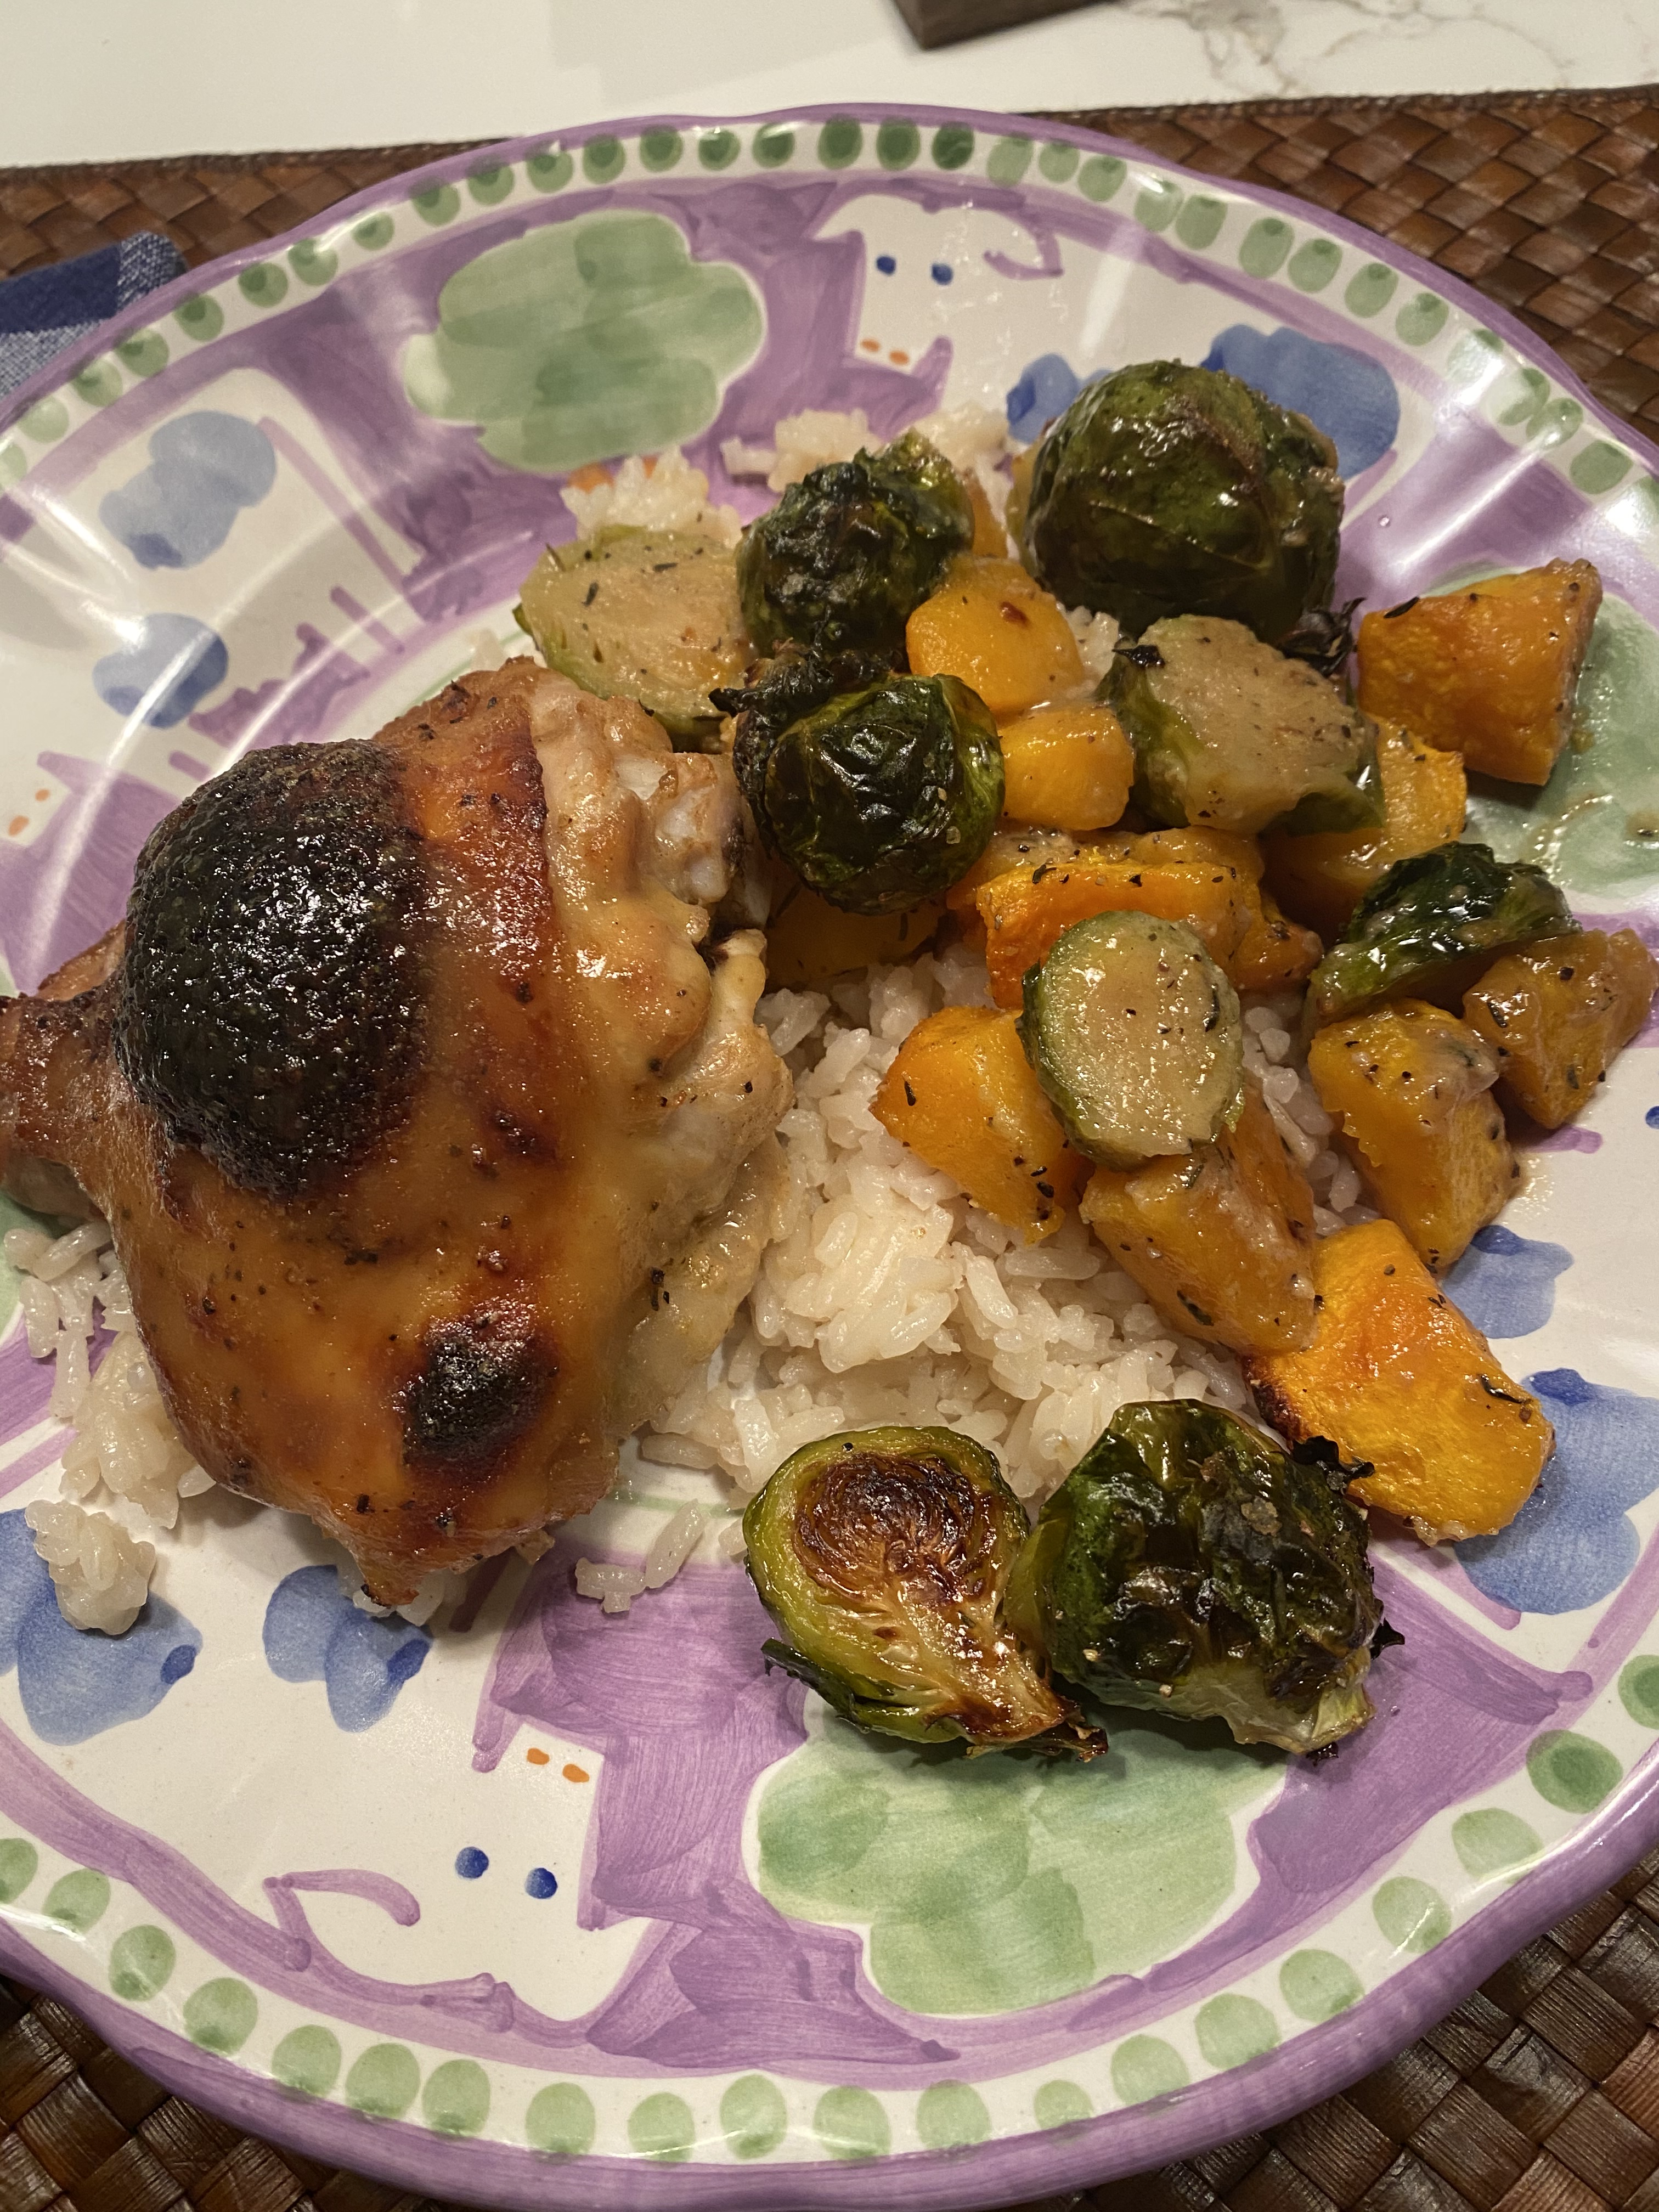
Maple – Dijon Chicken with Brussels Sprouts and Butternut Squash.

Here’s a new recipe that I absolutely loved making and loved eating! Tasty and Easy and anyone can do it. All it took was a few pantry ingredients that almost everyone has in their home.

I just love one sheet meals — another reason to go out and buy a large sheet pan if you haven’t done so already. 18 x 13 is the size you’ll need because if you crowd the ingredients they end up steaming and not really roasting. Roasting is what you’re after here.

I chose Chicken Thighs because they can stand up to the cooking time along with the veggies. I didn’t use Drumsticks but you certainly can use both. If you insist on white meat you’ll have to remove chicken earlier than veggies or you’ll have dried out chicken for sure.

Enjoy this lovely sheet pan meal and I added Brown Rice.

Please follow my blog on Instagram @cookingwithcandi— thanks

Ingredients:

2 Tablespoons Reduced Sodium Soy Sauce

4 Tablespoons Dijon Mustard, divided

3 Tablespoons Pure Maple Syrup, divided ( used 2 and 1)

6 large bone in chicken thighs, or use 4 thighs and 4 drumsticks or whatever pieces you’d like

Kosher Salt and Freshly Ground Black Pepper

app. 12 ounces butternut squash, peeled, seeded and cut into 3/4 inch cubes

app. 12 ounce Brussels Sprouts, trimmed and halved

6 sprigs of fresh thyme

2 Tablespoons Olive Oil


and you’ll need some cooking spray — you can use Olive Oil spray or just regular spray

Directions:

Preheat the oven to 425 degrees. Spray an 18 x 13 inch large rimmed sheet pan

In a small bowl combine the soy sauce, 3 Tbsp. of the Dijon Mustard and 2 Tbsp. of the pure Maple Syrup

Season the chicken all over with Salt and Pepper and then arrange the chicken on the sprayed baking sheet

In a large bowl combine the Brussels sprouts, butternut squash, thyme, and olive oil, season with a sprinkling  of salt and pepper here too.

Arrange the vegetables on the baking sheet around the chicken. Pour the Dijon-Maple -Soy sauce over the chicken, turn to coat completely, and pour any remaining sauce over the veggies.

Bake until the chicken is cooked through and the veggies are tender, app. 35-40 minutes. Look at the chicken after 30 mins. I cooked for 35 minutes and it was browned up rather nicely.

Meanwhile, whisk together the remaining 1 Tbsp. Dijon and 1 Tbsp. Maple Syrup and remove chicken from oven.

Brush the remaining mixture over the chicken. Bake a few more minutes till browned and perfect looking.

*next time out I am going to try this sauce on boneless , skinless chicken thighs — it’s gotta be good!

Serve alongside some brown rice or any rice you’d like.

Amazingly Delicious.

Maple Dijon Chicken with Brussels and Butternut Squash
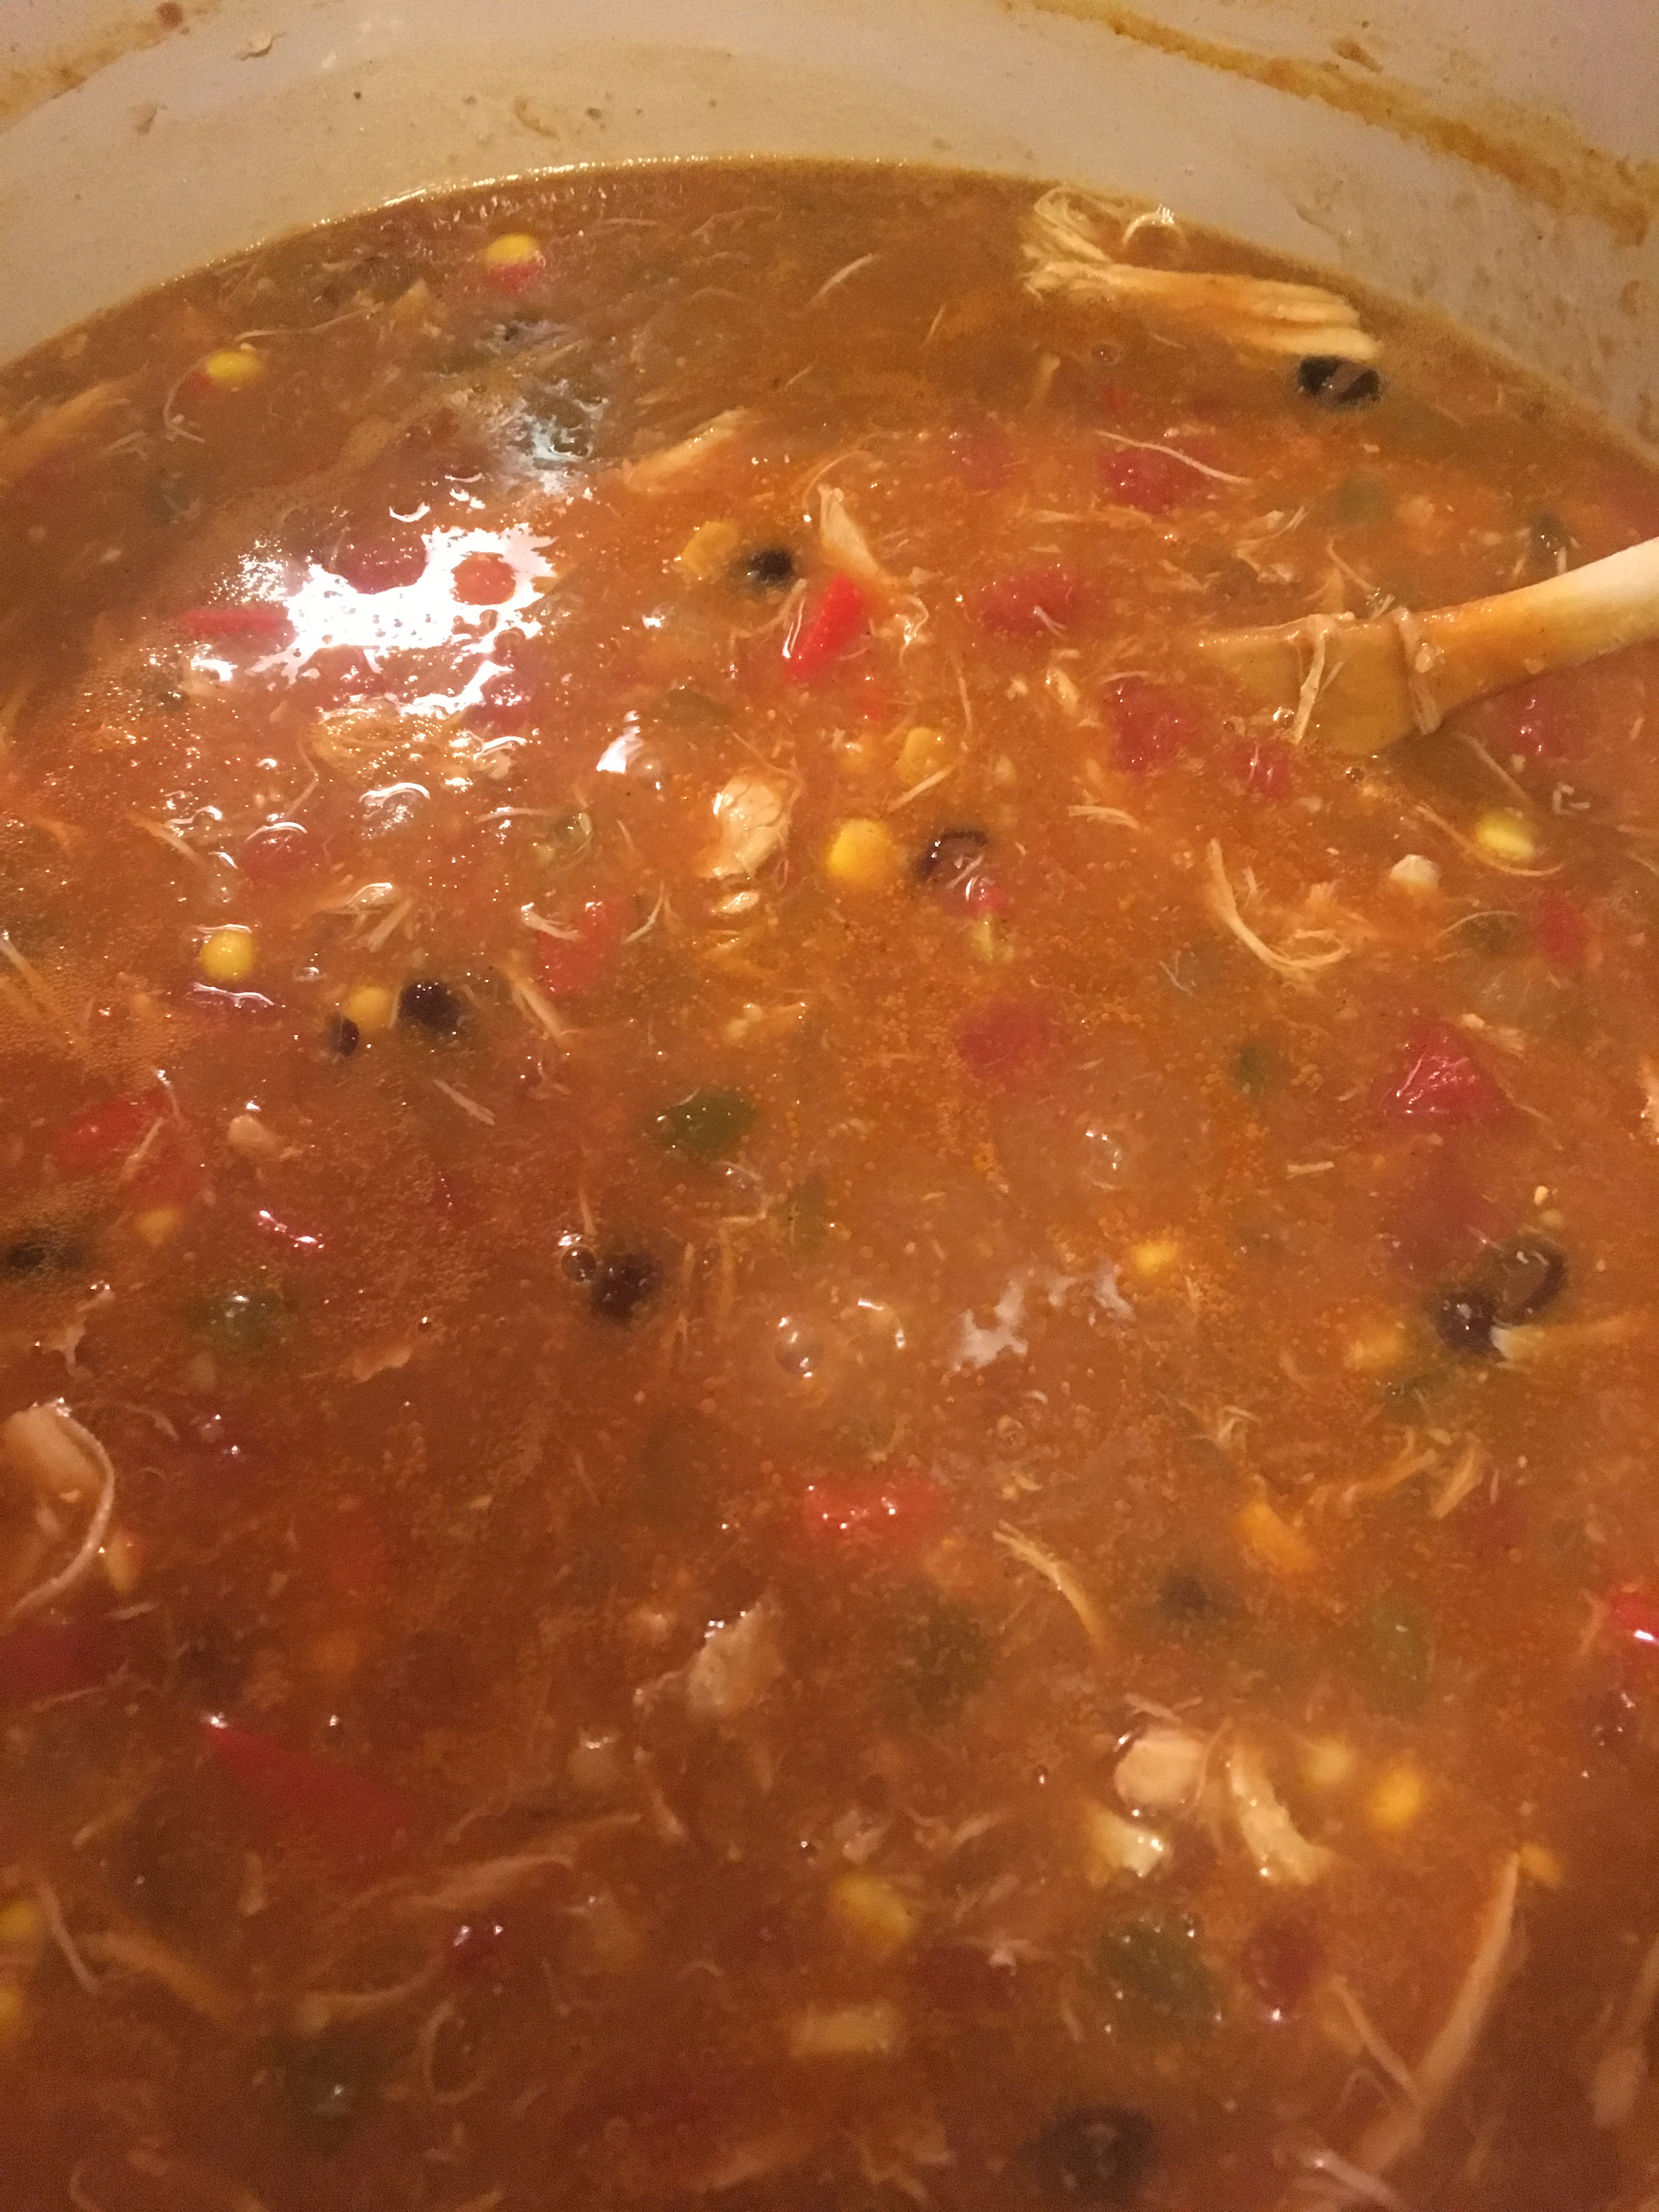
Chicken Tortilla Soup

img_3215

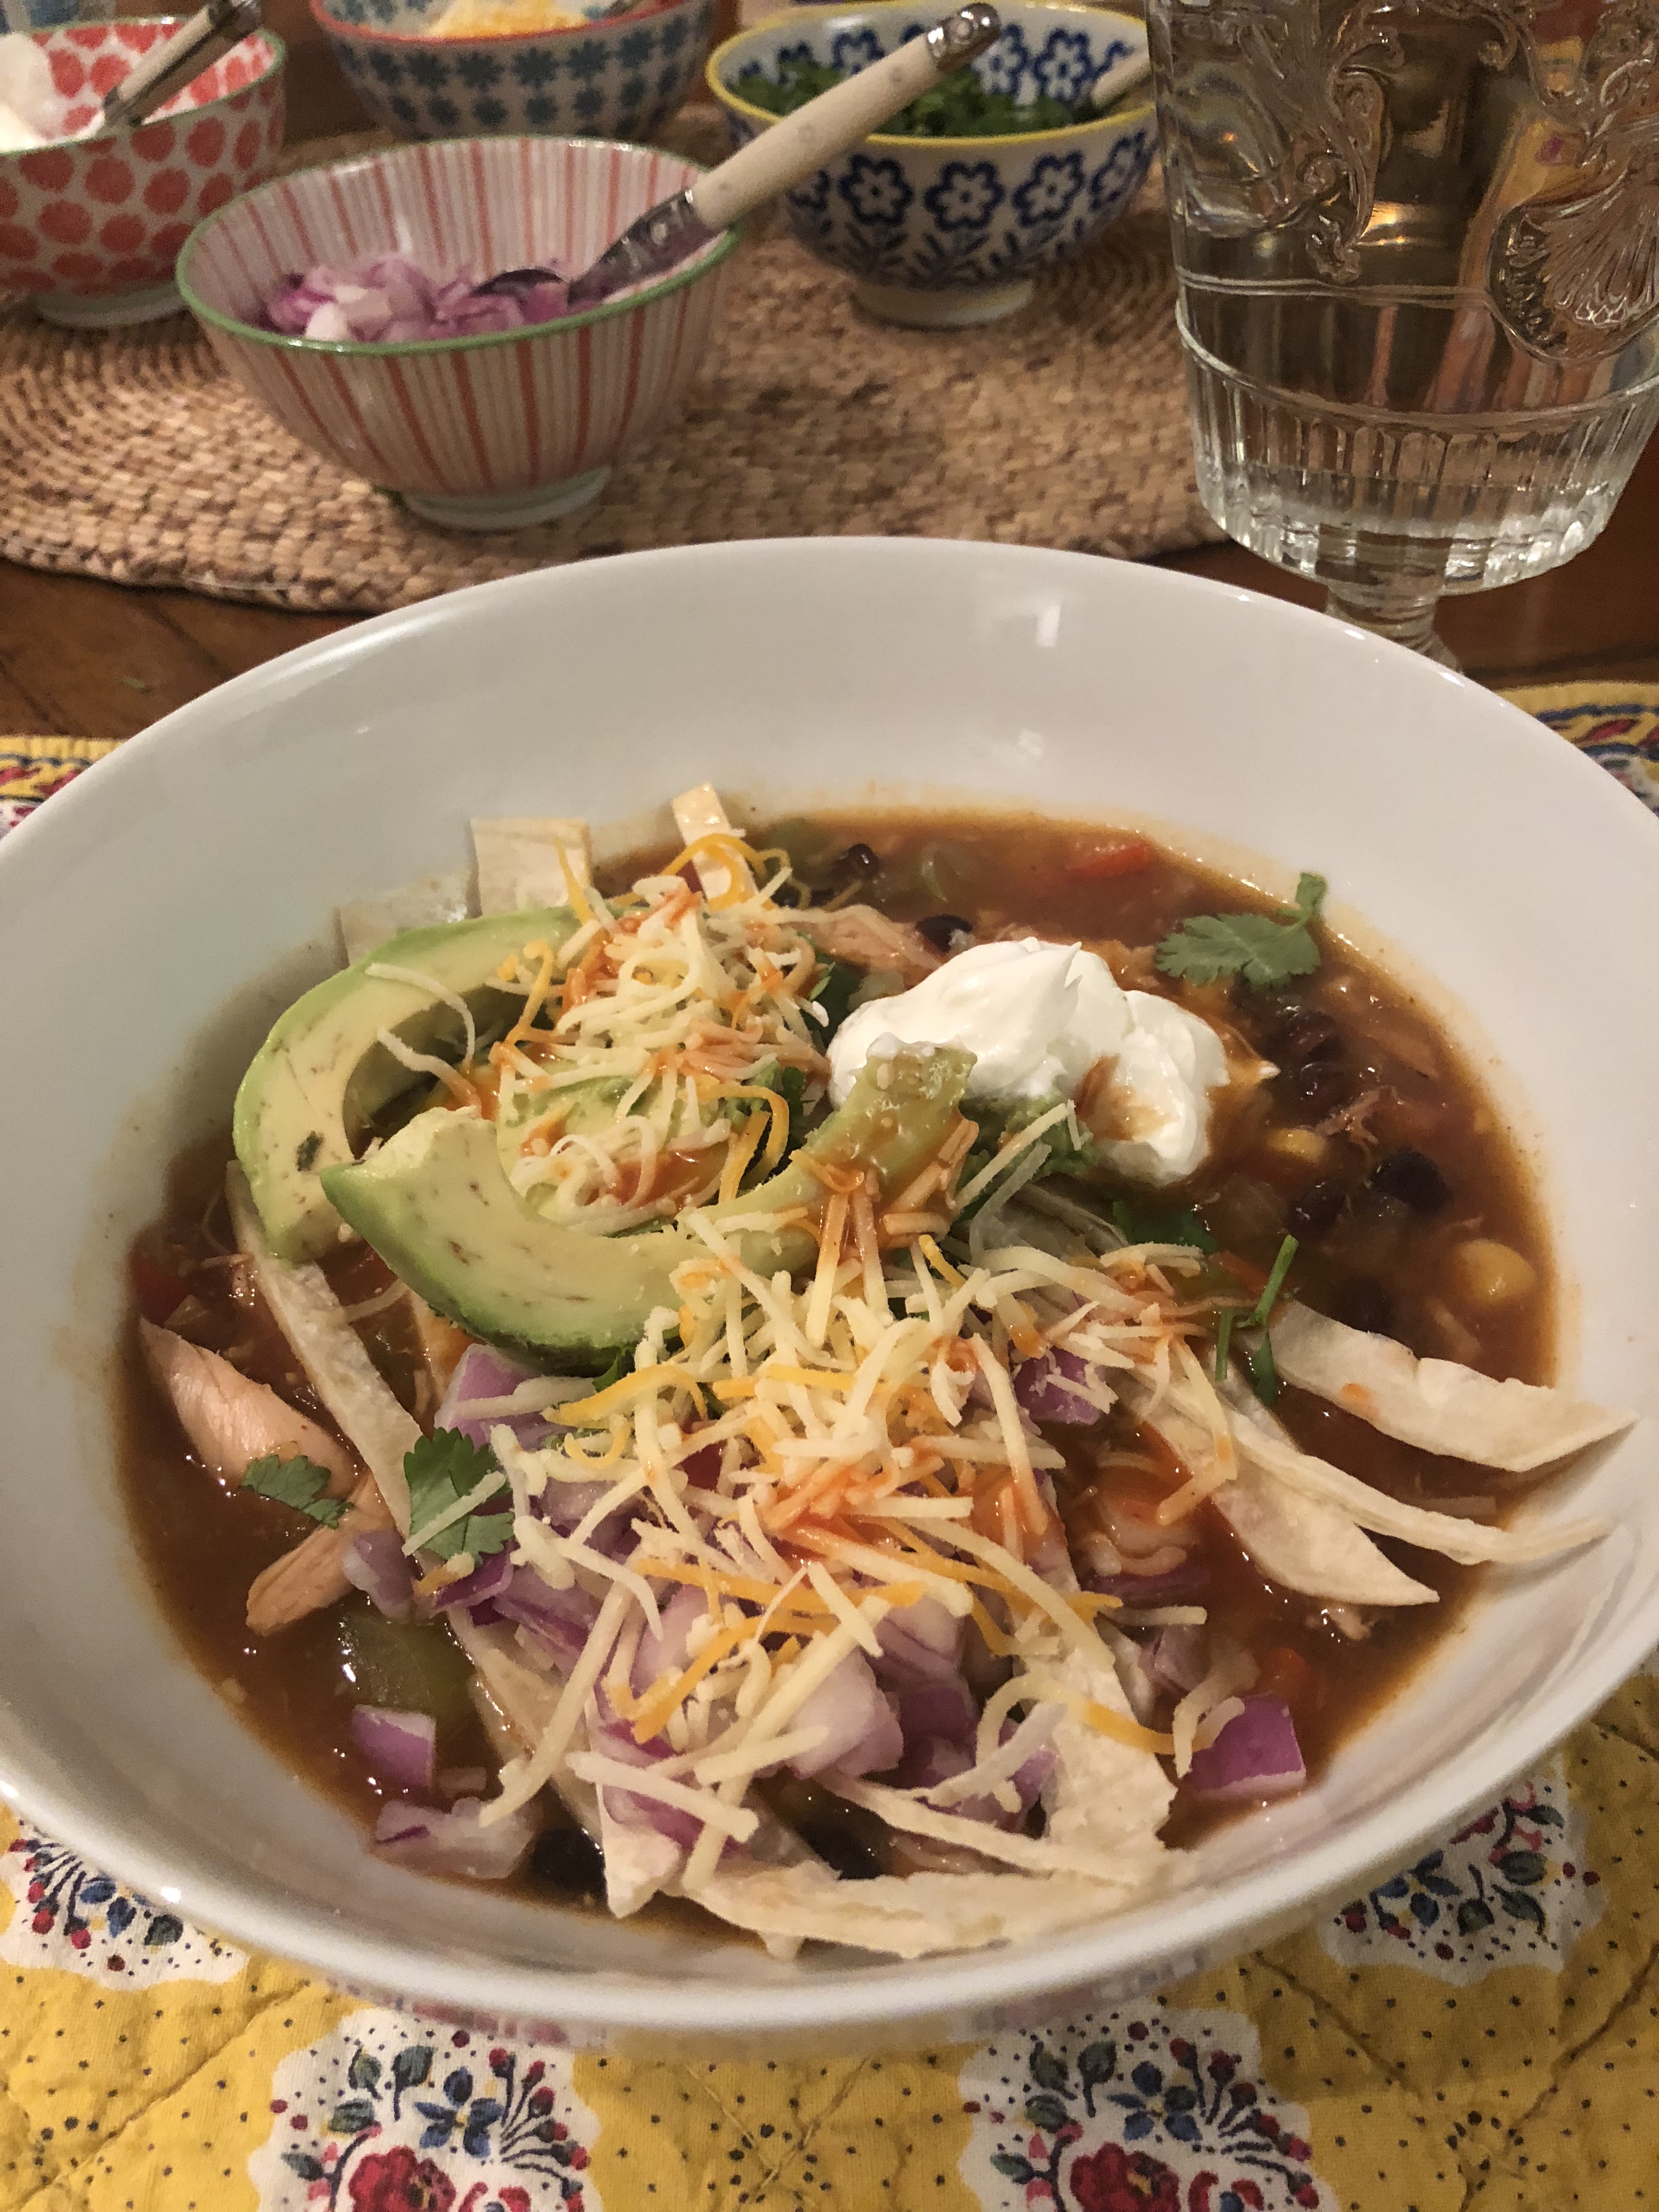
This soup has always been a favorite of mine and I usually try to order it when it’s offered on a menu. I am a big fan of Mexican Food and have always wanted to try to make my own Chicken Tortilla Soup .This is a super easy version using a store-bought rotisserie chicken and a packet of Taco Seasoning.  Now that the weather has turned super cold it’s a perfect time for heart warming meals. I started cooking soup in the afternoon, prep was pretty quick and I let it simmer for an hour and then turned off stove while we went out. When we got home I turned on the stove and continued cooking soup. I cut up avocado, chopped up some cilantro, put sour cream and cheese into some little bowls and in less than 1/2 hour we were sitting eating this delicious and tasty soup! Joel even ate the avocado!!!! This is big!!! He loved the soup. It’s very filling.

I use crispy tortillas if that’s what I have in the house. It is delicious with soft corn tortillas sliced up and added into the soup at the end also. I love when the crunchy chips go soft in the soup with the melted cheese– I could go on and on about this soup. Tonite I used soft tortillas.

If you have the time I suggest making this soup, it is so easy with a prepared chicken or you can make your own chicken .  The prep is about 15 minutes using store-bought chicken and cooking is about 1 1/2 to 2 hours for soup.  I just think soup tastes better the longer it sits. I prefer making it in the early part of the day and letting it sit on the stove for a while.

This is a big soup and will probably serve 6-8 nicely. I have a container in my freezer and 4 of us ate this soup.

Look for my slow cooker version also on my blog.

Enjoy!

Ingredients:

1 Rotisserie Chicken from your favorite supermarket

1 Tablespoon Olive Oil

1 Packet of Taco Seasoning — this is really easy , use whatever brand you like

1 cup diced onion

3 cloves garlic, peeled and minced

1 diced green pepper

1 diced yellow, red or orange pepper

1 10 oz. can  Rotel brand Tomatoes and Green Chiles–just a suggestion

1 can enchilada sauce– green or red ( in Mexican Food section of your supermarket) its a small sized can

1 15 oz. can of whole-kernel corn  – drained

32 ounces Chicken Broth

3 Tablespoons Tomato Paste

4 cups hot water

2 cans Black Beans , drained and rinsed unless they’re organic and then you don’t have to rinse but I always do anyway

3 Tablespoons Cornmeal –mixed with water ( see instructions)

5 Soft Corn Tortillas (I use the small ones) cut into uniform strips or crunchy tortilla chips–use as many or as little as you like–or skip all together for a lighter version.

Toppings:

*optional and use whatever you like — these are just some suggestions

Sour Cream

Cilantro

Grated Cheese –Monterey Jack is a good choice here or Mexican Blend Grated Cheese

Cut-Up Avocado

Salsa or Pico De Gallo

Diced Red Onion

Diced Fresh Jalapeno

Hot Sauce like Cholula is my favorite go to sauce

Directions:

I took skin off chicken and shredded most of the chicken meat.

Heat 1 Tbsp. Olive Oil in a large Pot –dutch oven is great here (Le Creuset) add onions, peppers, and minced garlic. Stir and begin cooking, then add the packet of Taco Seasonings if it’s very dry and hard to stir you can add a little more olive oil. Add in the shredded chicken and stir it all up.

Pour in Rotel, chicken stock, tomato paste, enchilada sauce, water , black beans and corn. Bring to a boil, then reduce heat to a simmer. Simmer for app. 45 minutes to an hour, uncovered.

In a little bowl mix 3 cornmeal with a small amount of water , just enough to mix it into a paste like consistency. Pour into the soup, then simmer for an additional 30 minutes at least, I cooked for another hour. I always believe the soup is best when it sits for a long time.

Check seasonings, adding more salt if you need it , I added kosher salt because I felt it needed it. Taste has to be your guide but be sure not to undersalt, you don’t want this to be bland. Turn off heat and allow to sit for about 20 minutes.

Five minutes before serving, gently stir in the tortilla strips if you’re using them.

Ladle into bowls, then top with your favorite toppings and there you go! I think the chips/tortillas make this soup along with the cilantro and avocado. Let your taste be your guide here.