Category Archives: Uncategorized

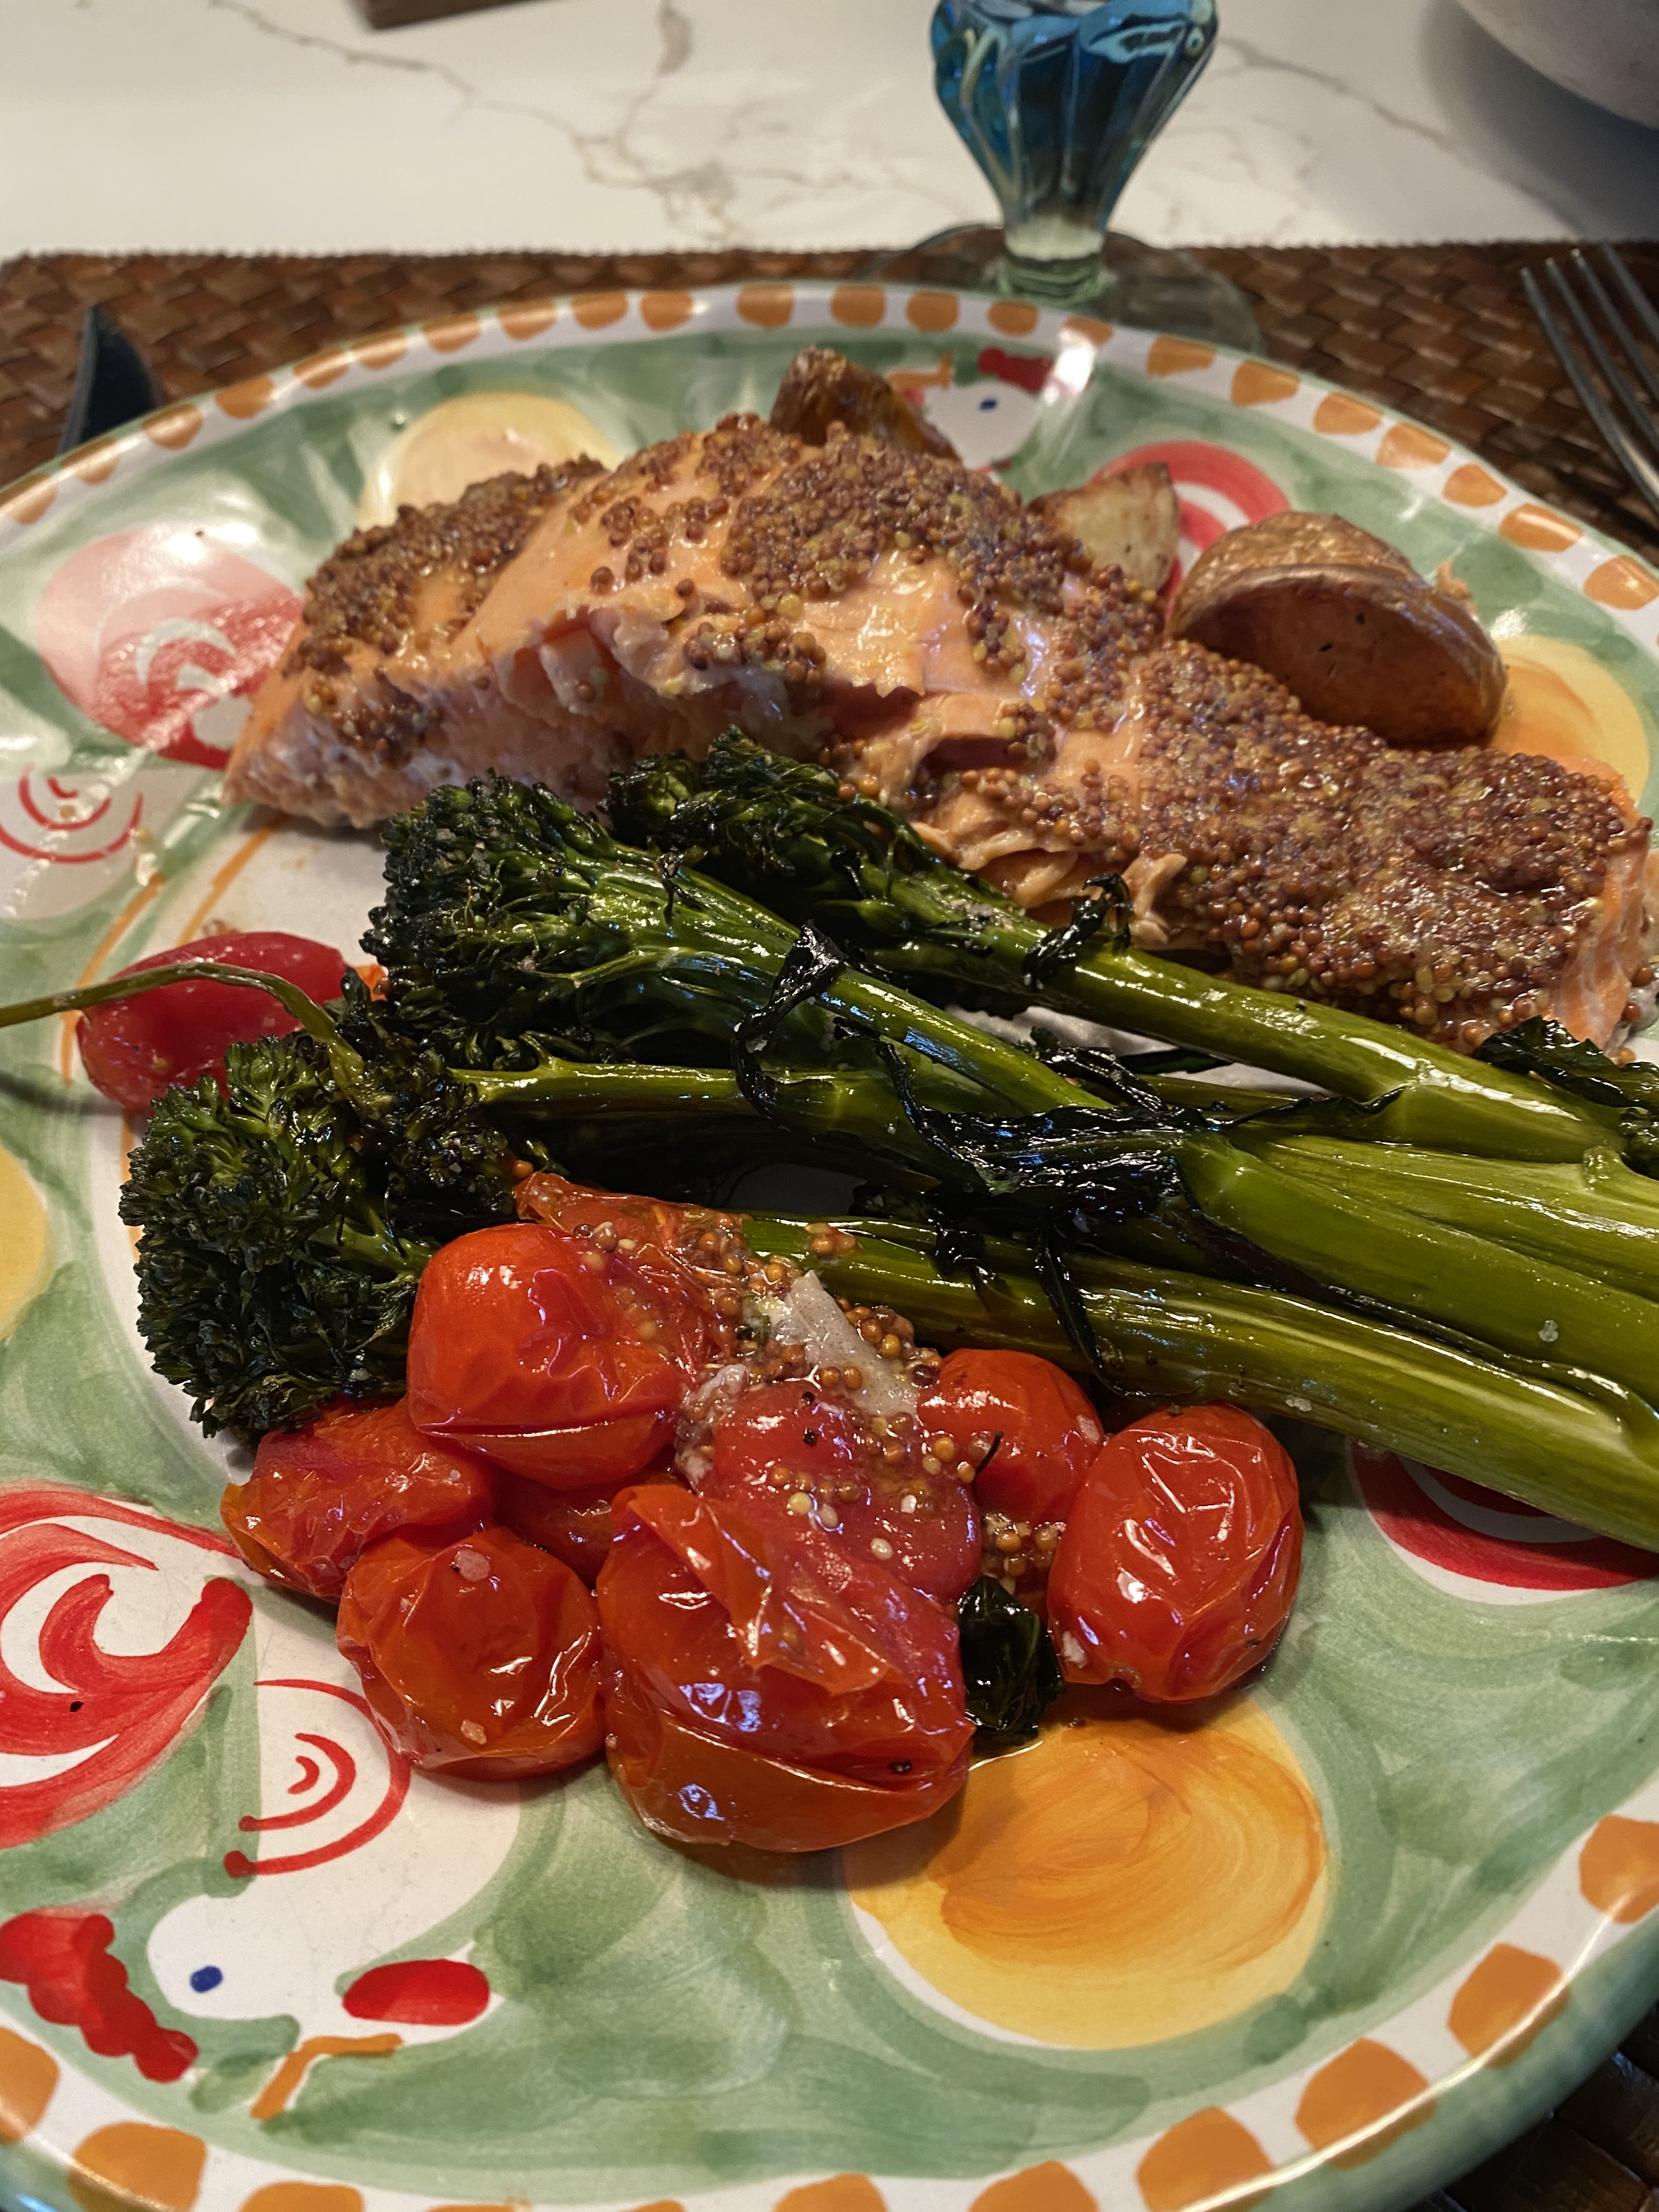
Sheet Pan Mustard Salmon with Vegetables

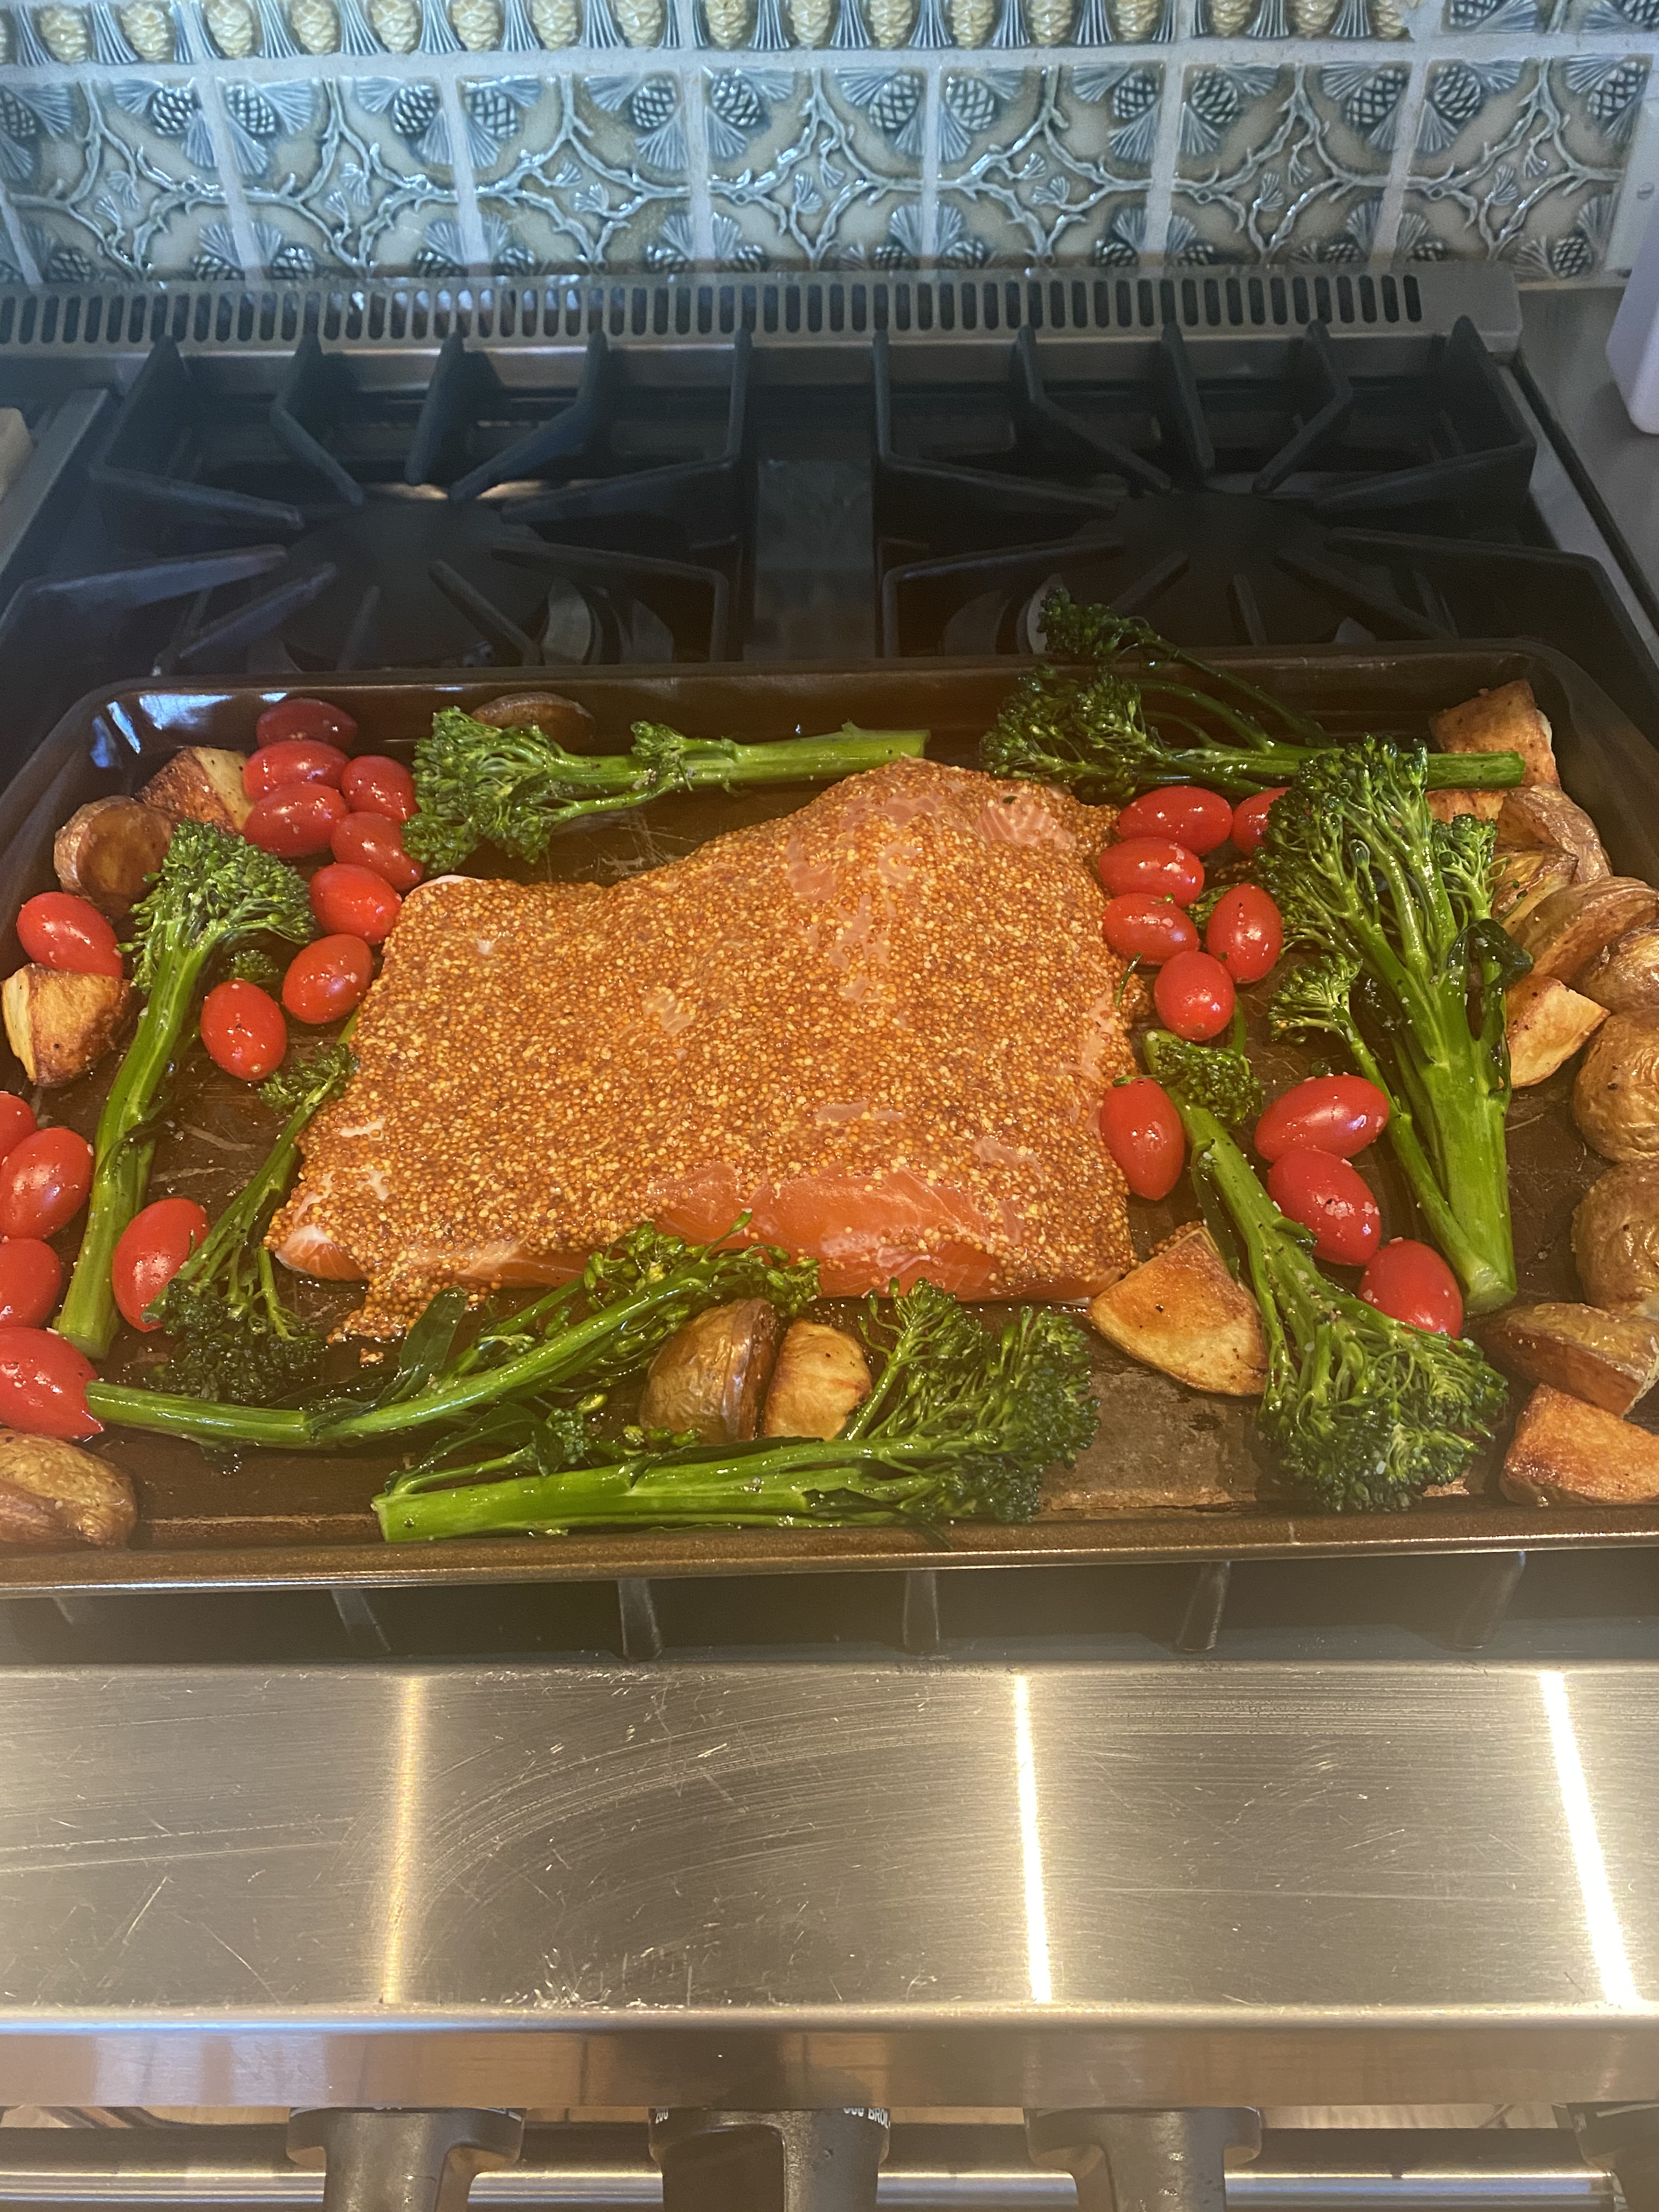
Now you all know how very much I love a sheetpan meal. So very easy to prepare and cook and so delicious to eat. This is what I did. You can substitute sweet potatoes if you’d like. I used Broccolini but you can use regular broccoli, cauliflower or asparagus or any veggie you like.

I really slather on the mustard because I love the strong mustard flavor but feel free to add less or more depending on your own taste.

Enjoy!

*this recipe is for 2 people feel free to double up for more — there’s no exact science going on here so feel free to swap in or out what ingredients you prefer

Ingredients:

4 fingerling potatoes or any potatoes you’d like I used yukon gold this time because that’s what I had in the house

app. 3 Tablespoons Olive Oil in total but if you feel you need more– be my guest

Kosher Salt and black pepper to taste

2 Salmon Fillets or 1 piece of Salmon app. 1 lb. ( I used a 1/4 lb. for the two of us and had some left over)

3- 8 Tablespoons Maille Old Style Mustard — I just slathered the top of the salmon

1/2 cup cherry or grape tomatoes

small bunch of Broccolini or it’s equivalent for another vegetable

Directions:

Arrange a rack in the middle of the oven and pre-heat to 400 degrees. I sprayed a rimmed baking sheet with cooking spray.

Place potatoes in a bowl and drizzle with 2 Tbsp. Olive Oil and a little kosher salt and black pepper. Stir to coat and arrange the potatoes cut-side down . Bake for app. 15 minutes . Obviously yukon gold or sweet potatoes you’ll just arrange on baking sheet since you can’t do cut-side down.

Meanwhile pat salmon dry and brush with Mustard.

Toss the broccolini and cherry tomatoes in a clean mixing bowl with 1 Tablespoon of Olive Oil and sprinkle with Salt and Pepper. If it doesn’t look like enough oil add a little bit.

After the initial 15 minutes, remove tray from oven and push potatoes to edges of pan, creating enough room for salmon in the center of baking sheet and arrange the broccolini and tomatoes around the salmon. Using tongs flip over potatoes to cook evenly .

Bake for about 15 minutes depending on the size and thickness of your salmon. If veggies are getting to burnt use tongs and remove and put on plate and cover with foil. It should only be a few more minutes for salmon to be done and I didn’t remove my broccolini because I like it charred.

If you don’t want potatoes you can just cook salmon and vegetables and use rice or nothing . It’s delicious and since I made a little extra salmon it was delicious the next day for lunch.
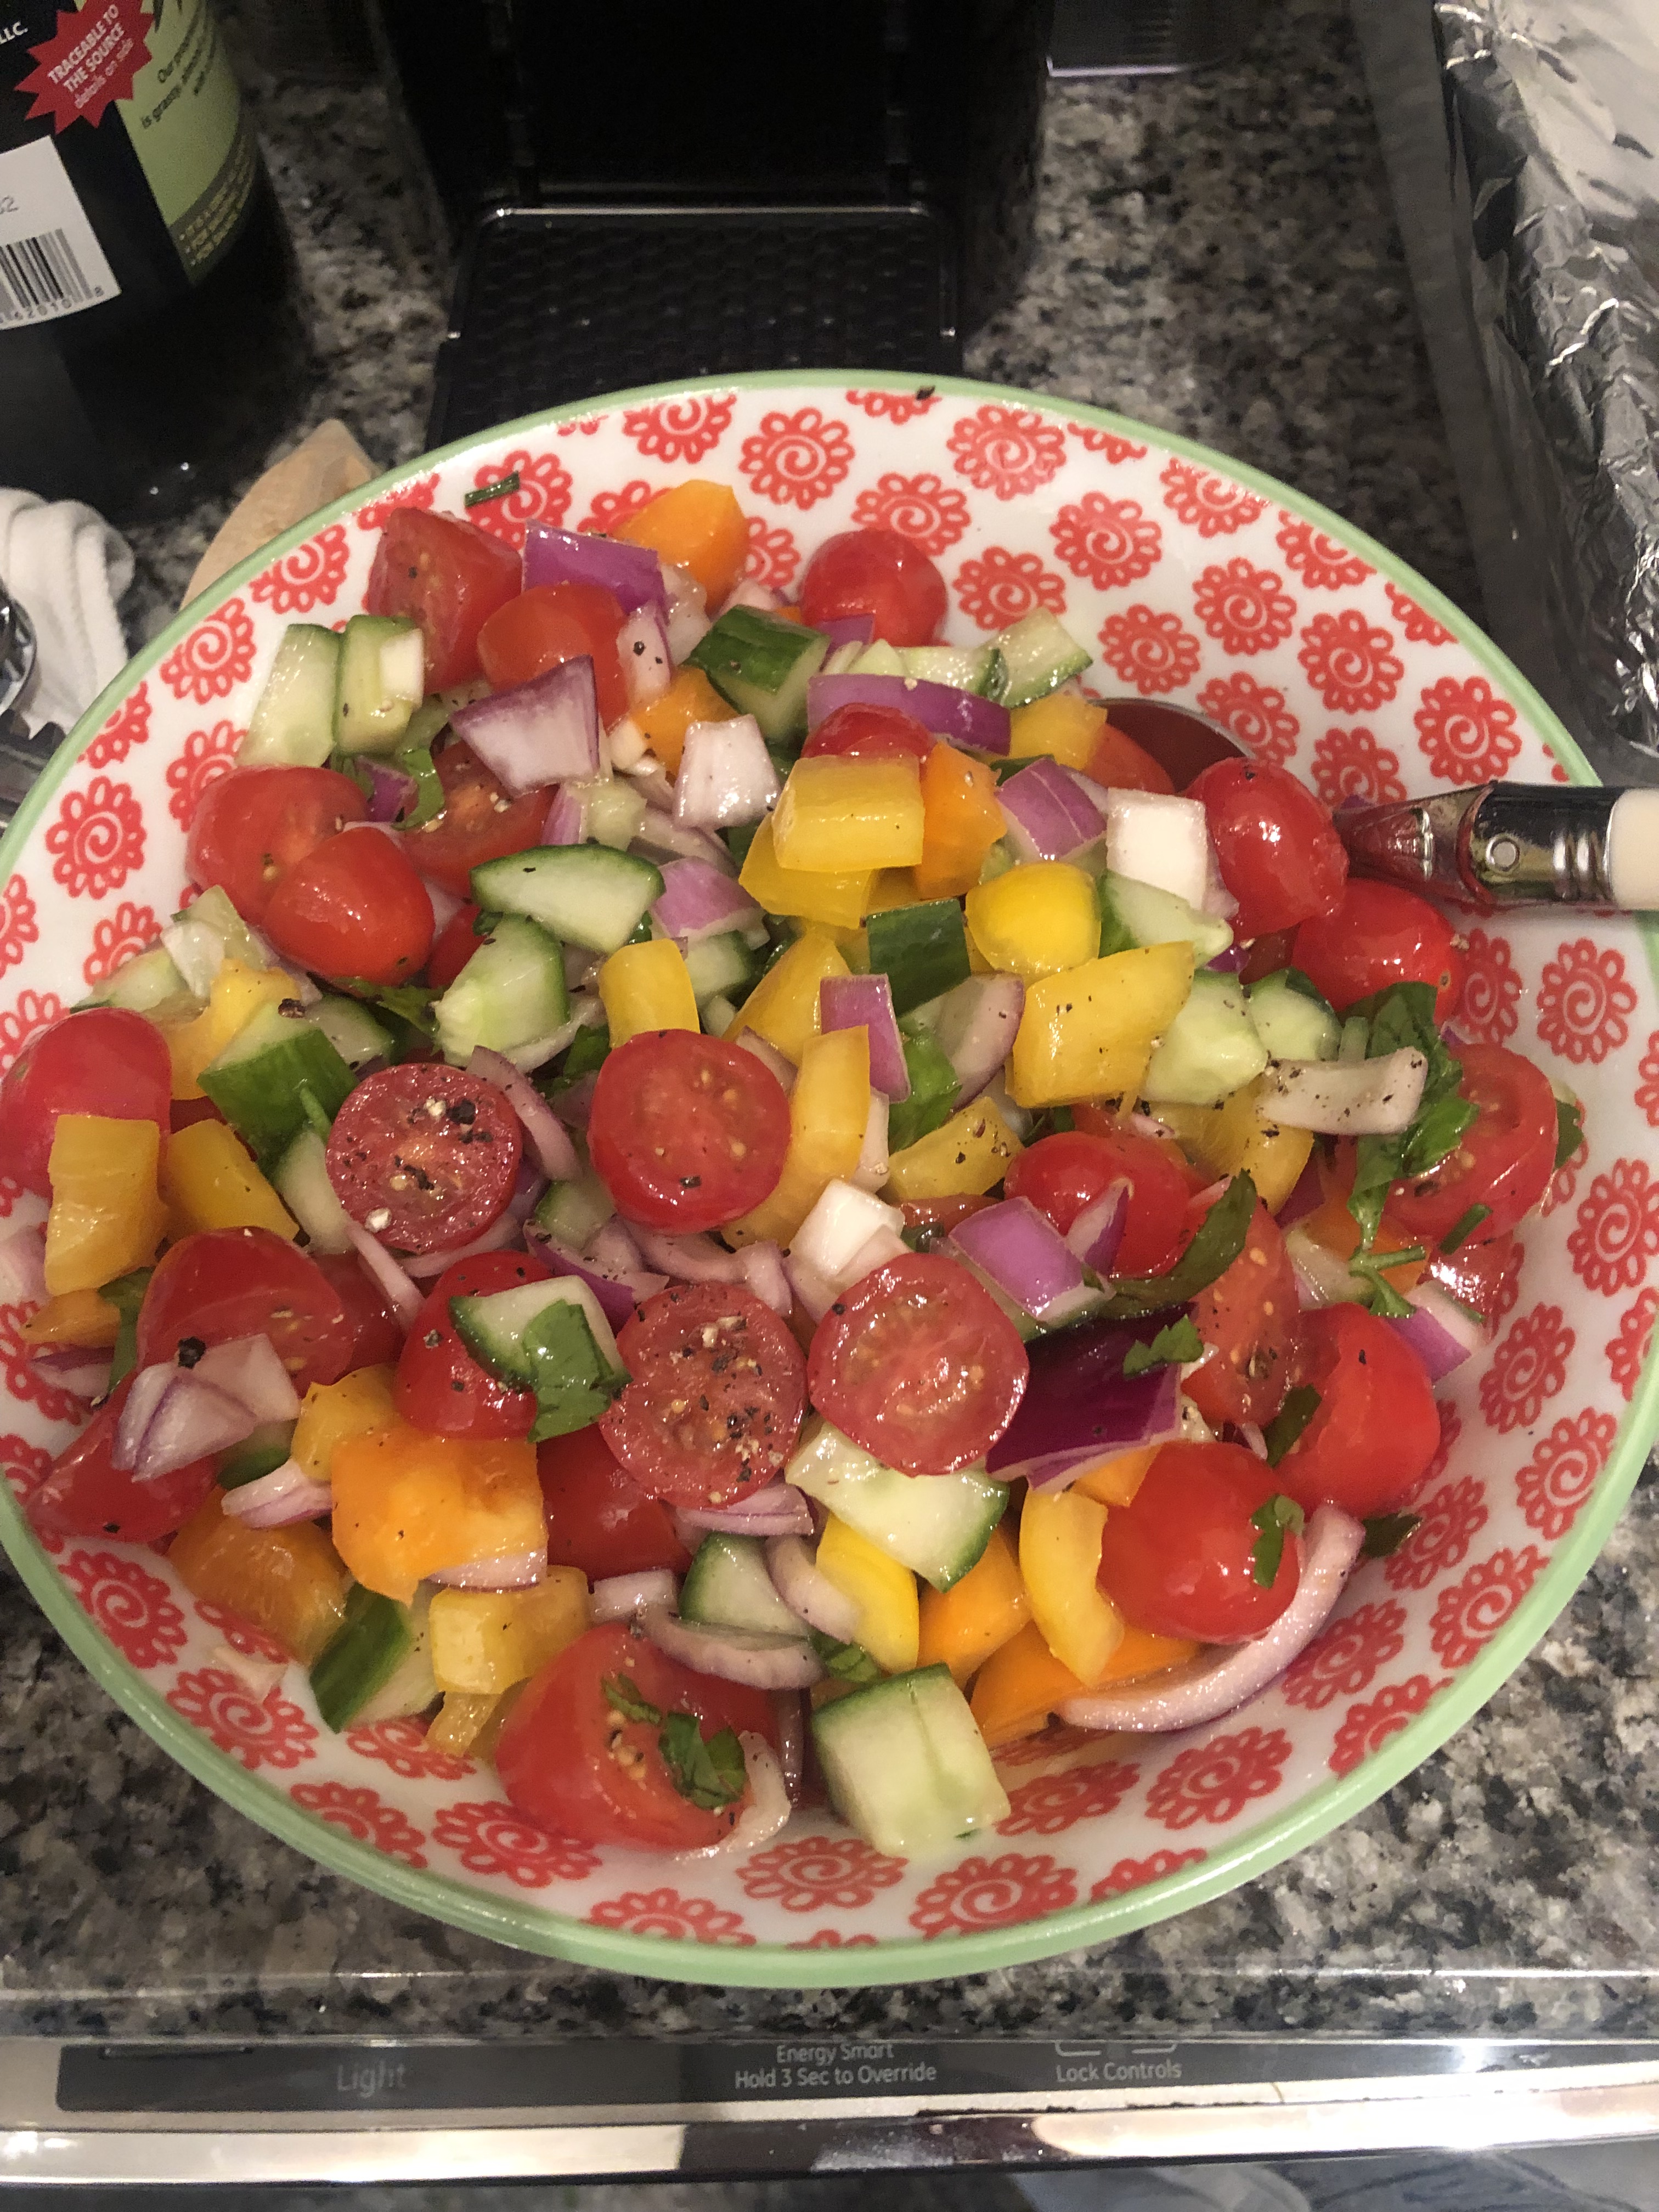
Easy Israeli Salad

This salad is so delicious and fresh and works so well with grilled chicken, fish or really any protein.

I just love it for lunch or dinner and it’s so easy that anyone can do it. Add in feta cheese, olives, or canned chick peas to add to this wonderful deliciousness.

Whatever and whenever you decide to serve this it will be most wonderful.

Just a word about making ahead… I chopped and diced all the vegetables and put in a bowl and put in the fridge. I juiced my lemon and had it set aside. Right before serving I added olive oil and lemon juice stirred it up well and tasted for salt and pepper.

If you add oil and lemon juice too soon it will be very soggy and I don’t like it that way at all. So just have it all ready to serve and add dressing right before.

Ingredients;

this is what I used feel free to substitute or add in whatever you’d like. ( Canned Chick Peas are also delicious in this) Olives, Scallions, Feta Cheese, whatever you feel like.

1 Large Seedless Cucumber or remove the seeds from a seeded one or just keep the seeds if you don’t care

1 box grape tomatoes halved

1 yellow pepper, diced or an orange one. I used orange and yellow about 1/2 and 1/2

1/2 cup diced red onion

2 Tbsp. Fresh Parsley , chopped

3 Tablespoons Lemon Juice

2-3 Tablespoons Olive Oil– I used 3 but you can start with 2 add the salt and pepper and add for more flavor after

Kosher Salt and Freshly Ground Black Pepper

Directions:

In a large bowl, toss together all the vegetables. Add the lemon juice, olive oil and chopped parsley and mix thoroughly to coat.

Season with Salt and Pepper to your liking. Serve cold or at room temperature. I like it cold but it’s delicious either way.

Blueberry Banana Bundt Cake

I had rotten bananas and I had some blueberries and I had all the other ingredients for this delicious bundt cake in the house. It took about 20 minutes to prep and another 50 minutes in the oven and it’s going into the freezer for another time and place. I cut into it to taste it and will cut it into 4 sections and freeze it for when we come back this summer to Colorado. It freezes so well and the bananas were going in the garbage so there you have it –snacking cake for another time. You can freeze this cake up to 3 months, but make sure you wrap it up carefully and mark the date you freeze it on the bag. Enjoy!

Ingredients:

1 1/4 cups flour

1 teaspoon baking soda

1 teaspoon fine salt (table salt)

1/2 cup butter unsalted and softened

3/4 cup sugar

3 large eggs — room temperature

1 teaspoon vanilla extract

4 bananas mashed– very ripe black bananas

1 cup blueberries — rinsed and dried

Directions:

Preheat oven to 350 degrees. I spray a Bundt Pan with Bakers Aid Spray– you can use other sprays but I prefer this one for baking

In a large bowl combine the flour, baking soda and salt with a wire whisk. Set it aside

Cream Butter and Sugar in an Electric Mixer. Add eggs one at a time and the vanilla. Beat until well combined

Add the flour Mixture to the bowl and Combine until just mixed. Fold in the Blueberries and Bananas with a spatula

Pour the batter into the sprayed Bundt Pan

Bake for 50 minutes. Check with a cake tester or toothpick till it comes out clean.

Enjoy!!

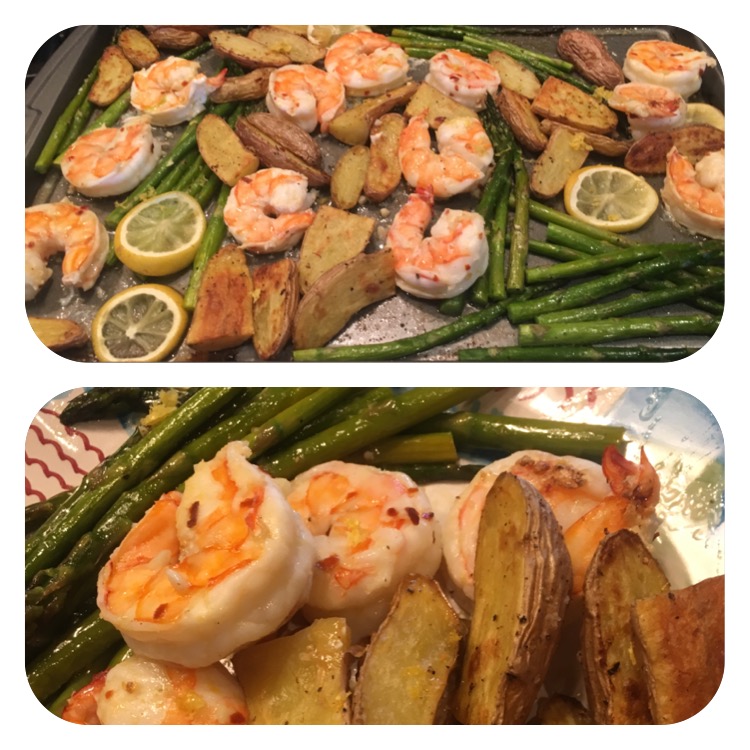
Sheet Pan Shrimp with Asparagus and Potatoes

IMG_4193

This dinner was just delicious.  I used under 8 size shrimp. What this means is that there were about 8 to a pound , so rather large and the cooking times were perfect for them. You will probably have to adjust your cooking time depending on the size of your shrimp. Obviously the larger shrimp took a little longer to cook. Timing will vary depending on your oven and the size of the shrimp you use.  The potatoes and asparagus times will remain pretty much the same. I just love cooking on one sheet in the oven! This recipe is a keeper and one I will re-visit often and maybe use different veggies, since I am the only one who ate the asparagus anyway.

Ingredients:

1 pound large shrimp ( anywhere from 8 – 16 count) is perfect – thawed, peeled and de-veined and leave the tails on

Extra – Virgin Olive Oil

3 cloves of garlic-minced

1/4 tsp. crushed red pepper flakes if you hate the spice you can omit it

2 Lemons, 1 for zest and juice of, the other 1 thinly sliced

1 lb. Asparagus-trimmed

1 lb. Fingerling Potatoes–halved lengthwise

Kosher Salt and Freshly Ground Pepper–read directions for amounts

Directions:

Preheat oven to 400 degrees.

Spray a large rimmed baking sheet for easy clean up

Place the shrimp in a large mixing bowl and drizzle with 2 Tbsp. Olive Oil . Add in minced garlic and crushed red pepper flakes. Stir to coat and set aside.

In another mixing bowl , toss the sliced potatoes with 1 Tbsp. Olive Oil. Season generously with Kosher Salt and Freshly Ground Black Pepper. Transfer Potatoes to the baking sheet in a single layer. Roast potatoes for anywhere between 20 and 30 minutes, or until they are almost tender.

While potatoes are roasting, toss asparagus with 1/2 Tbsp.of Olive Oil and season with Salt and Pepper,  Set aside

Now add 1 Tablespoon Lemon Juice to bowl of shrimp and toss to coat. Season Shrimp pretty generously with kosher salt and freshly ground black pepper.

After 20 minutes or so remove potatoes from the oven and add asparagus and lemon slices to baking sheet. Continue to roast potatoes and asparagus for another 10 minutes,  potatoes should be tender by now , pierce a potatoe with a fork to check for tenderness. If potatoes still need time you can leave them in for a few more minutes. Using a slotted spoon add shrimp to baking sheet and put back in the oven. Roast for another 10 minutes or until shrimp are pink-opaque and firm to touch. My shrimp took about 12 more minutes, this time will depend on your shrimp. I checked after 5 minutes and using tongs turned them over and continued cooking for another 7 more minutes.

When I removed from oven I sprinkled with lemon zest. Perfection on a plate!

*one added tip– after my shrimp is peeled and de-veined and before I am about to cook I always wrap my shrimp in some paper towels to dry them off. It helps with the oil and spices sticking to shrimp.

Lemon Orzo with Feta

I love this recipe from Ina Garten’s Modern Comfort Food Book.

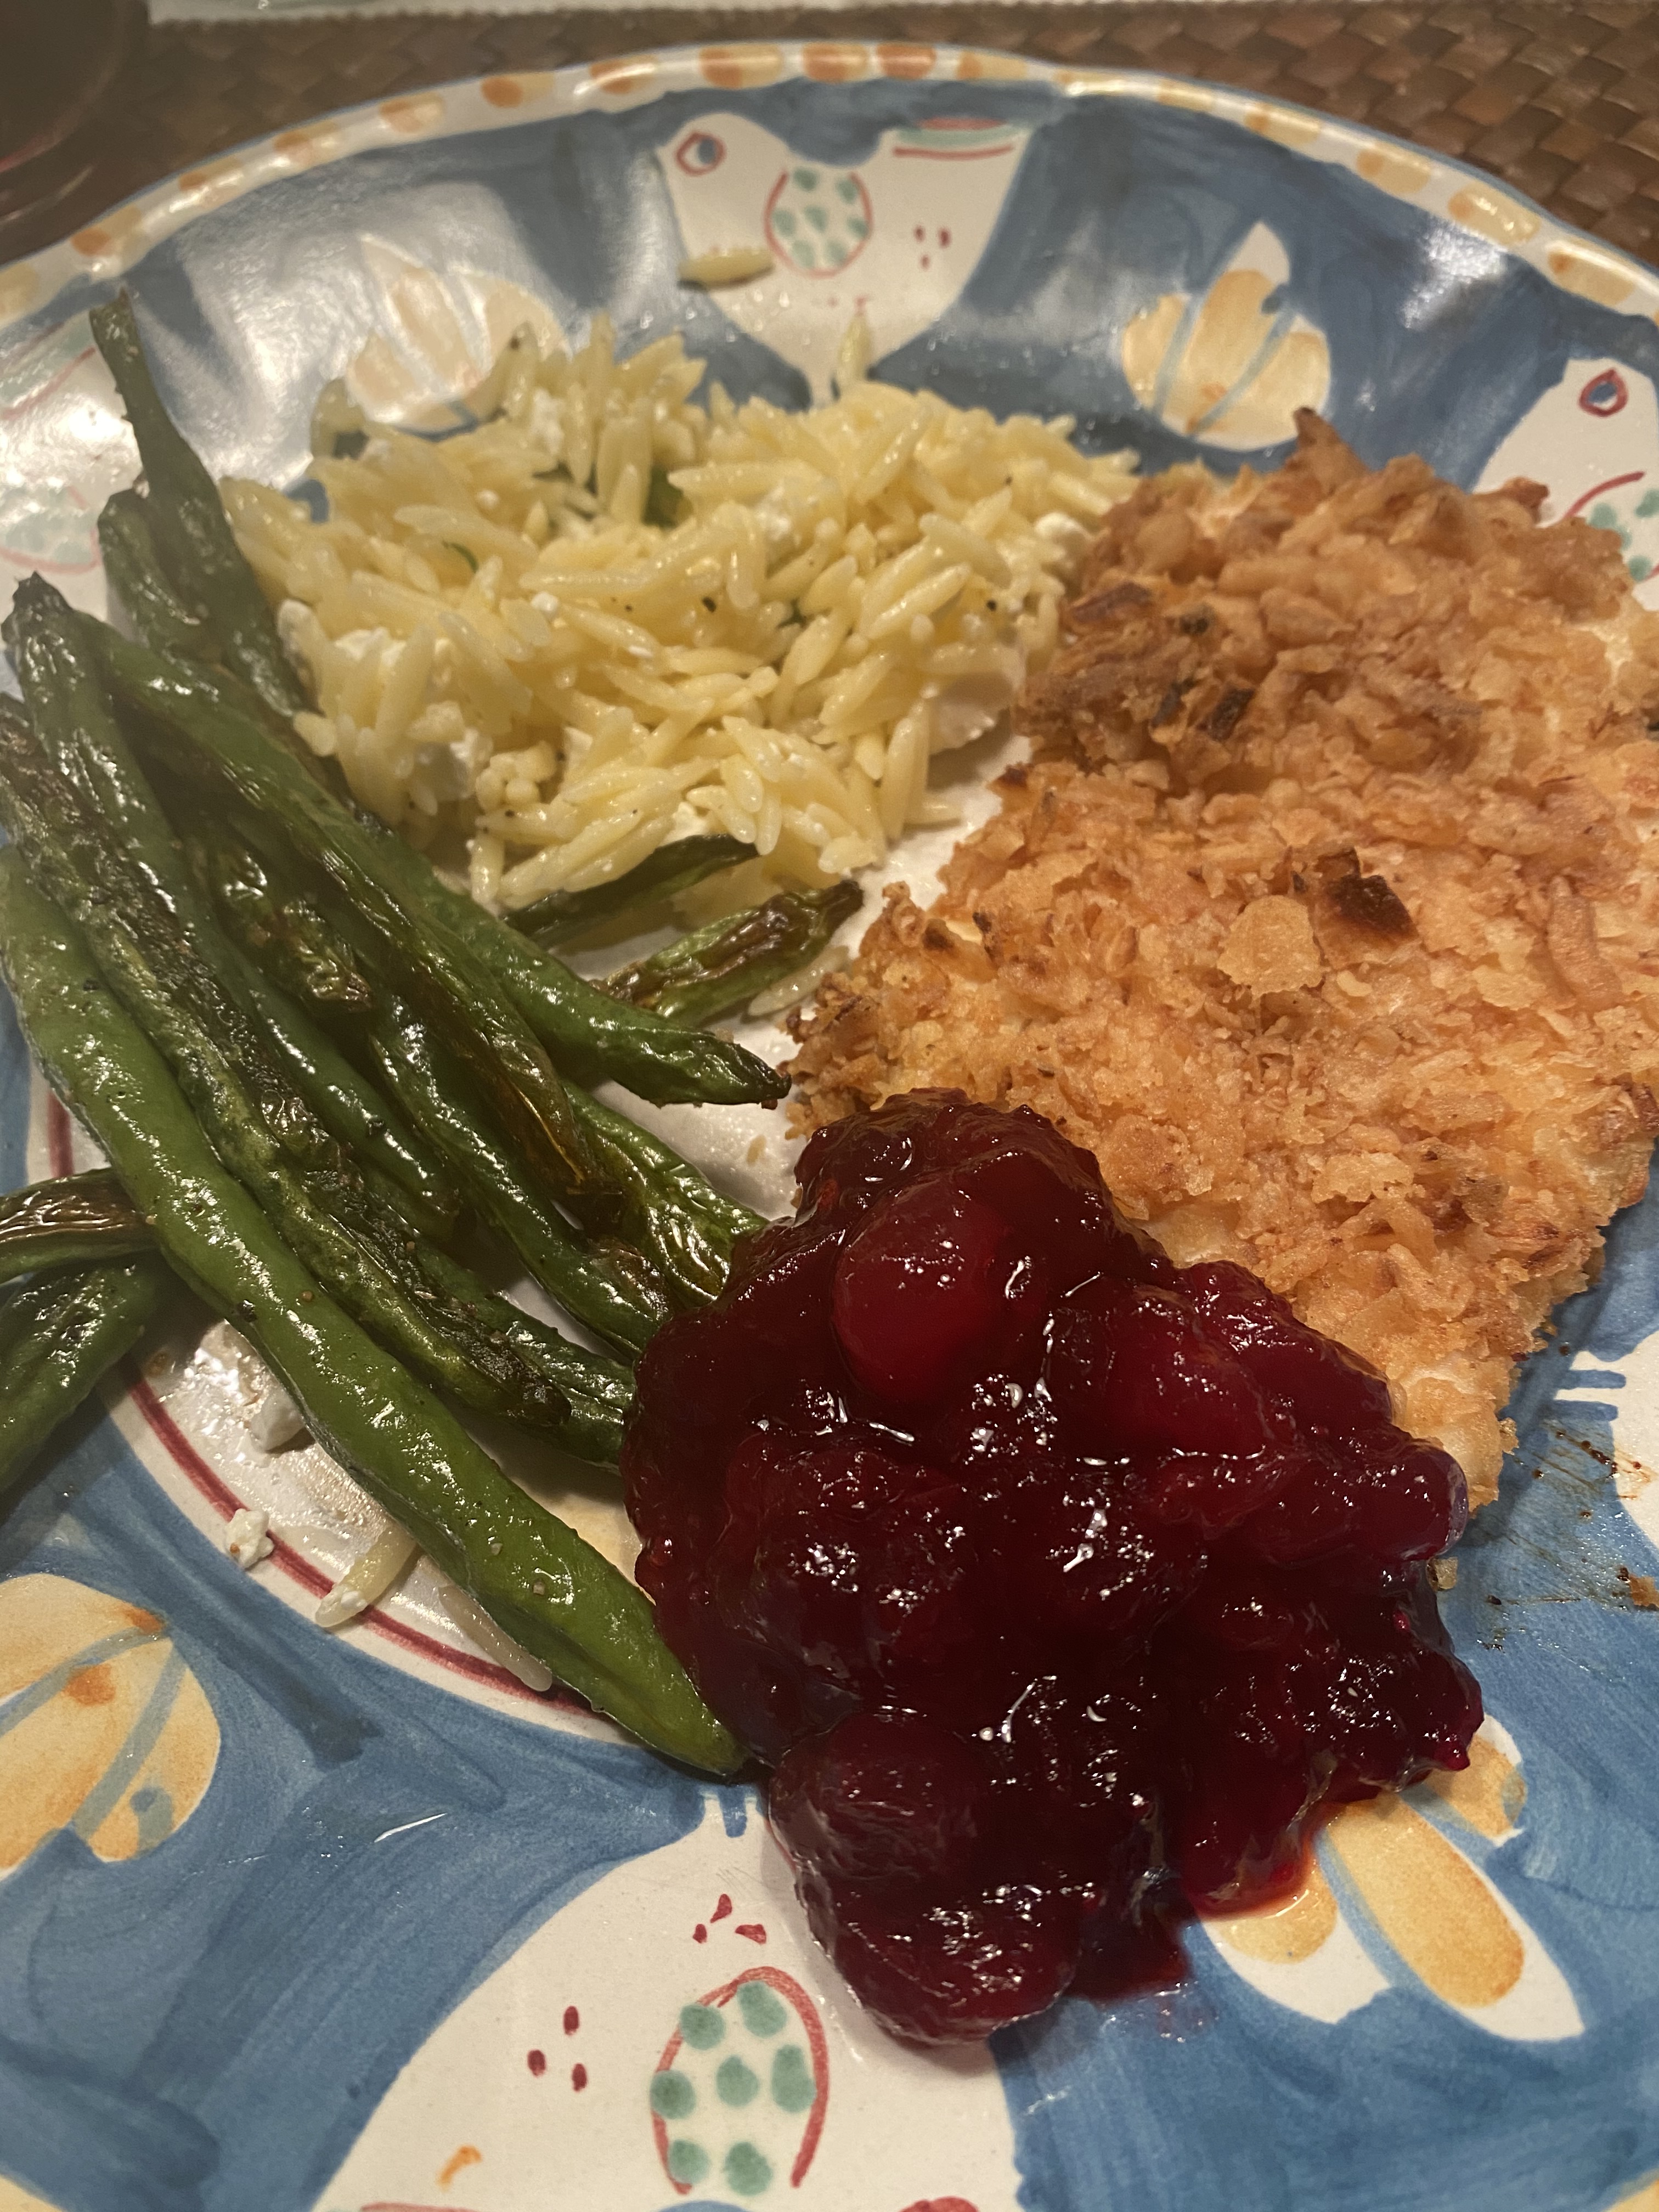
This is a delicious side dish for Chicken , fish ,and meat. I particularly like it with Roast Chicken. In the photo I posted here I served it with onion crusted chicken, oven roasted string beans, and homemade cranberry sauce. It was sort of perfect.

Get a good block of Feta or buy the crumbled one . I diced up a block of Greek Feta Cheese and it was just perfect but a nice crumbled one would work equally as well.

If you compare my recipe to Ina Garten’s original recipe you’ll notice I have omitted the salt, it was too salty for me. I tasted for Salt and Pepper when finished and added a little bit to the orzo when I cooked it. Everyone has a different palate for Salt so my suggestion is to taste at the end and add then, this recipe is easy to add at the end. Same goes for pepper just add to your own taste. Feta was plenty salty.

Simple to make and Delicious to eat .

Enjoy!

Ingredients:

1 cup Orzo

2 teaspoons grated lemon zest

2 Tablespoons Freshly squeezed Lemon Juice

2 Tablespoons good Olive Oil

1 Tablespoon minced fresh dill

1 cup small diced Feta ( try a good greek Feta ) or crumbled Feta Cheese

*kosher salt and freshly ground black pepper to taste– see note above

Directions:

In a large saucepan , bring 2 quarts of water to a boil, and cook the orzo according to package directions al dente.

Once orzo is cooked and drained transfer to a bowl and stir in the lemon zest, lemon juice, olive oil , dill, fold in the feta and taste for salt and pepper. I added no salt but about 1/4 teaspoon of freshly ground black pepper. This is up to you . Serve hot or at room temperature .

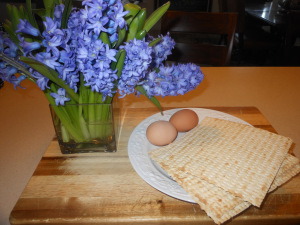
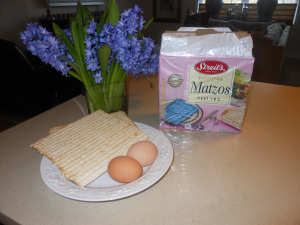
Passover 2021

Things seem to be moving in a good direction with vaccines on the horizon and so many of us already vaccinated. This Passover may be a little smaller than in the past but at least for some of us we can be together with family and friends. Keeping it smaller of course is fine for now.

As always I will start posting my Passover recipes. I may sneak in a new one if I can make it in time .

I have been posting these recipes since 2011 and I try and compile a list of all the recipes. If you’re a subscriber you can just put Passover into the search bar on my site and most of the recipes will come up. If you’re searching for a particular recipe i.e. My Favorite Macaroons that recipe will come up if you put it in the search bar. If you’re having difficulty you can always google the recipe title along with cooking with candi and it should come up this way. If you still can’t find it email me in comments with any questions or comments I would love to hear from all of you.

These are my tried and true recipes which have been in my family now for quite some time. The first night of Passover is March 27 and I will be posting some of these recipes over the next week.

Have a very Happy Holiday from our house to yours.

Here is my list of tried and true:

Passover Recipes

Homemade Chicken Soup with not so Homemade Matzoh Balls

Passover Popovers

Traditional Ashkenazi Charoset

Slow Cooked Brisket

Happy New Year Brisket-– perfect for any holiday any time of the year–perfect for any holiday any time of the year

Un- Stuffed Cabbage–Probably one of my personal favorites in place of Sweet and Sour Meatballs and also frees up the oven because this is made on stove-top

Grandma Regina’s Farfel–My Grandma Regina lives on in this recipe and is always on our Seder Table– it’s a little difficult to make but totally delicious if you get it right

Honey Roasted Chicken

Chicken Marbella

Old School Meatballs

Apricot Honey Mustard Chicken

Peach Farfel — a must just ask anyone who’s ever made it

Bree’s Slow Cooked Steaks— I sometimes make this in place of brisket– I use the slow cooker so it frees up my oven

Karyn’s Cranberry Apple Crisp for Passover--a must have for every table you can even serve it as dessert if you prefer

Judy’s Apple Matzoh Kugel for Passover

Sweet Matzoh Pudding

Spinach Souffle for Passover–so very easy and it’s a vegetarian but it is Dairy so if you’re kosher this won’t work for you

Passover Cobbler

My Favorite Macaroons— Traditional Style for Passover

Julie’s Brownies for Passover

Chocolate Bark Surprise

Marcy’s Matzoh Crunch Candy-– super delicious and easy and very addictive– a most amazing dessert for Passover

Meringue Cookies

Ellen’s Passover Apple Cake

Matzoh Brei

Enjoy it all and I am looking forward to hearing from you and if you’d like post a story on Instagram and tag me — thanks in advance

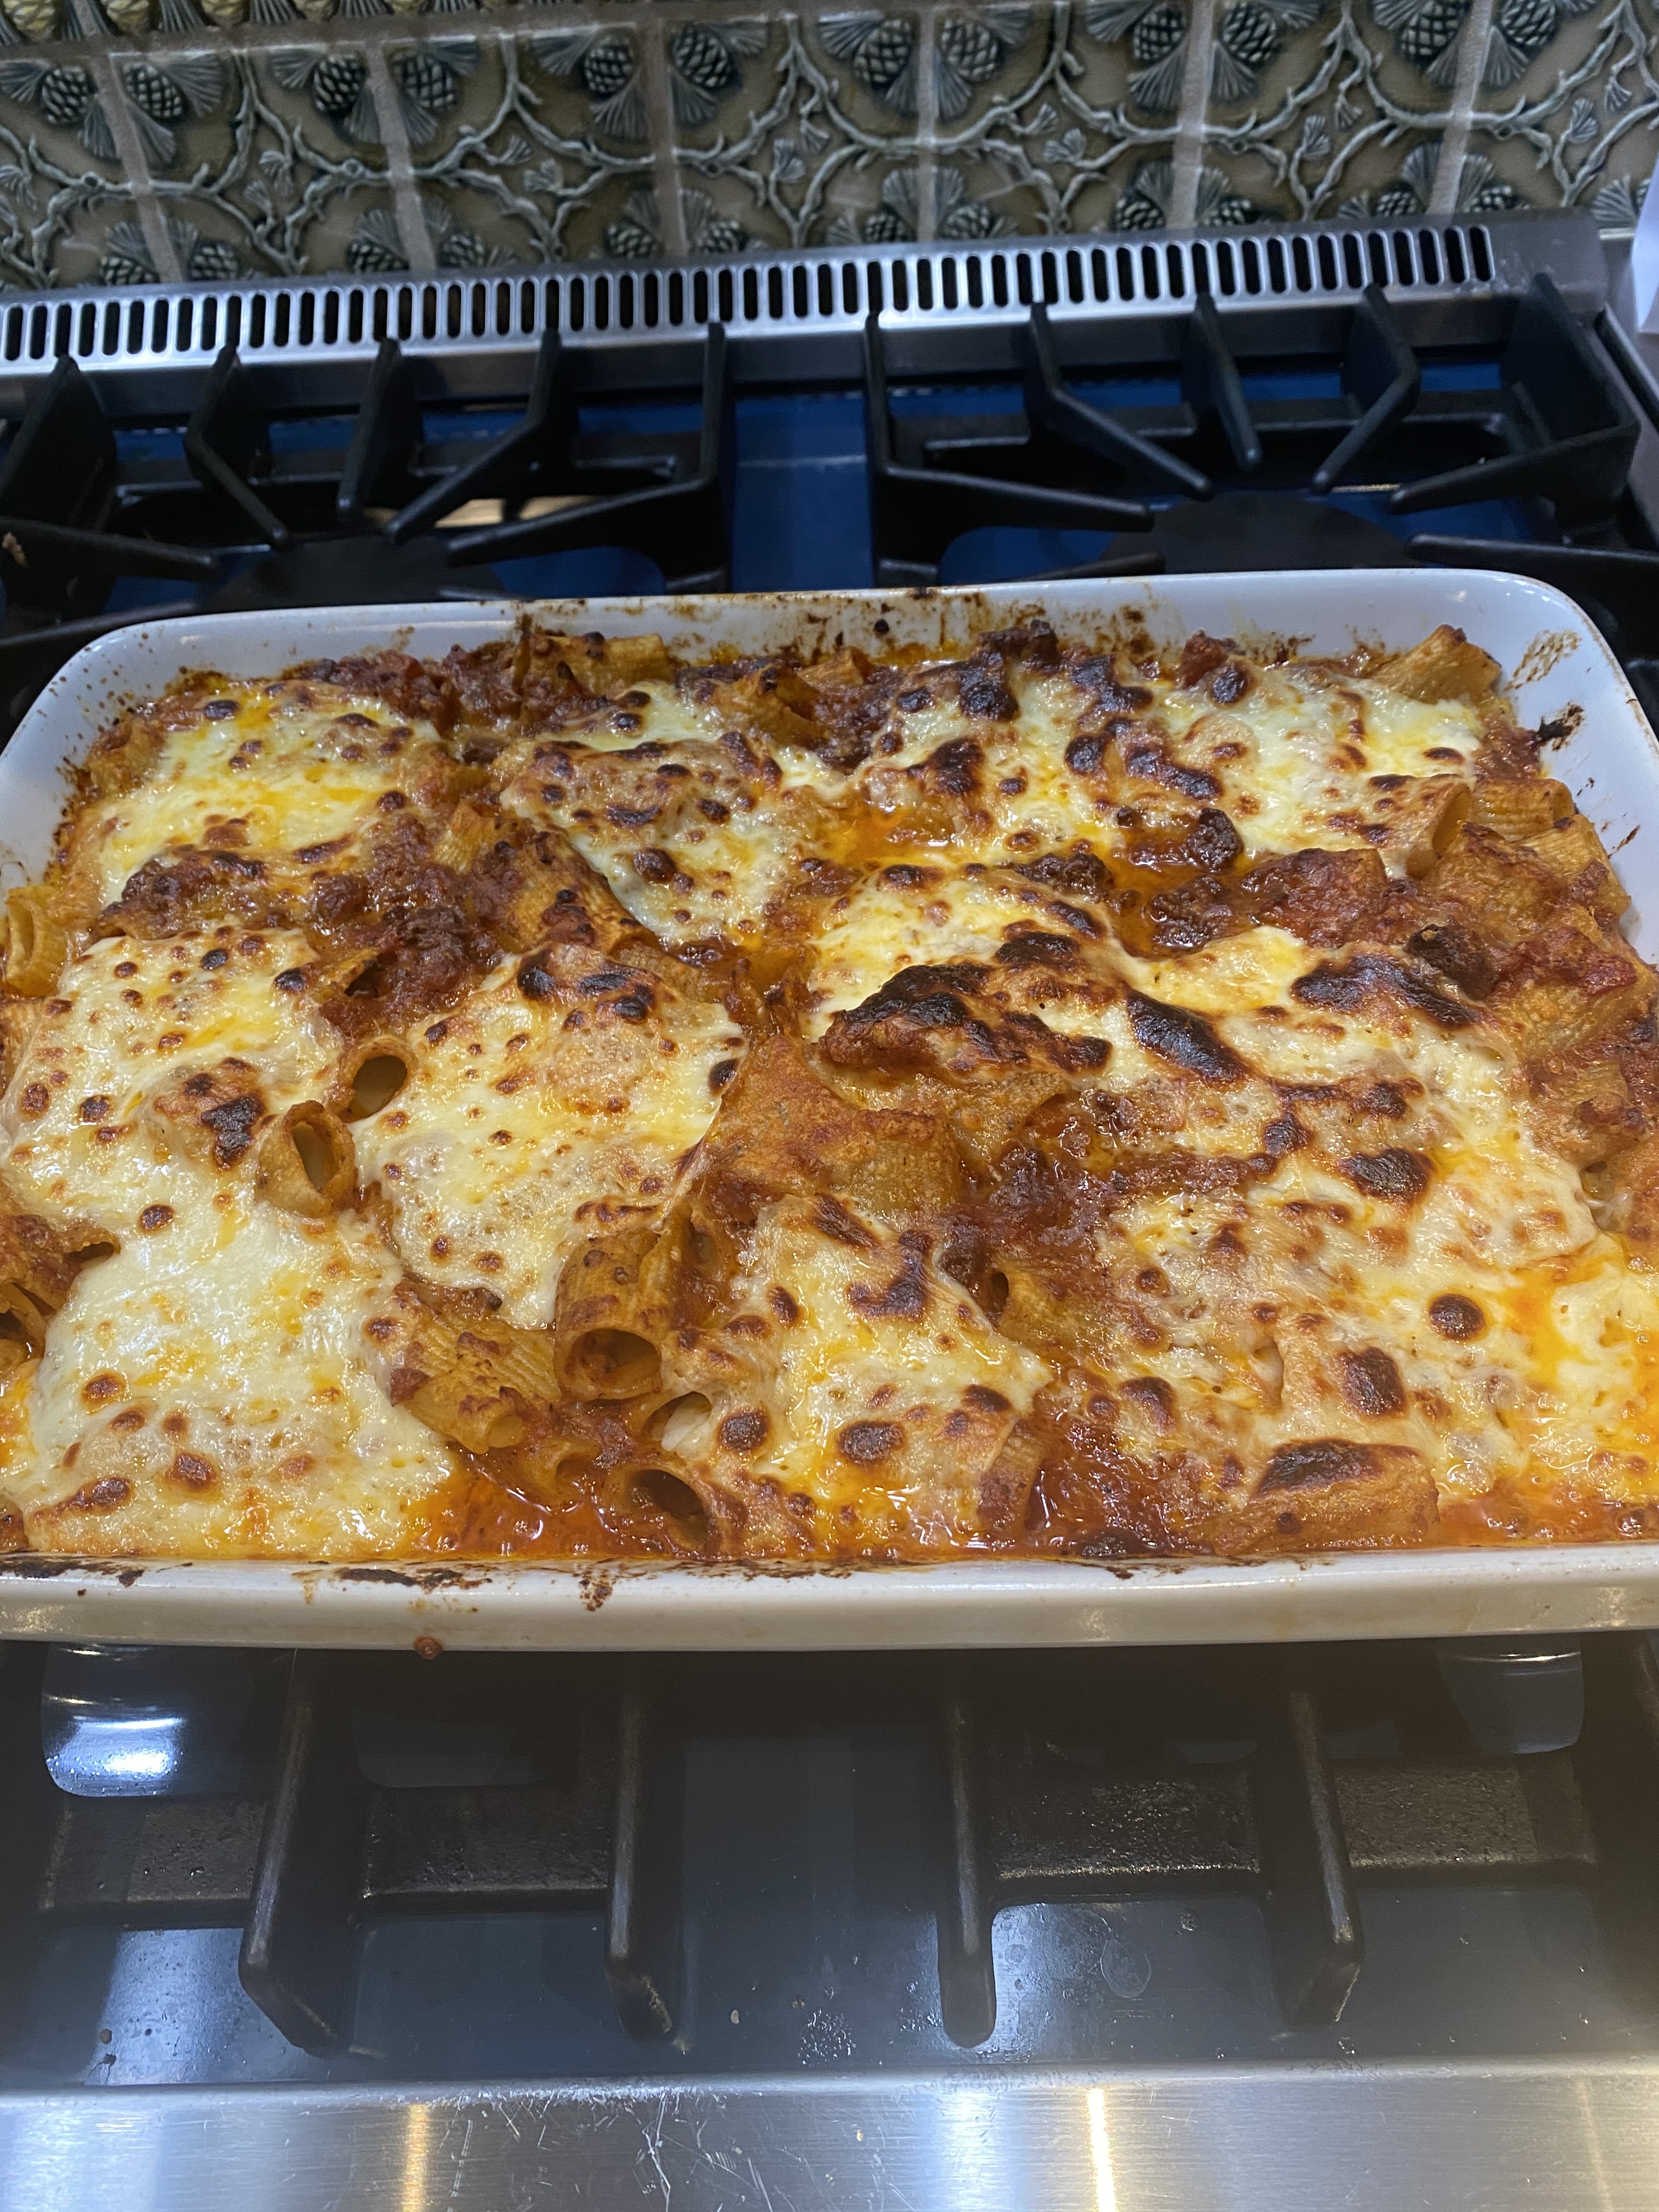
Baked Pasta with Lamb

This recipe comes from The Barefoot Contessa new cookbook Modern Comfort Food. It is delicious and a worthwhile departure from baked pasta with beef. Lamb gives it a rich layer of flavor that is just perfection on a plate. The book is worthwhile and has some great recipes in it if you’re still buying cookbooks. Perfect Sunday night dinner or any night dinner. Enjoy!

BTW this is what I did if you want to see her recipe in full you can look at it on The Food Network . I made a few changes to suit us.

Ingredients:

3 Tablespoons Olive Oil

1 large yellow onion — chopped

2 cups diced carrots ( 3 large)

1 pound ground lamb

3 cloves minced garlic

1 Tbsp. chopped fennel seeds , rough chopped

2 Tbsp. Tomato Paste

1 28 oz. can crushed tomatoes

2 1/2 cups dry red wine, Chianti or Malbec

1 teaspoon oregano

1/4 teaspoon crushed red pepper flakes

1/2 lb. Whole Mozzarella ( I used Fresh ) but don’t worry if it’s not and 1/2 lb. Grated Mozzarella

Kosher Salt and freshly ground black pepper ( or coarse black pepper)

1 pound box of pasta such as Rigatoni, Ziti, Penne etc

2 Extra large eggs

2/3 cup heavy cream

1 lb. Mozzarella , divided

1/2 cup Italian Parmesan Cheese

Directions:

Heat the olive oil in a heavy bottomed pot or Dutch oven ( Le Creuset) over medium heat. Add the onions and carrots and saute till softened for about 10 minutes, stirring occasionally . Add the lamb, garlic and fennel seeds and cook for another 10 minutes, breaking up the lamb with a wooden spoon until no longer pink. Stir in the tomato paste, tomatoes, 2 cups of the wine, the oregano, red pepper flakes, 1 Tablespoon Kosher Salt, and 1 teaspoon pepper. Bring to a boil, lower the heat, and simmer partly covered for about an hour, stirring occasionally. When it is finished cooking after the hour , remove from heat and add the final 1/2 cup of red wine.

Pre-heat the oven to 350 degrees . Prepare pasta according to box directions until barely al dente. Drain and allow to cool for a few minutes before adding to the cheese.

In a large bowl, whisk together the eggs and cream. Add the cooled down pasta and mix well. Add the 1/2 lb. grated mozzarella into the mixture. Add the cooled down lamb mixture, 2 teaspoons kosher salt, and 1 teaspoon black pepper and toss well. This is why you need a large bowl.

Transfer whole mixture to a 10 x 14 baking dish and sprinkle with the Parmesan. Slice the whole mozzarella and arrange it on the top ( see pics) Bake for 40 – 45 minutes, until the sauce is hot and bubbling and some of the pasta is crusty on top. Times may vary

Braised Chicken with Coconut Milk and Tomatoes in One Pot

Bone in Chicken Thighs work beautifully here as they cook up rather quickly and are very tasty . I browned them first and gave them a nice crust and then they get braised in a beautiful tomato sauce with coconut milk and amazing spices. It’s stew like in consistency and I served over rice. Any rice will do . I added some red peppers and it was enough of a meal on it’s own with the rice. Bread would be lovely if you’d like to soak up the remaining sauce . A nice green salad would work well here as well.

Enjoy!

Ingredients:

1 1/2 – 2 lbs. bone-in , skin-on chicken thighs, at room temperature

Kosher Salt and Black Pepper

2 Tablespoons grapeseed or Canola Oil — I used Grapeseed

1 medium red onion thinly sliced

4 garlic cloves minced

1 2 “piece of fresh ginger, peeled and minced

1 teaspoon ground Cumin

1 teaspoon Curry Powder — I use Spicy Curry Powder use whatever you like

1/2 teaspoon Ground Cinnamon

1/2 teaspoon red-pepper flakes

1/2 pint of grape or cherry tomatoes– I left them whole

1 Red Bell Pepper– cut into thin strips

1 14 oz. can diced tomatoes with their juices

1/2 (13 oz.) can full-fat coconut milk — save the rest of can if you feel the sauce needs more– I didn’t use it

1 Tbsp. Tomato Paste

*handful of roughly chopped fresh cilantro — totally optional

Directions:

Pat chicken thighs dry and I placed on a baking sheet and sprinkled kosher salt and coarse black pepper all over

In a deep 12 inch pot or pan — I used my cast iron Le Creuset –perfect. add the 2 Tablespoons Grapeseed Oil till oil gets hot enough to add chicken ( medium-high heat) I use tongs and place the chicken skin side down, let them brown up nicely without disturbing them for about 5 minutes using the tongs you can look at them and make sure they’re lightly golden not burning. Flip and brown the other side for about 5 more minutes . If too hot you can lower the heat. When finished transfer the chicken to a plate and set aside.

Turn heat to medium-low add the onion and cook until softened, about 3-5 minutes. Add the garlic, ginger, curry, cumin, cinnamon and red pepper flakes, cook for a minute or so then add in the red pepper strips and cook down for a few minutes till peppers are softened.

Add the can of tomatoes with their juices , the tomato paste, fresh tomatoes ( I left them whole), and the coconut milk , stir until combined and scrape up all the brown bits that may have formed on bottom of the pan. Nestle the chicken back into the skillet ( do not submerge the chicken) Simmer uncovered, until the chicken is cooked through and the sauce has had a chance to thicken slightly ( if too thick add a little more coconut milk) Taste the sauce for Salt and Pepper. Cook anywhere from 30 – 40 minutes more. If you have a meat thermometer you can test for chicken doneness (165 degrees) I probably cooked for 40 minutes. Then if not crispy enough put whole pot under broiler in the oven for a few minutes but be careful not to burn the chicken.

I divided rice into bowls and plated chicken and sauce on top , Sprinkled a little cilantro and we thoroughly enjoyed this very flavorful dish.

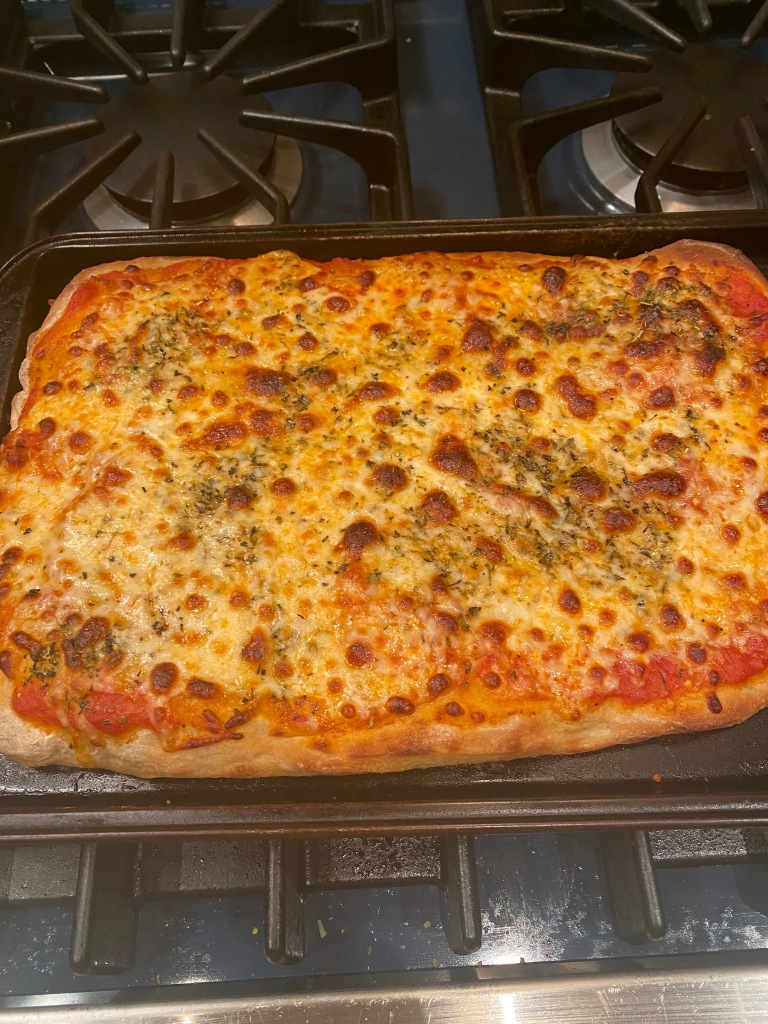
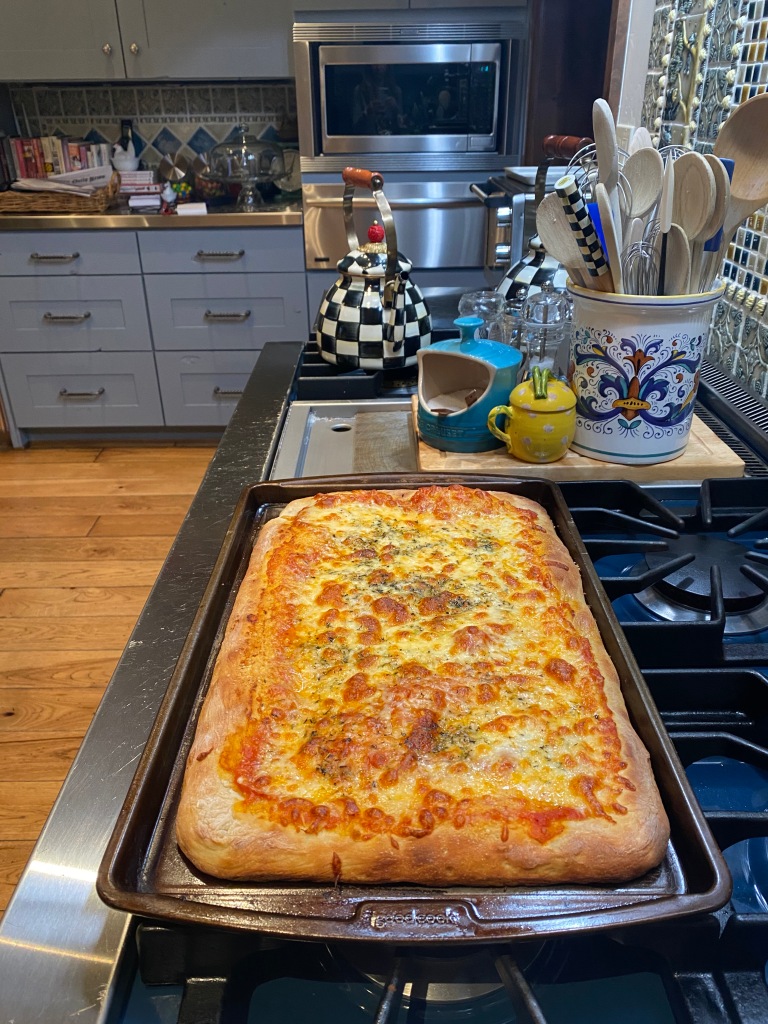
Making Pizza at Home with store bought dough

Making pizza at home with store bought dough is one of my favorite things to do. It’s easy once you get the hang of the dough and I found a few tricks along the way which help make it easier. The real trick to the dough is letting it rise and come to room temperature. If you try to work with cold dough out of the fridge it won’t work . You will need a rimmed sheet pan as well. I keep some dough in the freezer and take it out the night before and let it defrost in the fridge and the next day about 4 hours before I am using I place it on the counter ( in the sun even better) and let it rise and come to room temperature. There are many places to buy dough and you’ll have to find the best one by your home. I buy in Whole Foods when I am in Colorado and in NY Trader Joes , Whole Foods and your local pizza place or bakery will probably be happy to sell you a ball of dough. .Dough will need at least 3 – 4 hours to rise outside of the fridge. Nothing will happen to it so just set it out on the counter — I open the bag and let it rise away. My ingredients are simple and if you follow instructions you should be fine. Don’t be discouraged if the first few times it doesn’t come out perfectly — it took me a few times with the dough to really get the hang of it. Give it a try!

This is what I do and these are my instructions:

Ingredients:

1 bag Pizza Dough — for 4 people I make for 2 and we always have extra slices

16 oz. Pizza Sauce — if I have homemade I use that if not I always have a jar of Raos Arrabiata or Marinara on hand

Italian Seasonings — dry app. 2 tsp. you’ll have to eyeball it

flour for stretching dough — this is a must

Olive Oil Spray for spraying baking sheet — I like this better than using olive oil — either one will work on baking sheet

Parmesan Cheese

Shredded Mozzarella — app. 8 oz. more or less

Directions:

Let dough rise. Read notes above. Keeping the store bought dough on a counter for at least 3 hours or more. It will keep rising in the bag so I usually open the bag to give it room to rise. If you’re defrosting it do so overnight in fridge and then take it out the next day. You’ll notice it rising in fridge ( at least it should)

Pre-heat oven to 450 degrees — very important to get oven hot so make sure you’re oven is pre-heated

Spray baking sheet with Olive Oil Cooking Spray or using a brush lightly coat bottom of baking sheet with Olive Oil . I use a 12x 17 rimmed baking sheet . You don’t need a pizza stone.

Stretch the dough. On a clean surface ( counter top ) I put down a light amount of flour (enough for both sides) and you can always add more , the flour will help to expand the dough. Place raw dough on top of flour, coating each side. Begin stretching the dough by pinching the outside in a circular motion to spread it out. I put my fists under the dough to stretch ( you don’t need a rolling pin) You can alternate between pinching the dough with your finger, pressing it out on your work surface, and using your knuckles to pull the dough from underneath in circular motions. Usually a few motions will get the dough stretching. When it’s large enough gently transfer to the prepared sheet pan. I spread it out thin in center and more dough around perimeter ( crust) if there are holes in your dough pinch together dough or fold over the dough in that spot and get rid of them . I spread it out all the way to cover entire baking sheet . Don’t worry about your dough being a perfect shape. All pizza is delicious and beautiful.

Bake the naked pizza dough in the oven at 450 degrees for 7 minutes. During this time prep your toppings. I am sort of a purist so it’s sauce, cheese , and seasoning. Never add the toppings to raw pizza dough.

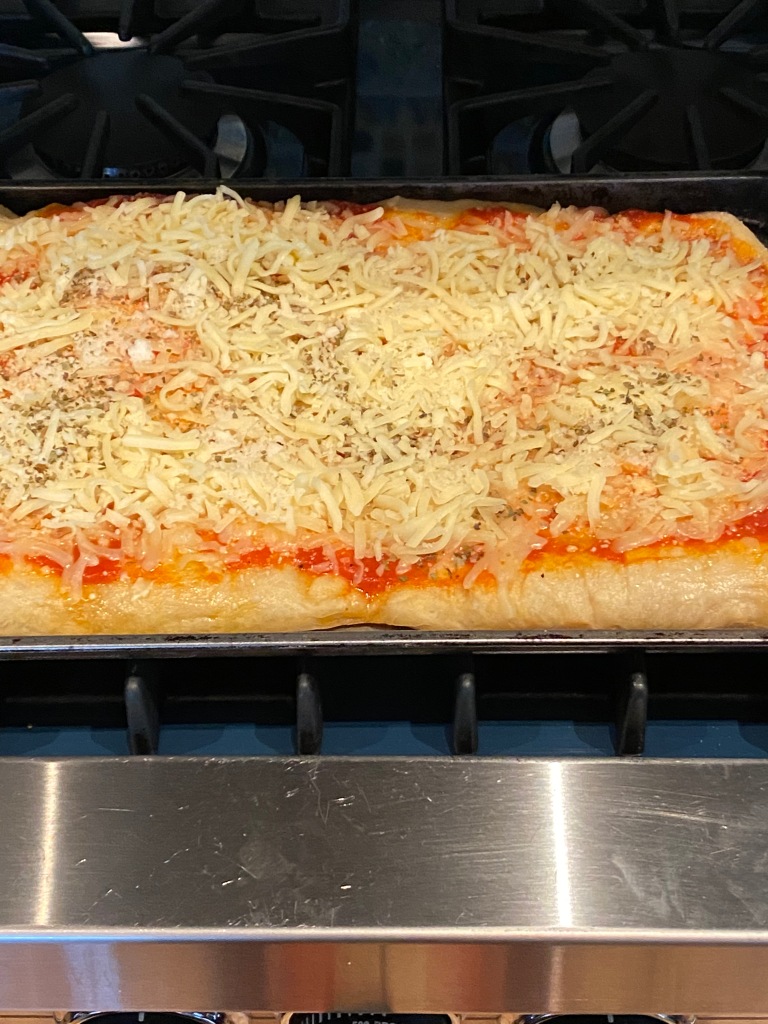
After par-baking the pizza dough, remove from oven and raise temperature of oven to 500 degrees. ( make sure it gets to 500) I add my sauce — spreading it out on dough, I leave a little room around perimeter ( see photo) , dried Italian seasoning ( if you’re using) parmesan cheese and mozzarella cheese . Obviously if you have other toppings you want to use this is the time to add.

Bake the pizza at 500 for another 10 minutes — all ovens vary so check on it after 7 minutes.

I like my cheese fully melted and a little brown in spots. Let it cool off for a few minutes before slicing .

I use a pizza cutter and get 8 slices .

Let me know how this comes out — tag me on Instagram story — I would love that.

these are some photos from current pizzas and past pizzas–sometimes they come out better looking than other times but they always taste incredible! No such thing as an ugly pizza in my book.

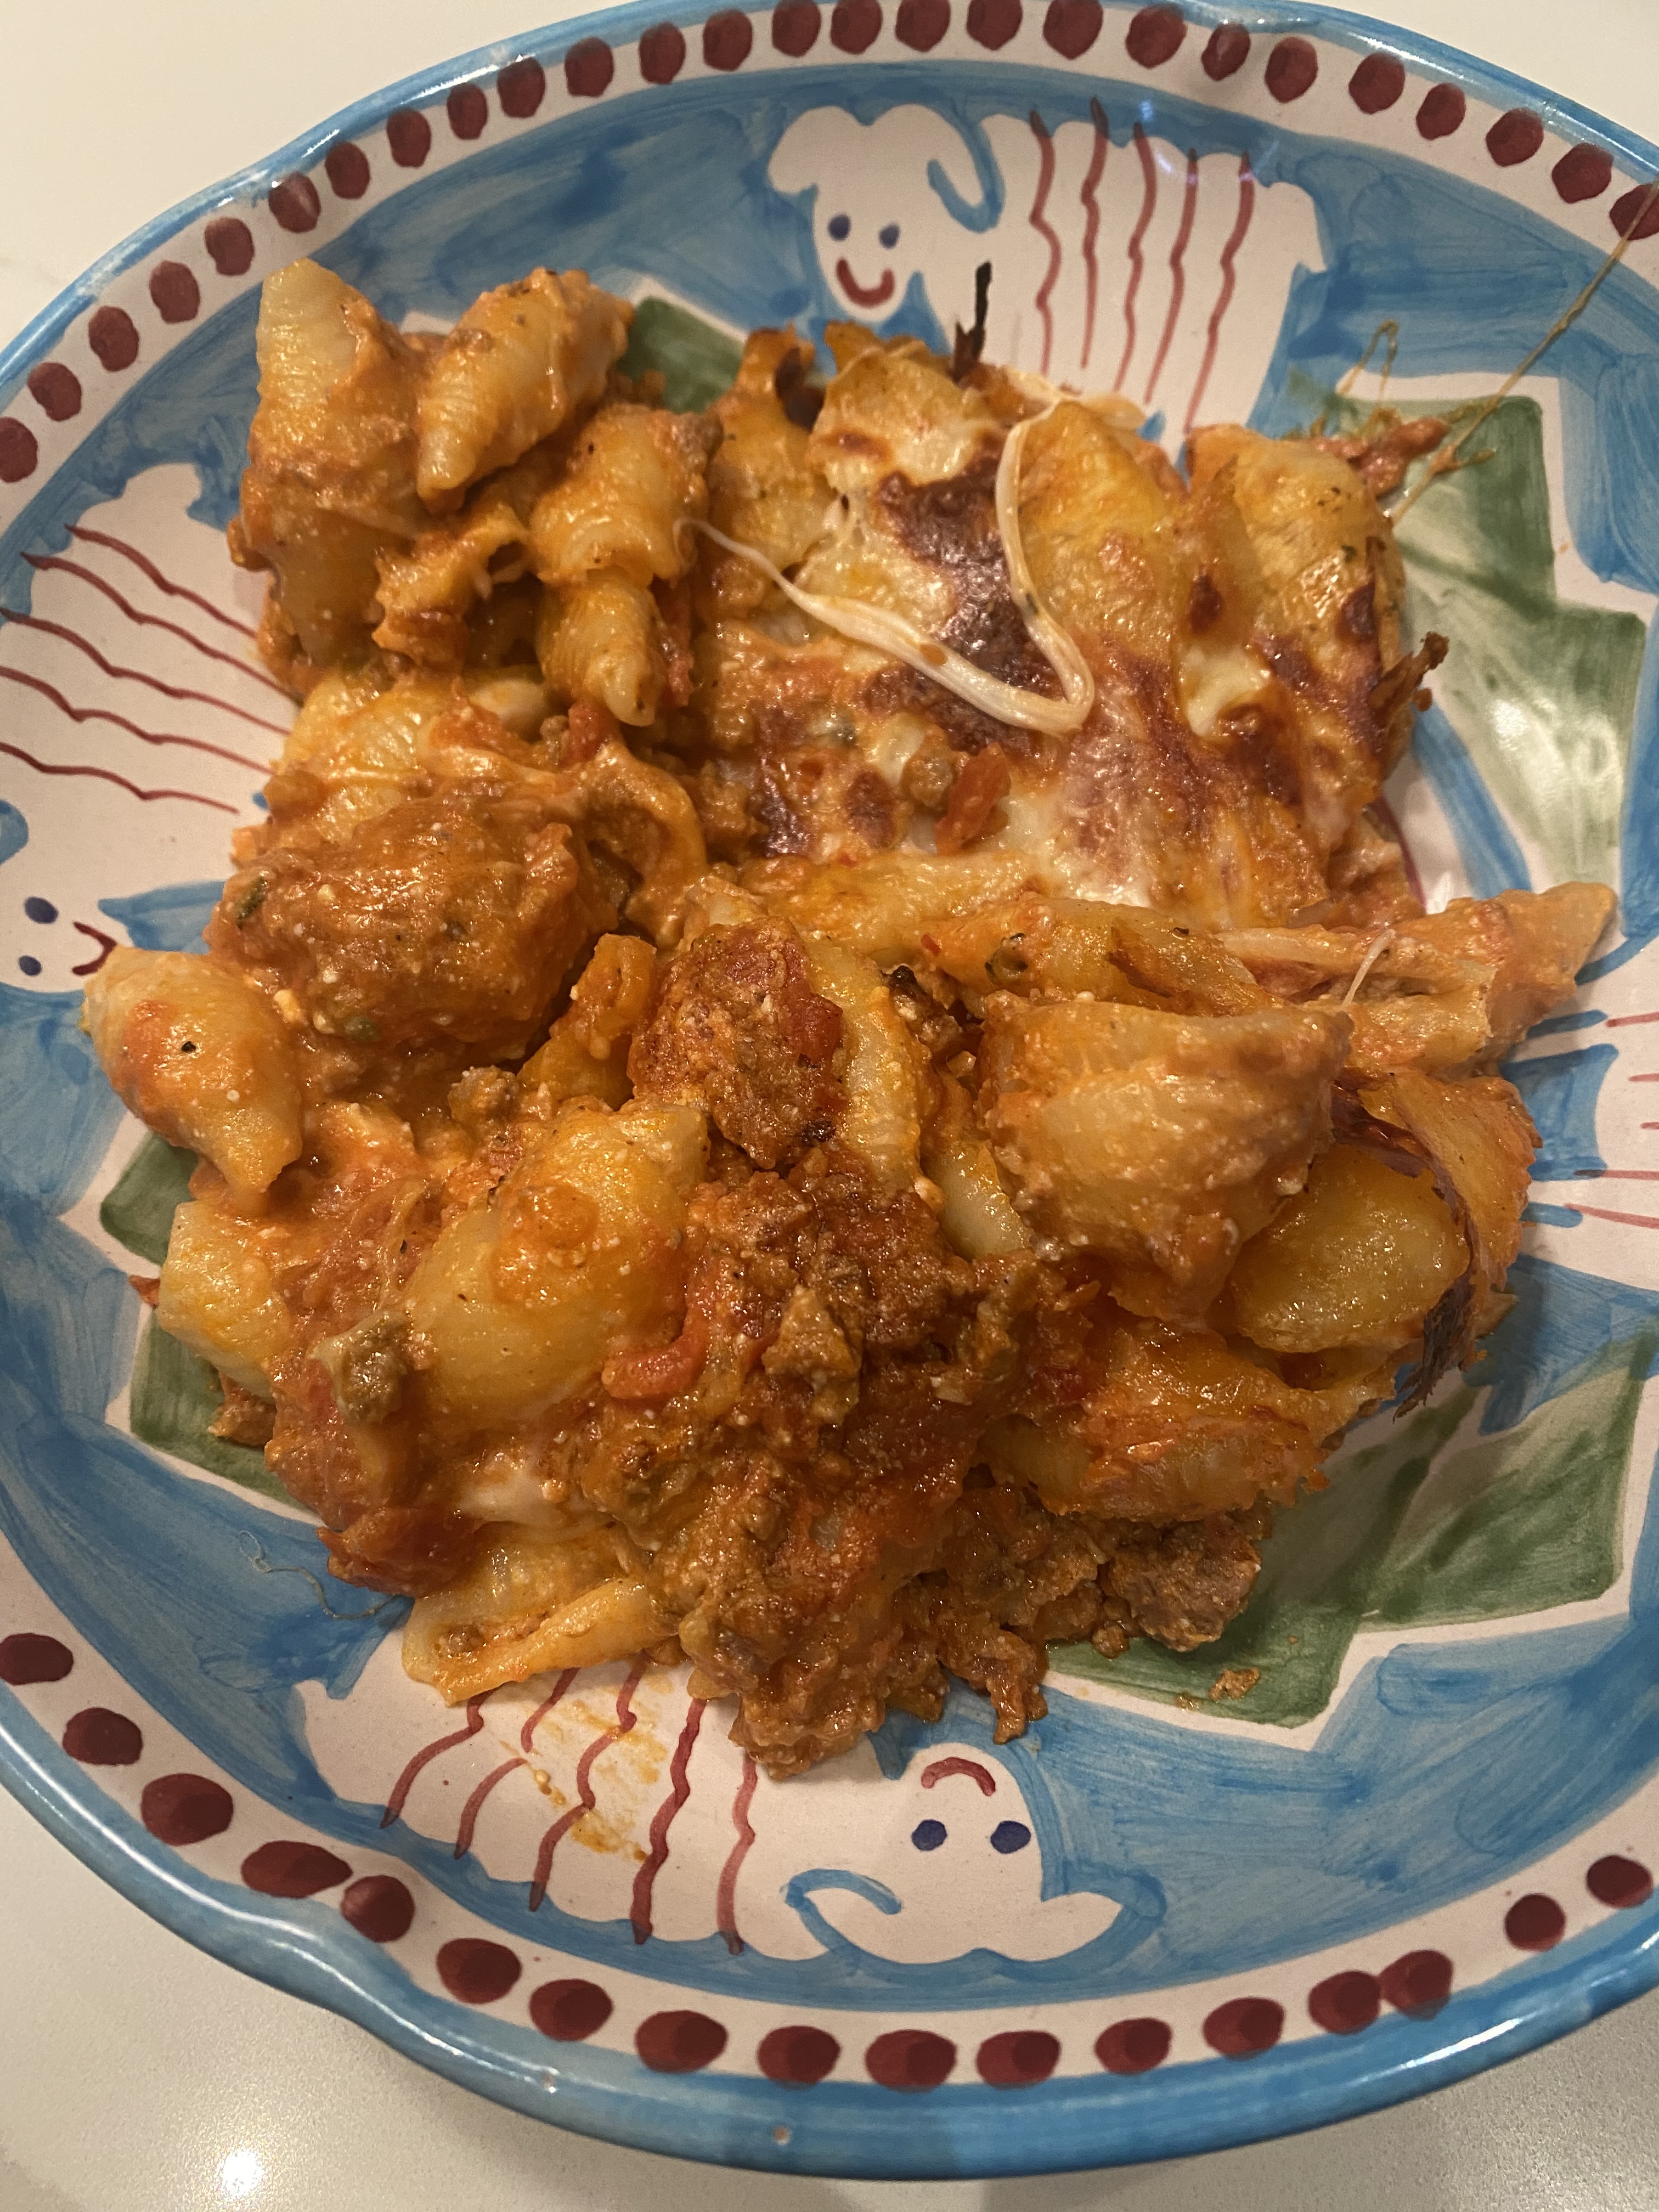
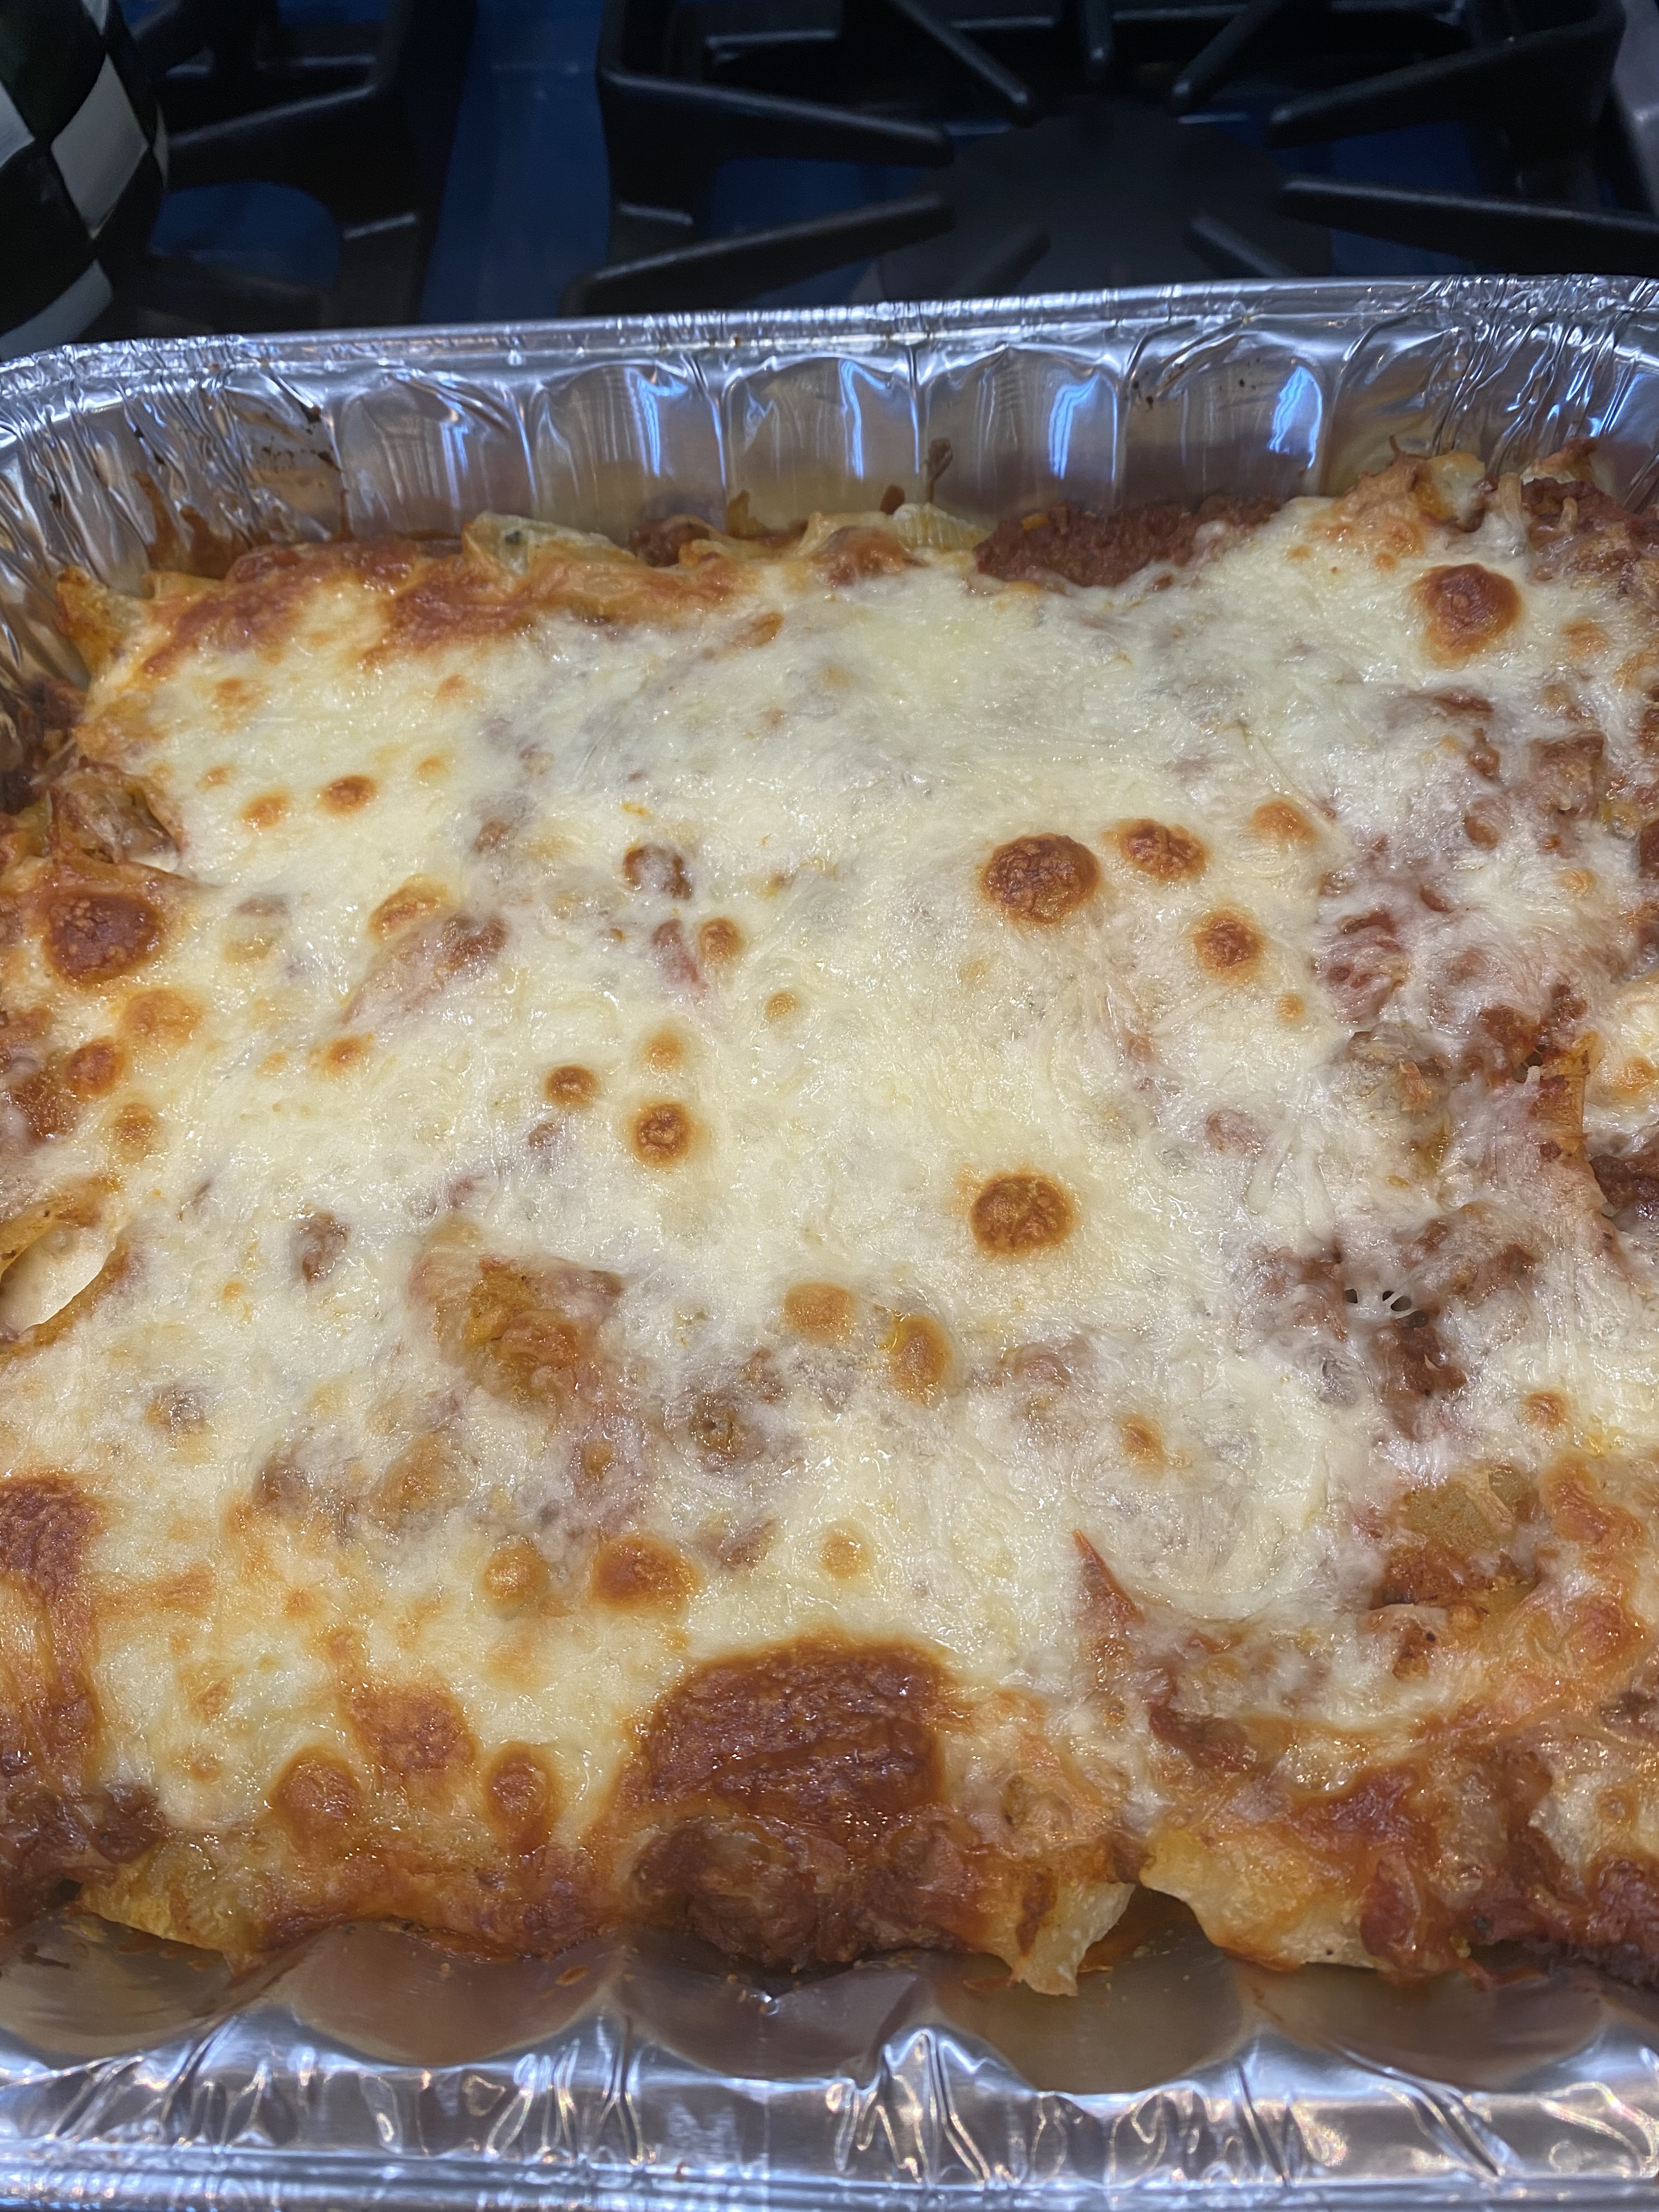
Unstuffed Shells

While I really love stuffed shells ( see recipe ) sometimes I just don’t feel like futzing with stuffing those big shells. This was delicious and had all the flavor of the stuffed shells I usually make without all the work. This is a great family meal and made as is should serve 6-8 depending on your eaters and what else you serve with it. No hassle and delicious and of course you can substitute ground turkey or ground chicken , I like ground beef and use the 85/15 version because I like a little fat in the sauce but lean ground beef is fine. Turkey can be very dry so try and get dark meat or at least 85/15 .

Prep Time was about 1/2 hour all in and cooking time another 45 minutes app. Serve with a nice green salad and you’re good to go.

You can prepare the dish, according to the directions, cover with foil and refrigerate for up to 24 hours. Bake the following day according to the directions. I don’t add mozzarella on top till I am baking.

Leftovers can be left up to 3 days in the refrigerator and I promise they’ll be gone by then.

Enjoy!

Ingredients:

1 Tablespoon Olive Oil

1 small yellow onion — diced small

1 pound ground beef — use whatever you’d like see note above

3 cloves garlic, minced

1 24 oz. jar marinara sauce — or homemade sauce if you have it on hand I personally love Raos Arrabiata which has a slight kick or you can use just plain Marinara — whatever brand you like and whatever type you like

16 oz. shell pasta , uncooked usually 1 bag or 1 box

1 8 oz. block cream cheese, room temperature and that’s important because you’ll need to mix with other ingredients — leave it our for a few hours

1 cup Ricotta — I use part skim just not fat free

1/2 cup grated Parmesan Cheese

1 egg, whisked

1 teaspoon Italian Seasoning

app.1- 2 teaspoons Kosher salt — for meat sauce and for cheese — divided I added about 1/2 teaspoon to sauce and 1/2 teaspoon to cheese — you can taste both for salt and pepper and add or decrease to your own taste

1/2 teaspoon fresh ground black pepper — a little for sauce and a little for cheese mixture

1/2 teaspoon crushed red pepper

app. 2 cups grated low moisture mozzarella cheese — part skim is fine just not fat free

Directions:

Pre-heat oven to 350 degrees if you’re baking now. Spray 9×13 Baking Dish with non stick spray. Set aside

Meat Sauce Assembly:

Add the olive oil to a large skillet over medium heat. Add in the onions and cook for about 5 minutes till soft and translucent. Add in the meat and cook till no longer pink, I sprinkled some kosher salt and black pepper here as well. Just a little because you’ll add more to the cheese. Taste sauce for Salt and Pepper when finished. Add in the minced garlic and cook for a few more minutes. Drain any excess fat or liquid from the pan and place back onto the heat. Add in the marinara sauce and stir to combine. Turn the heat to low and let it simmer while you do the next steps.

Pasta:

Prepare Pasta al dente according to the package directions and allow to drain thoroughly

Cheese Mixture:

In a large bowl stir together the cream cheese, Ricotta Cheese, Parmesan Cheese, egg, Italian Seasoning, salt , black pepper and crushed red pepper. Add 1/2 teaspoon salt and taste for salt here as well. Next add the cooked cooled drained pasta to the bowl and stir until evenly combined. If pasta is too hot when you add it the cheese will start to melt so let pasta just be cooled down enough.

Assembly:

Spread half of the meat sauce in the bottom of the prepared pan. Top with pasta mixture and then spread on the remaining meat sauce. Sprinkle the mozzarella cheese on top, cover with foil and bake for 30 minutes. Remove the foil from the top of the dish and bake for an additional 10 – 15 minutes till cheese is slightly browned and casserole is bubbling .

*if not browning quickly you can place under broiler for a quick few minutes but be careful –you wouldn’t want to burn it so keep an eye on it

Enjoy!

I was bringing this casserole to someone so made it in an aluminum tin usually a large pyrex is perfect .