Category Archives: Uncategorized

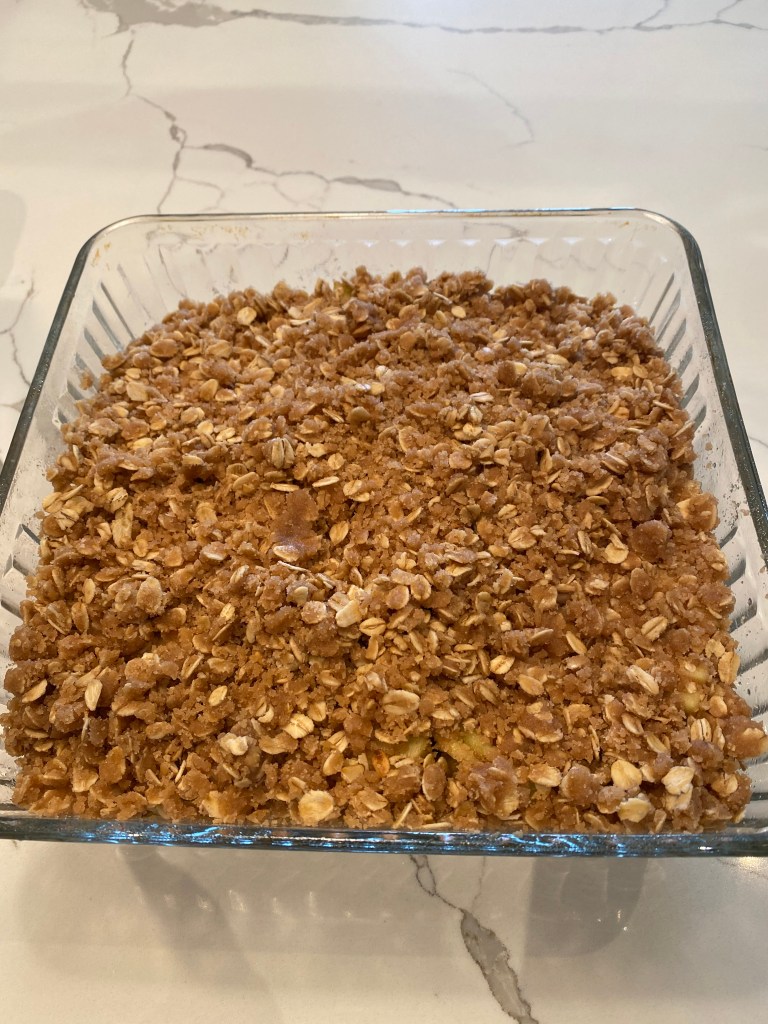
Apple Pear Crisp

It’s Fall and this is the most perfect dessert while apples and pears are abundant . Baked with brown sugar and oat topping served warm with vanilla ice cream and it’s perfection on a plate. This is what I did and it really is pretty easy and not very technical for those of you who want to bake a great dessert but don’t want to fuss with cakes and frosting etc. and special equipment. Most perfect!!! Can be made ahead of time and even frozen .

Can easily be cut in 1/2 for a much smaller gathering. You can even put into small ramekins and bake like that for individual servings.

Delicious Dessert.

Ingredients:

Fruit Mixture:

3 ripe firm pears peeled, cored and thinly sliced

3 apples peeled, cored and thinly sliced

3 Tablespoons freshly squeezed orange juice

1/2 cup granulated sugar

2 Tablespoons flour

3/4 Tablespoon ground cinnamon

1 teaspoon pure vanilla extract

Topping:

1 cup old fashioned rolled oats

2/3 cup all purpose flour

2/3 cup light brown sugar

1/2 teaspoon salt

1/2 teaspoon ground cinnamon

1/2 cup unsalted butter, melted

*Vanilla ice cream for serving — obviously optional but in our house it’s a must

Directions:

Preheat oven to 350 degrees. I spray a 9 – 10 inch deep dish pyrex type of dish or any baking dish you like — set aside

In a large bowl combine pears, apples, orange juice, sugar , flour , cinnamon and vanilla — All the fruit mixture ingredients

Dump all the ingredients into your prepared baking dish.

Make the topping in a separate bowl . Combine oats, flour, brown sugar, salt and cinnamon. Add in the melted butter and stir until combined, using your clean fingers crumble the mixture over the fruit. You’ll want to press some of it together to form clumps.

Bake for 45-60 minutes until topping is golden brown, and fruit is tender and it is bubbling all around the edges.

Serve warm with ice cream.

*I put into oven when we sat down to dinner and let it cook so it was ready for dessert. Let it sit for awhile to set.

You can also make ahead and then just re-heat for 45 minutes to an hour . I cover with aluminum when re-heating.

Enjoy!!

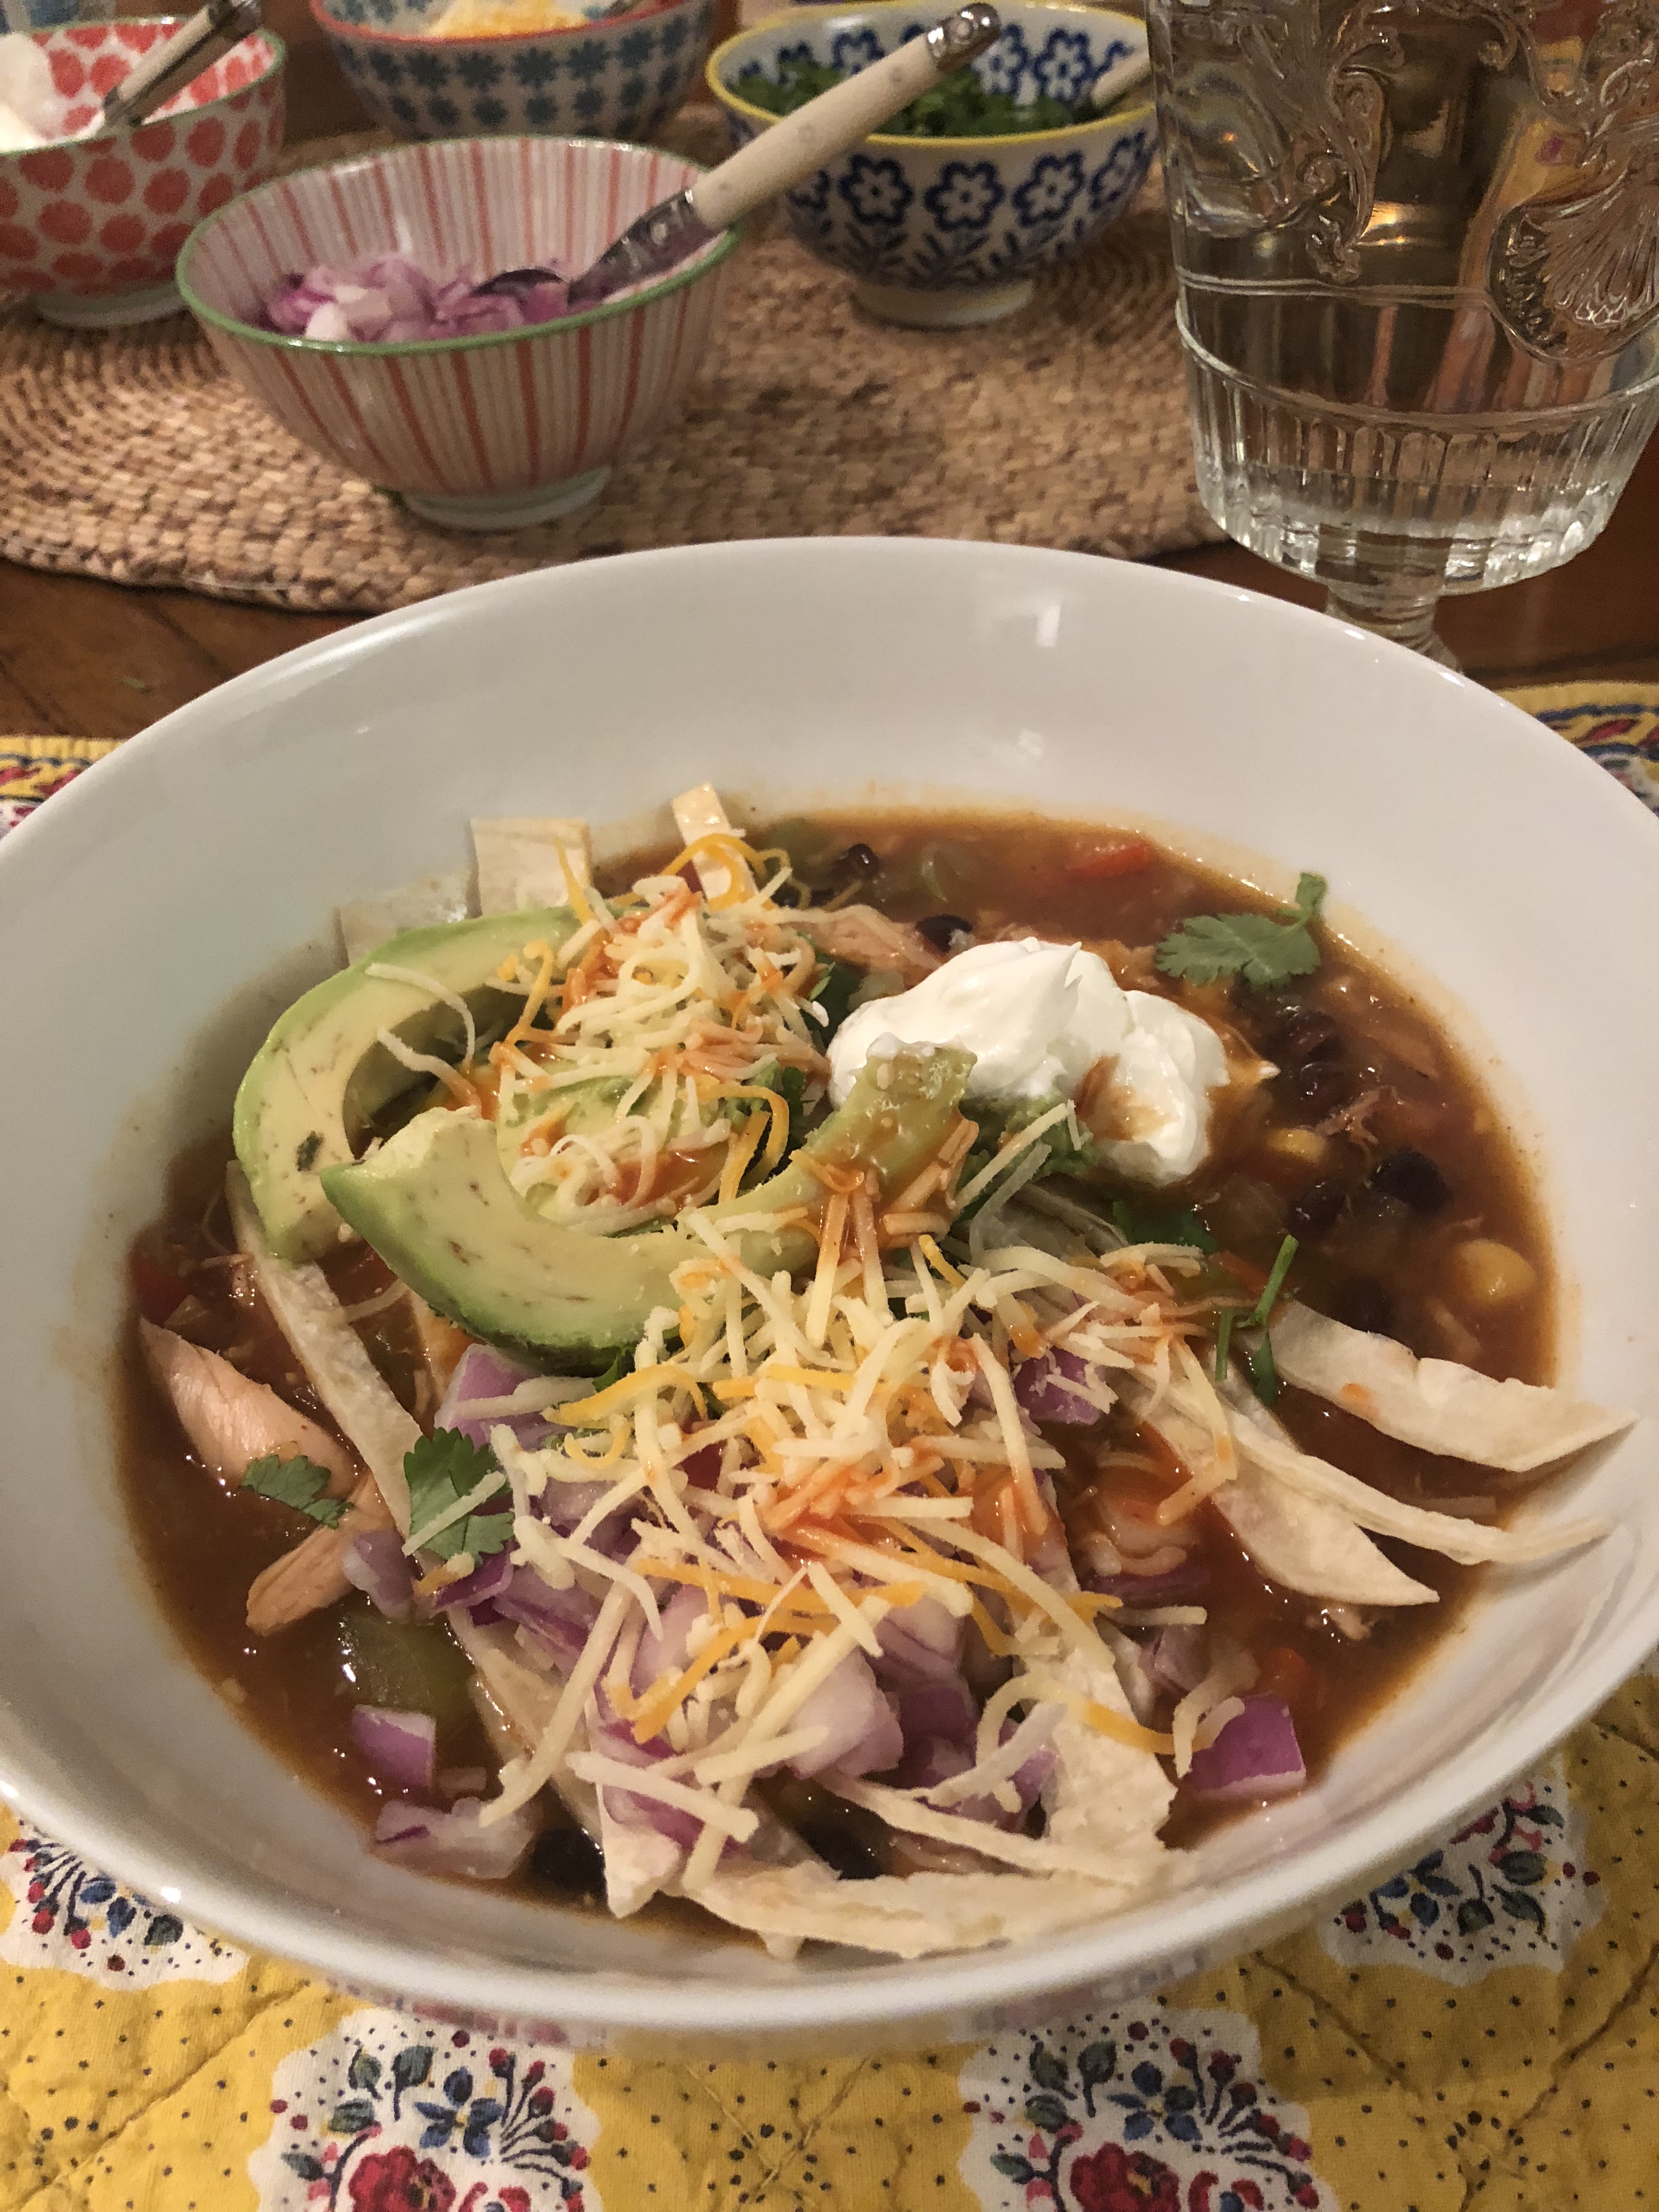
Chicken Tortilla Soup

img_3215

This soup has always been a favorite of mine and I usually try to order it when it’s offered on a menu. I am a big fan of Mexican Food and have always wanted to try to make my own Chicken Tortilla Soup .This is a super easy version using a store-bought rotisserie chicken and a packet of Taco Seasoning.  Now that the weather has turned super cold it’s a perfect time for heart warming meals. I started cooking soup in the afternoon, prep was pretty quick and I let it simmer for an hour and then turned off stove while we went out. When we got home I turned on the stove and continued cooking soup. I cut up avocado, chopped up some cilantro, put sour cream and cheese into some little bowls and in less than 1/2 hour we were sitting eating this delicious and tasty soup! Joel even ate the avocado!!!!  He loved the soup and it’s very filling. 

I use crispy tortillas if that’s what I have in the house. It is delicious with soft corn tortillas sliced up and added into the soup at the end also. I love when the crunchy chips go soft in the soup with the melted cheese– I could go on and on about this soup. Tonite I used soft tortillas.

If you have the time I suggest making this soup, it is so easy with a prepared chicken or you can make your own chicken .  The prep is about 15 minutes using store-bought chicken and cooking is about 1 1/2 to 2 hours for soup.  I just think soup tastes better the longer it sits. I prefer making it in the early part of the day and letting it sit on the stove for a while.

This is a big soup and will probably serve 6-8 nicely. I have a container in my freezer and 4 of us ate this soup.

Look for my slow cooker version also on my blog.

Enjoy!

Ingredients:

1 Rotisserie Chicken from your favorite supermarket

1 Tablespoon Olive Oil

1 Packet of Taco Seasoning — this is really easy , use whatever brand you like

1 cup diced onion

3 cloves garlic, peeled and minced

1 diced green pepper

1 diced yellow, red or orange pepper

1 10 oz. can  Rotel brand Tomatoes and Green Chiles–just a suggestion

1 can enchilada sauce– green or red ( in Mexican Food section of your supermarket) its a small sized can

1 15 oz. can of whole-kernel corn  – drained

32 ounces Chicken Broth

3 Tablespoons Tomato Paste

4 cups hot water

2 cans Black Beans , drained and rinsed unless they’re organic and then you don’t have to rinse but I always do anyway

3 Tablespoons Cornmeal –mixed with water ( see instructions)

5 Soft Corn Tortillas (I use the small ones) cut into uniform strips or crunchy tortilla chips–use as many or as little as you like–or skip all together for a lighter version.

Toppings:

*optional and use whatever you like — these are just some suggestions

Sour Cream

Cilantro

Grated Cheese –Monterey Jack is a good choice here or Mexican Blend Grated Cheese

Cut-Up Avocado

Salsa or Pico De Gallo

Diced Red Onion

Diced Fresh Jalapeno

Hot Sauce like Cholula is my favorite go to sauce

Directions:

I took skin off chicken and shredded most of the chicken meat.

Heat 1 Tbsp. Olive Oil in a large Pot –dutch oven is great here (Le Creuset) add onions, peppers, and minced garlic. Stir and begin cooking, then add the packet of Taco Seasonings if it’s very dry and hard to stir you can add a little more olive oil. Add in the shredded chicken and stir it all up.

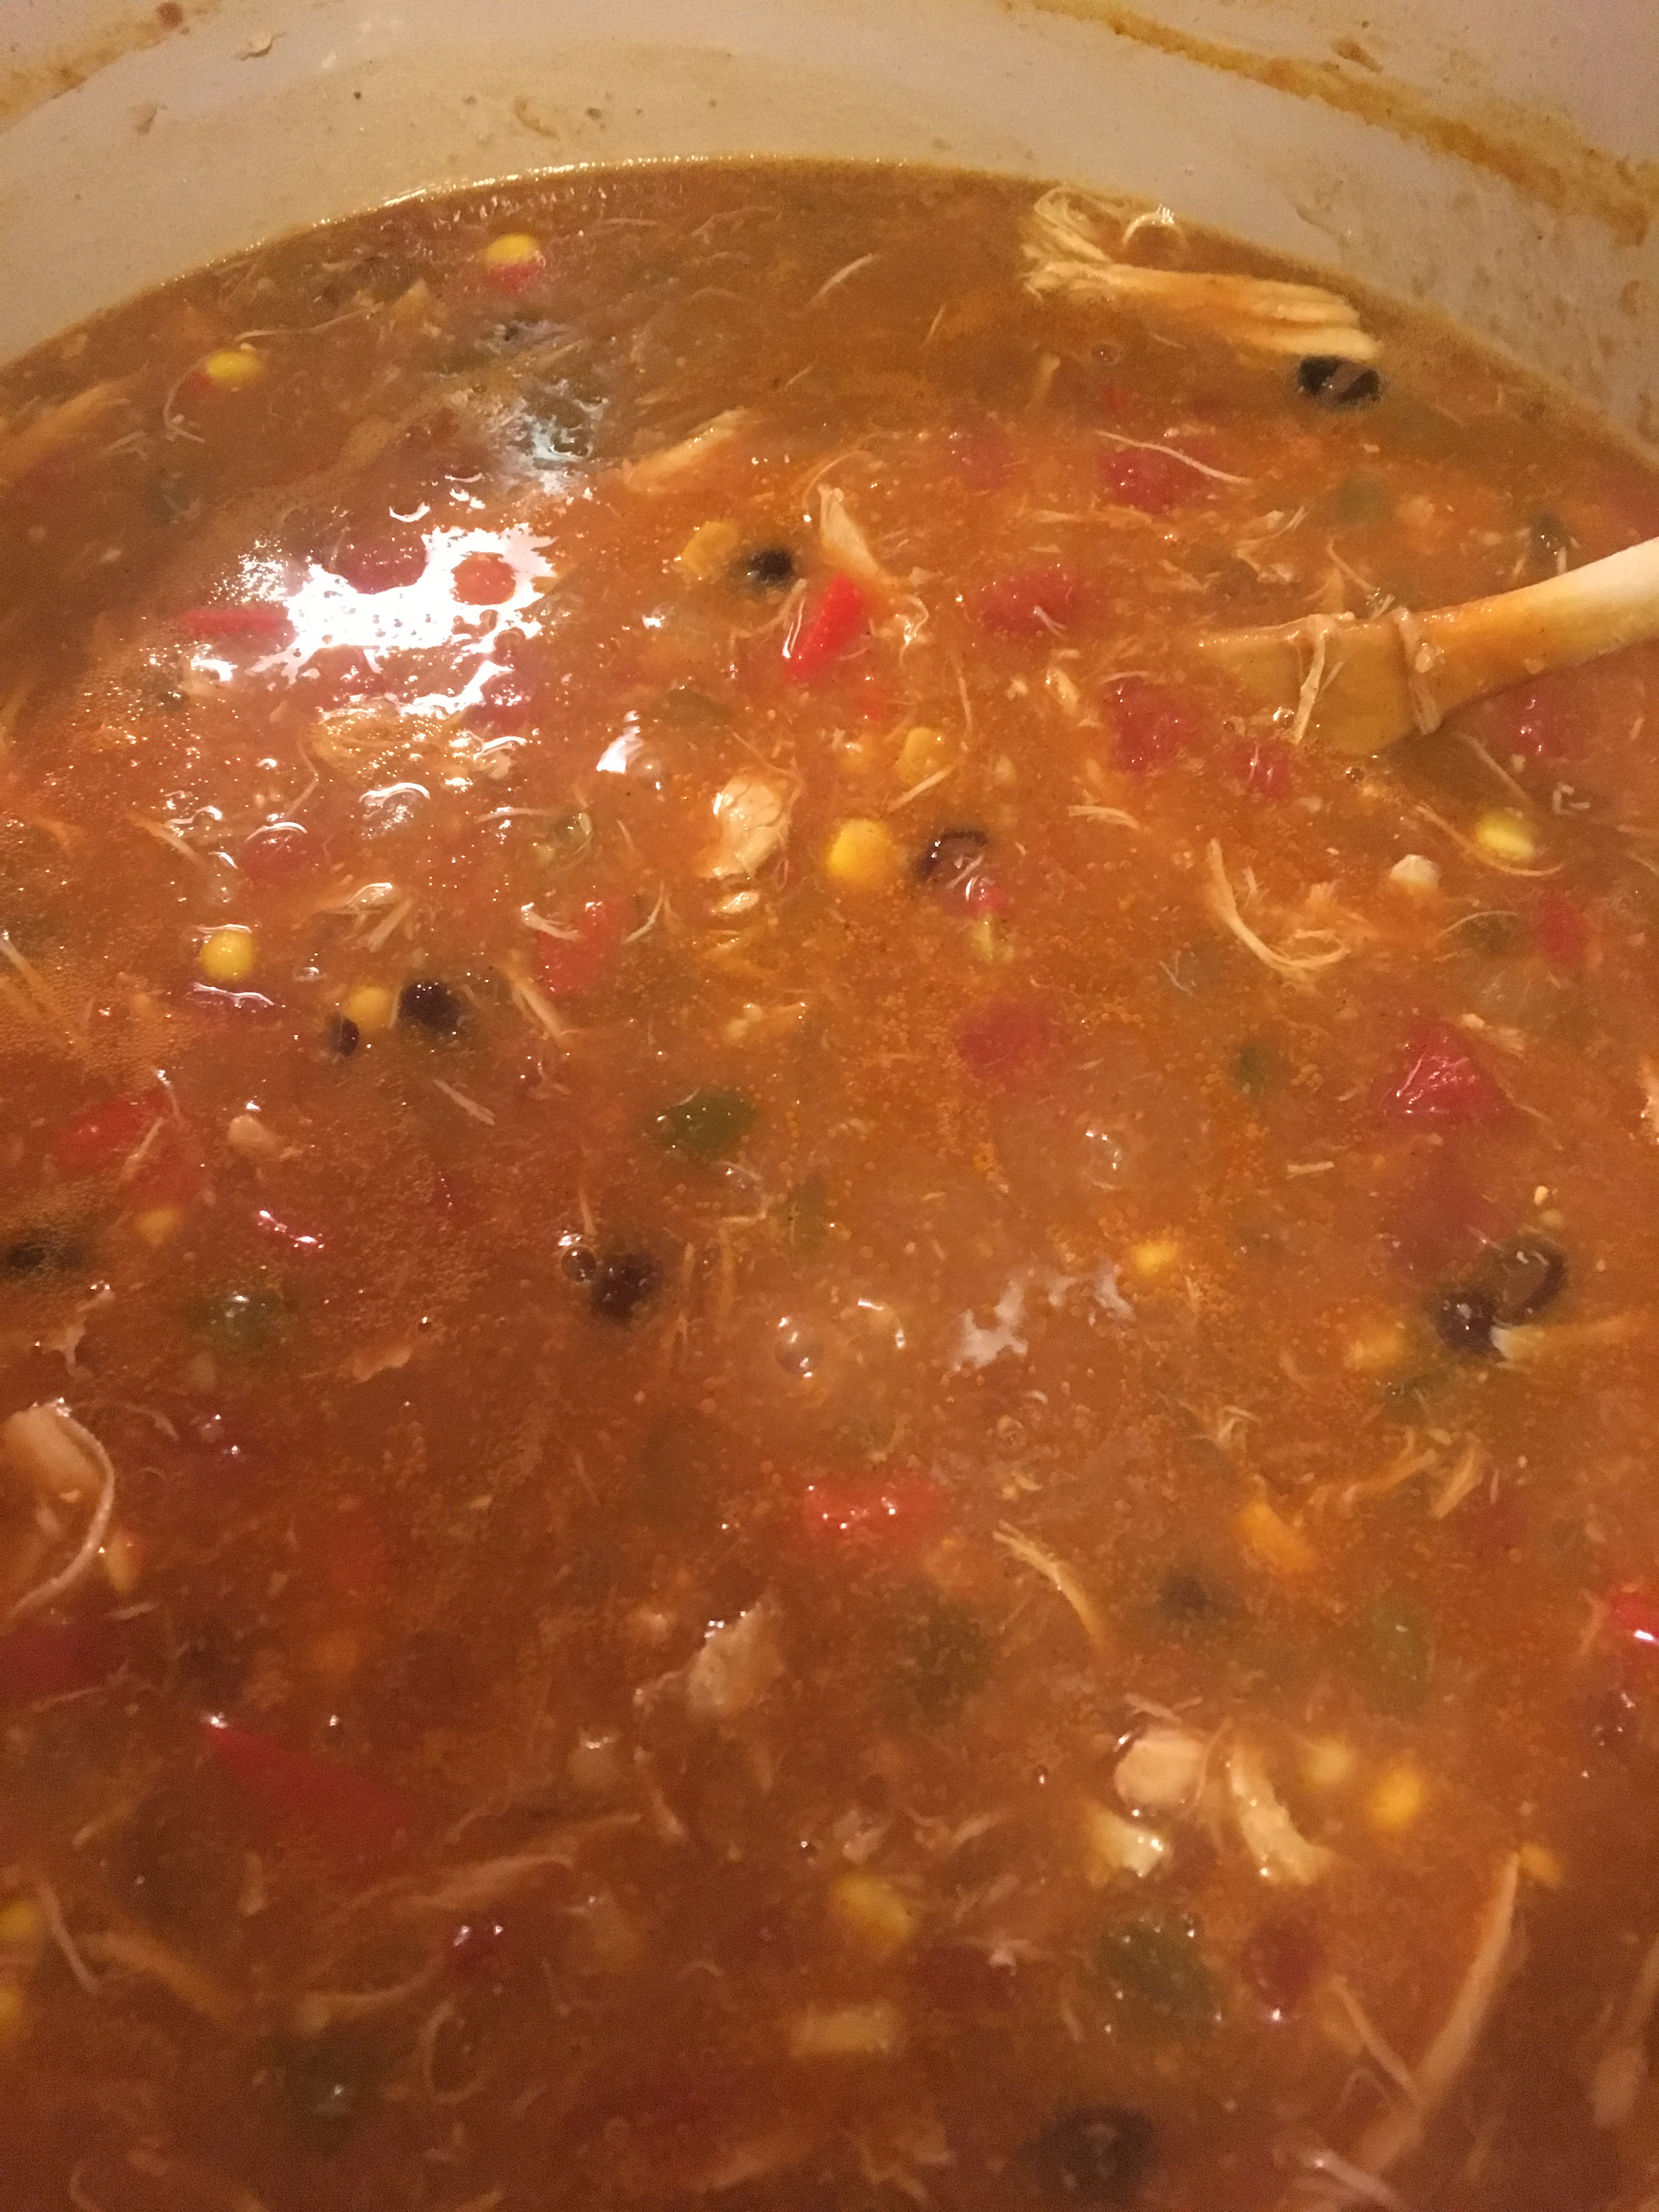
Pour in Rotel, chicken stock, tomato paste, enchilada sauce, water , black beans and corn. Bring to a boil, then reduce heat to a simmer. Simmer for app. 45 minutes to an hour, uncovered.

In a little bowl mix 3 cornmeal with a small amount of water , just enough to mix it into a paste like consistency. Pour into the soup, then simmer for an additional 30 minutes at least, I cooked for another hour. I always believe the soup is best when it sits for a long time.

Check seasonings, adding more salt if you need it , I added kosher salt because I felt it needed it. Taste has to be your guide but be sure not to undersalt, you don’t want this to be bland. Turn off heat and allow to sit for about 20 minutes.

Five minutes before serving, gently stir in the tortilla strips if you’re using them.

Ladle into bowls, then top with your favorite toppings and there you go! I think the chips/tortillas make this soup along with the cilantro and avocado. Let your taste be your guide here.


Fried Rice with Chicken

This recipe has a lot of ingredients but it really is pretty easy to execute. I have to say this just tasted down right delicious and pretty healthy as well. The chicken was yummy along with all the other ingredients. I used 2 pouches of Basmati Rice from Uncle Ben’s ( they’re the 8.5 oz. bags) you can also make your own rice but I opted for the easy route. I like a long grain rice and you can use brown rice if you’d like. The pouches save time and I made a few hours ahead and let it sit out to cool off. Of course you can add any vegetables you like. This really was delicious.

Ingredients:

4 cups cooked rice — like I said I used 2 pouches of Basmati Rice made it a few hours ahead and let it sit in pouch on counter . You’ll want the rice completely cooled off. Leftover rice works well here too. Or use white, long grain or brown rice.

2 Tablespoons canola or vegetable oil or peanut oil

2 Tablespoons Sesame Oil

1 cup chopped onions — yellow or white onions

3 green onions, trimmed and sliced into thin rounds

1 cup frozen peas and carrots — I don’t thaw I use straight from freezer

3 garlic cloves, finely minced

3 eggs, lightly beaten

1 lb. boneless skinless chicken breasts, diced into small pieces — cut up and sprinkle lightly with kosher salt and freshly ground black pepper

Sauce:

1/4 cup Hoisin Sauce

1/4 cup Oyster Sauce– if no oyster sauce use soy sauce

2 tsp. garlic/chili paste– worth buying Sambal Delek ground fresh chili paste — available in most supermarkets or specialty stores you can omit if you can’t find but it adds a wonderful layer of flavor

1 1/2 tsp. Sesame Oil

Mix all the ingredients with a whisk or a fork and set aside.

Directions:

In a large non-stick skillet or wok ( spray with cooking spray) add the Sesame Oil and Canola Oil and heat up ( medium high) and cook chicken. Flip chicken around so all sides get cooked evenly. Cooking time will vary depending on thickness of your chicken. When chicken is finished cooking remove with a slotted spoon allowing oil and cooking juices to remain in skillet. Put chicken in a bowl and set aside.

With pan on medium low to high add the peas, carrots, green onions and onions cook for a few minutes, or until vegetables soften , stirring occasionally.

Add the minced garlic and cook for another minute or so, stirring.

I scrambled eggs in a separate pan but if you’d like to use 1 pan push vegetables aside and add the eggs to the other side and cook to scramble.

Add the chicken and rice mix all ingredients and then add the sauce. I cooked through for another few minutes and didn’t think it needed any additional Salt and Pepper, but everyone has their own taste so taste for S and P. Cook for a few more minutes till chicken is warmed through. Serve it up!

*leftovers will keep for a few days or freeze . Re-heat gently — I think the microwave works best for re-heating.

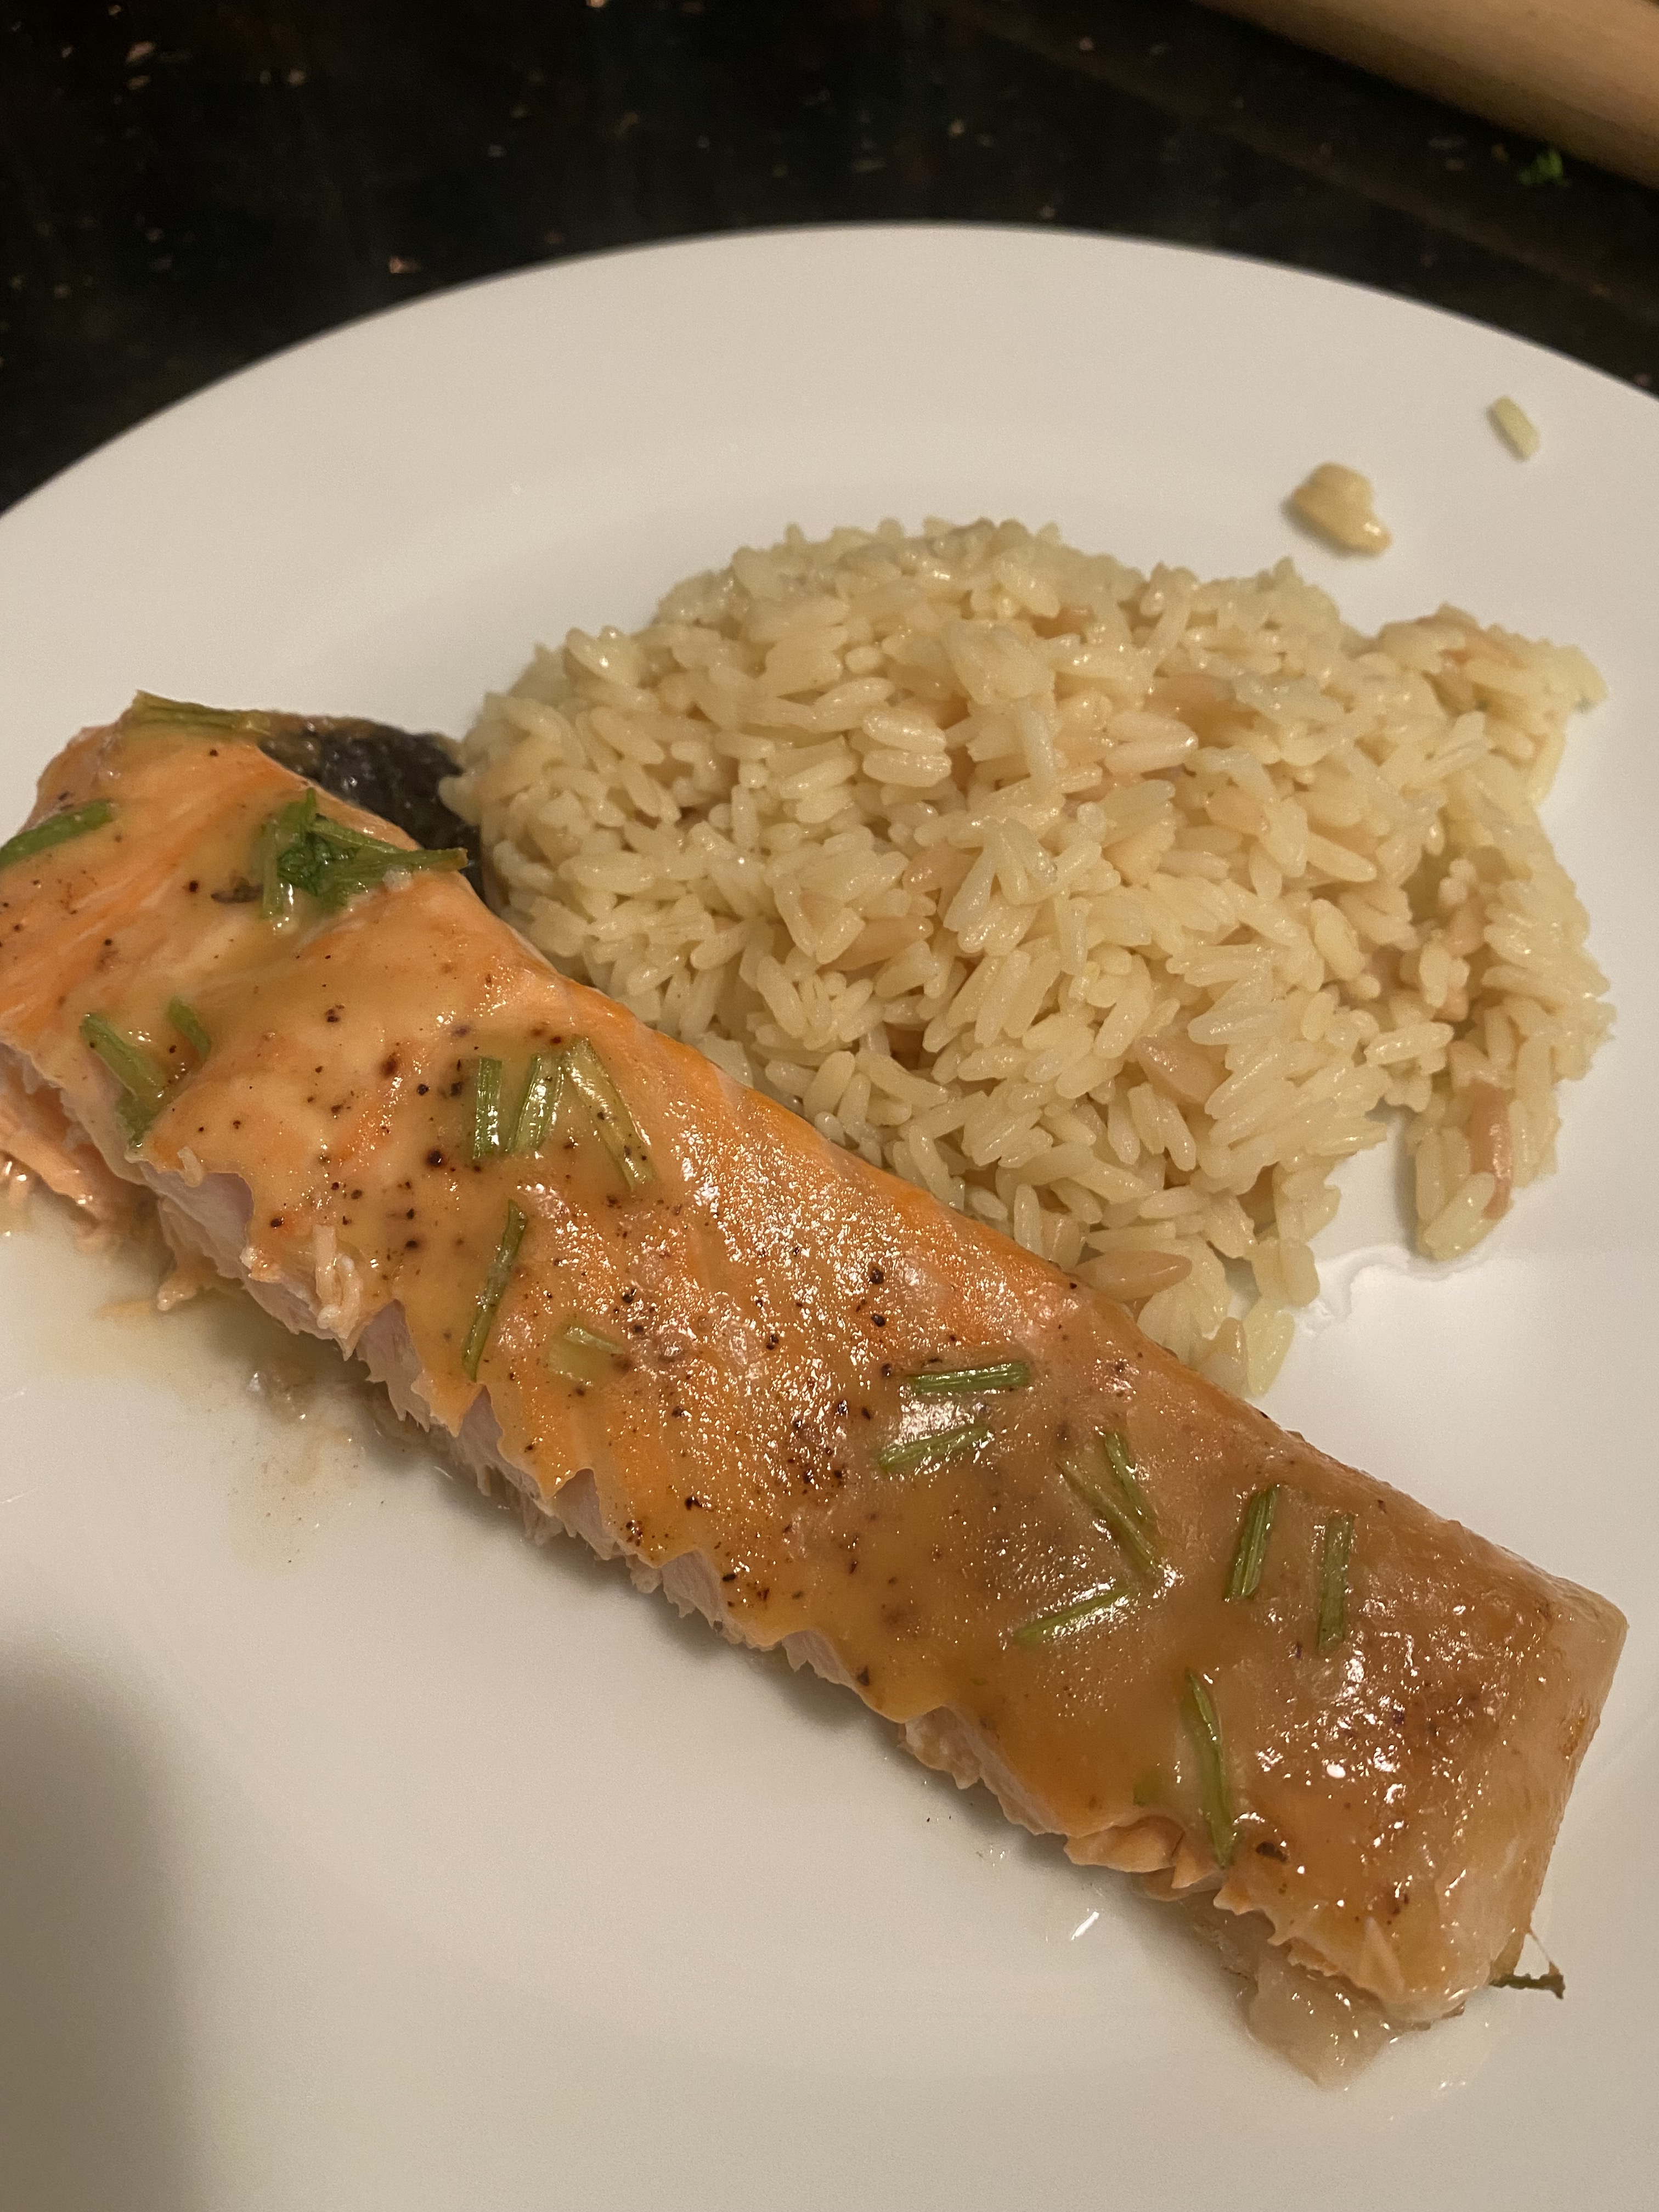
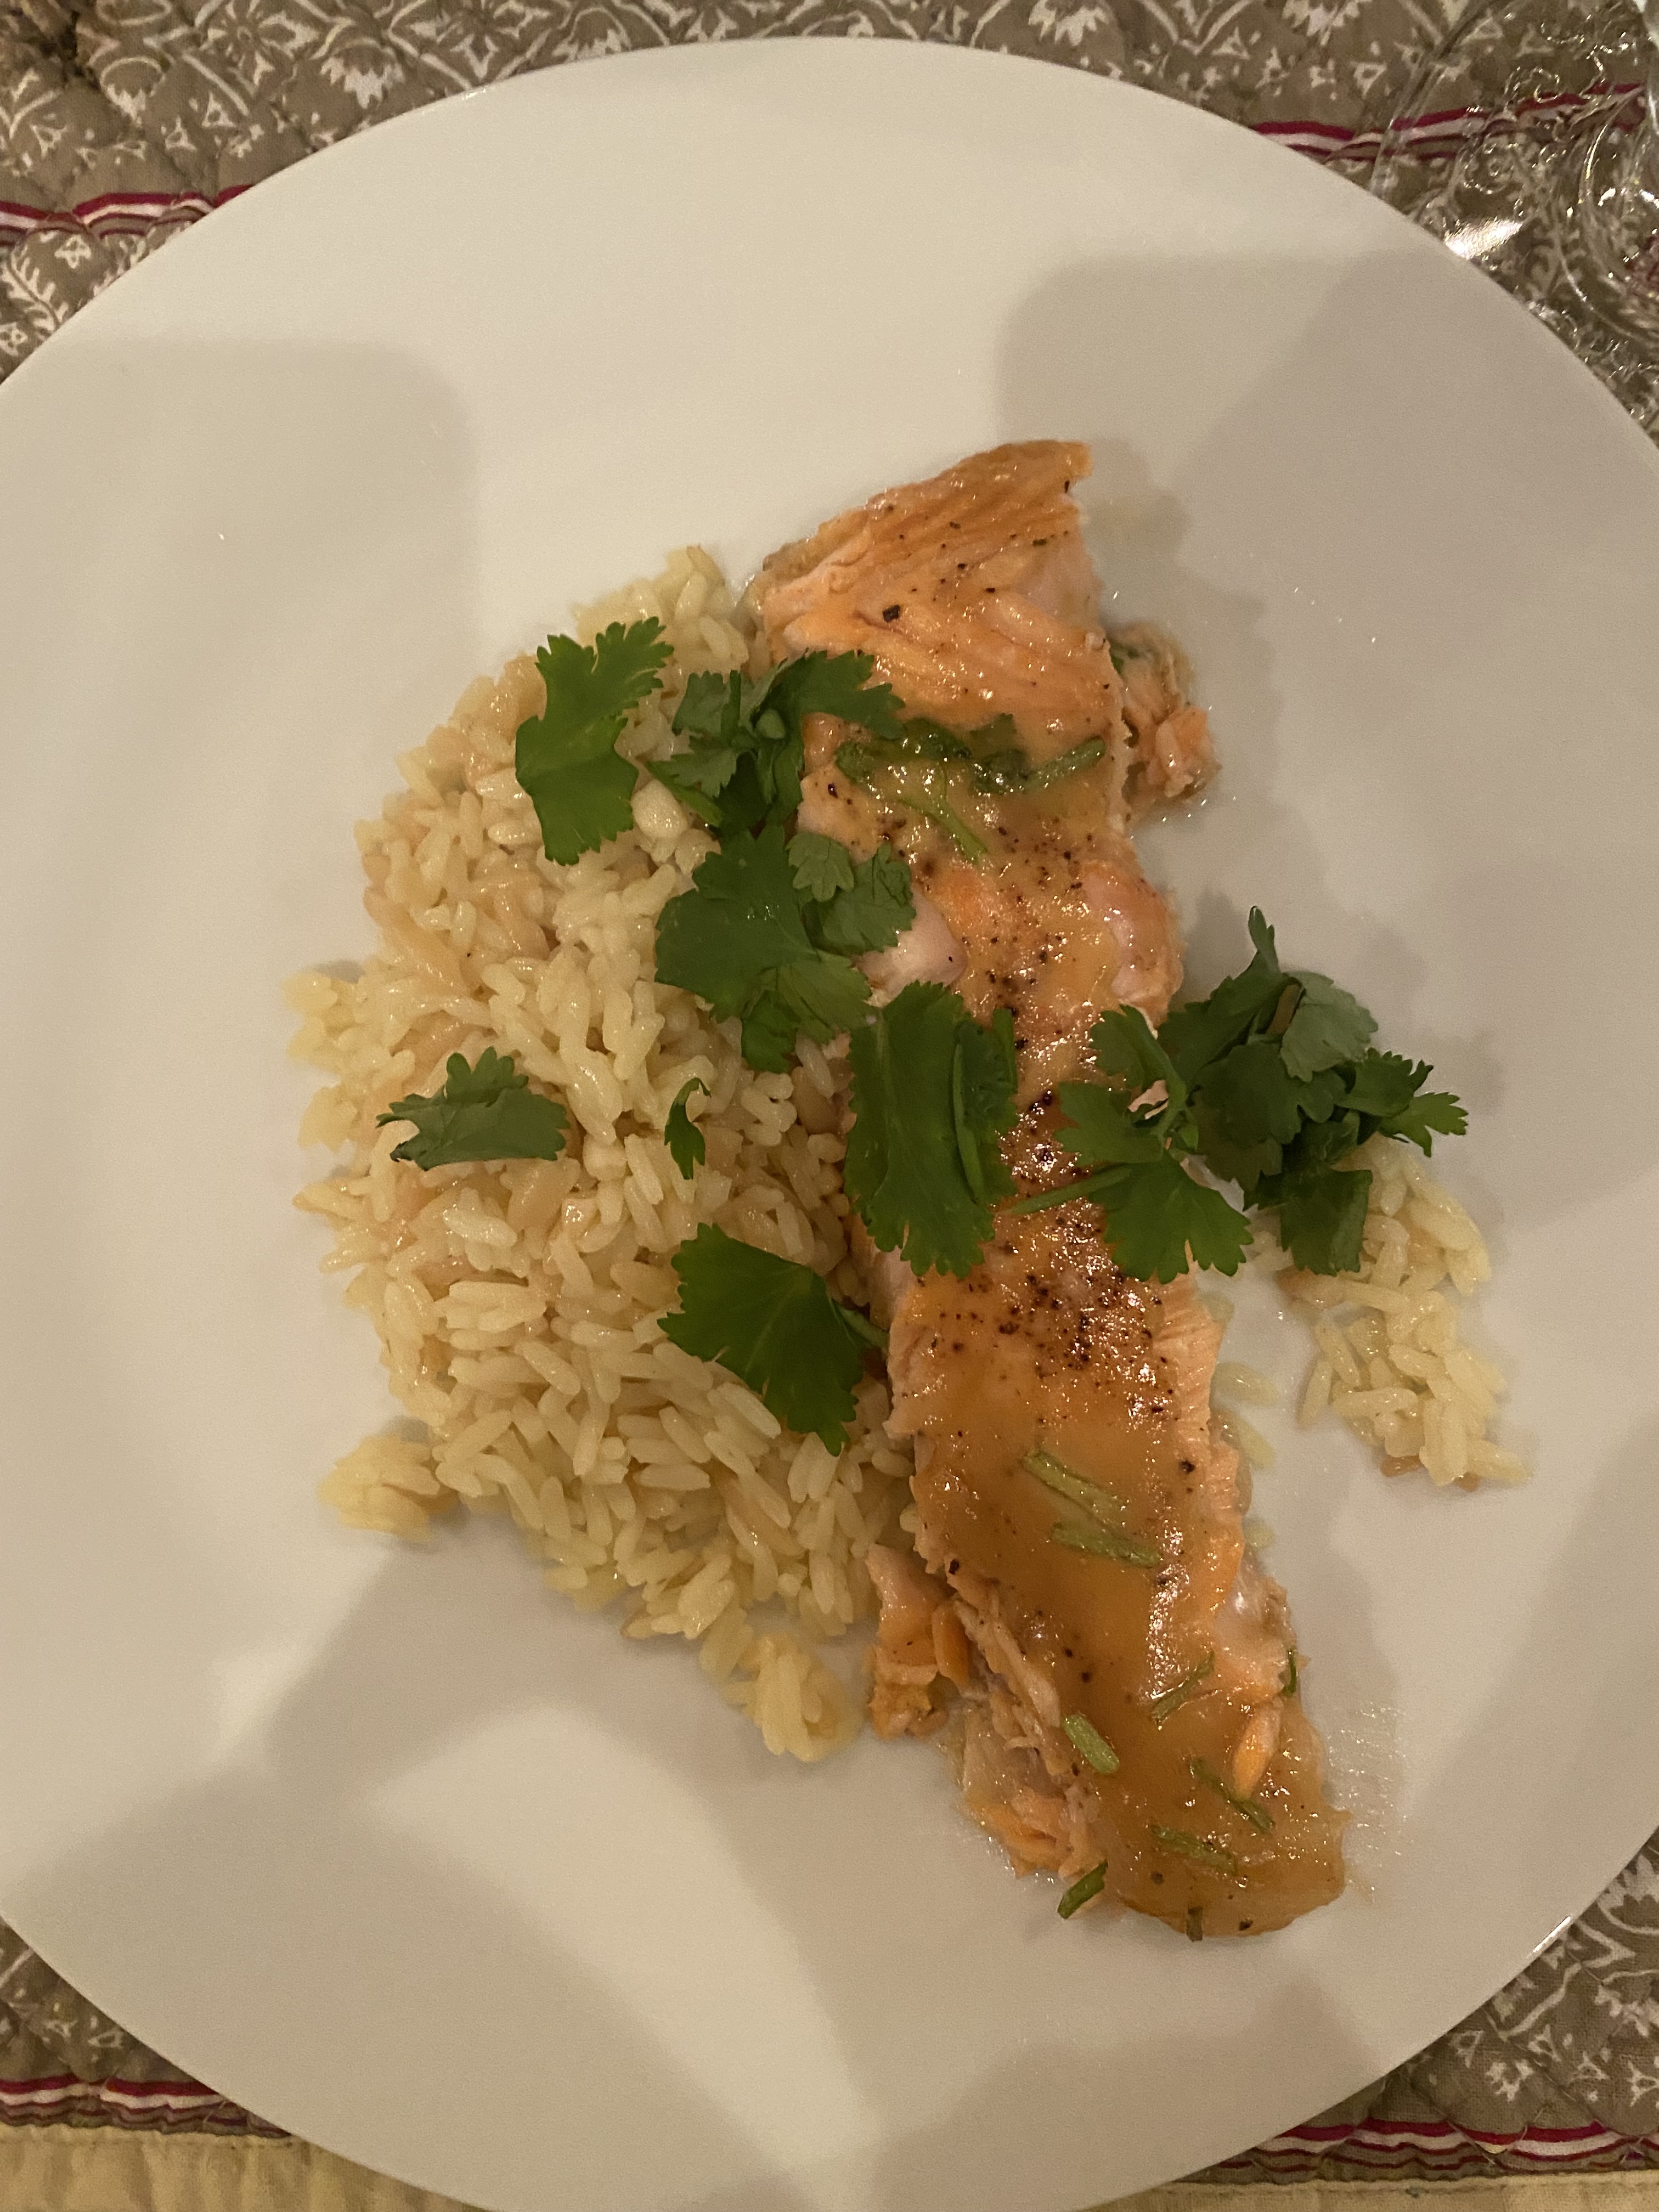
Maple Dijonaisse Baked Salmon

Yes that’s right I used Maple Syrup, Dijon Mustard and Mayonnaise in this recipe. Baked at a low temp for the first 20 minutes then a little higher for the last 5 minutes. It was delicious and perfectly cooked and melt in your mouth kind of goodness. Sweet and Savory served over rice with a vegetable or green salad. We love Cilantro so used it here but if you hate it just omit it.

Kick up your weeknight meal game with this recipe or save it for guests.

This is what I did for the two of us and I had a piece left over for lunch the next day which tasted wonderful cold.

Ingredients:

1 lb. skin on Salmon Filet — I used 1 large piece ( see photo) ask the fish store to cut it from the center so all the same cooking time, otherwise the end pieces may get more well done.

12 sprigs of fresh cilantro if you’re using

2 Tablespoons Pure Maple Syrup

2 Tablespoons Dijon Mustard

1 Tablespoon Mayonnaise — I use regular mayo not sure if this will work with fat free but low fat should be fine

Kosher Salt and Freshly Ground Black Pepper

Directions:

Remove salmon from refrigerator and let it sit out for a bit so it’s not ice cold–

Heat oven to 325 degrees

I grabbed the bunch of cilantro sprigs( about 12 sprigs) by their stems and sliced off the leaves, then I cut the stems crosswise and sliced stems into small pieces and saved the leaves for garnish

Transfer cut stems to a small bowl and stir in the maple syrup, dijon and mayo — mix well

Spray a baking sheet with cooking spray and place salmon on baking sheet and sprinkle with Salt and Pepper skin side down. Slather the sauce over the top of Salmon.

I cooked Salmon at 325 degrees for the first 20 mins . Then I raised the heat to 350 degrees for the last 5 minutes.

Bake until a paring knife slides into the center with only a little resistance. It should be pink but not raw. Salmon does continue cooking for a little bit once it’s removed from oven . Be careful not to over cook. All ovens differ a bit so you may want to check on it.

Top with fresh cilantro leaves and you can squeeze a little lemon on it as well.

Perfection on a plate for dinner and lunch the next day.

Sheet Pan Cashew Chicken

This is one of those perfect sheet pan meals easy to assemble and delicious to eat. Although I usually make this recipe on the stove-top I decided to experiment with it in the oven and all on one pan. Since I used white meat chicken breasts I cooked for about 13 minutes because you want to make sure not to dry out the chicken which is pretty easy to do. You can use dark meat chicken — thighs ( skinless and boneless ) if you prefer . I may use them next time out. Just make sure you spray the sheet pan with cooking spray and really spray or you’ll have a hell of a time cleaning that pan. It’s very tasty served over any rice you’d like or no rice , I used brown rice this time.

I have to say this is a perfect any-night meal.

Ingredients:

1/2 cup Soy Sauce

6 Tablespoons Honey

2 Tablespoons rice wine vinegar

2 Tablespoons toasted sesame oil

3 minced garlic cloves

2 teaspoons freshly grated ginger

2 Bell Peppers cut into chunks ( see pic) I used a Red and an Orange but you can use whatever colors you like

1 Red Onion, cut into chunks ( see pic)

2 boneless, skinless chicken breasts, cut into 1 inch chunks ( use thick breasts) or use boneless skinless thighs –thighs will definitely be less dry

1 cup cashews — I used roasted unsalted cashews don’t use salted ones you can also use raw unsalted cashews

Chopped fresh scallions and sesame seeds for topping — you can toast the sesame seeds in oven for about 7 minutes if you’d like or in a toaster oven — totally optional

*Rice — optional — any rice you like

Directions:

Pre-heat the oven to 425 degrees

In a bowl , whisk together the soy sauce, honey, vinegar, sesame oil , garlic and ginger

Place the peppers and onions on sprayed rimmed baking sheet and pour 1/2 the sauce over it and mix it well.

Roast in the oven for 15 minutes.

Place the chicken in a bowl with the remainder of the marinade.

After the first 15 minutes, remove baking sheet from the oven , move vegetables around so there is room for chicken , add the chicken and the cashews.

Roast until the chicken is cooked through– 12-15 minutes depending on the size of your chicken.

Toss everything together on the sheet before serving.

Serve over rice and sprinkle with scallions and sesame seeds.

Mushroom Barley (egg noodles)- Side Dish

cookingwithcandioct7 003this is an old recipe of mine that I’ve played around with and it makes a perfect side dish anytime of the year. not too difficult to make , takes a little playing around but pretty easy . I used Manischewitz egg noodles in a toasted barley shape this time. you can use pearl barley which is available in almost every supermarket out there. i have to say this product worked very well. Not exactly Mushroom and Barley?? but barley shape egg noodles

Ingredients:

1/4 cup butter or margarine

1  3/4 cup Pearl Barley or any kind you can find ( I used Manischewitz egg noodles in a toasted barley shape) it doesn’t have to be toasted it can just be regular barley shape noodles. I love to use this product , it’s usually found in kosher section.

1 lb. fresh mushrooms sliced

1/2 spanish onion chopped

2 – 3 cups chicken stock

1 tablespoon vegetable oil

Kosher Salt

Freshly Ground Black Pepper

Directions:

I use a very little bit of vegetable oil ( maybe 1 tablespoon) and saute onions, then mushrooms till cooked down. I salt and pepper generously here. I remove the mushroom/onion mixture from saute pan, wipe the pan clean with a paper towel . melt butter or margarine in pan, brown the barley/noodles for about 4 – 5 minutes, move it around as you brown it. in the meantime transfer mushroom/ onion mixture to a 9 x 13 baking dish (spray with pam) when barley/noodles is browned place in dish with mushrooms and onions and mix well. add 2 cups of chicken broth. cover with aluminum foil, and bake in oven covered at 350 degrees for app. 45 minutes. remove from oven, and add a little broth, depending on how dry it is, i would say i added about 1/2 cup , you may need to add more, add the 1/2 cup and mix well and see if you need more, not too watery, keep it dryer. cover, and i put it back in oven for 10 to 15 minutes. taste for salt and pepper. and there it is. very delicious.

Rosh Hashana 2021

It’s pretty hard to believe that Rosh Hashana the Jewish New Year will be upon us in 2 weeks. The first night of the holiday is September 6. Yom Kippur is September 15 -16.

It’s still summer and hard to wrap your head around it but before you know it it will be here. I know it’s always too early or too late but this is very early.

Maybe a good opportunity to do an outside Holiday Dinner and certainly break fast outdoors would be lovely. And maybe use some delicious salads to lighten up the menu since it is still Summer. Some roasted veggies would also be a perfect addition.

Once again I will write up a list of recipes for you to check out and one by one I will try and post as many as I can for you.

Enjoy your families and have a Happy Healthy New Year from our house to yours. Remember if you have any questions get in touch either through this website or my instagram or facebook — DM me and I will try and get back to you as soon as possible. I will also be posting Rosh Hashana recipes on Cooking with Candi. Check out my instagram for daily posts.

Shanah Tovah

Recipes:

Un- stuffed Cabbage — I highly recommend this delicious main dish — pretty simple to make and beats trying to make stuffed cabbage but tastes just as good.

Happy New Year Brisket— Brisket is always a winner and this one never fails

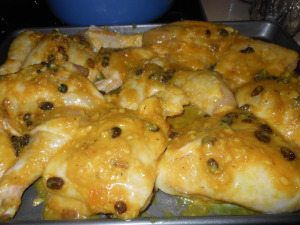
Chicken Marbella— probably one of my most favorite Chicken Holiday Dishes

Honey Roasted Chicken— equally delicious and a little different flavor

Old School Meatballs— yummy Sweet and Sour meatballs sure to please whole family

A Noodle Pudding from Ellen-– another delicious kugel from an old friend and great cook

Another Noodle Pudding from Marcy — this one’s excellent if you’re looking for a kosher non-dairy kugel

Noodle Pudding with Apricot Nectar— probably one of the best kugels of all time

Noodle Pudding from Julie— delicious as well

Mushroom Barley-– check out this delicious side dish — everyone loves this all year round

Kasha Varnishkes— a crowd favorite and an old school recipe — perfect comfort food

Julie’s Honey Cake— another winner from a great cook

Grandma Sally’s Mandel Bread-– also from a friend and a wonderful recip

Applesauce and Raisin Cake — sweet and delicious as your new year should be

Don’t let the Apples go Bad Cake-– simple and delicious perfect for the Jewish New Year

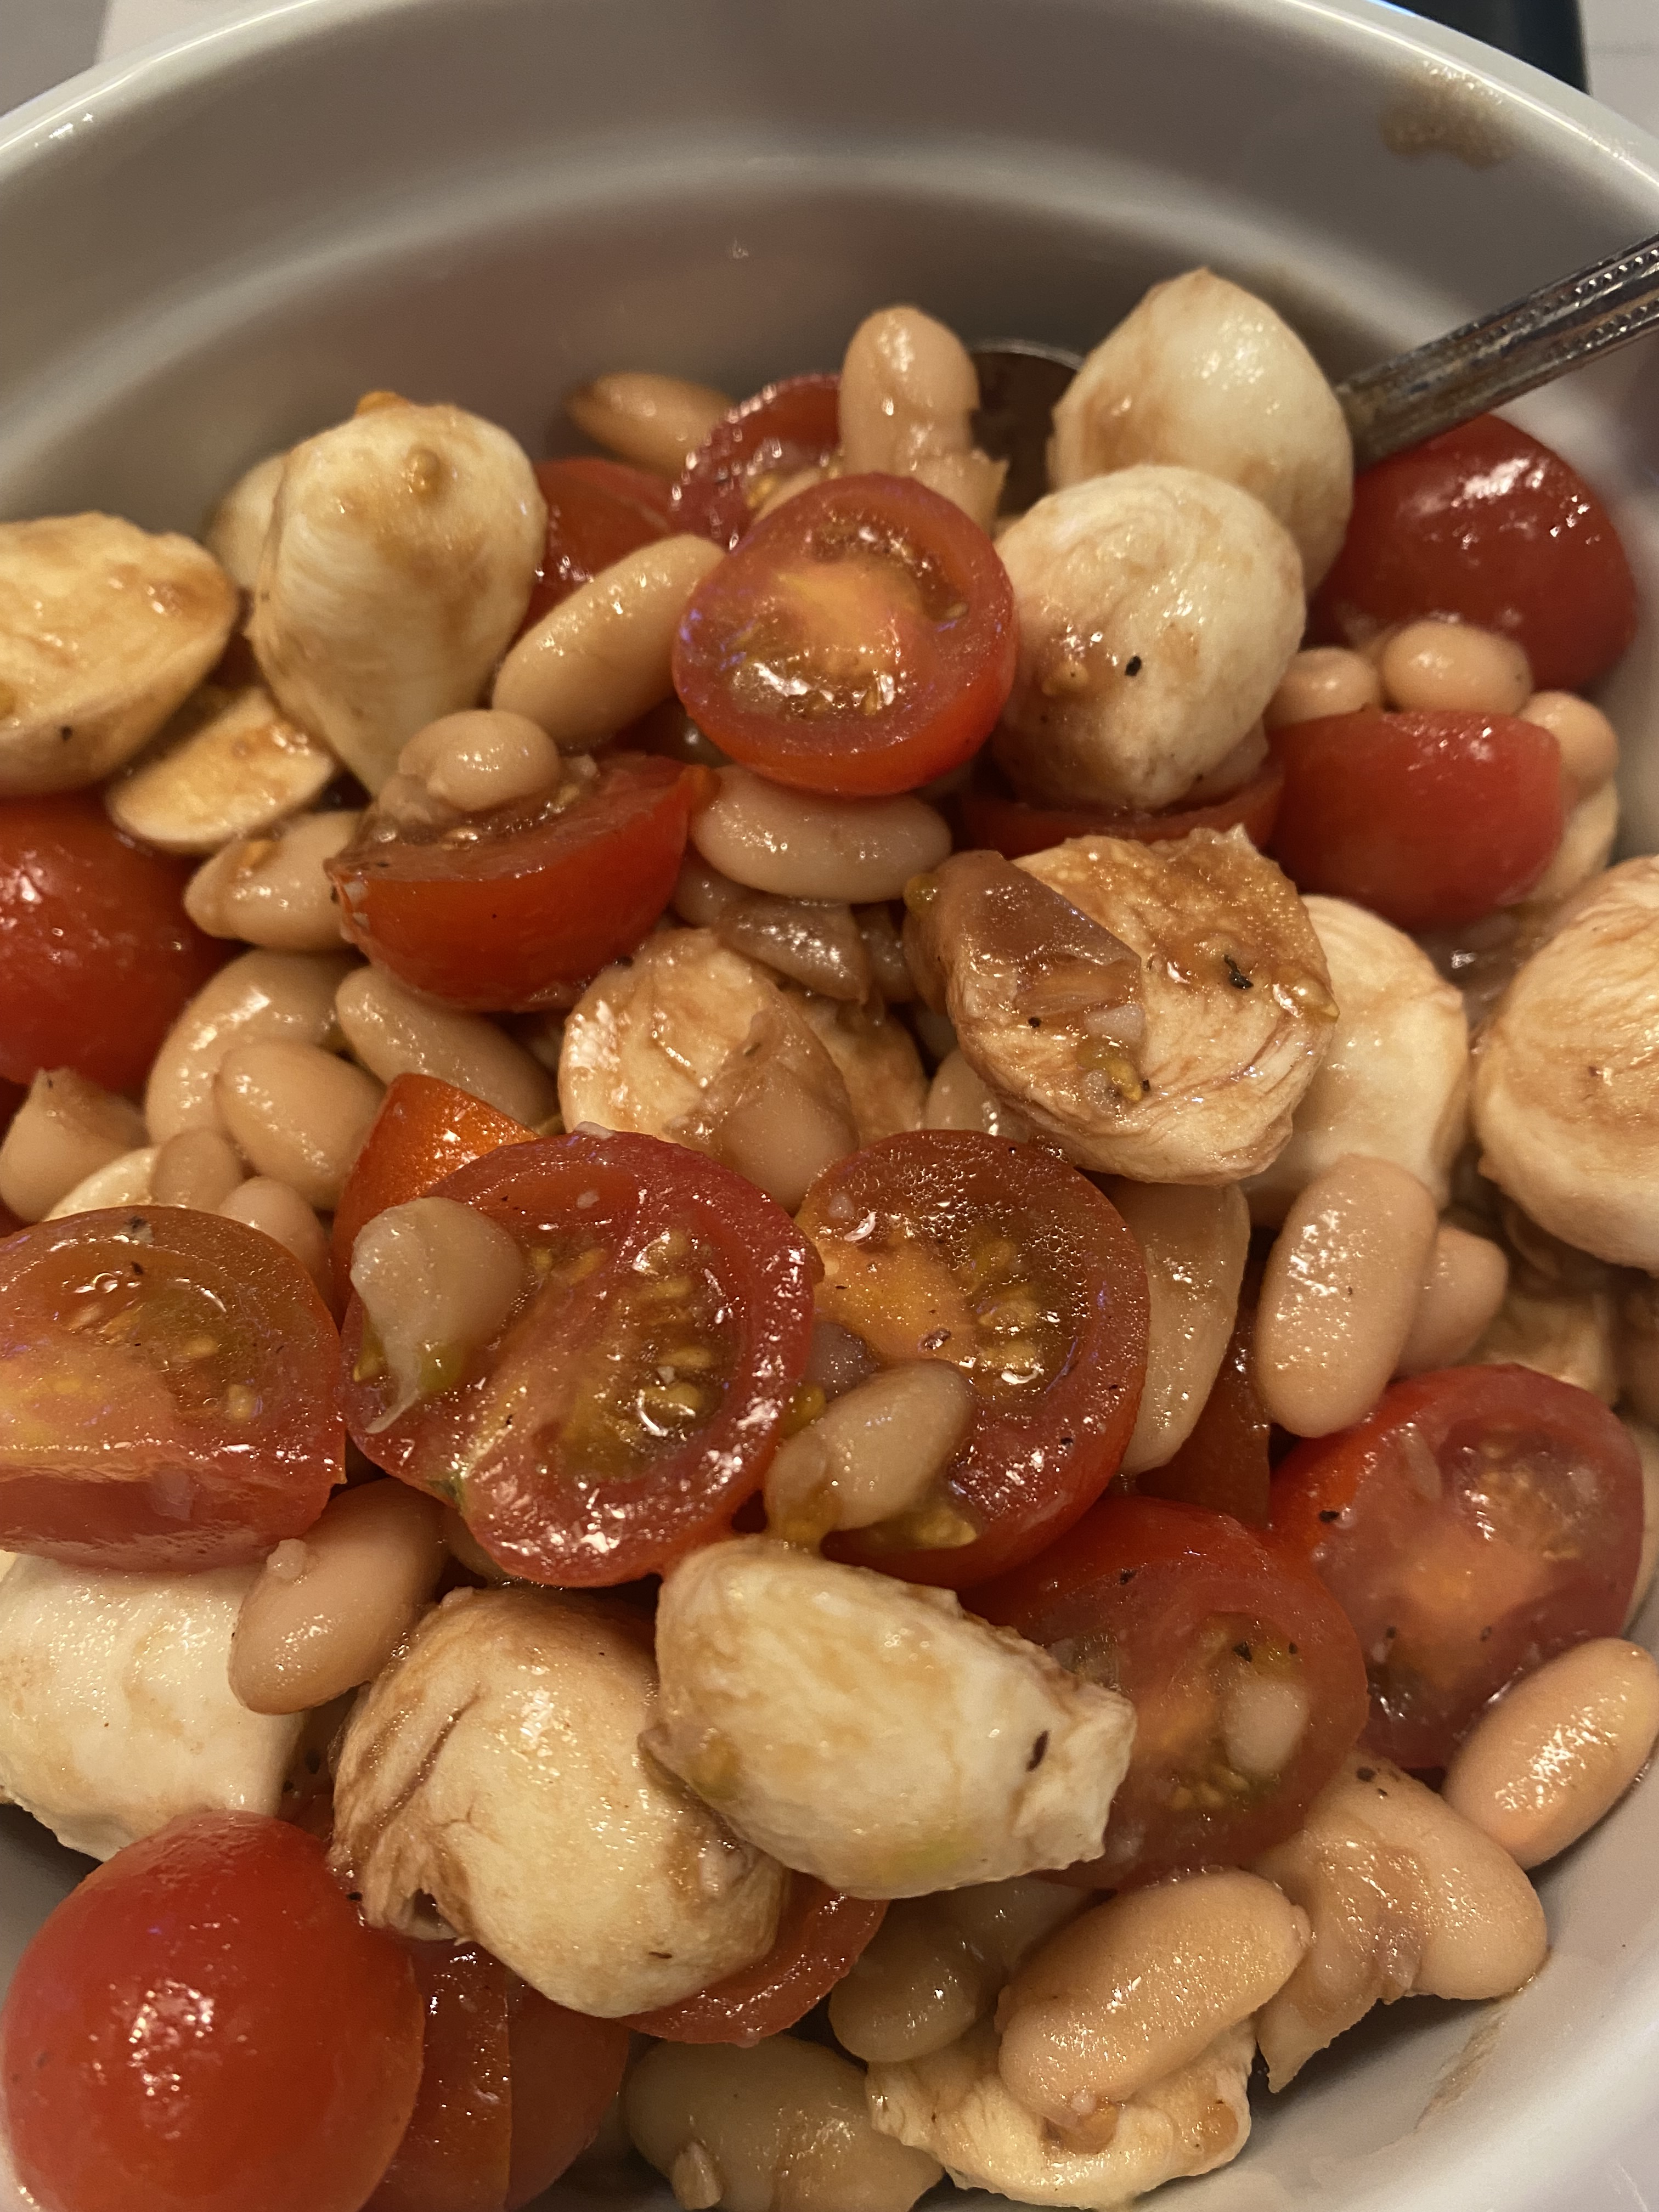
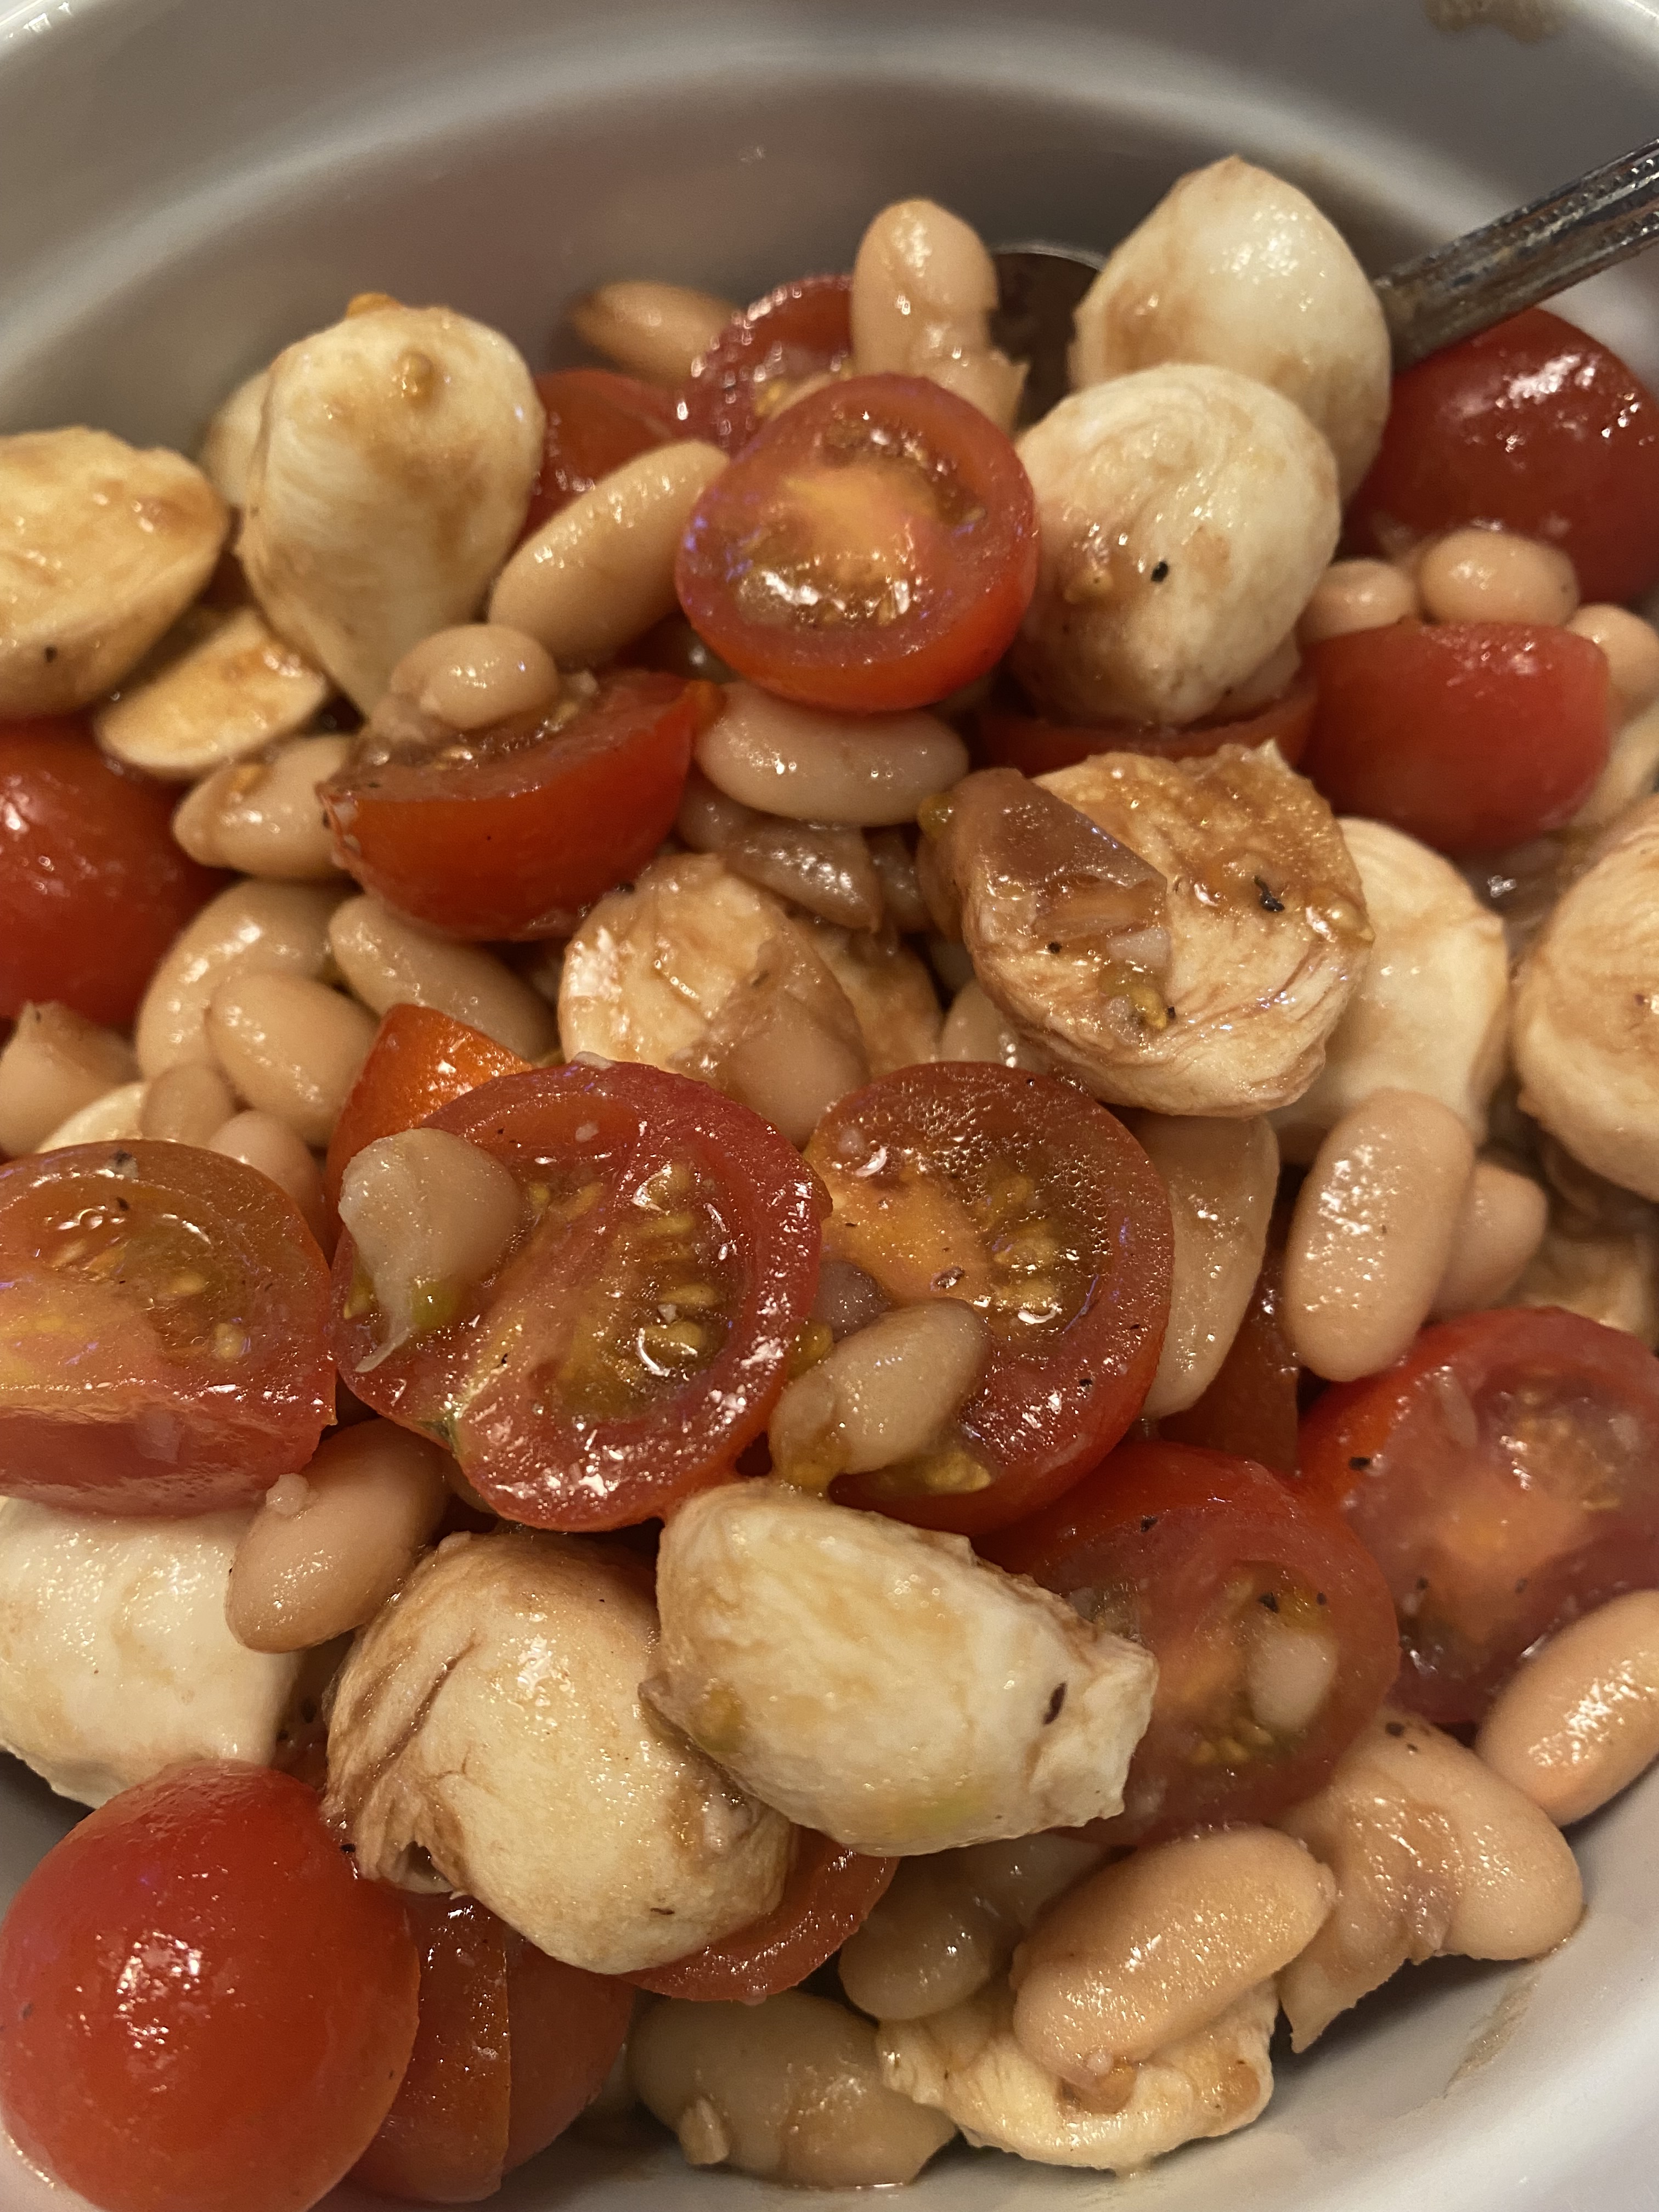
White Bean Caprese Salad

An easy side salad for the lazy hazy last days of Summer and really good anytime of the year. White Beans from the can which is always in my pantry works to make this an easy simple delicious side salad. You can add some arugula or just serve alongside any protein and it’s perfection with simple ingredients.

Ingredients:

1 14 oz. can white beans such as cannellini, rinsed

app. 5 oz. small cherry or grape tomatoes , halved

app. 5 oz. small mozzarella balls such as cilliegine which is available in most grocery stores in an 8 oz. container. You can also use any good quality fresh mozzarella torn into bite size pieces.

1/4 cup loosely packed basil leaves , I like them cut up

2 Tablespoons olive oil, plus more if needed —

Kosher Salt and Black Pepper to taste

2 Teaspoons good – quality balsamic vinegar, plus more if needed

Directions:

In a medium bowl, combine the beans, tomatoes, cheese and 1/2 the basil. Gently toss together.

Add the olive oil and season the salad with salt and pepper. Gently stir to combine.

Drizzle the salad with the balsamic vinegar and top with the remaining basil and taste and adjust the seasonings to your liking.

Add a drizzle or so more of oil and vinegar if needed.

Enjoy!

Chicken Fajitas on the Grill

IMG_5599.JPG

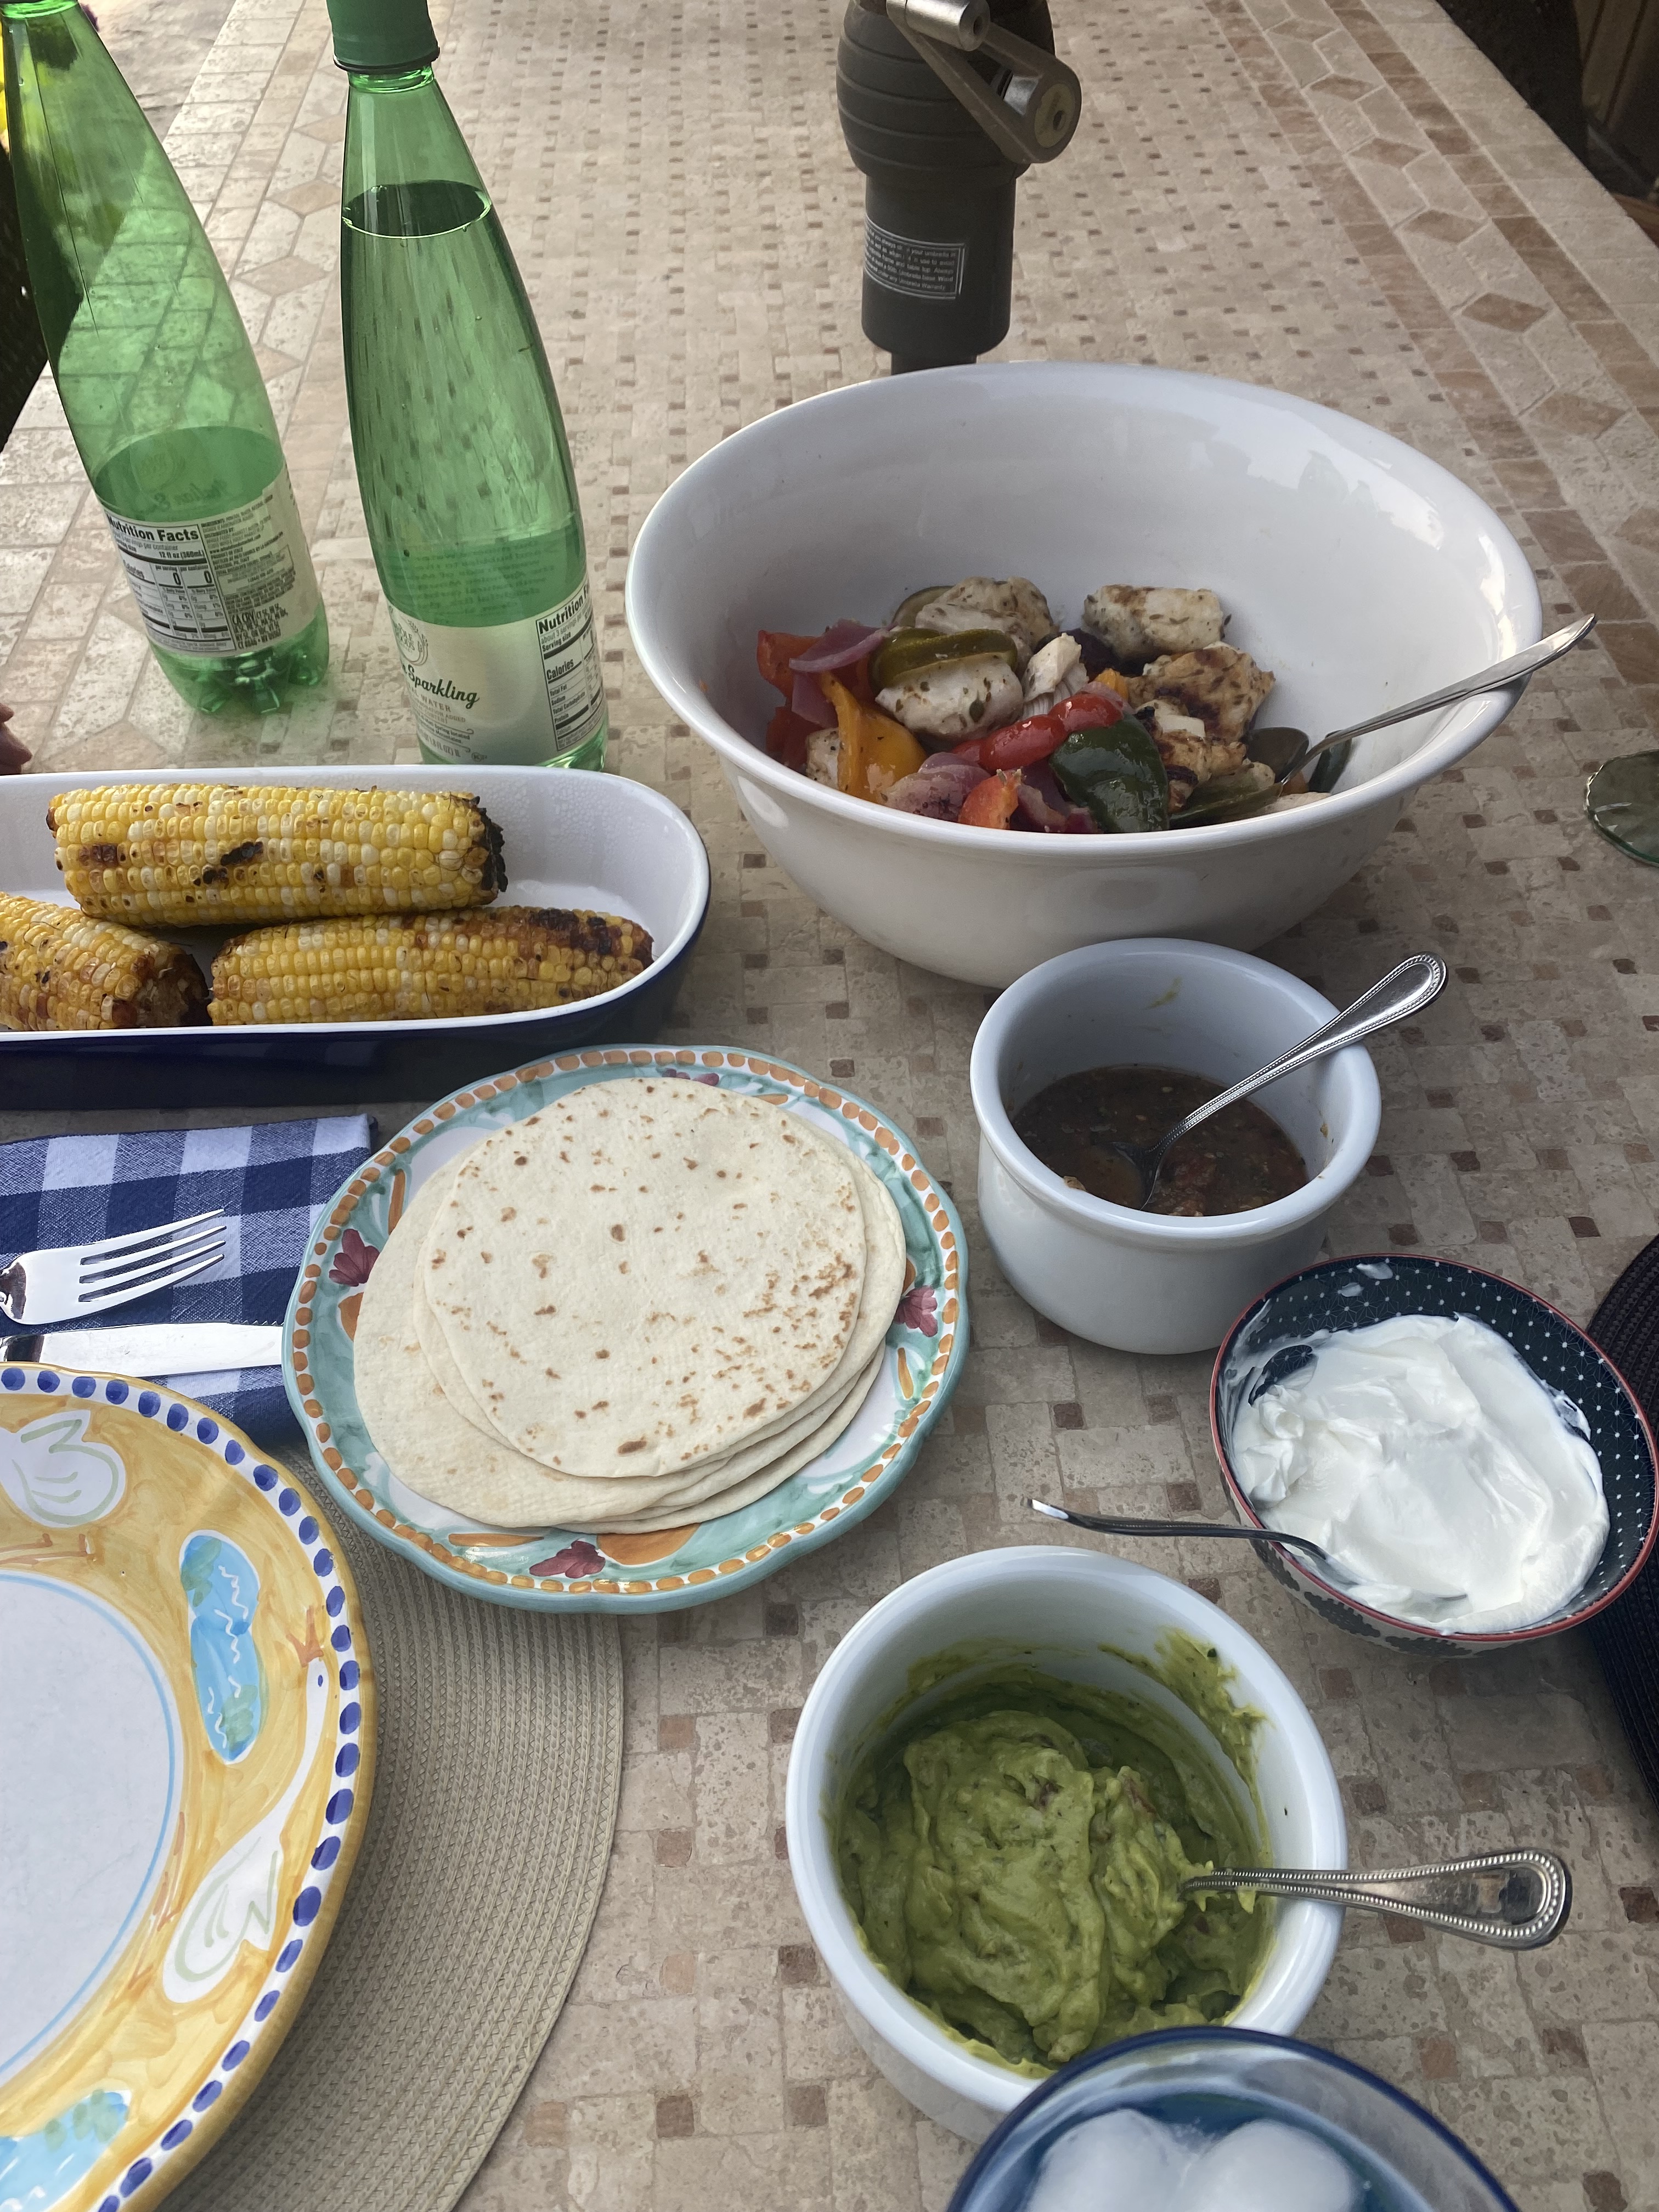
IMG_5593.JPG Wow–Fajitas on the Grill and the best part is there were no pots and pans to clean up! Cooked in Aluminum Foil Packs right on the grill! They’re called Hobo Packs. This is so easy to make and so delicious to eat. Definitely one of our favorite go to meals in the summer. If you don’t have a grill you can make in the oven on a large rimmed baking sheet.
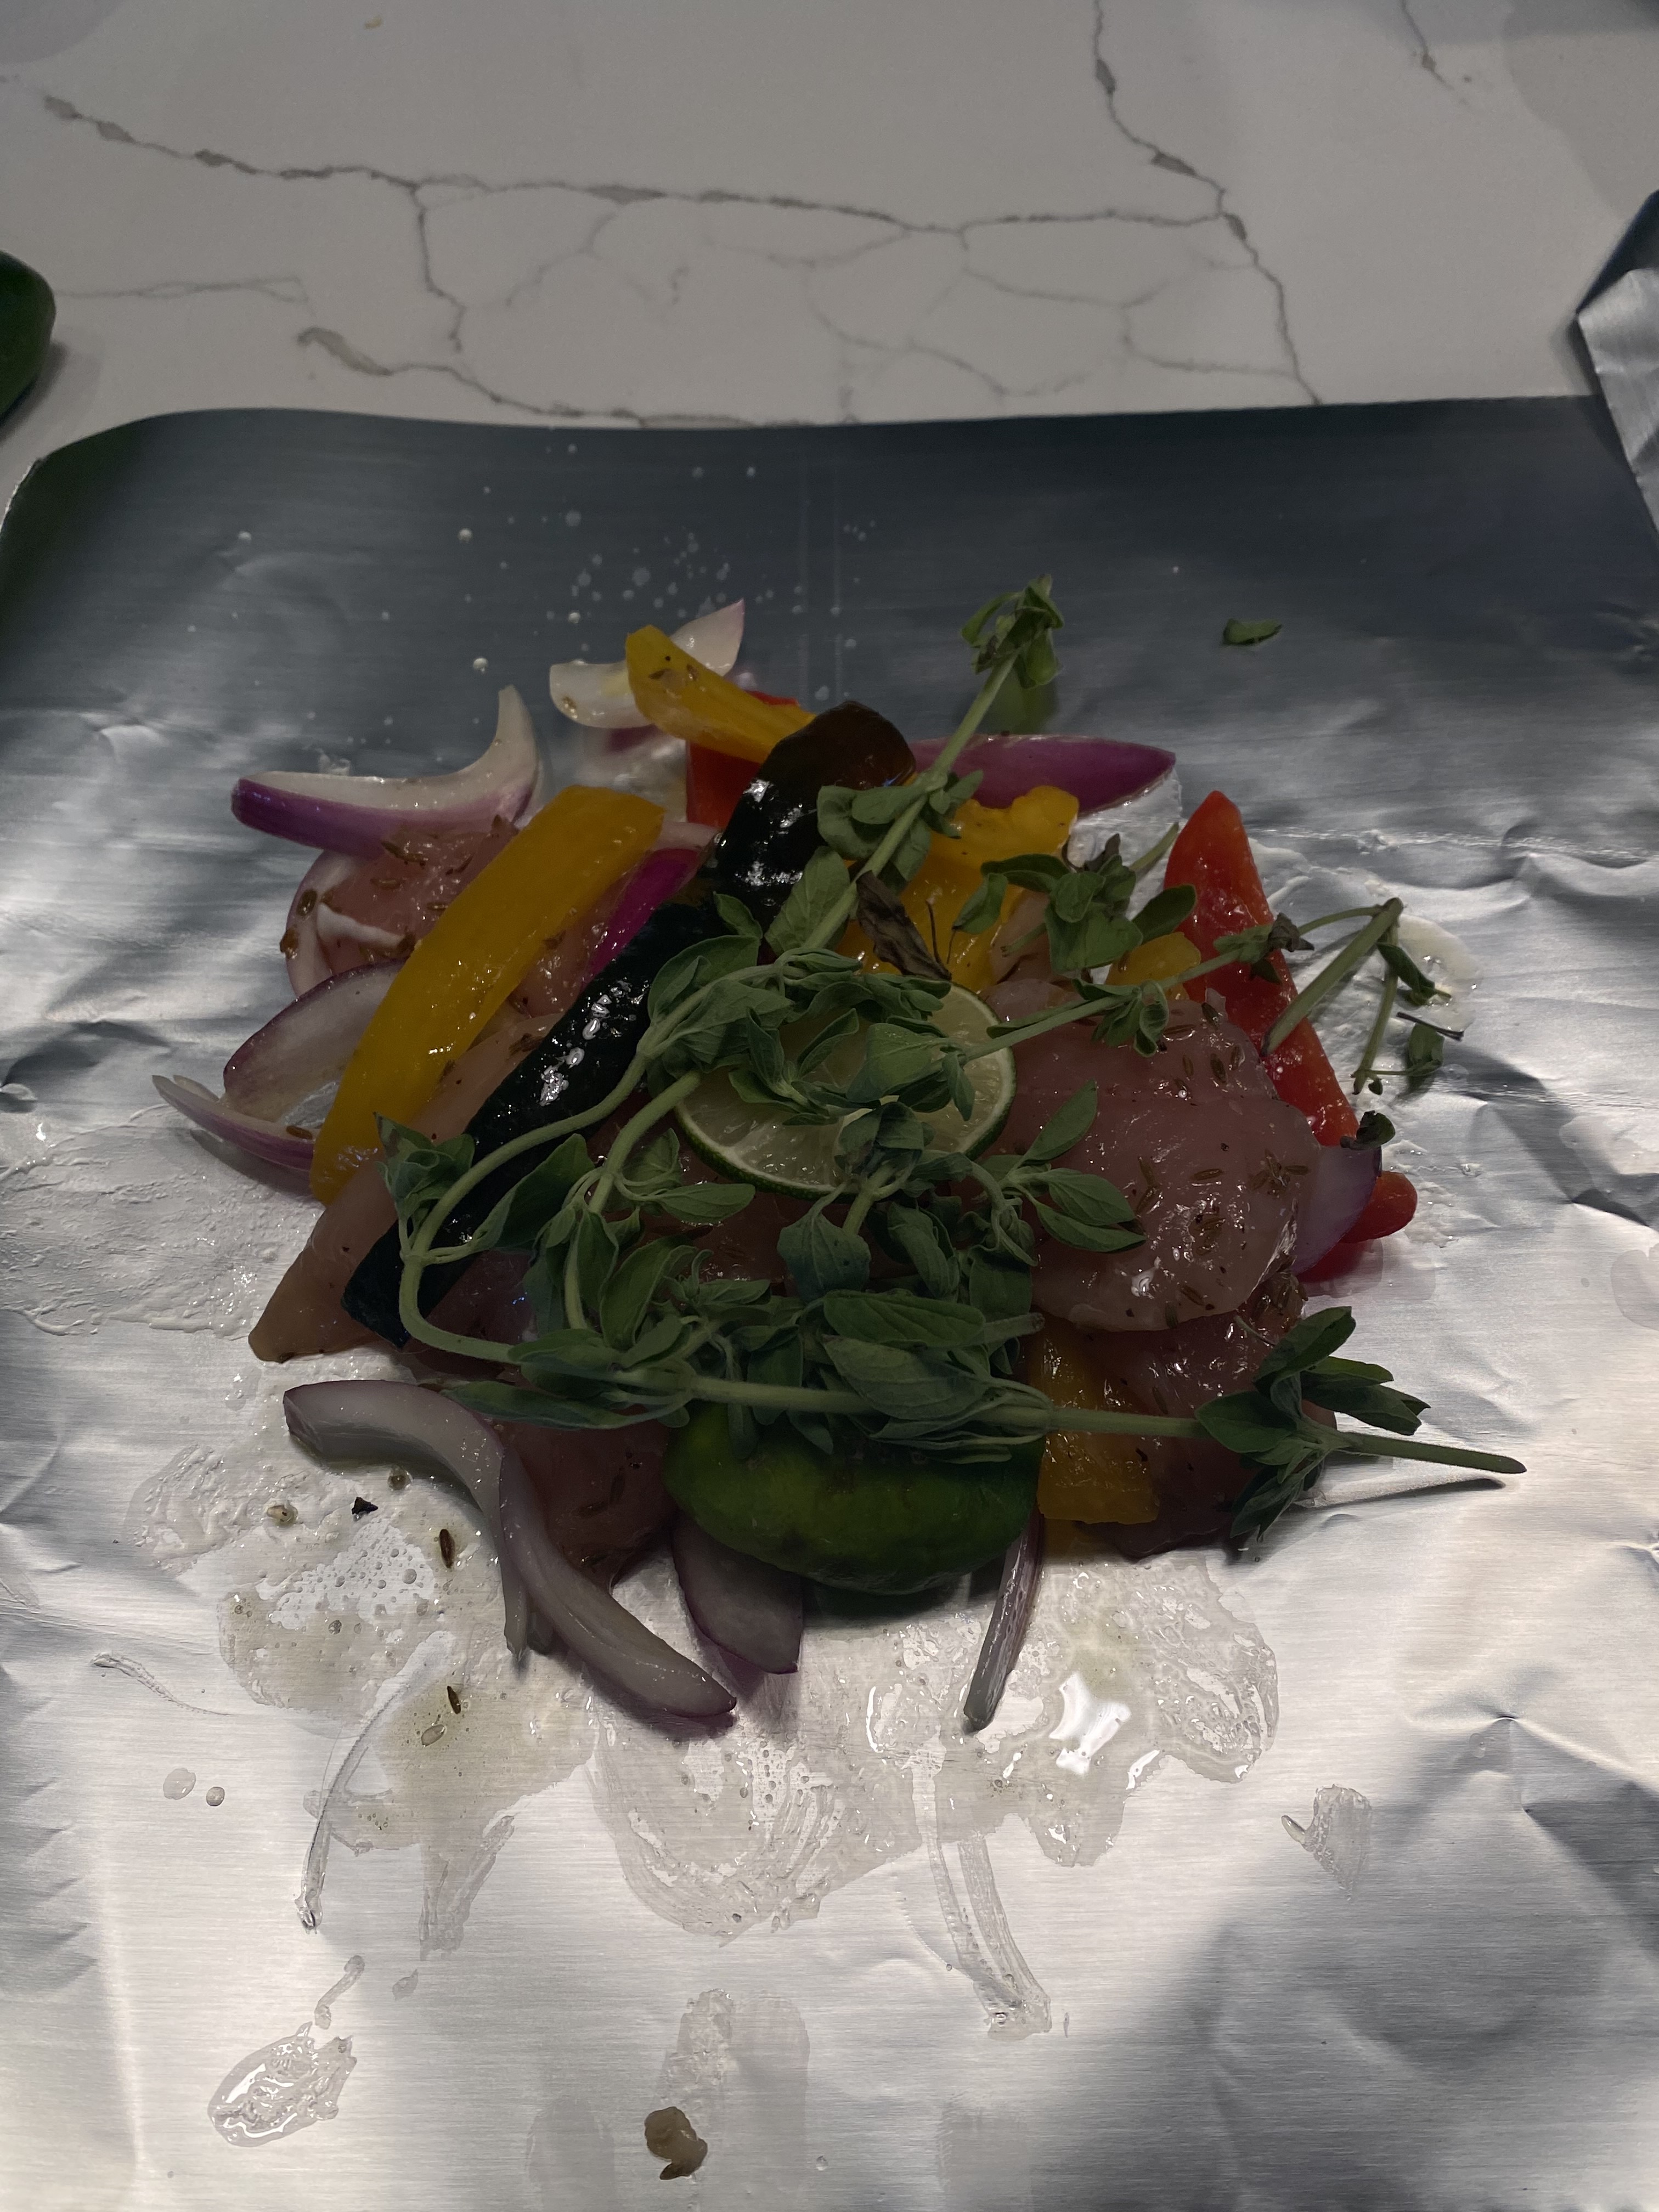
Very quick prep and delicious ingredients. Feel free to substitute whatever peppers you would prefer. This is what I did.

You’ll need heavy-duty aluminum foil for the grill.

  • If you double up the recipe you’ll need more hobo packs and feel free to experiment with the ingredients. 

Follow me on Instagram @cookingwithcandi

Ingredients:

1 lb. chicken tenders–I cut them in 1/2 so they’re still thick enough that they don’t over-cook in the 15 minutes it takes to cook. If the pieces are too too thin they’ll over-cook. 

1 medium red onion, halved and sliced 1/4 inch thick (approximately)

1 poblano chile or serrano chile whatever you can get. Stemmed and cut lengthwise into 1/2 inch strips. I used both .

1 Red Bell Pepper–cut into strips lengthwise

1 Yellow Bell Pepper –cut into strips lengthwise

*you can really use any peppers that you’d like–these are the ones I used Shishito Peppers would be wonderful as well.

1/4 cup extra-virgin olive oil

1 1/2 tsp. cumin seeds

Kosher Salt and Freshly Ground Black Pepper- you’ll need to be fairly generous with the salt –I used about 1 1/2 teaspoons of salt and a few grinds of the pepper mill.

4 -6 fresh oregano sprigs–at least 1 in each packet–I used 2 in each packet.

1 lime, thinly sliced crosswise

Warm flour or corn tortillas, sour cream , guacamole and salsa and some hot sauce for serving. I used small tortillas but any kind will work out nicely. This is a very easy Summer Meal. I also like to serve with rice and beans.

Directions:

Cut up all the veggies, onions and chicken and light the grill, I had the grill turned up high , it should be medium to high. I put it to high to pre-heat and then lowered to a more medium – high, if you are unable to do this step just check on them after 12 minutes to make sure the bottom isn’t burning.

In a large bowl, toss the chicken, onion and all the peppers with the olive oil and cumin seeds. Season generously with salt and pepper and toss again. I like it to sit for about 15 minutes while grill is heating up. 

Arrange 4 14 inch sheets of heavy duty foil on a work surface ( see pics) app. 14 inches don’t get the ruler out you can   eyeball it, it needs to fit a pile of veggies and chicken. Last night I increased the chicken so we had about 6 packs.

Pile the chicken and veggies evenly on one 1/2 of each foil sheet and top with the oregano and lime slices. Fold the foil over the ingredients and pinch the edges to seal.

Place the foil packets on the grill, close the lid and cook over moderately high heat until the chicken is cooked through, anywhere from 12 to 15 minutes.

Open the packets and serve with warm flour fajitas, sour cream , guacamole, salsa and hot sauce.

*Packets can be made a night ahead of time and kept in the refrigerator.

I usually place all ingredients after cooking in a large serving dish/bowl and let everyone take for themselves.

Enjoy!

S’mores Dip

Melted Chocolate and Toasty Marshmallows!!! This is a hit for your next party or just for your family. Who says it’s only for camping out? This was made in the oven very quickly and came out perfectly delicious and perfect all year round.  A few minutes in the oven and a few minutes to prep and you have a delicious most fun dessert to serve. Serve it with graham crackers or graham cracker sticks and watch it disappear. You can also mix it with peanut butter chips for a little bit different spin on S’mores. All I can say is yum!

Ingredients:

app. 1 regular size bag of  chocolate chips, you can use semi-sweet, milk chocolate, peanut butter chips or any combo.

Marshmallows- start out with a whole bag — you’ll probably use 3/4 of the bag –you can use minis or the large ones but I just used regular sized this time which are readily available

Graham Cracker Squares–for dipping

I used an 8 inch cast iron skillet– it makes for a great presentation and it cooks perfectly– just be very very careful with serving it because skillet will be very hot — careful supervision with this one

Directions:

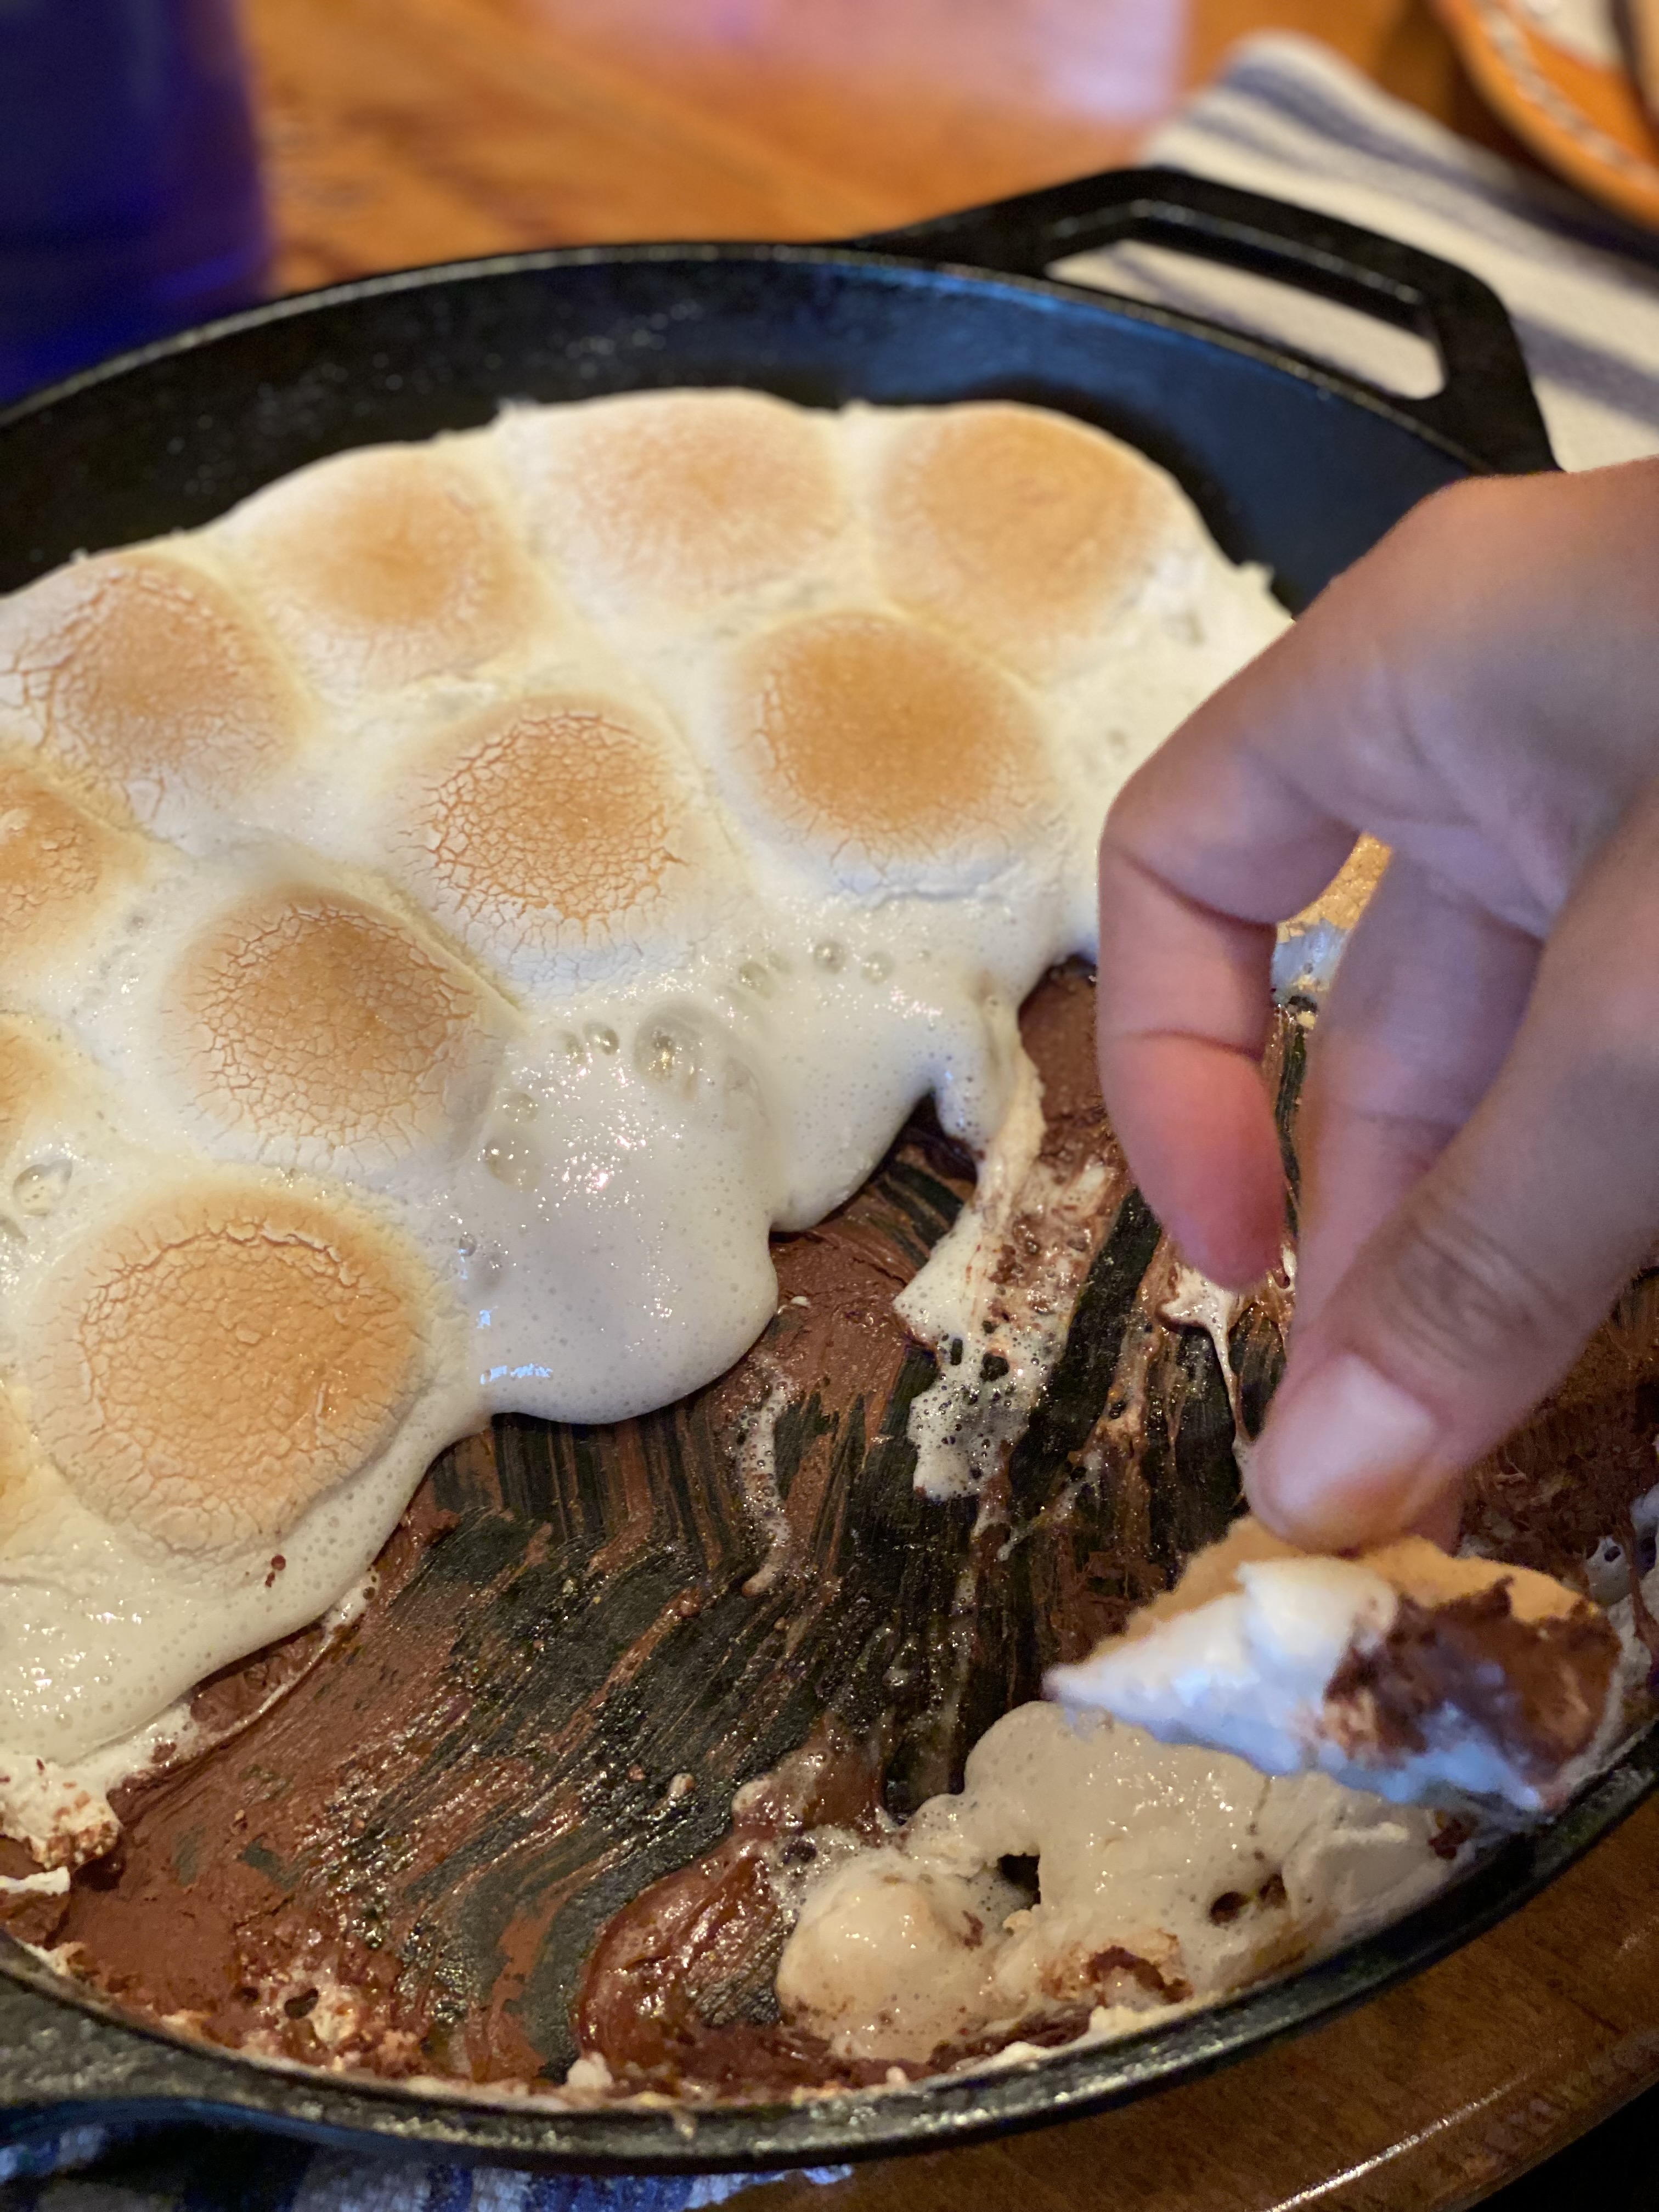
Pre-heat oven to 350 degrees and spray the cast iron pan with cooking spray ( this will help with clean up)  Pour the chips you’re using in an even layer on the bottom of the skillet.  Bake for3-4  minutes or until chocolate chips are melted . Watch closely because you don’t want to burn. Using an oven mitt –remove the skillet from the oven and stir the chocolate around  then cover the top with the marshmallows completely. Bake for another 4-5 minutes or until marshmallows are browned on top. ( see photo)  Serve immediately with graham cracker squares —only tip is to be very careful , because the dip and the pan will be very hot!!!! you’ll have to supervise with little ones and even some of the over anxious adults. You can let it rest for about 4-5 minutes before serving. But it should be served hot.

*if you don’t have a skillet you may use another oven-safe baking dish like a 9×13 pyrex would work . Chocolate does melt more evenly in cast-iron skillet and it retains heat better. 

*you can adjust the amounts of chocolate and marshmallows to your liking, and the size of the skillet. Some of these photos show the jumbo sized marshmallows which will work just as well or you can cut them in 1/2. 

*use whatever kind of chips you like, and any kind of marshmallows you like — mini marshmallows work well here too.